Skip to content
Metro Chimney

Chimney Repair Services

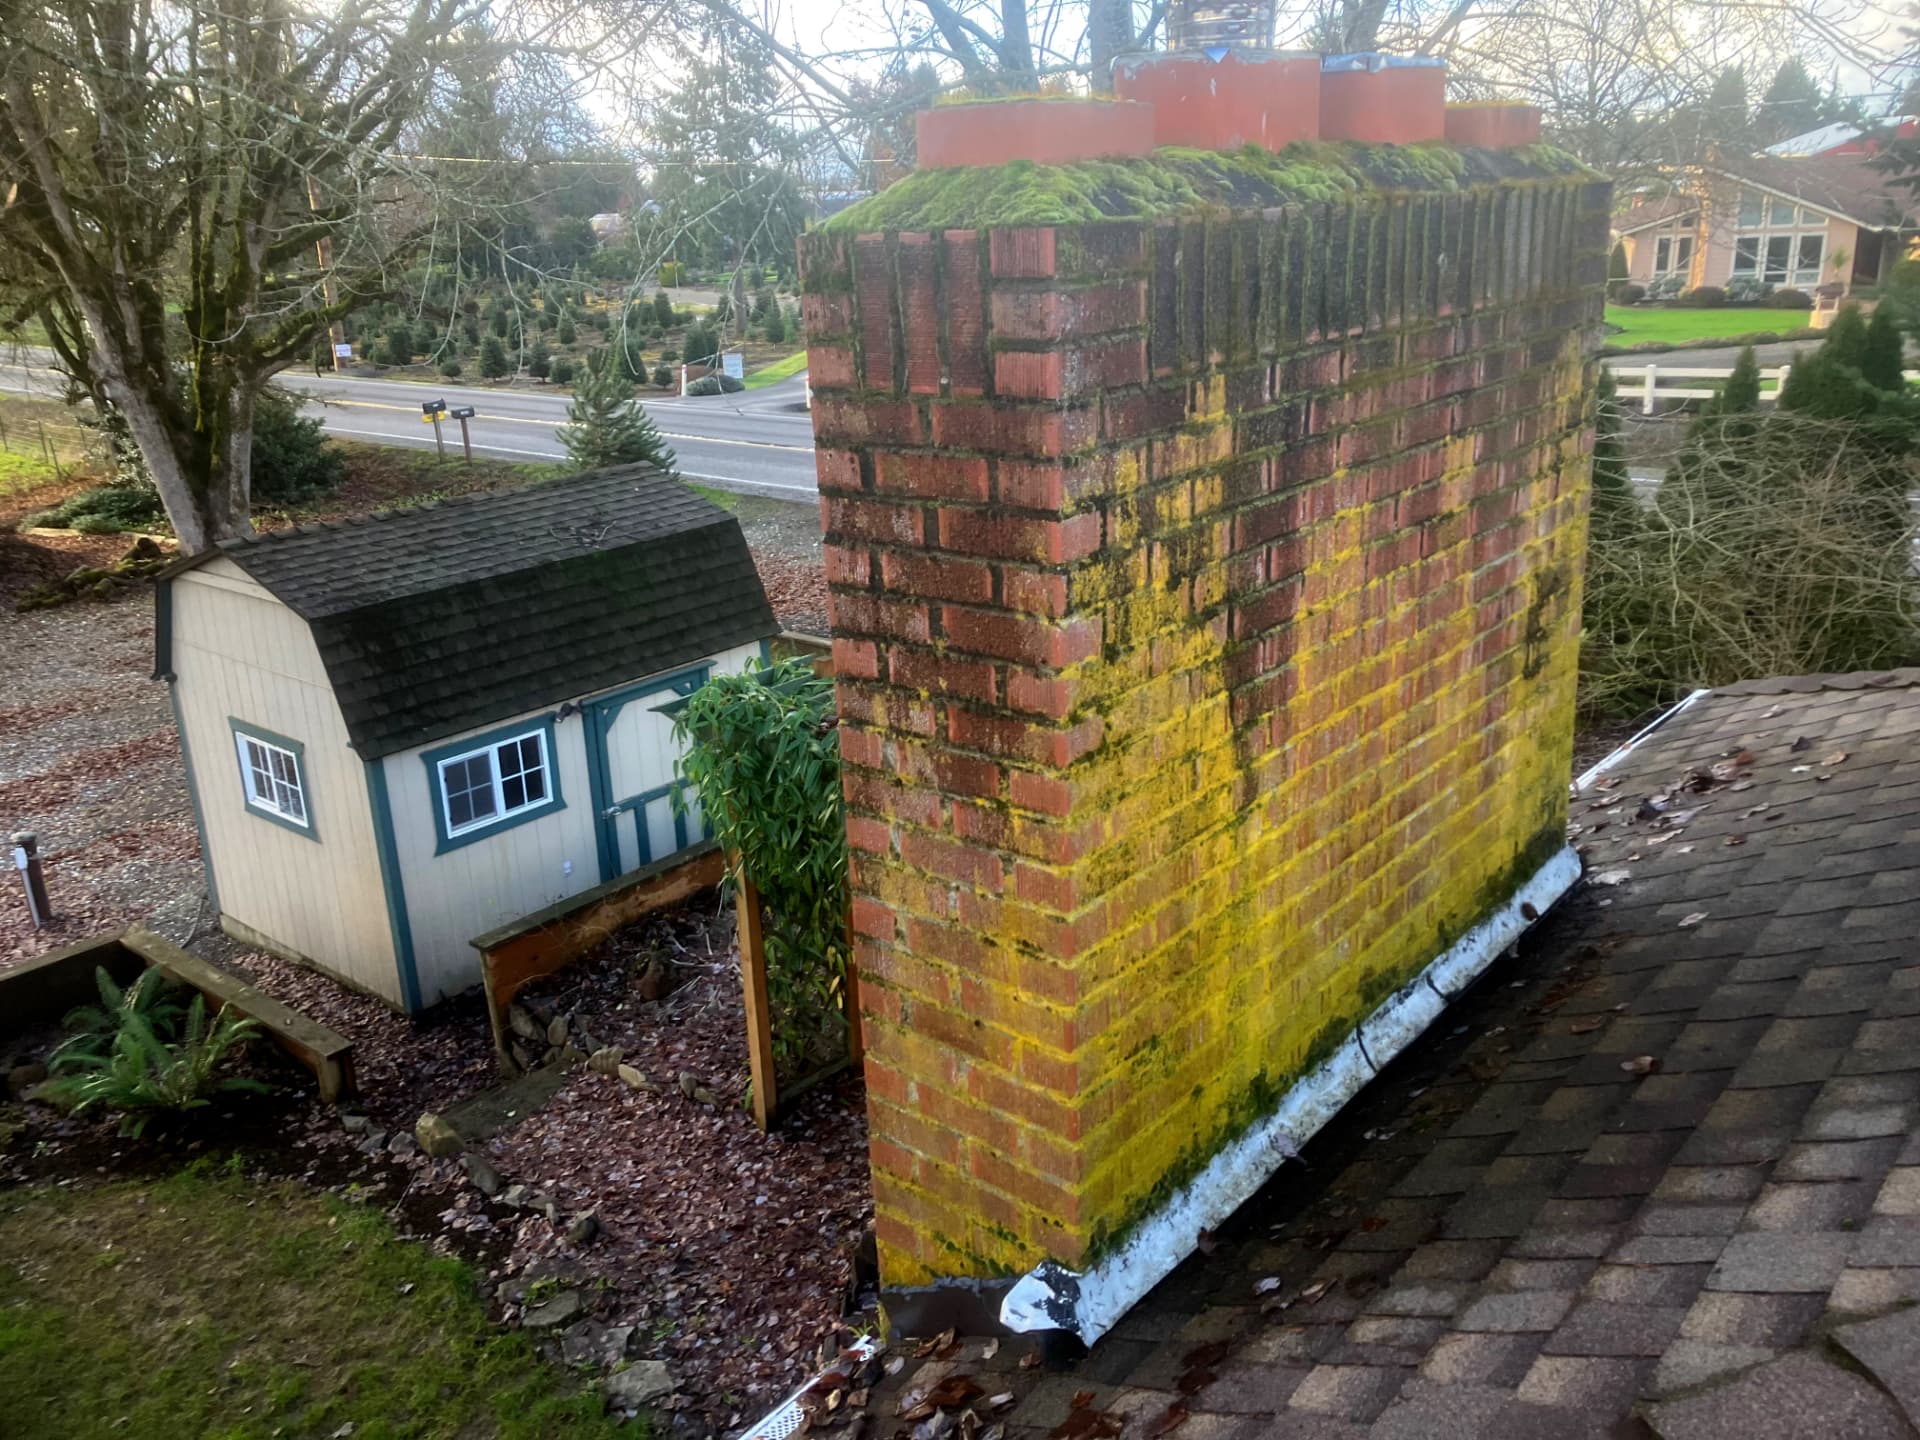
CHIMNEY AND BRICK MOSS REMOVAL

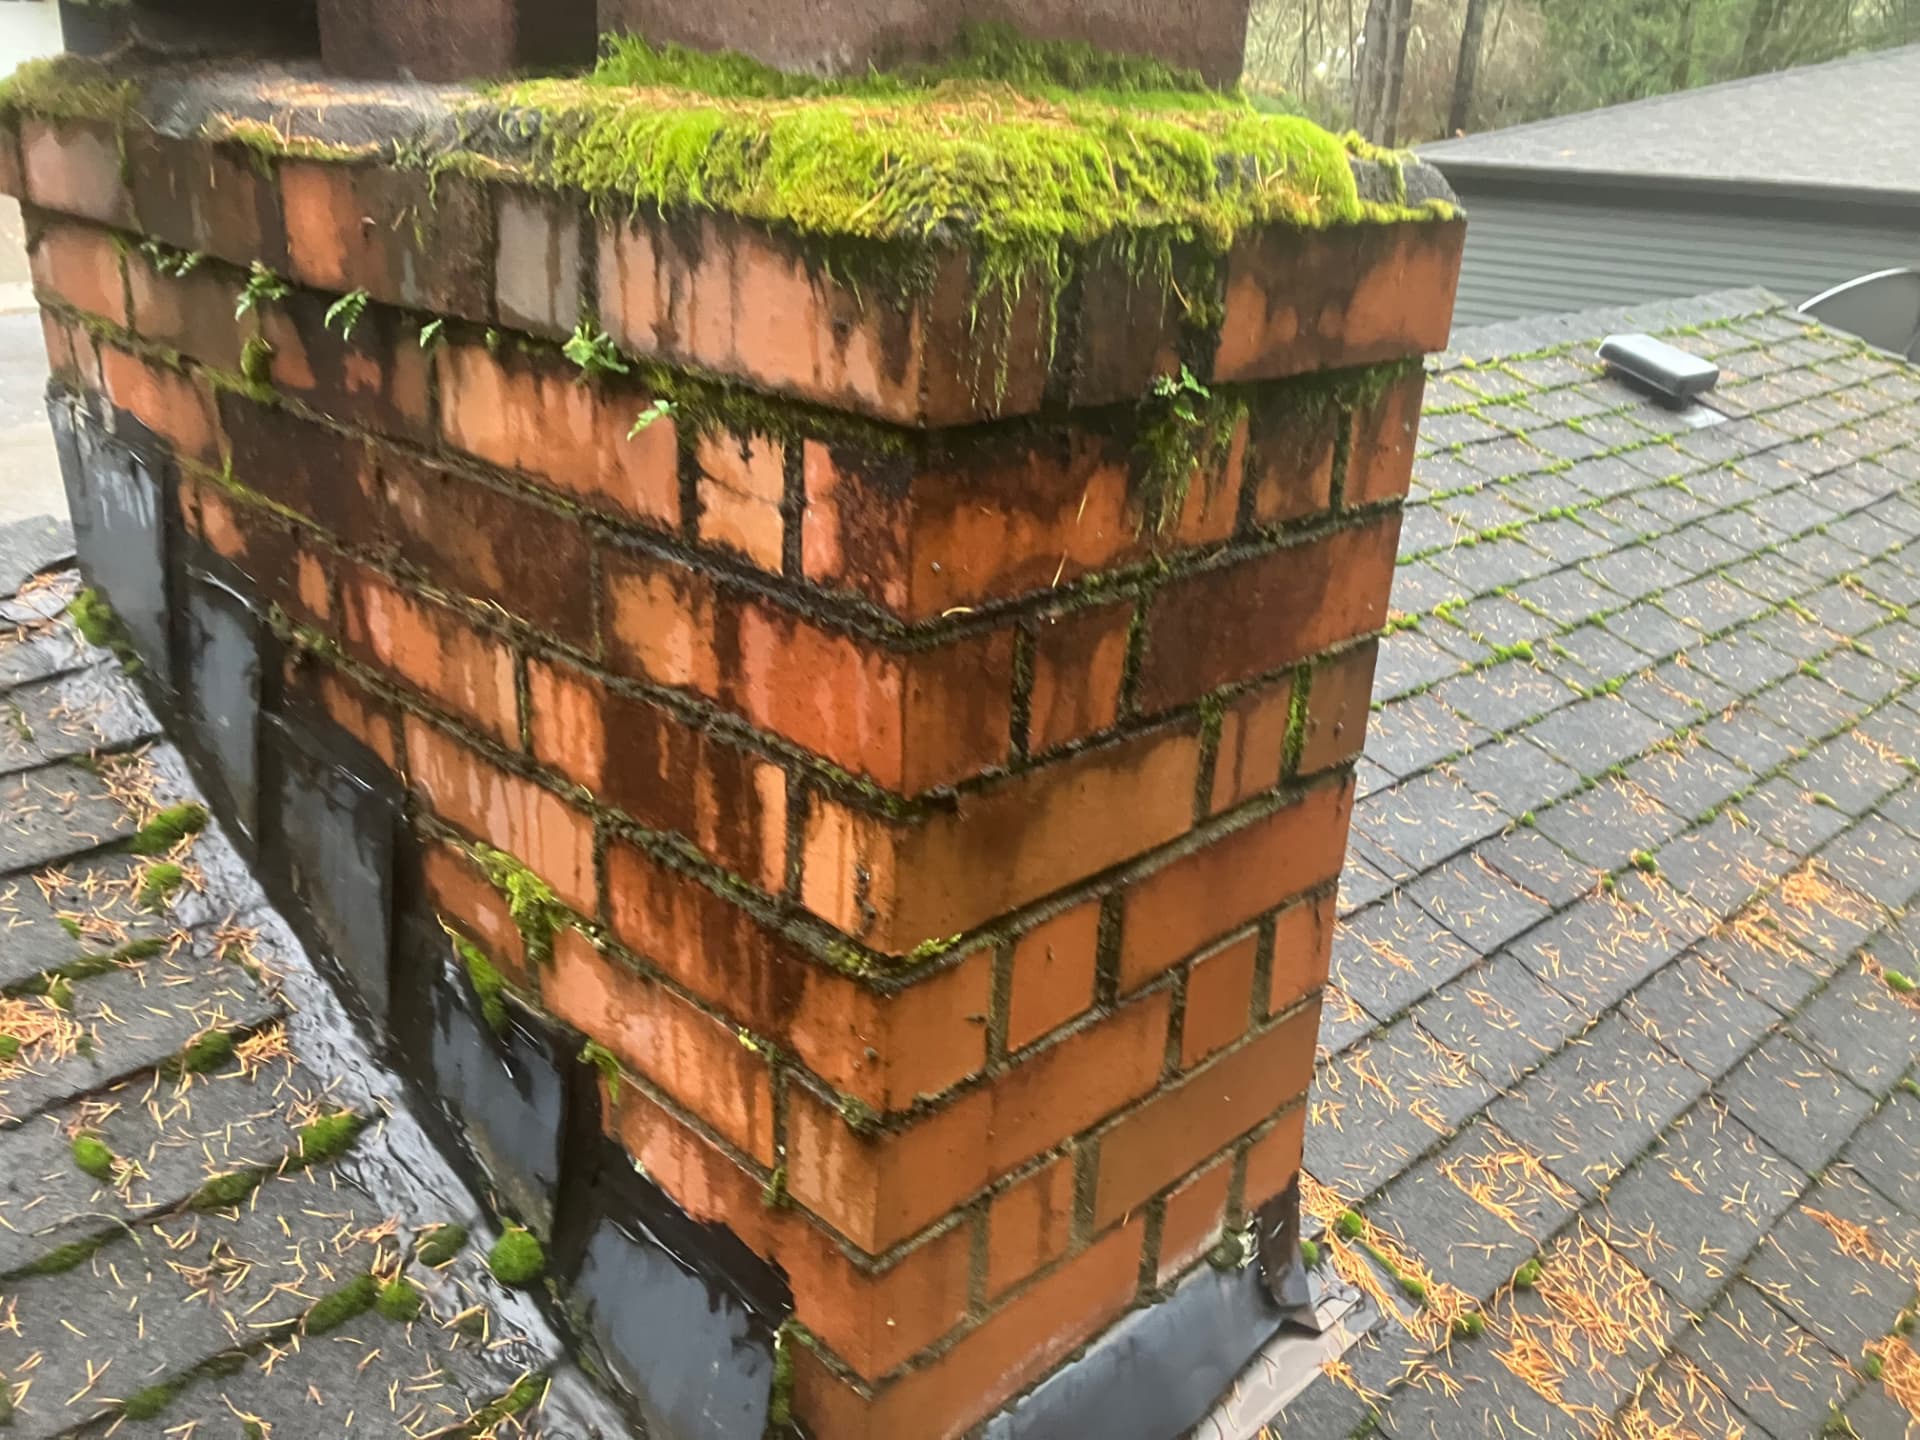
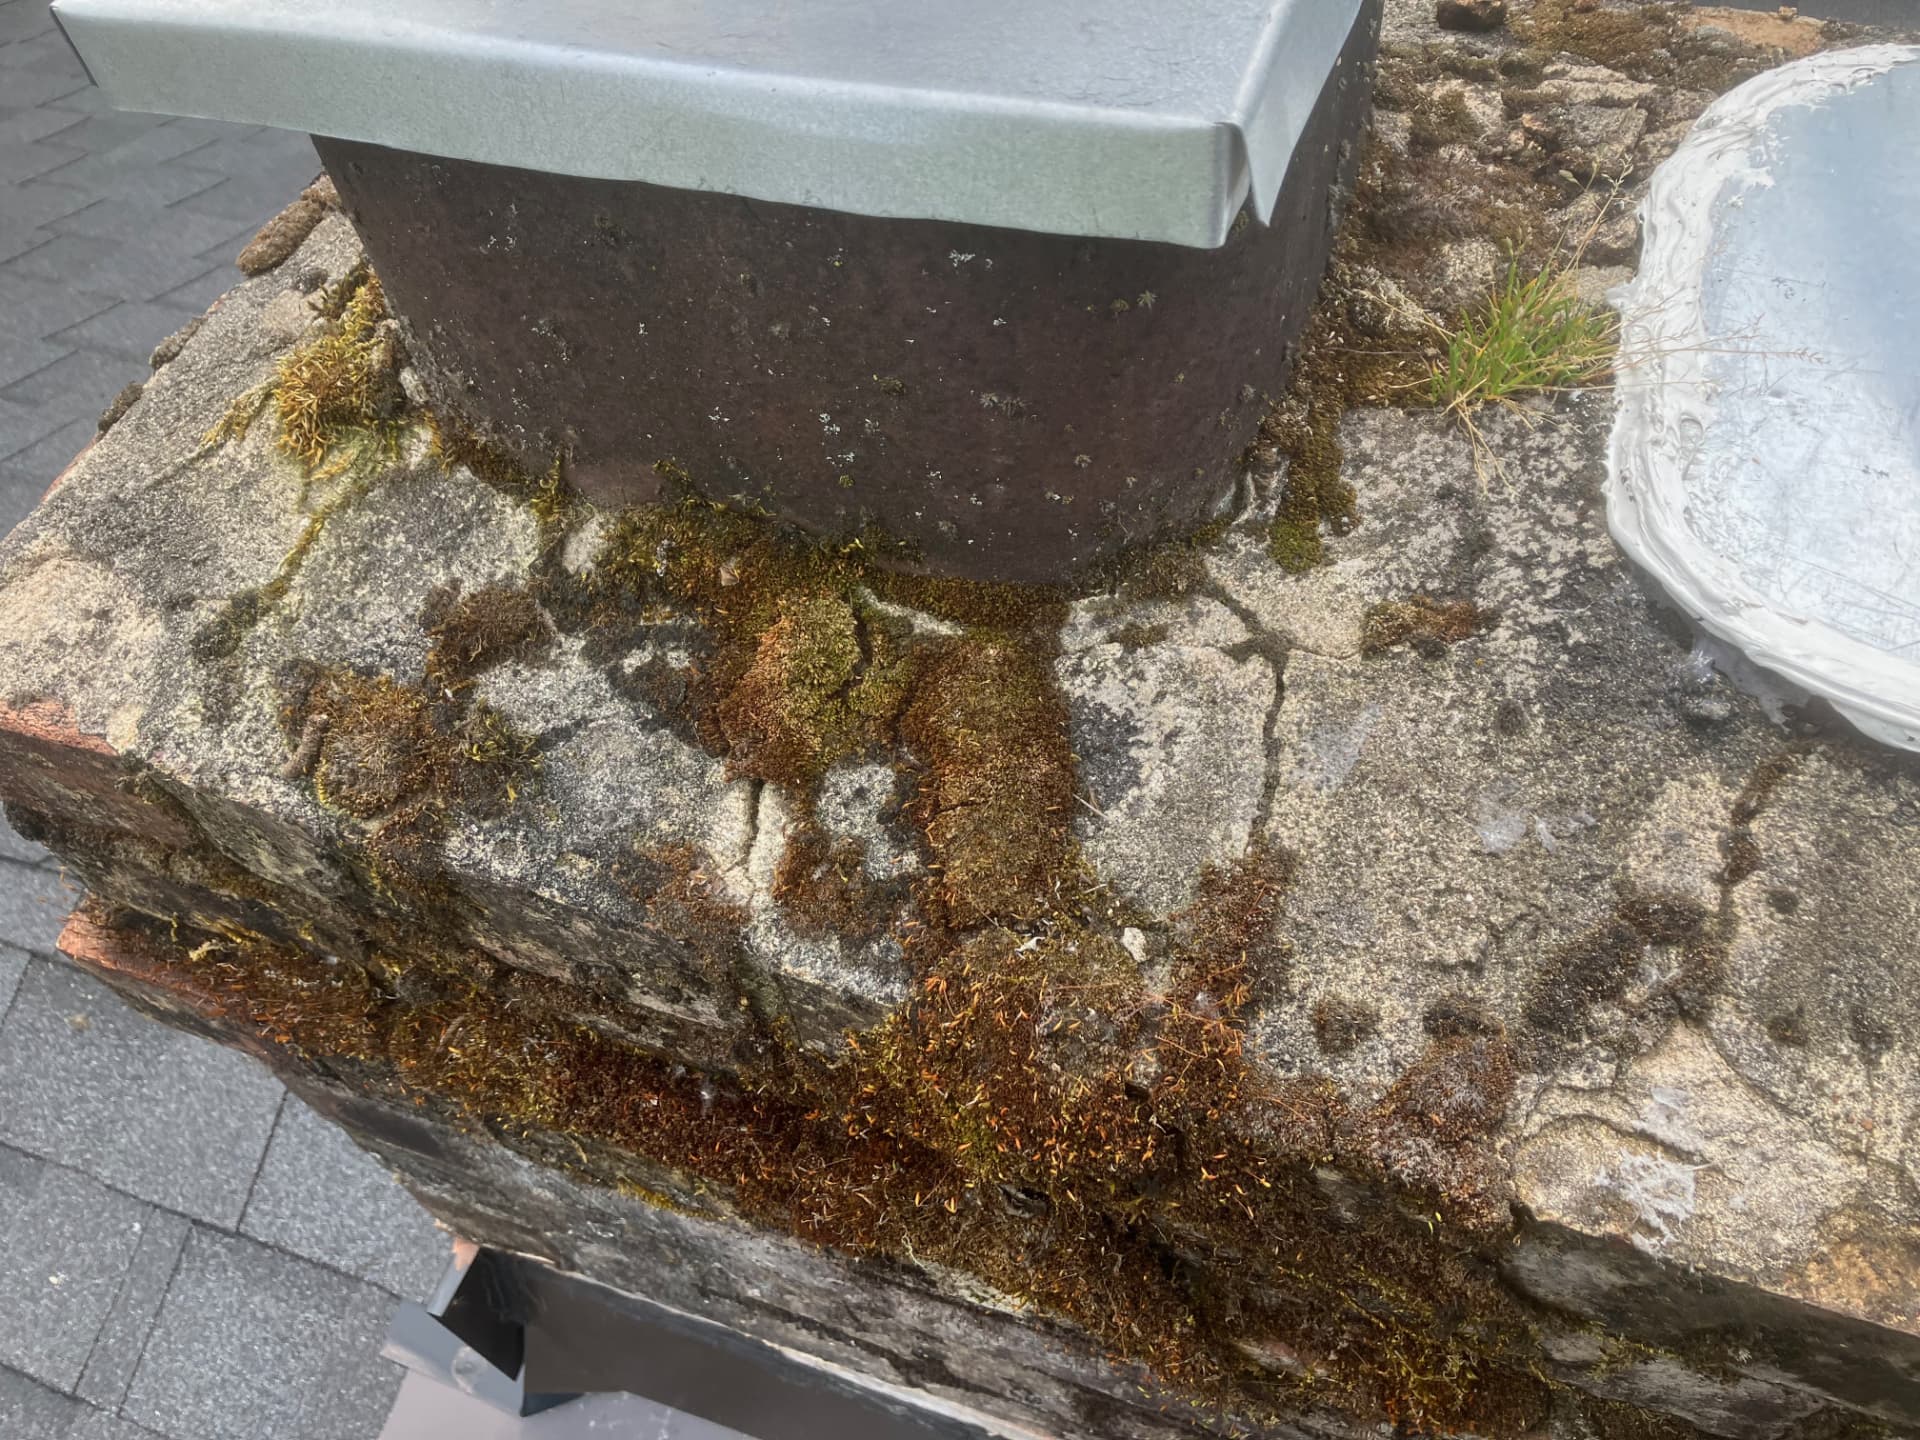
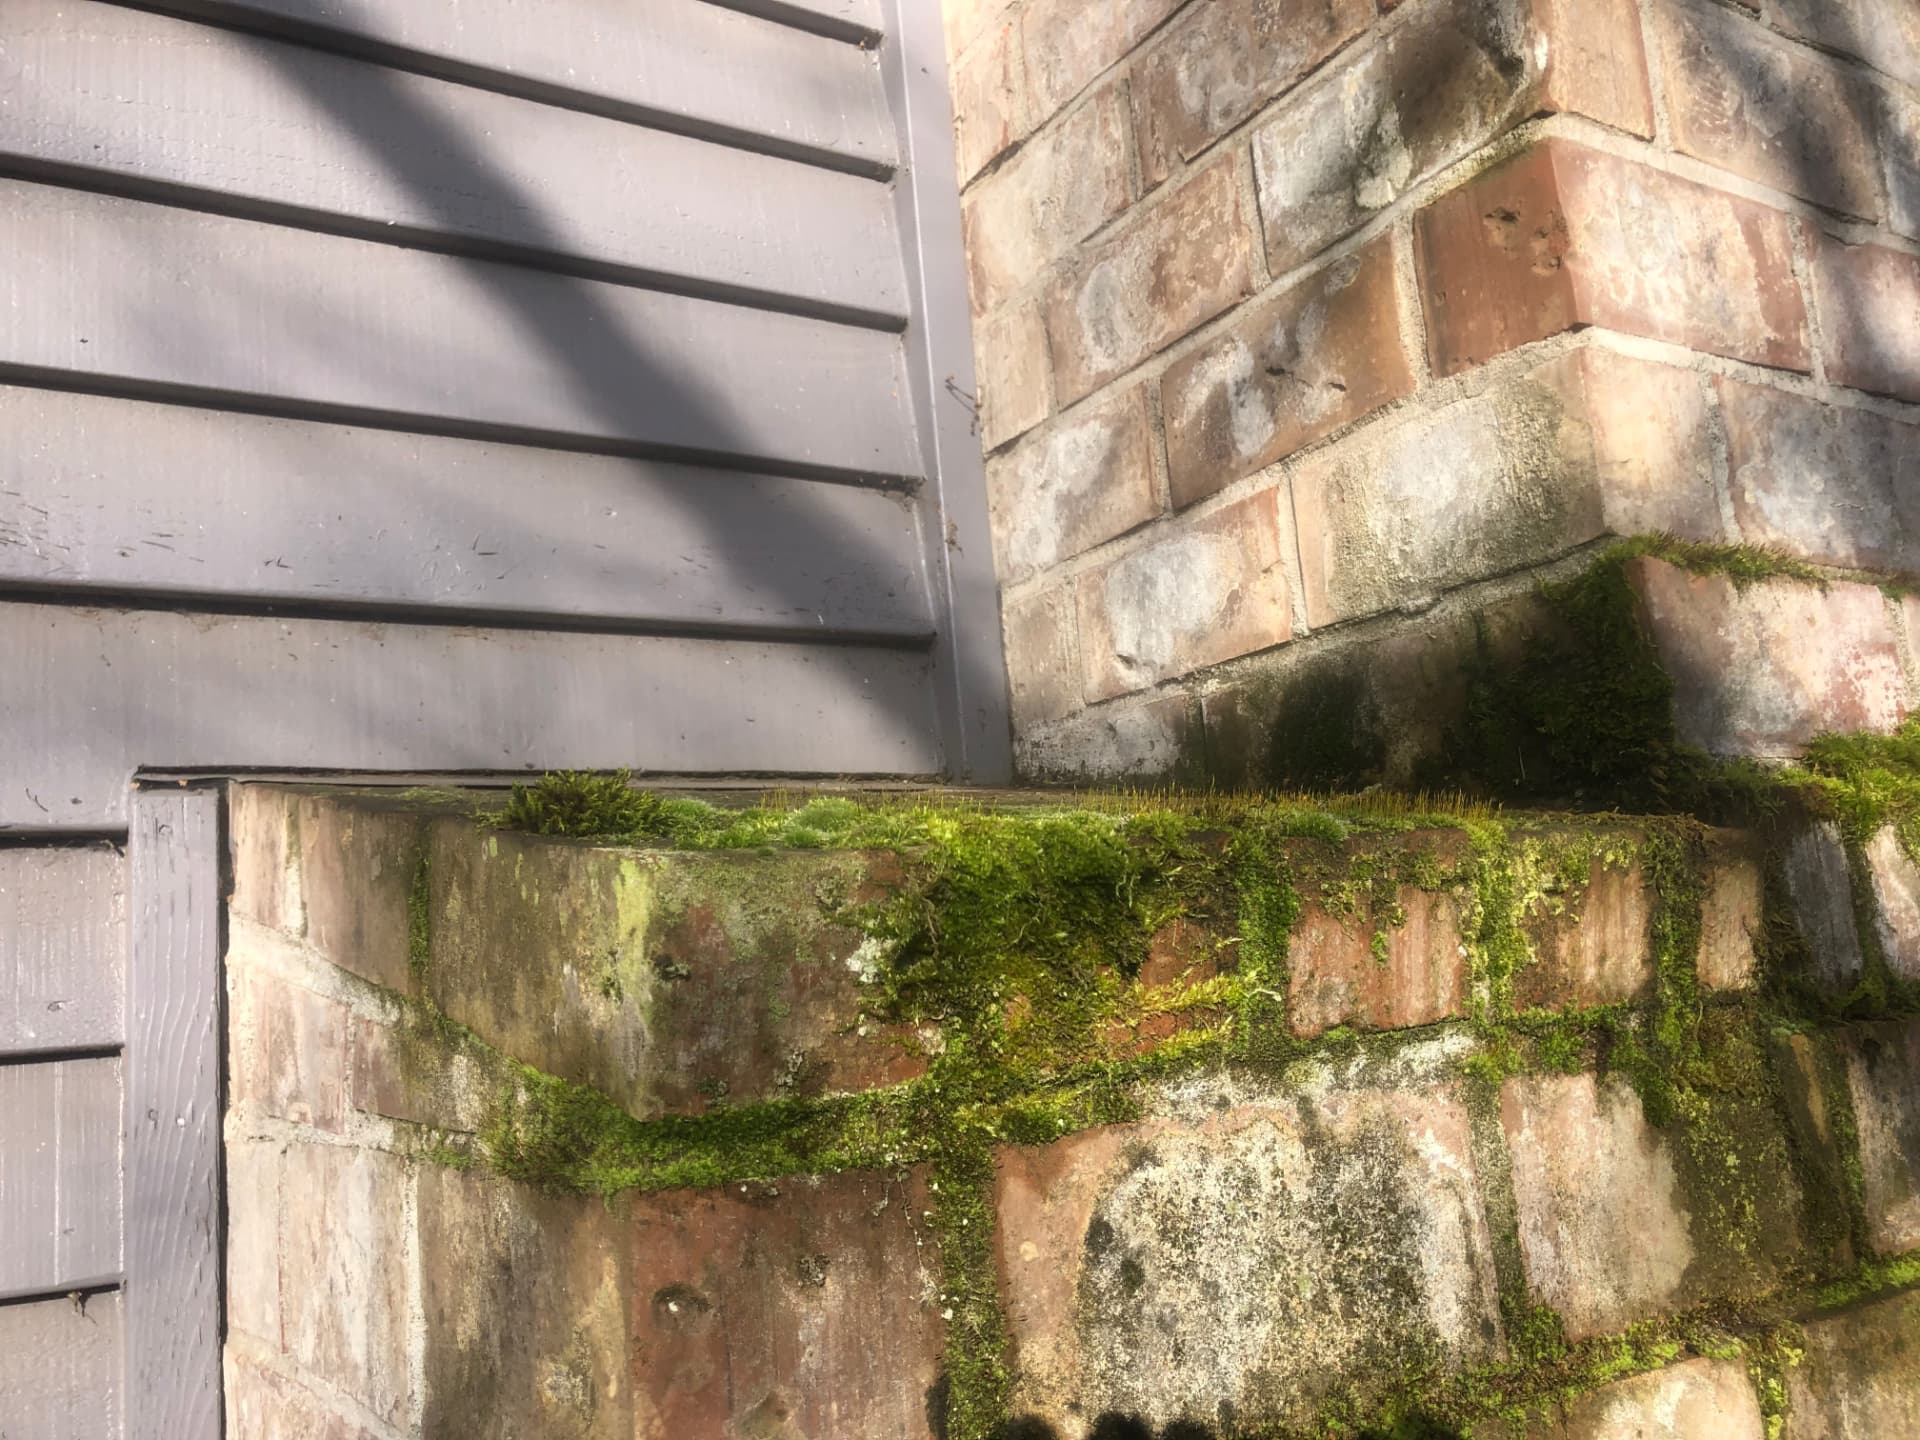
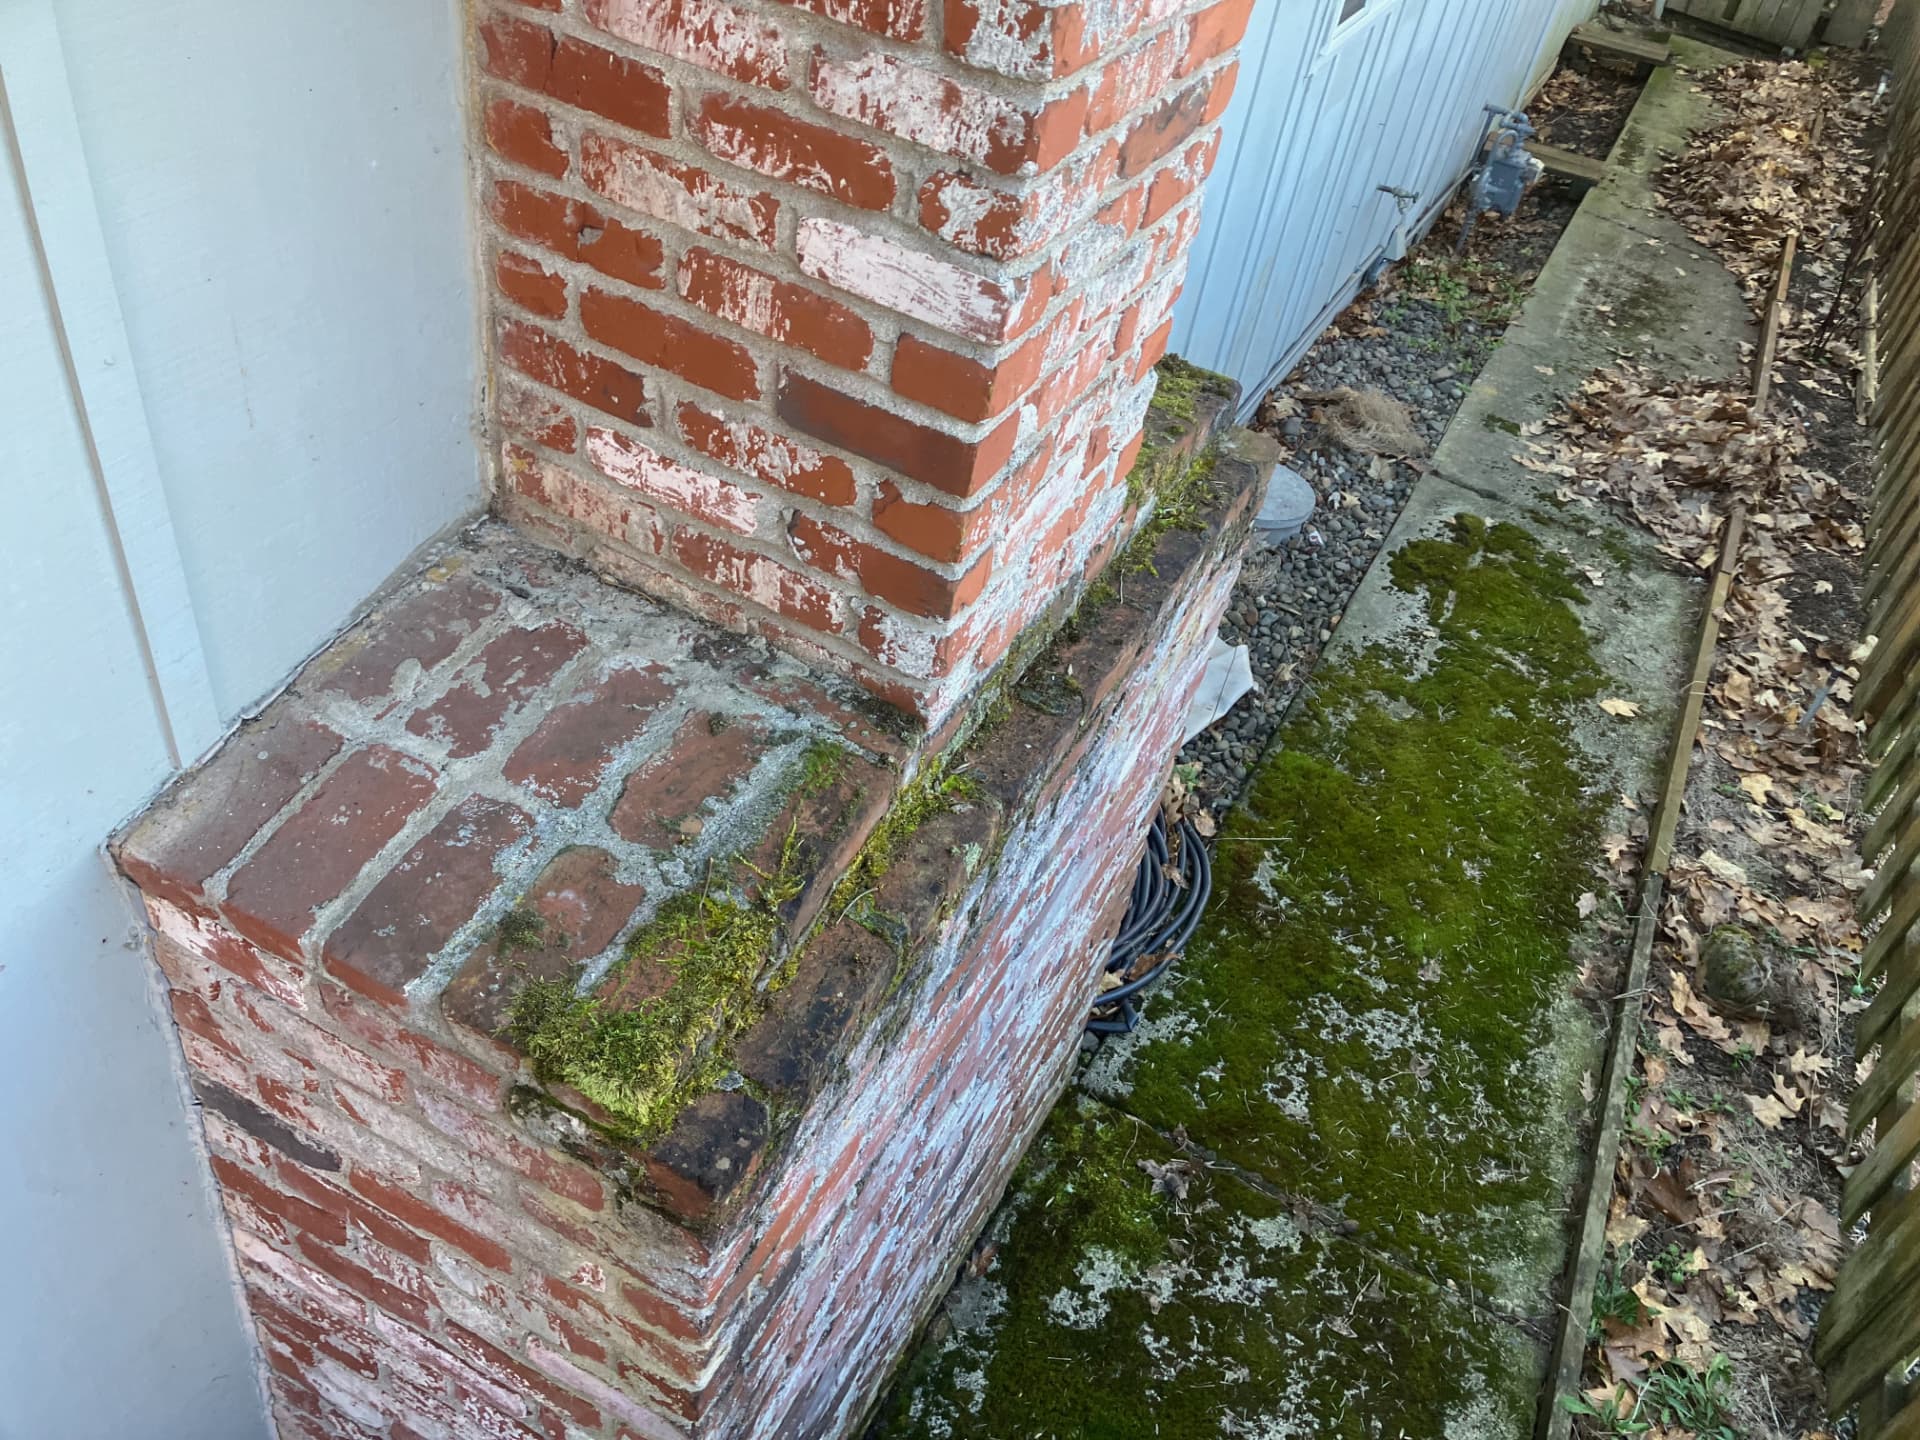
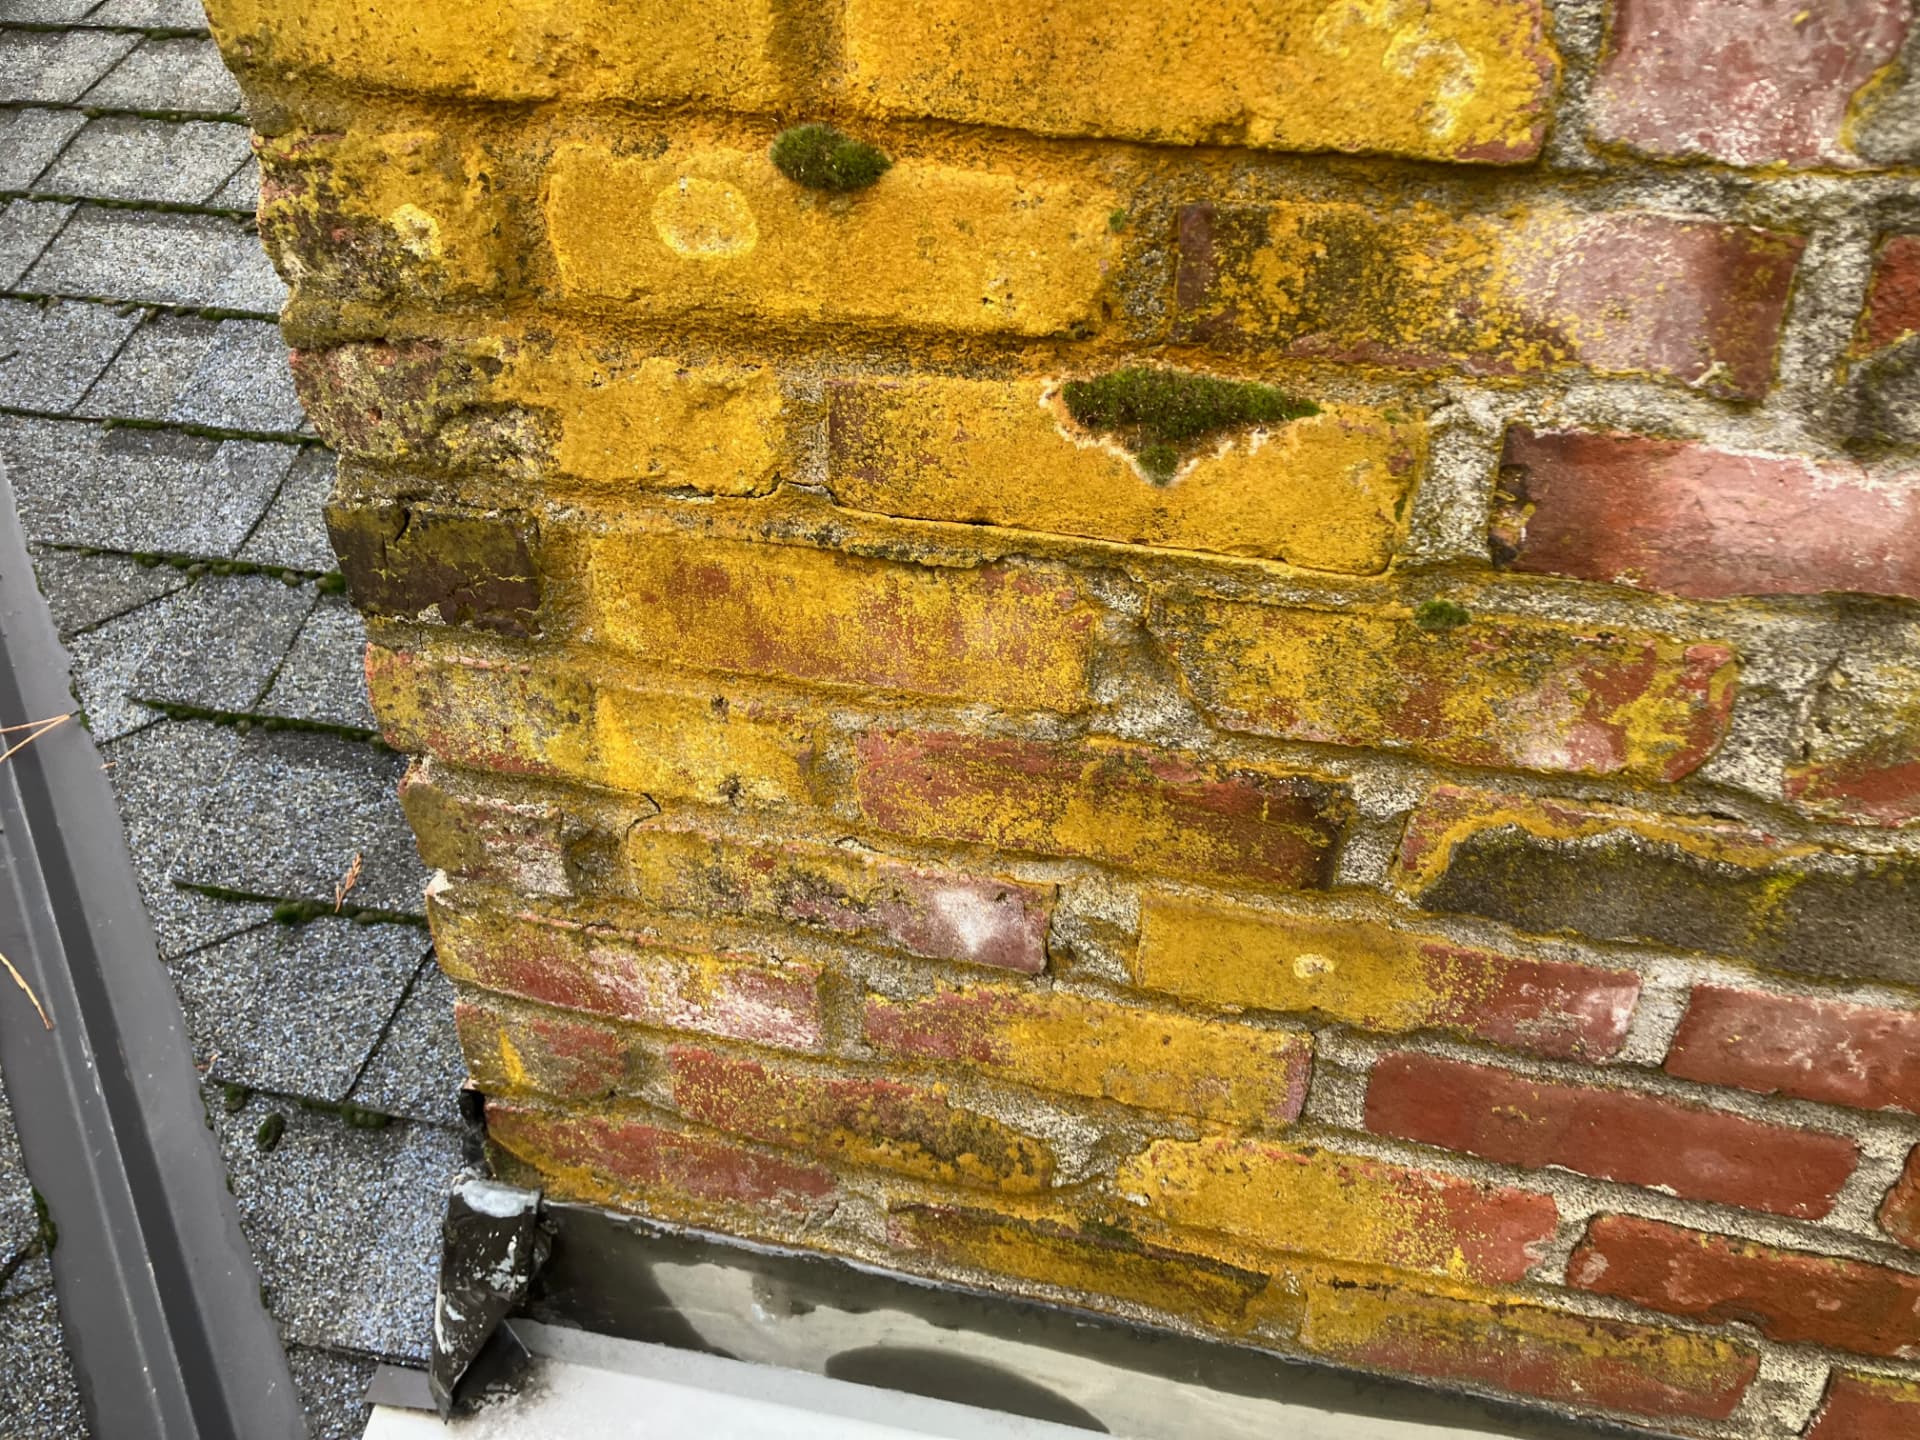
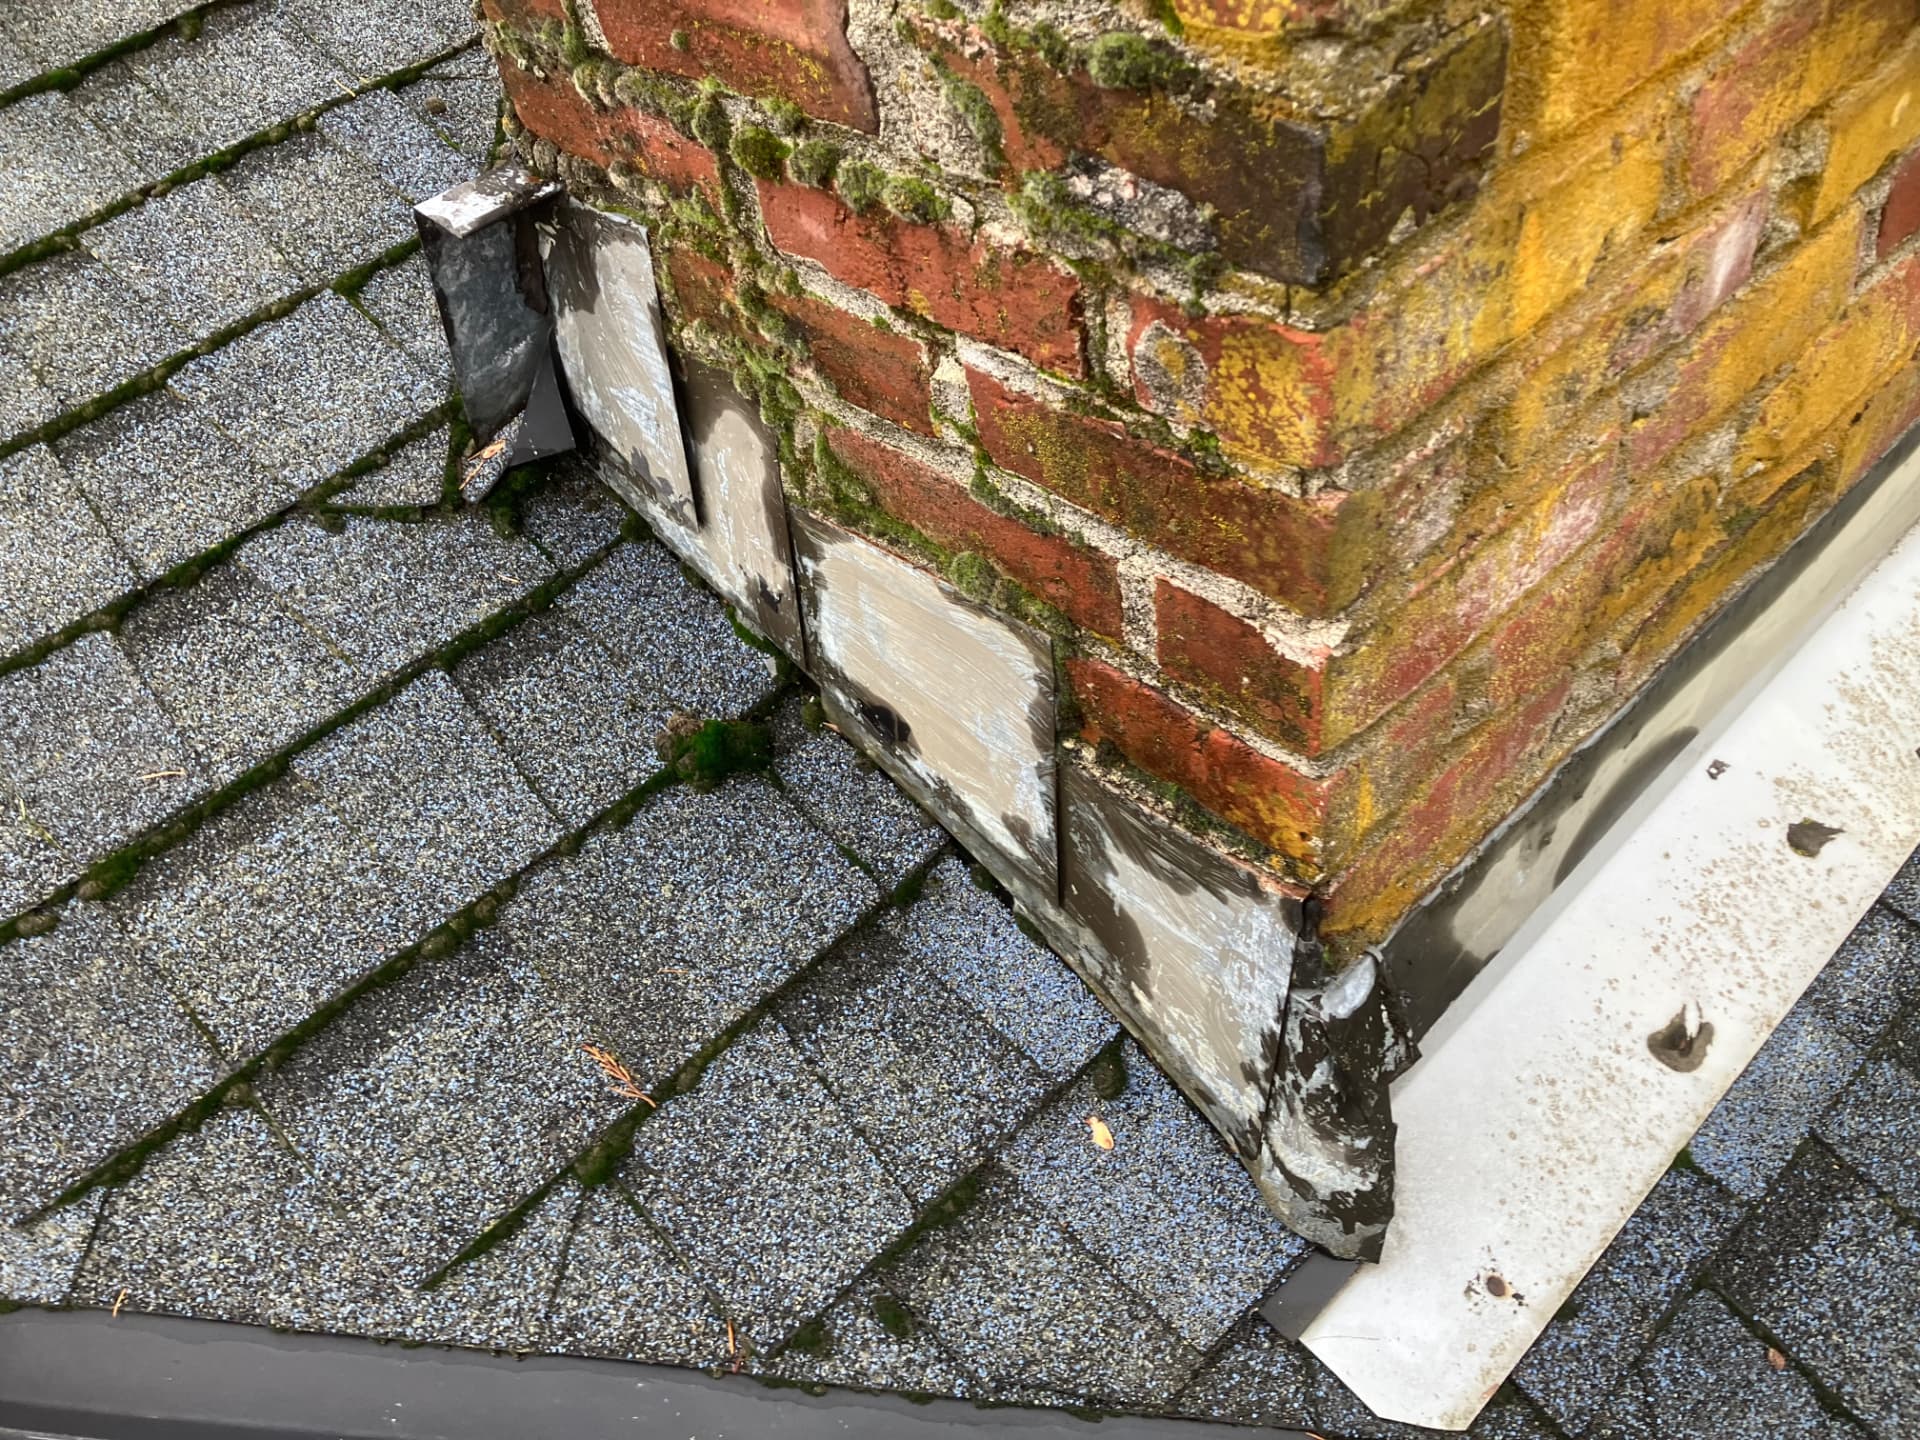
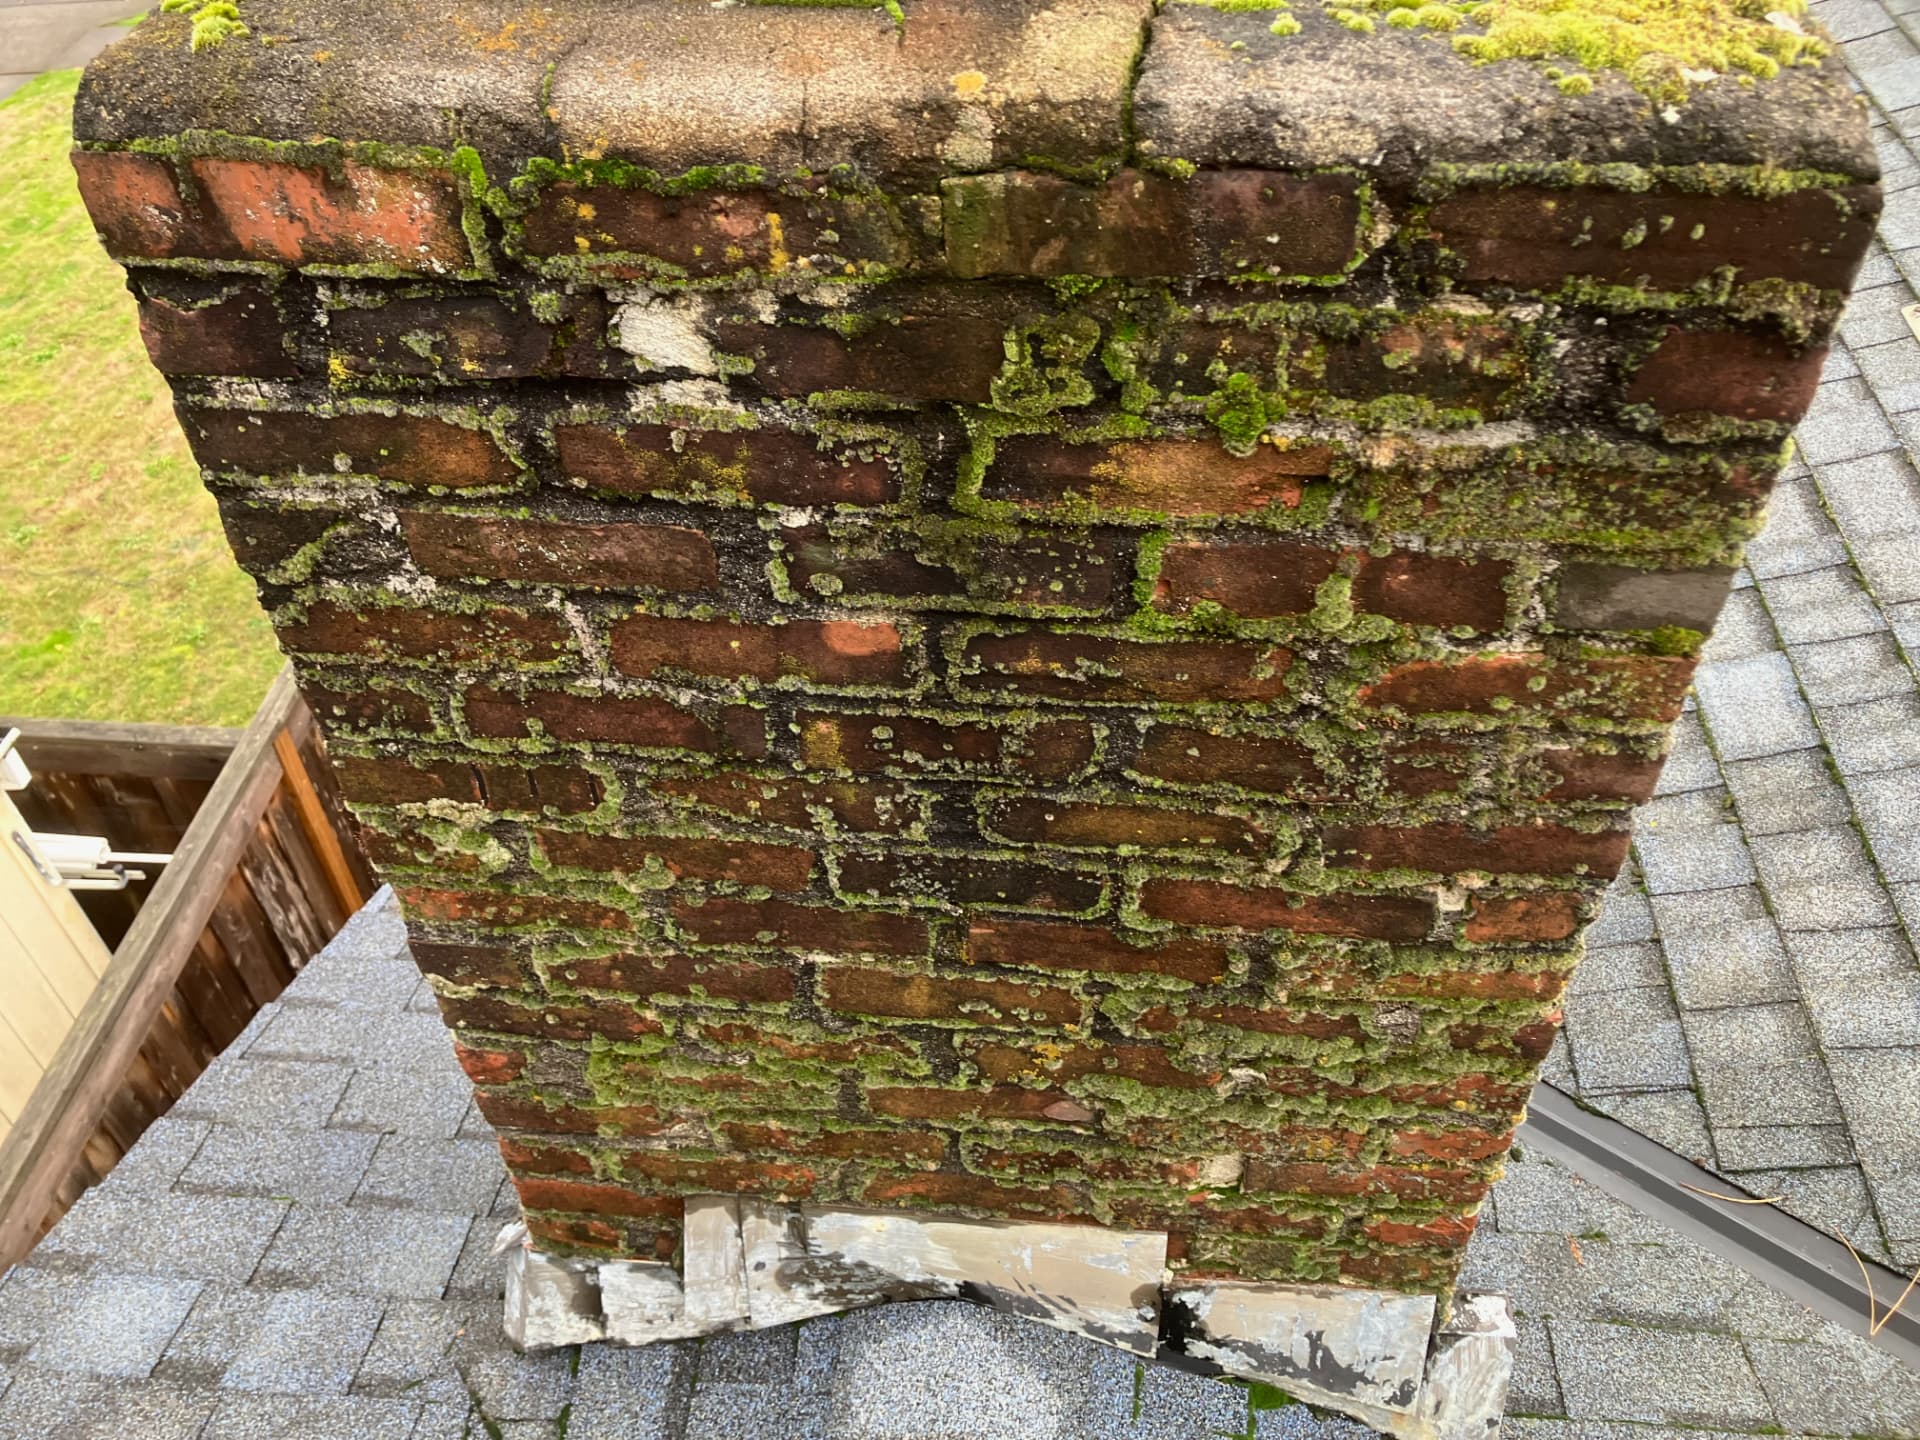
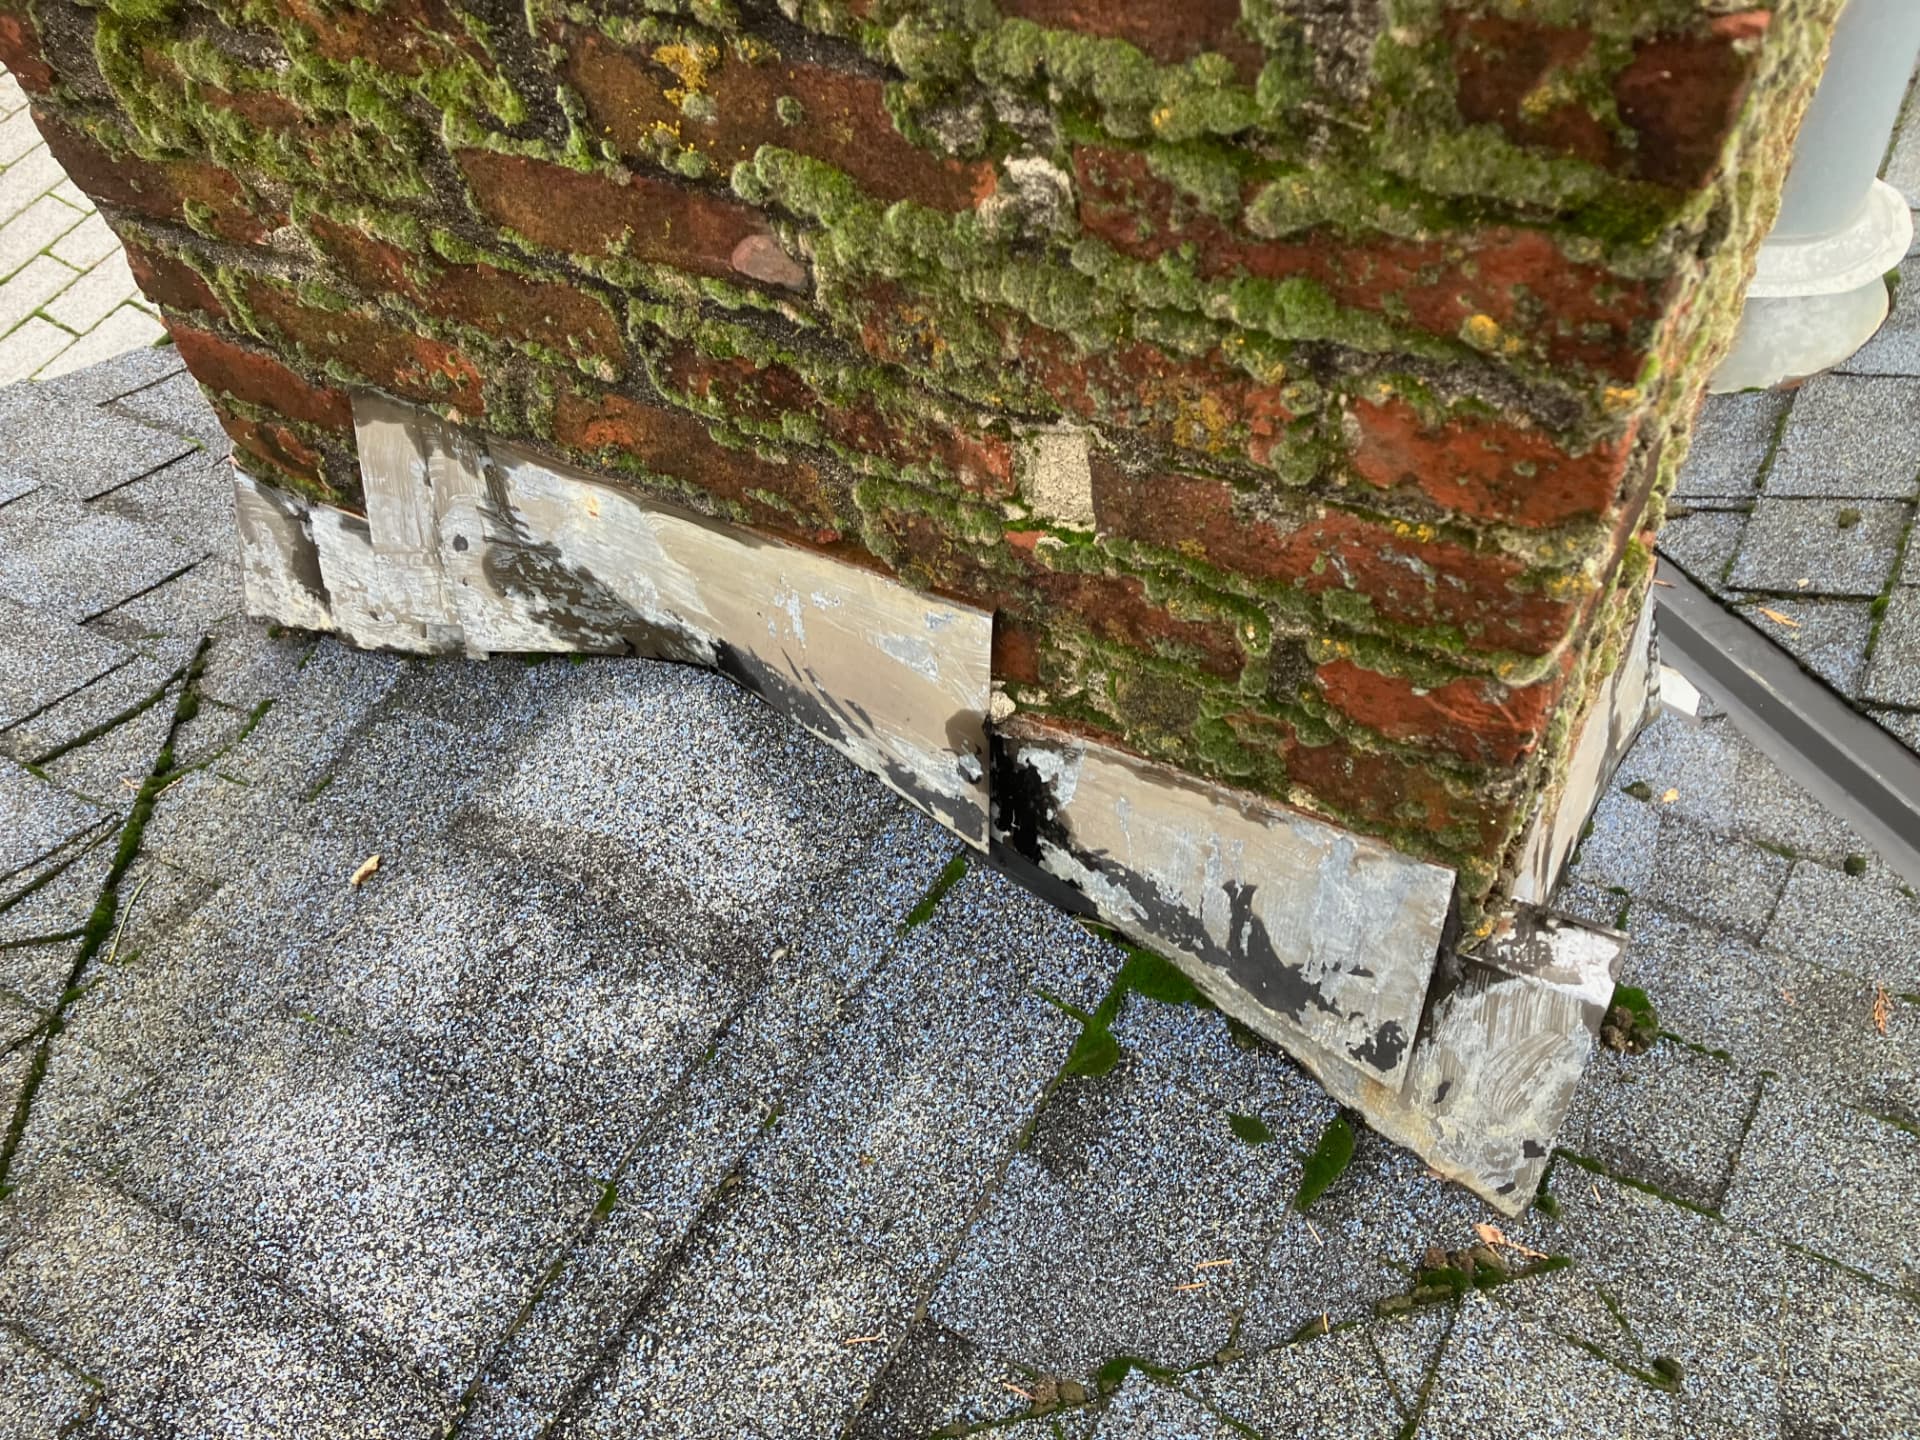
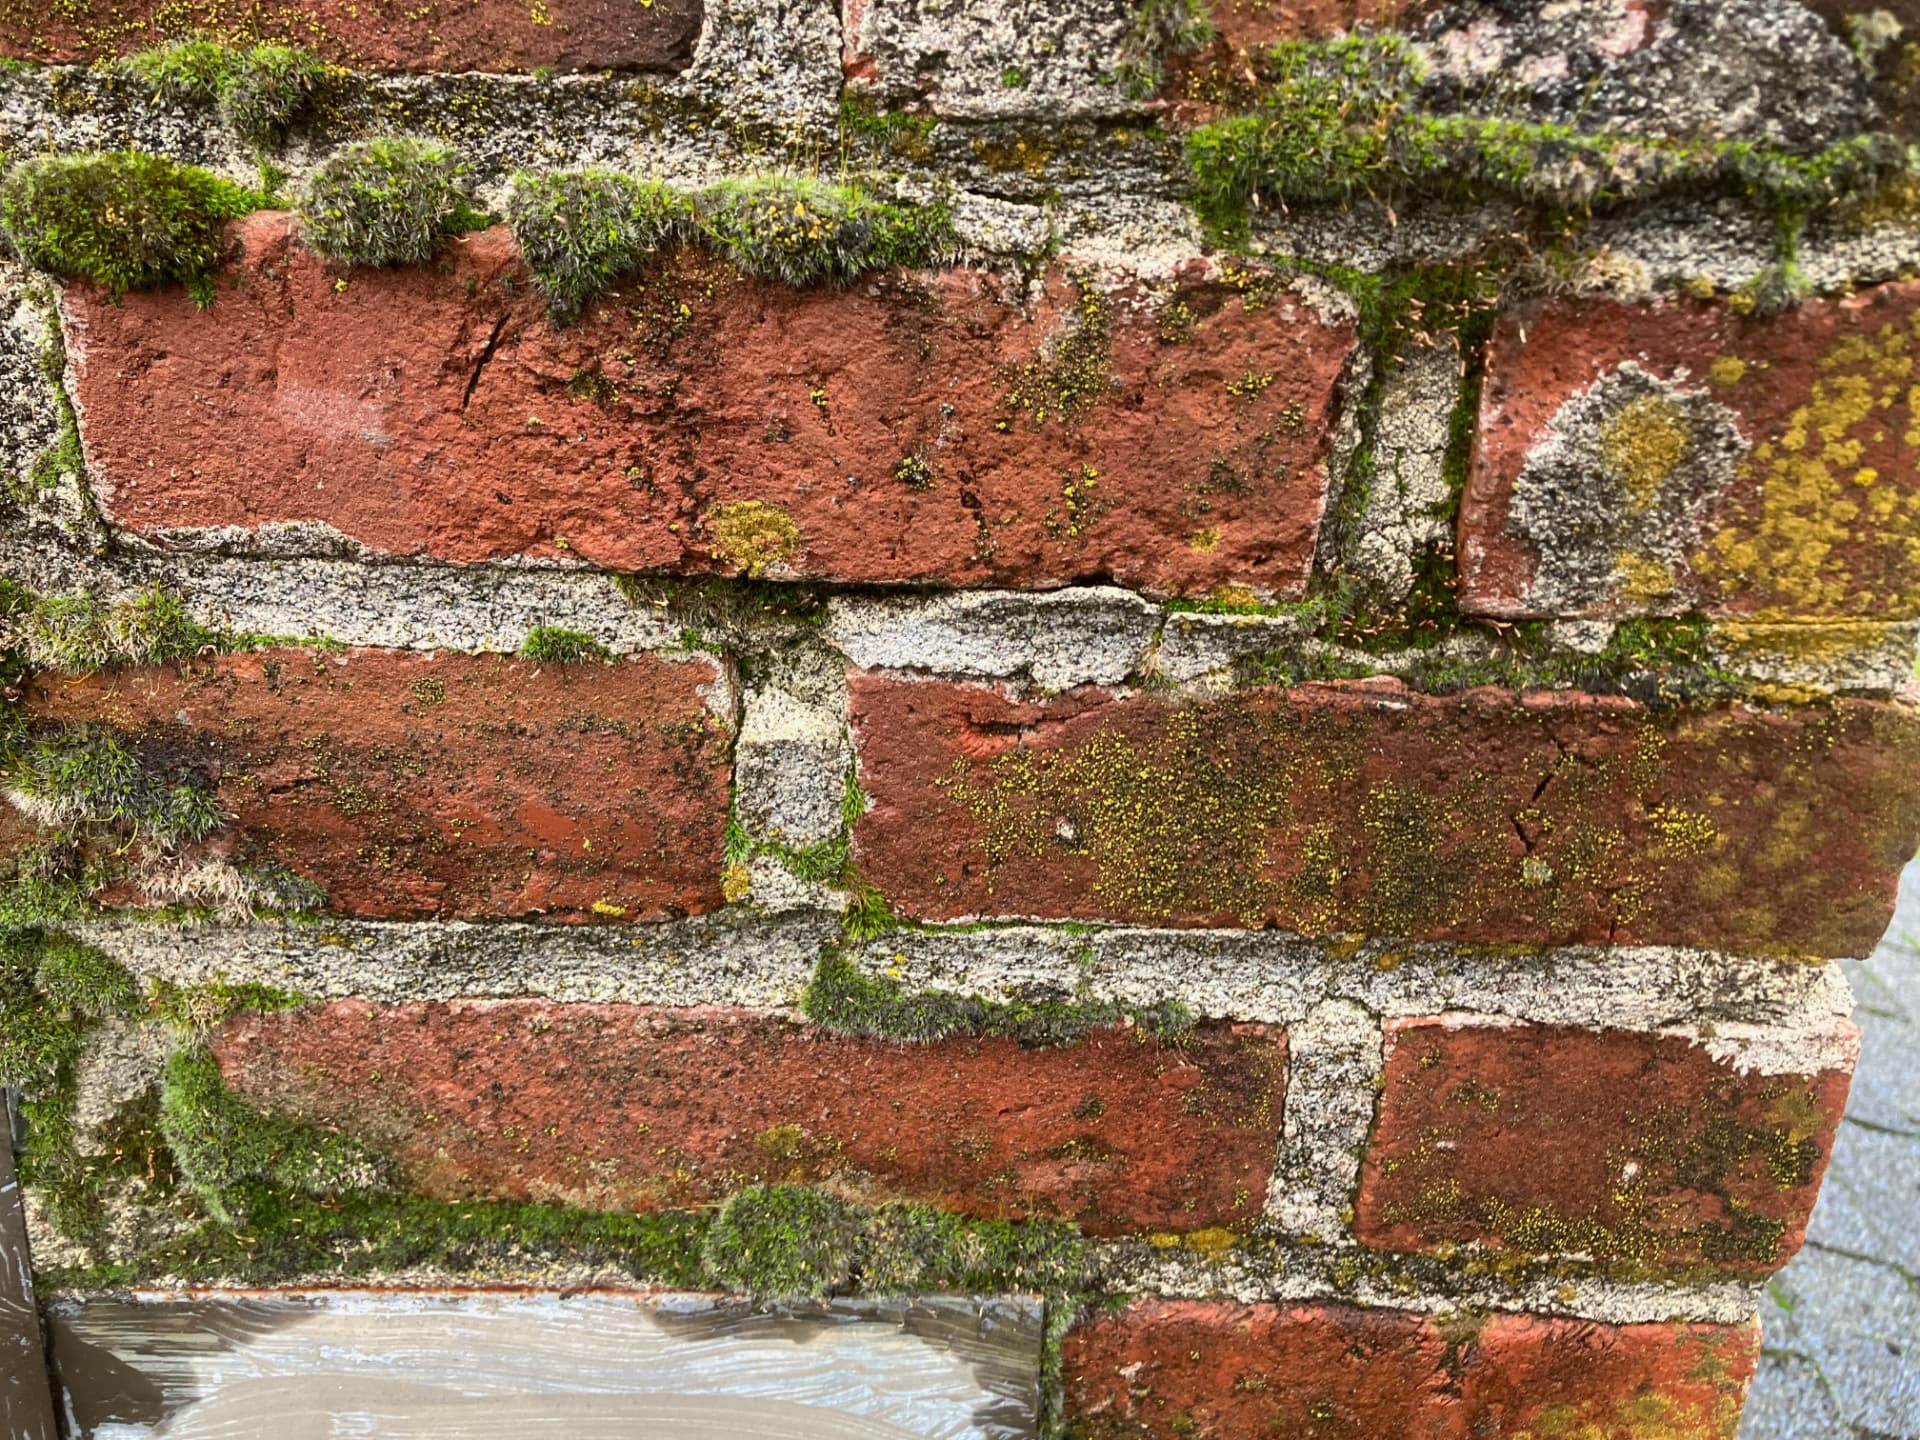
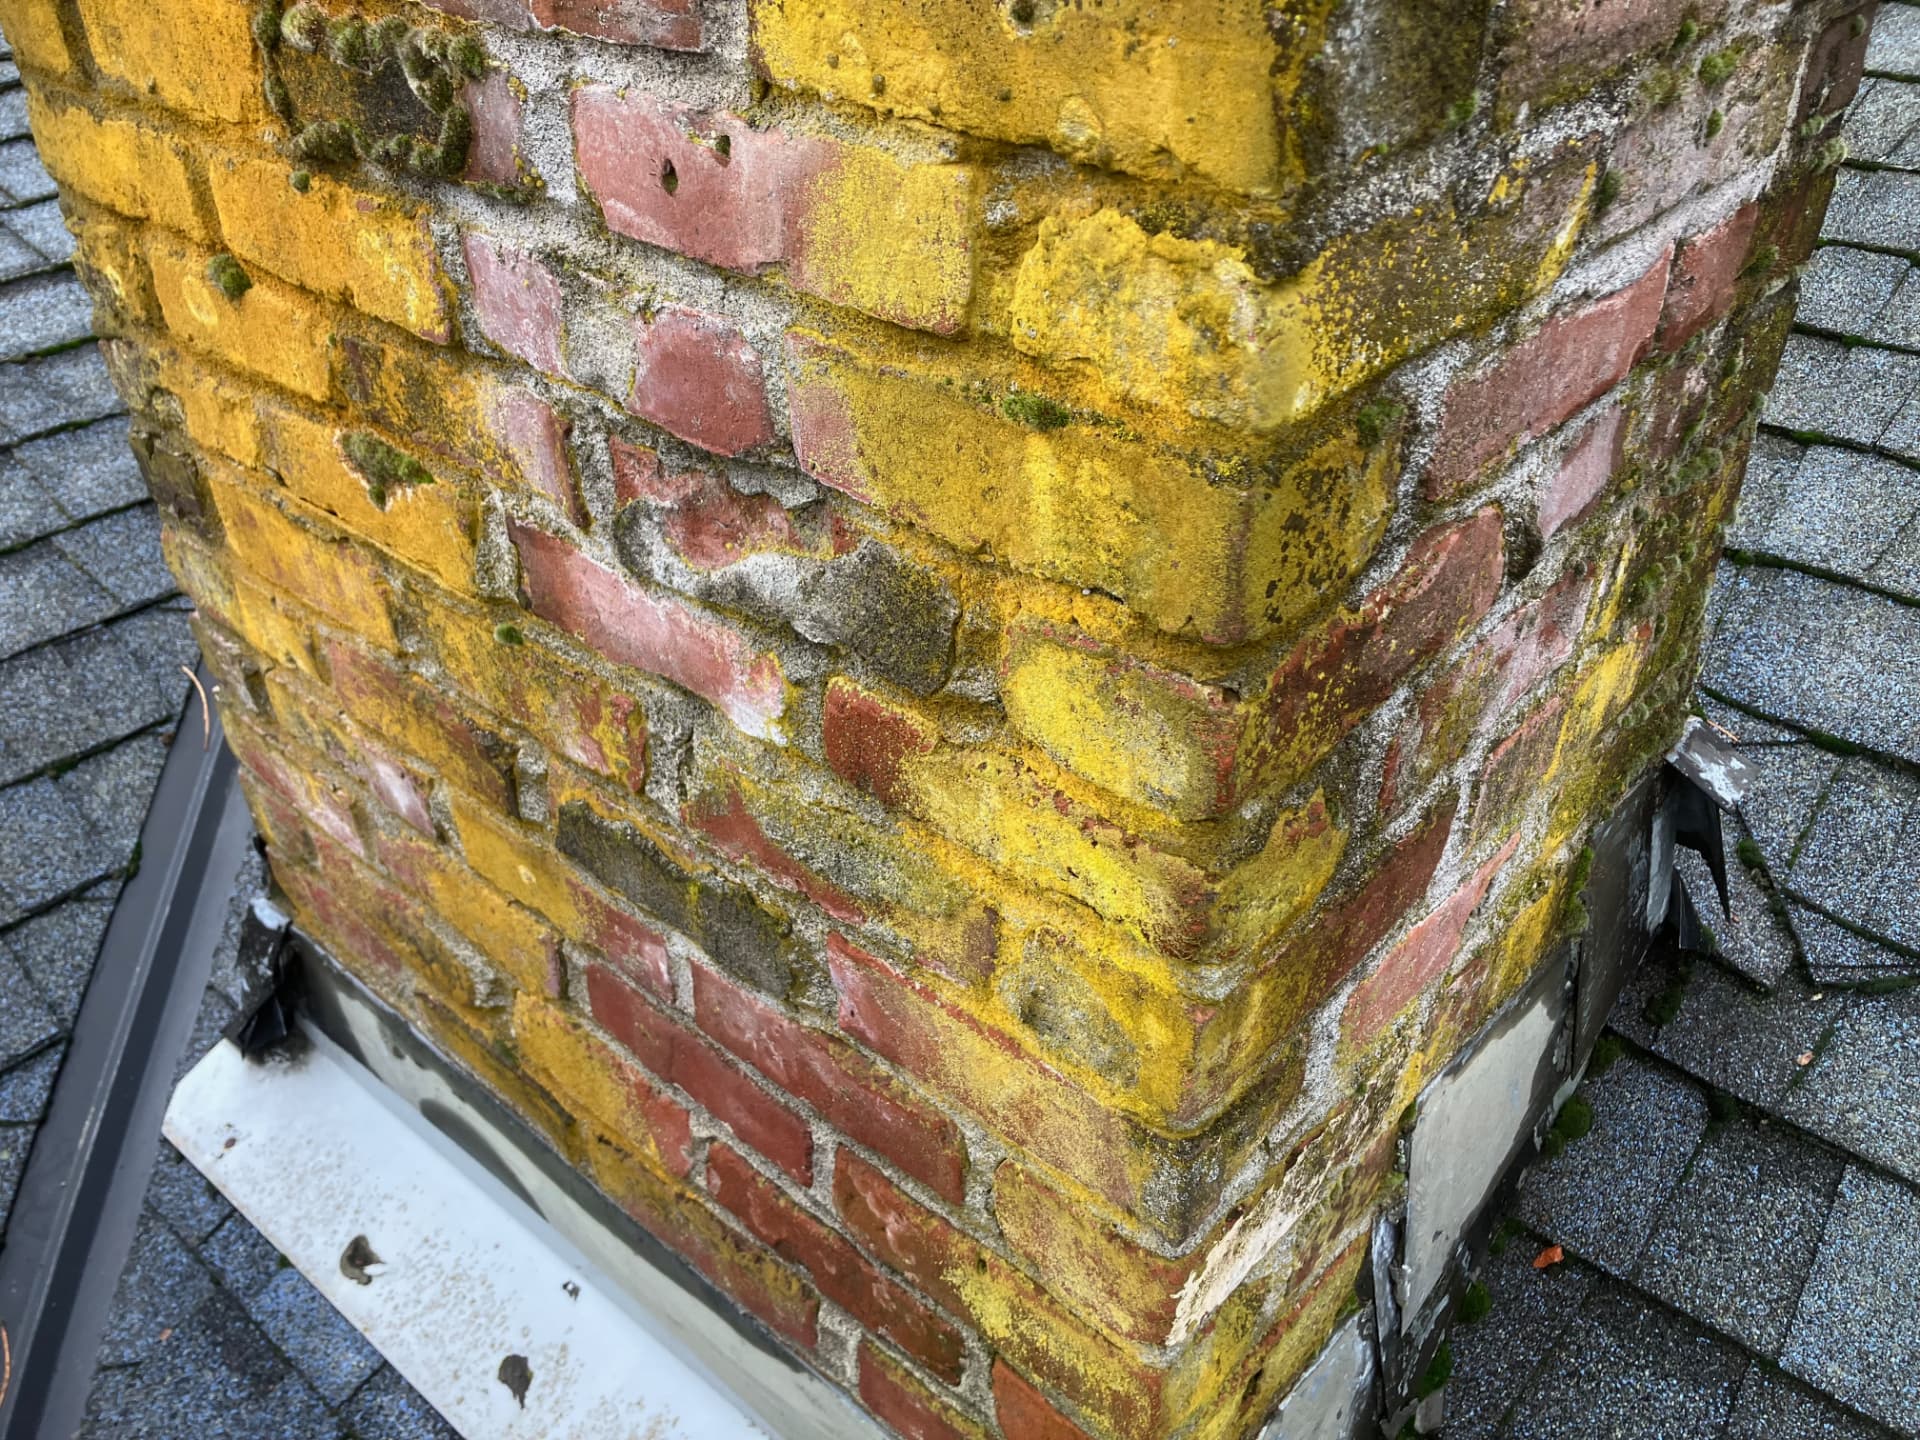
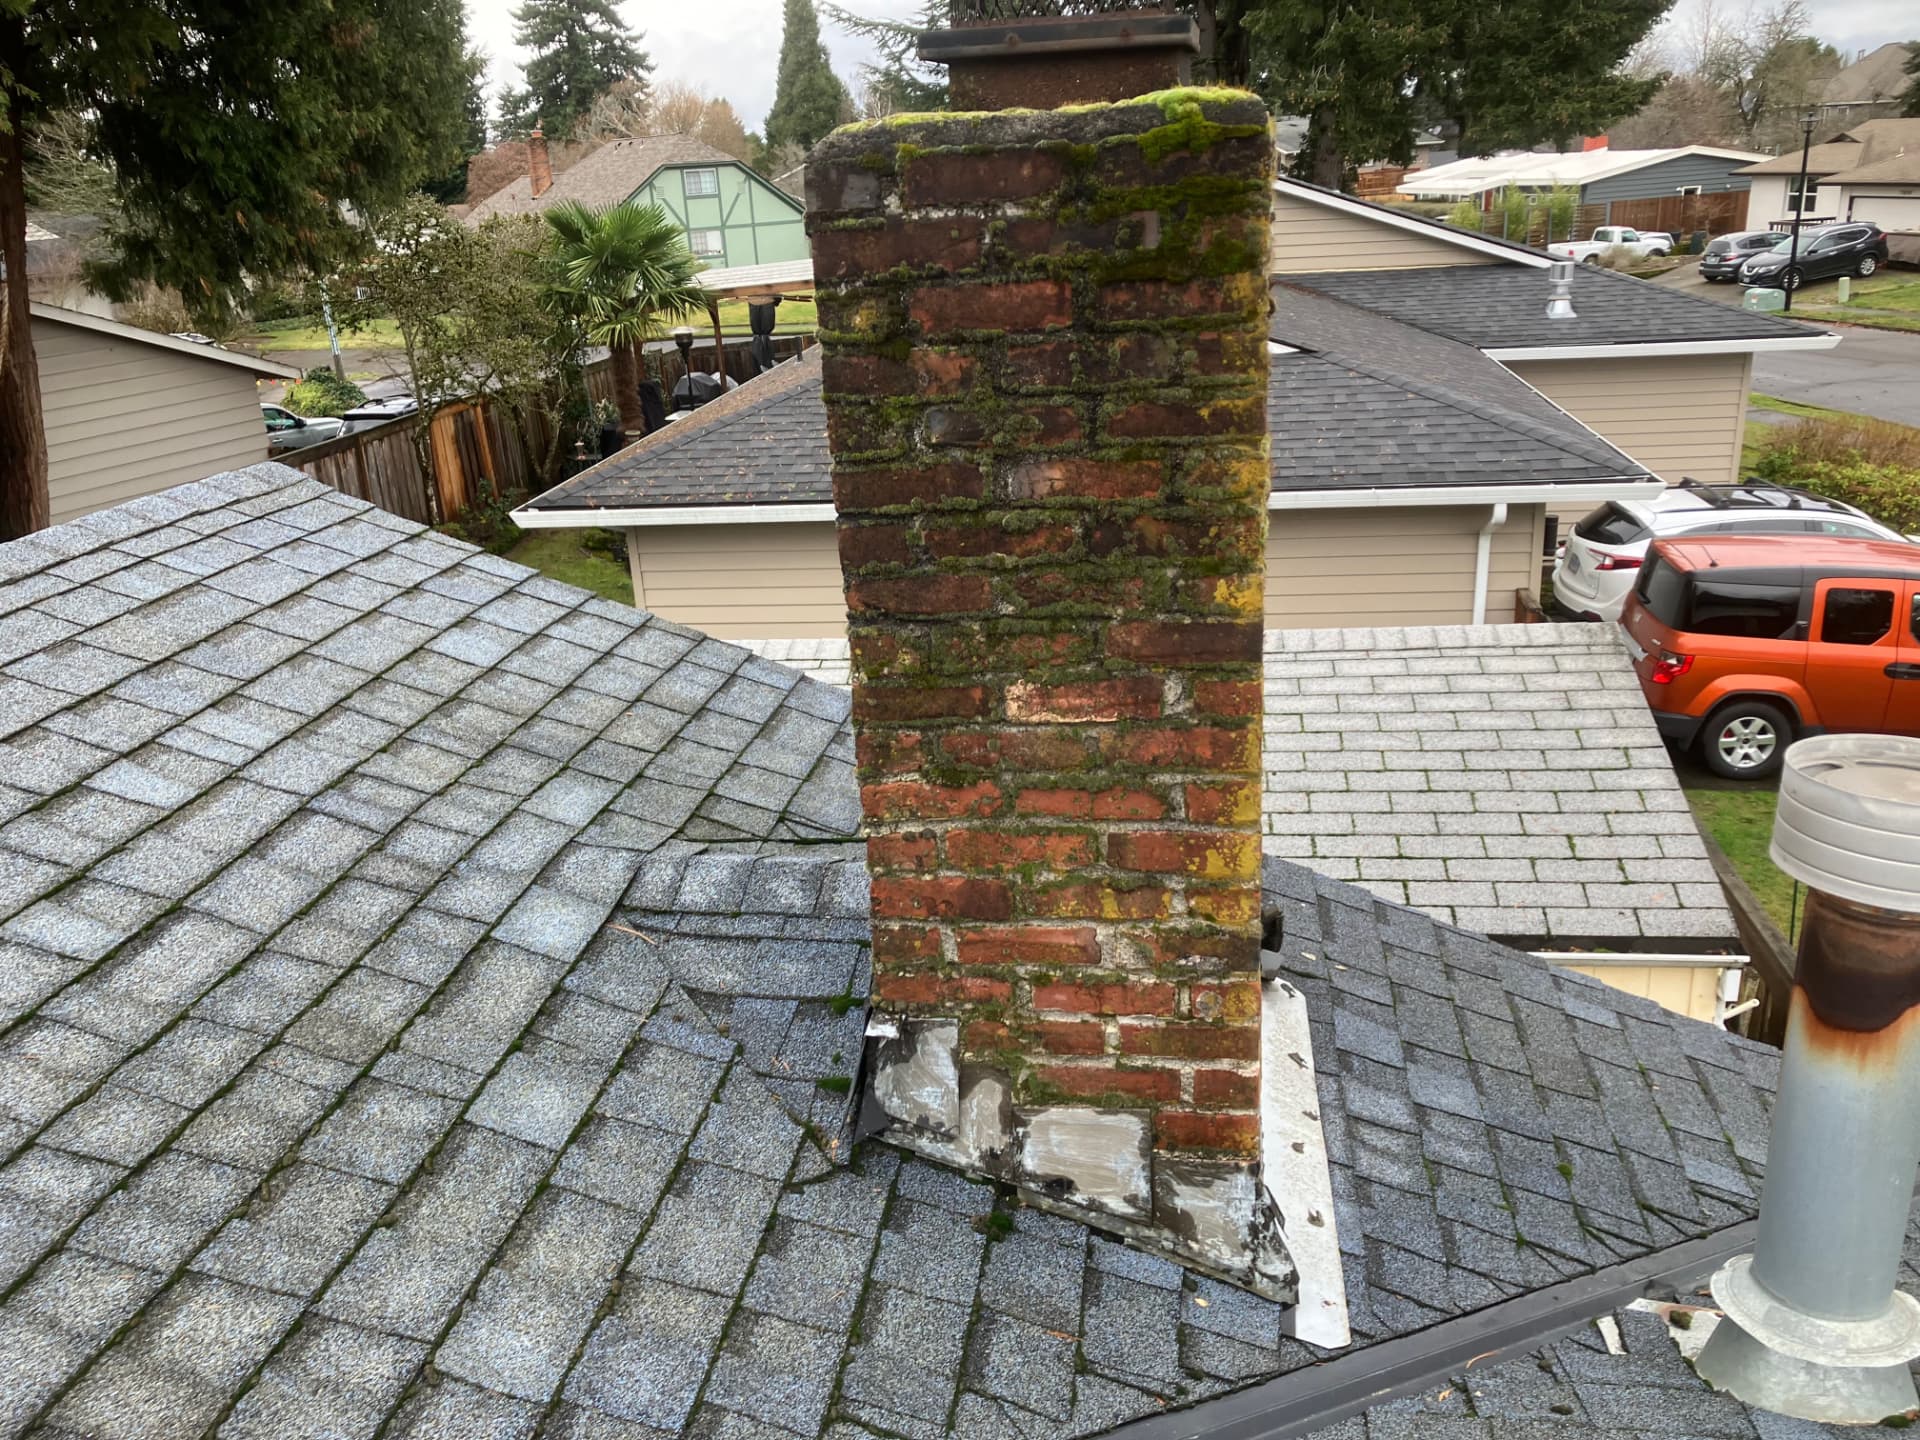
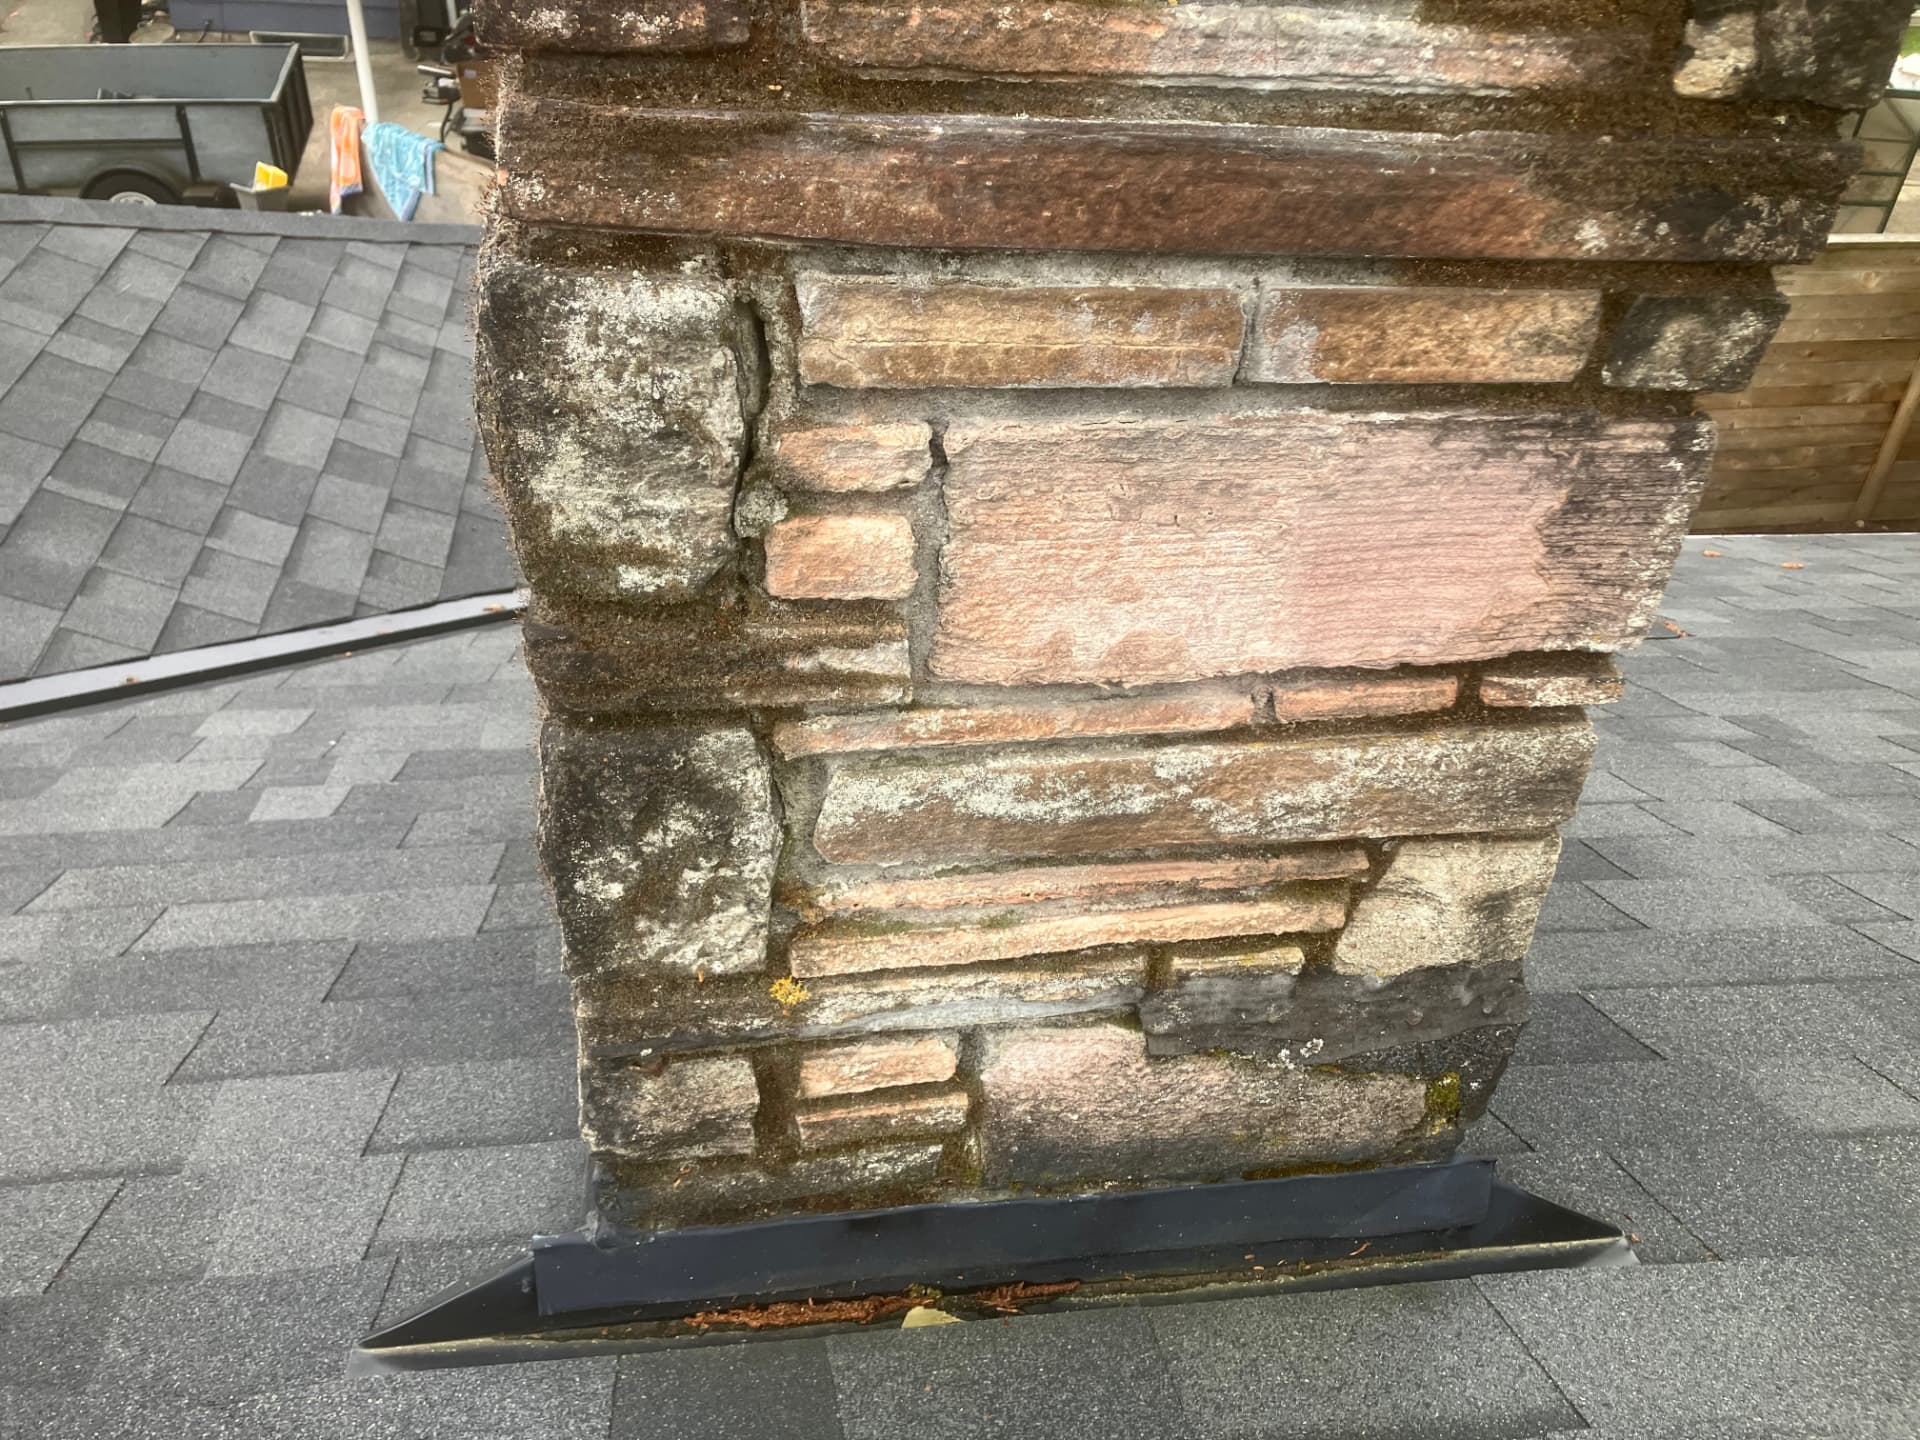
If you don’t kill the moss and waterproof the chimney with chimney-specific waterproofing, the moss will start growing all over the chimney again.
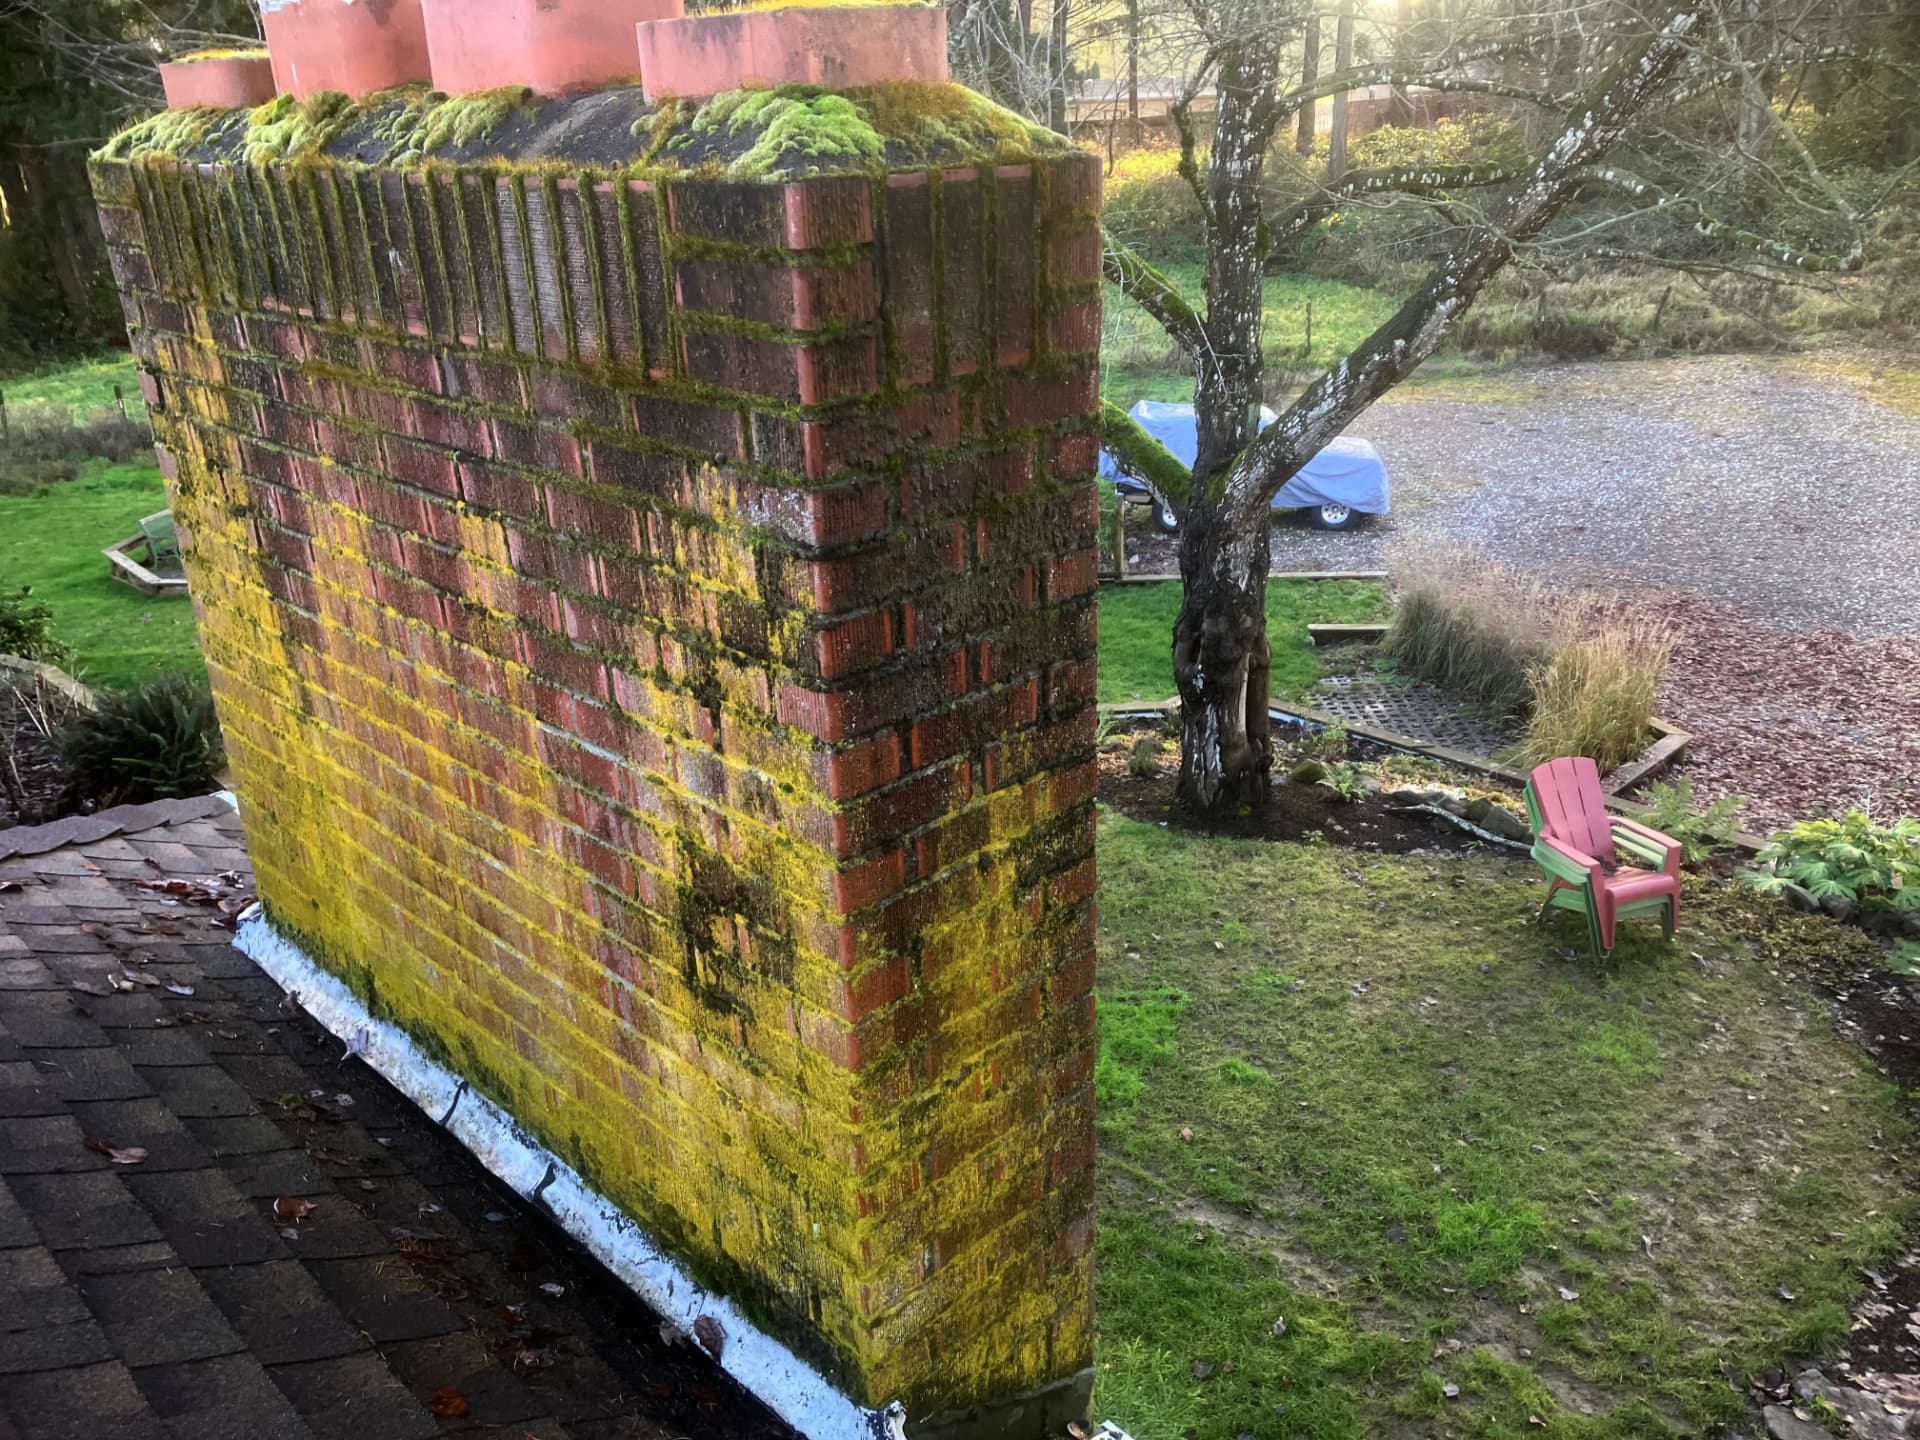
Not waterproofed chimney damage 1
Not waterproofed chimney damage 2
Not waterproofed chimney damage 3
Not waterproofed chimney damage 4
Not waterproofed chimney damage 5
Not waterproofed chimney damage 6
Not waterproofed chimney damage 7
Not waterproofed chimney damage 8

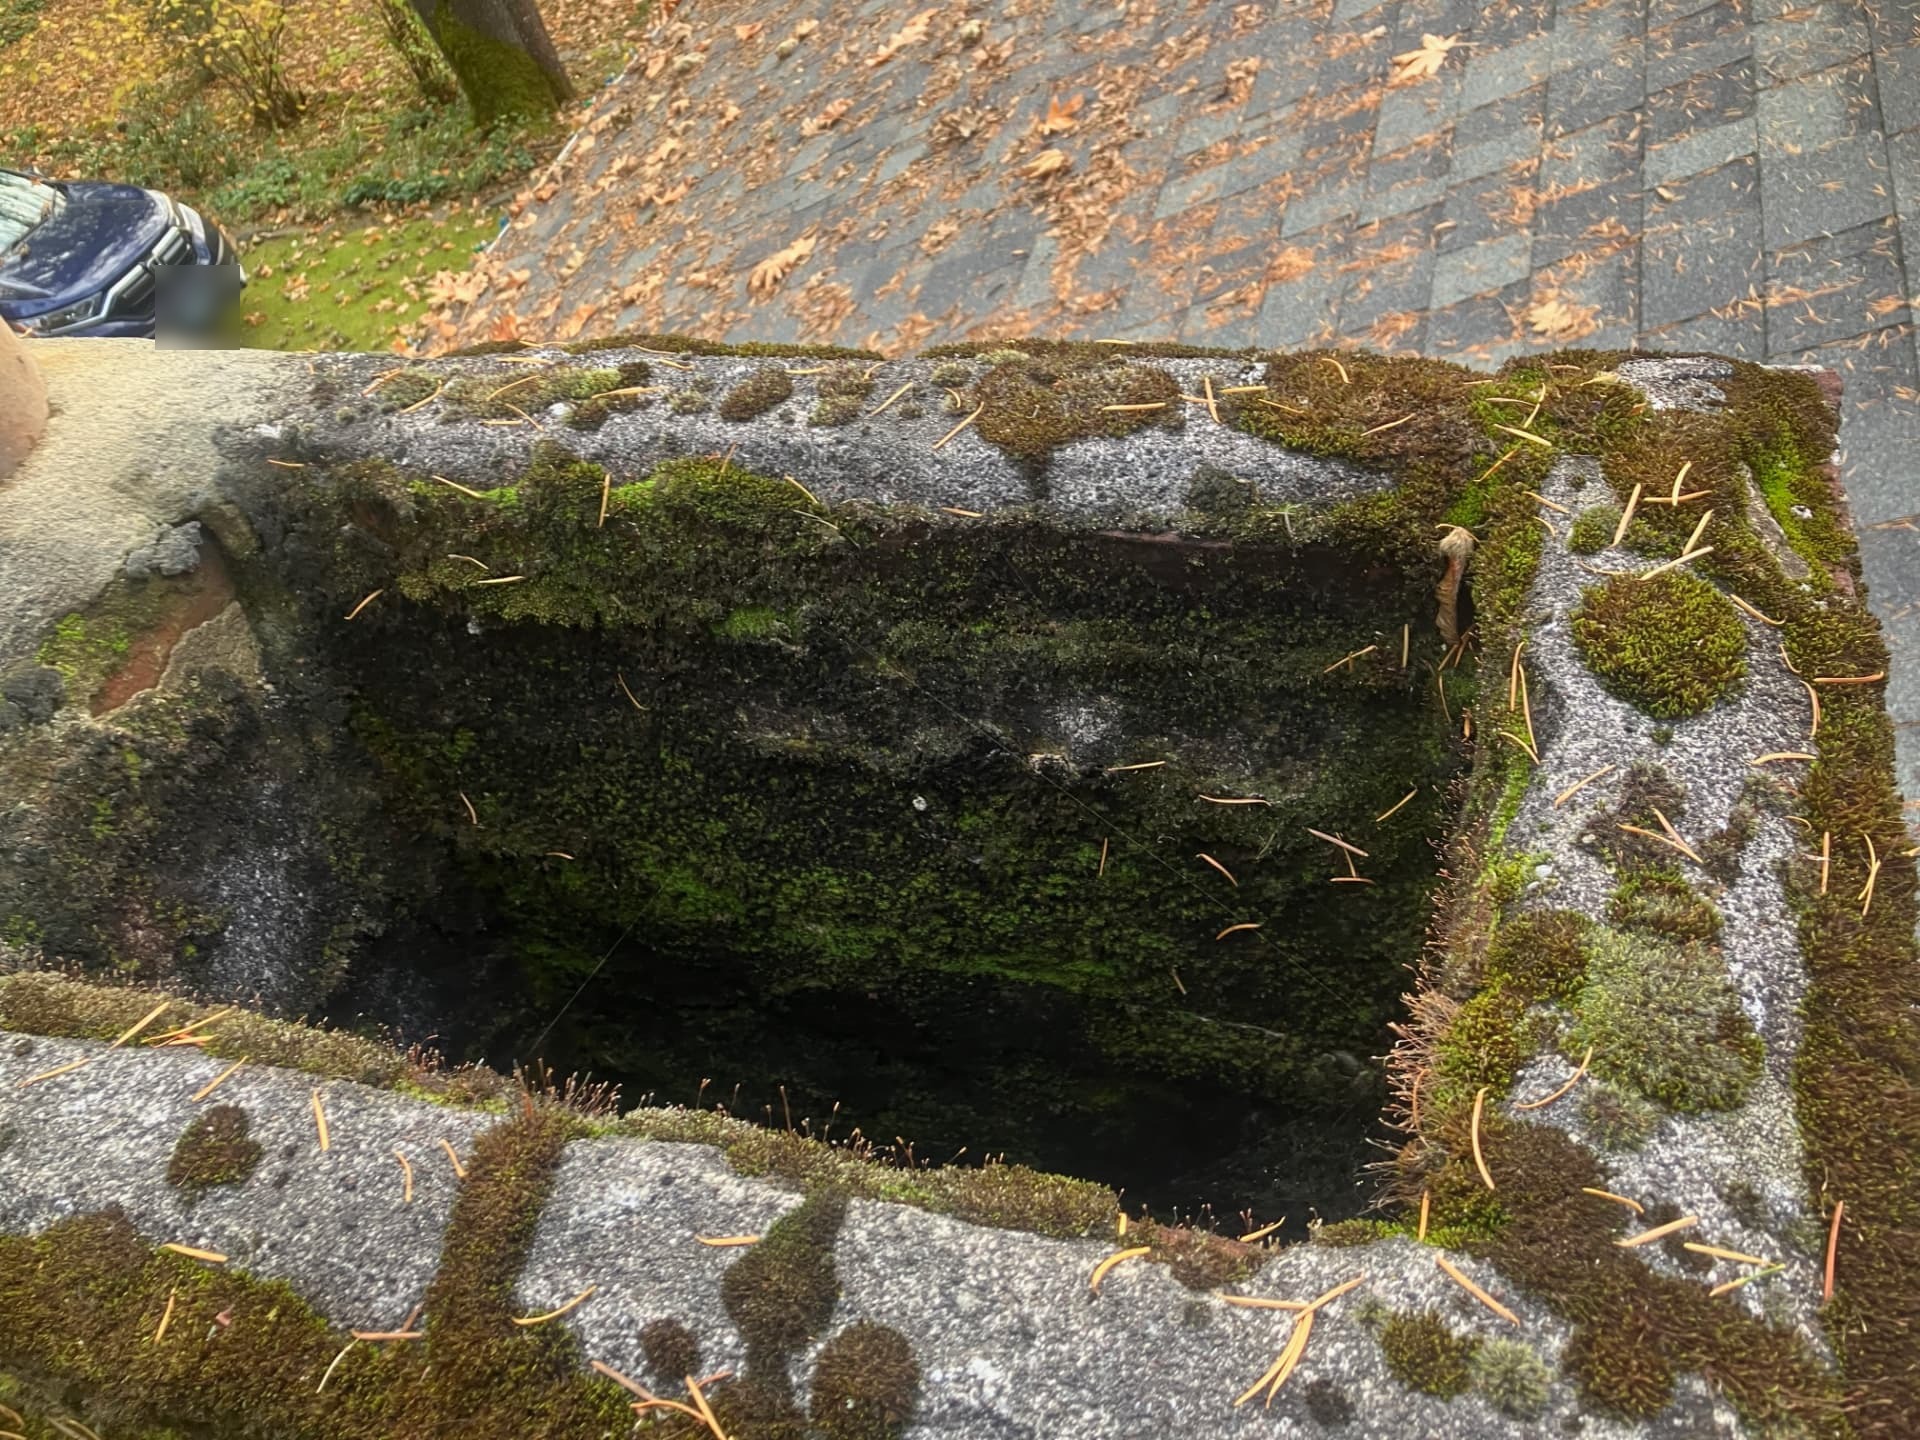
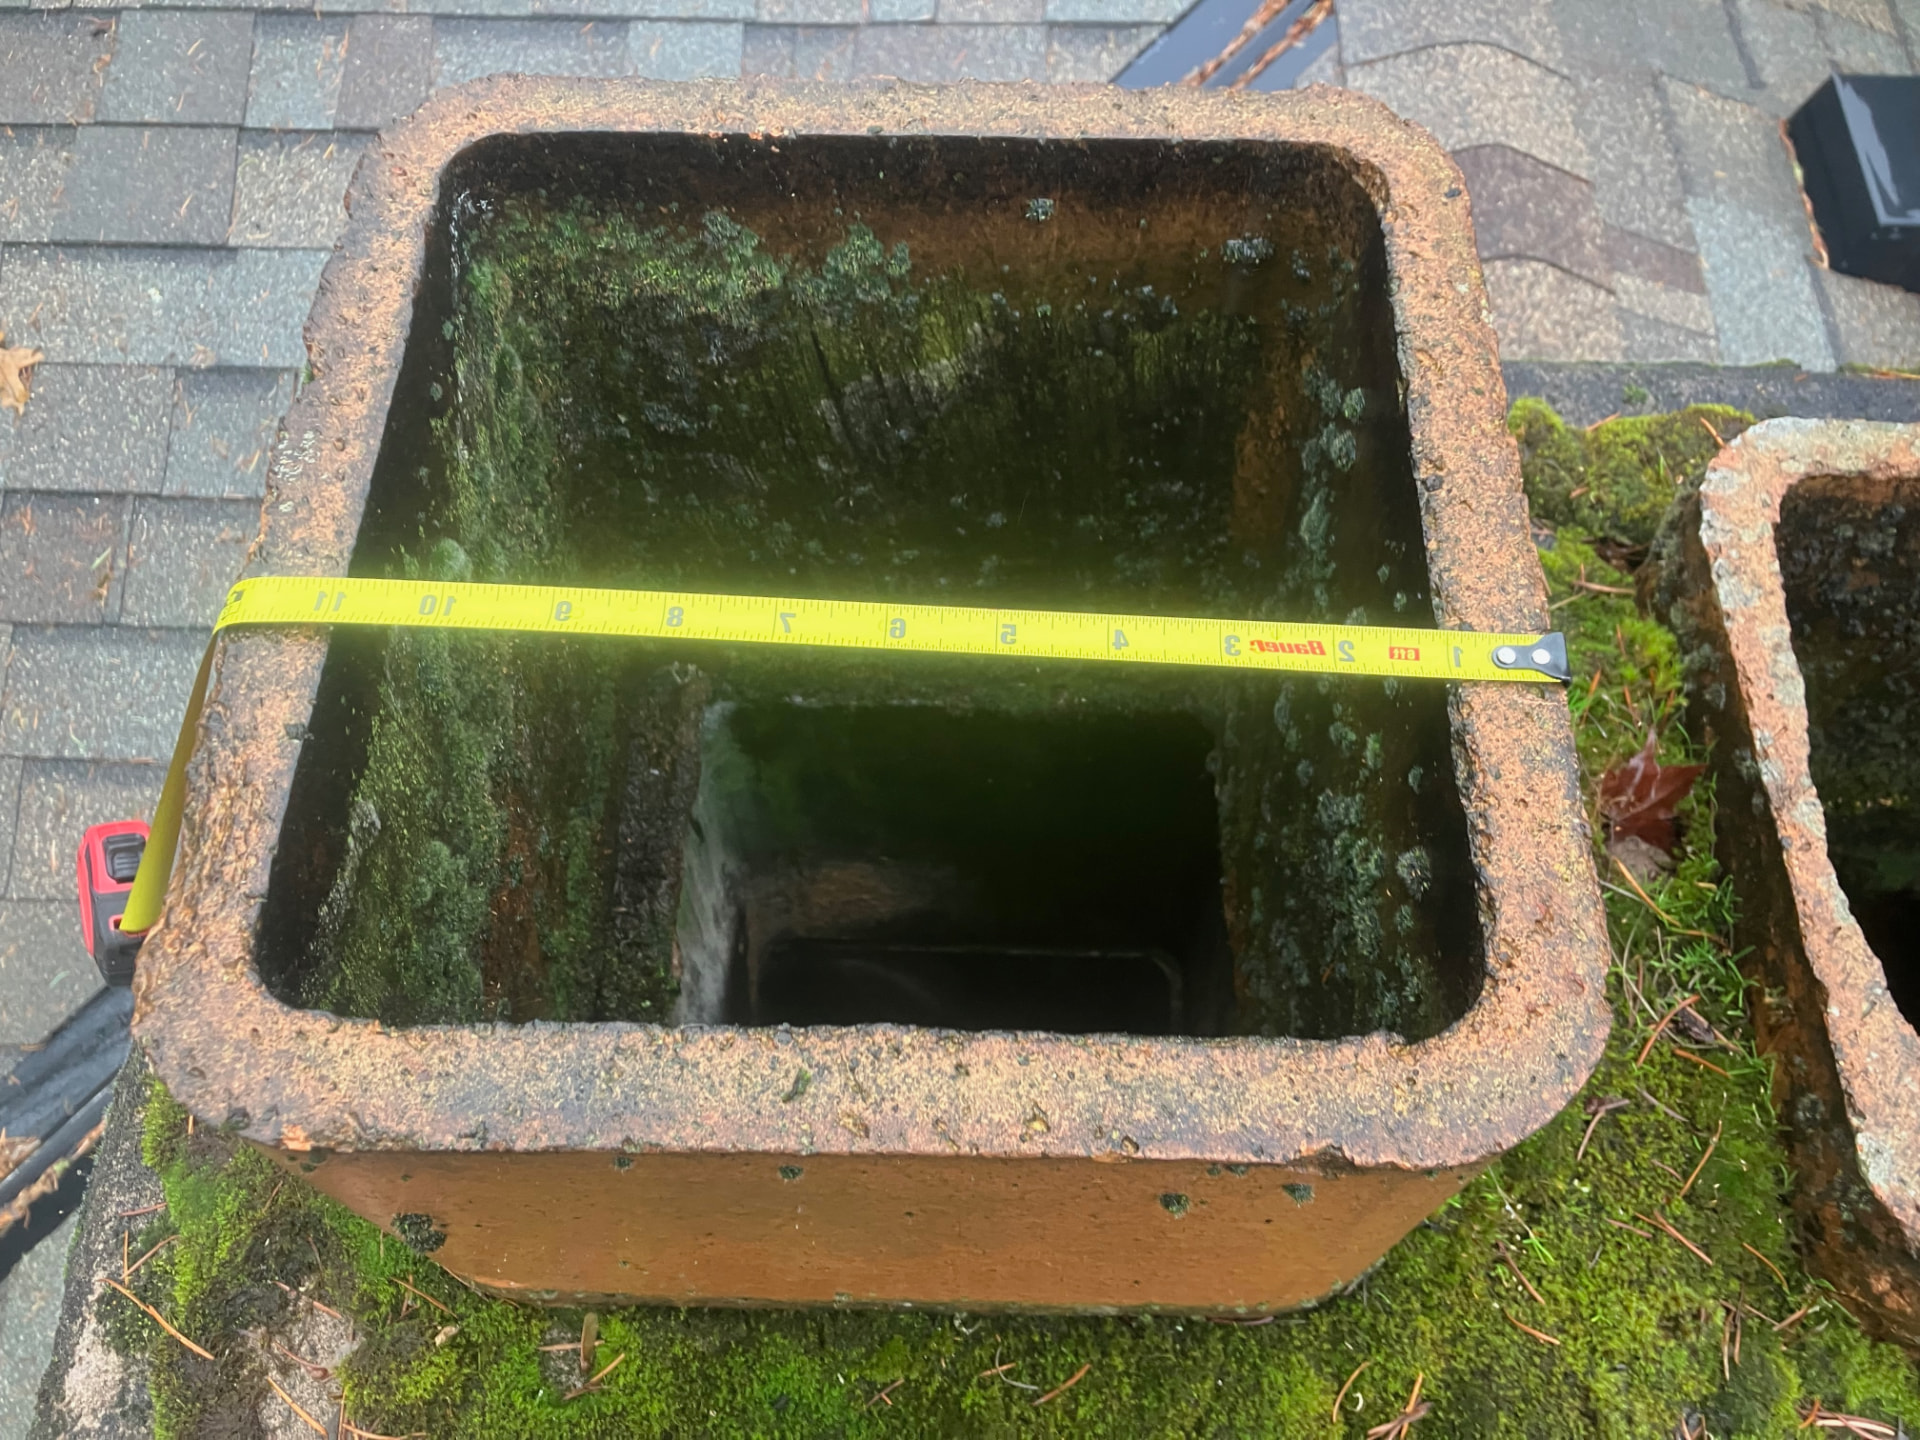
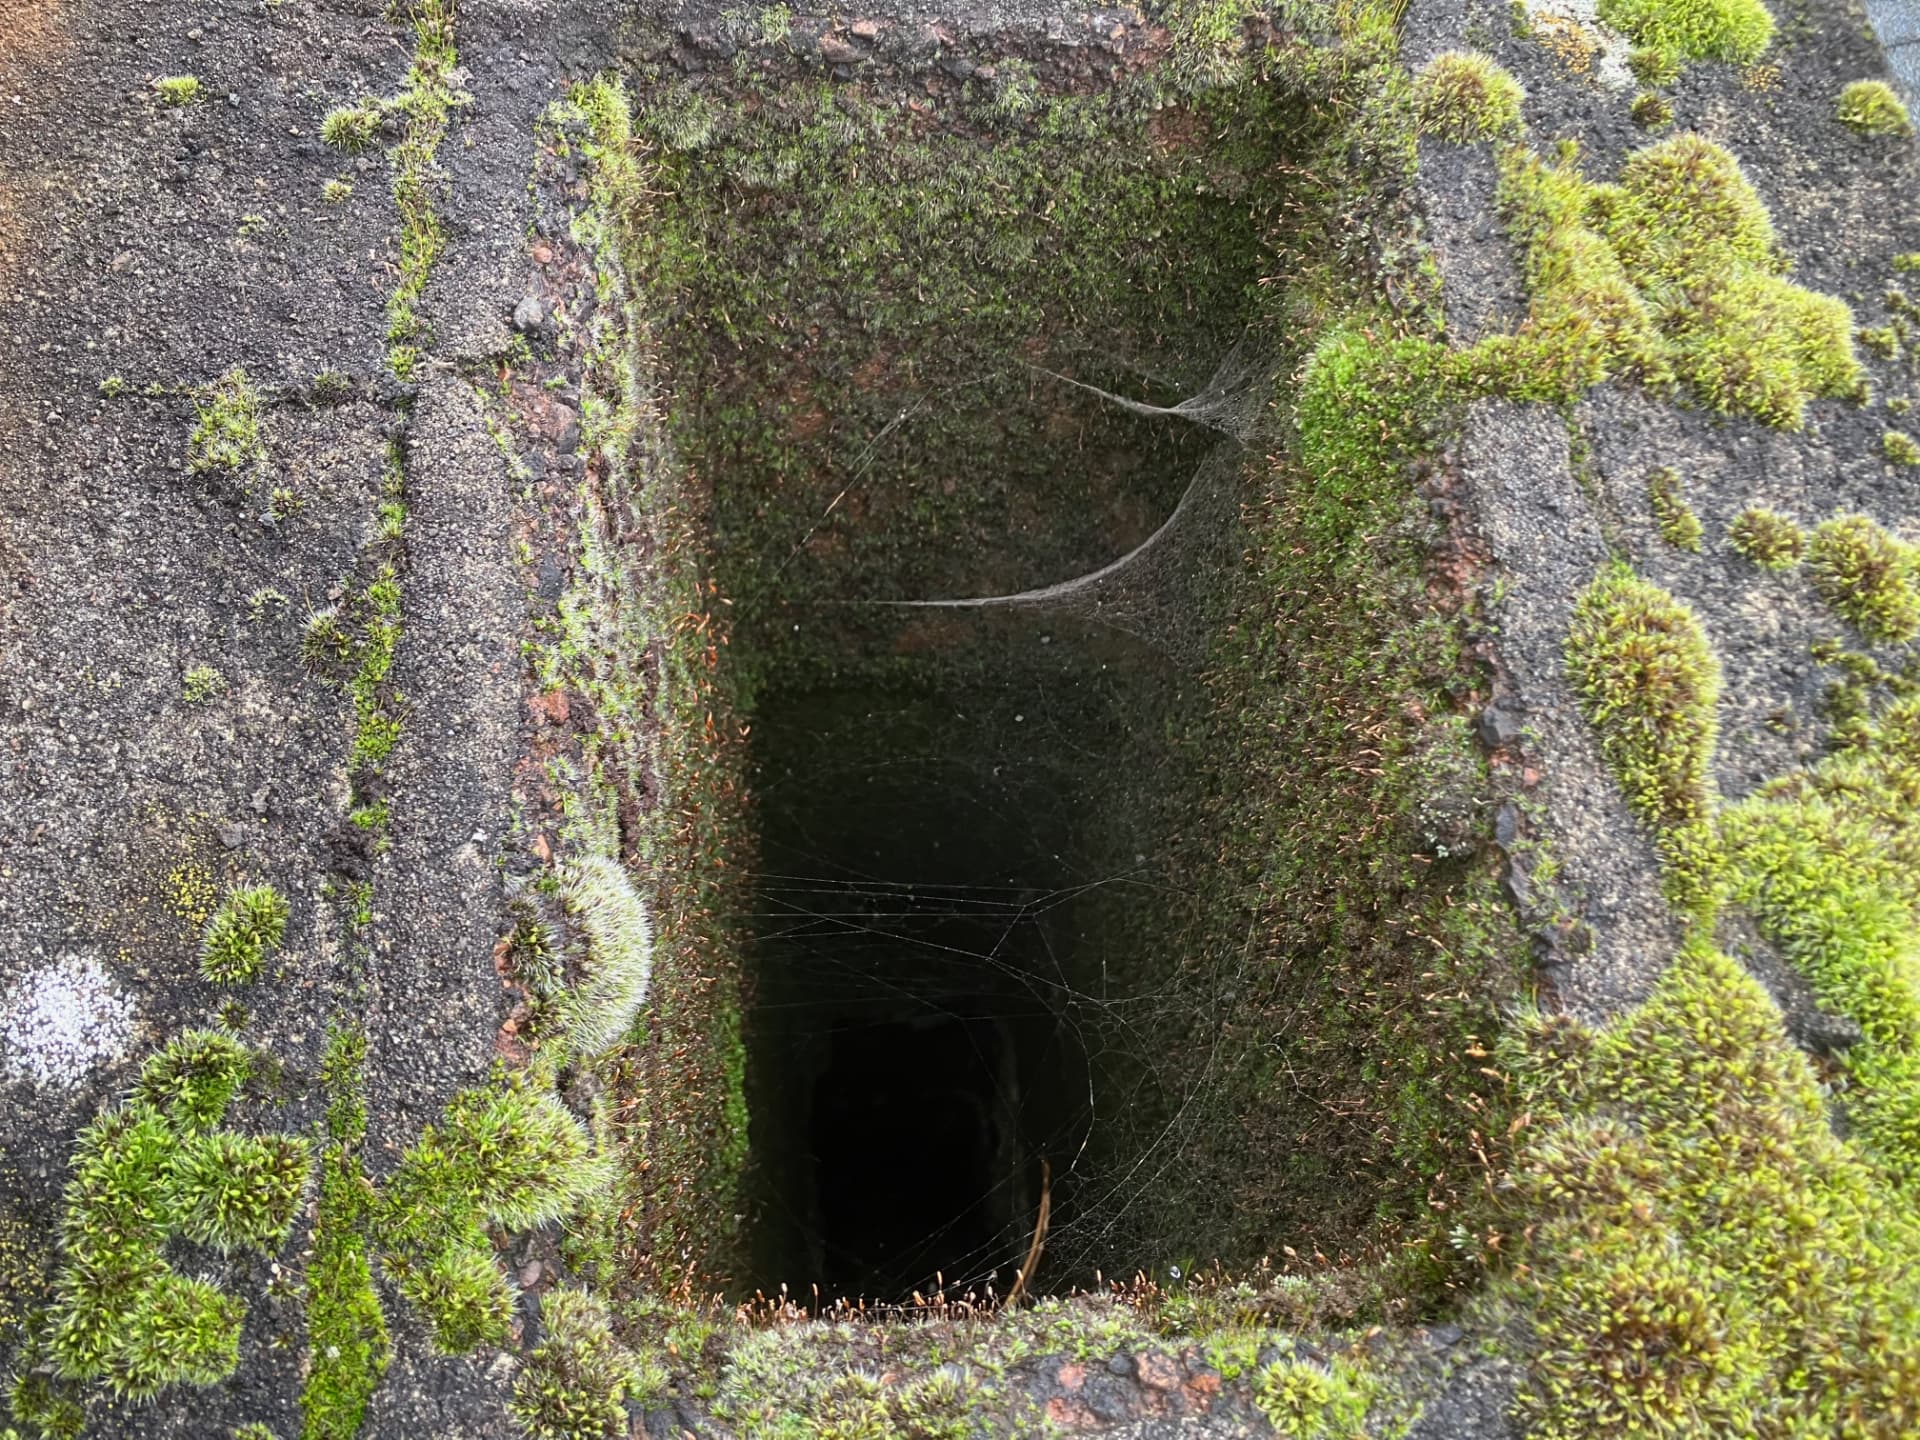
Moss also gets into an uncapped flue and degrades the flue from the inside.
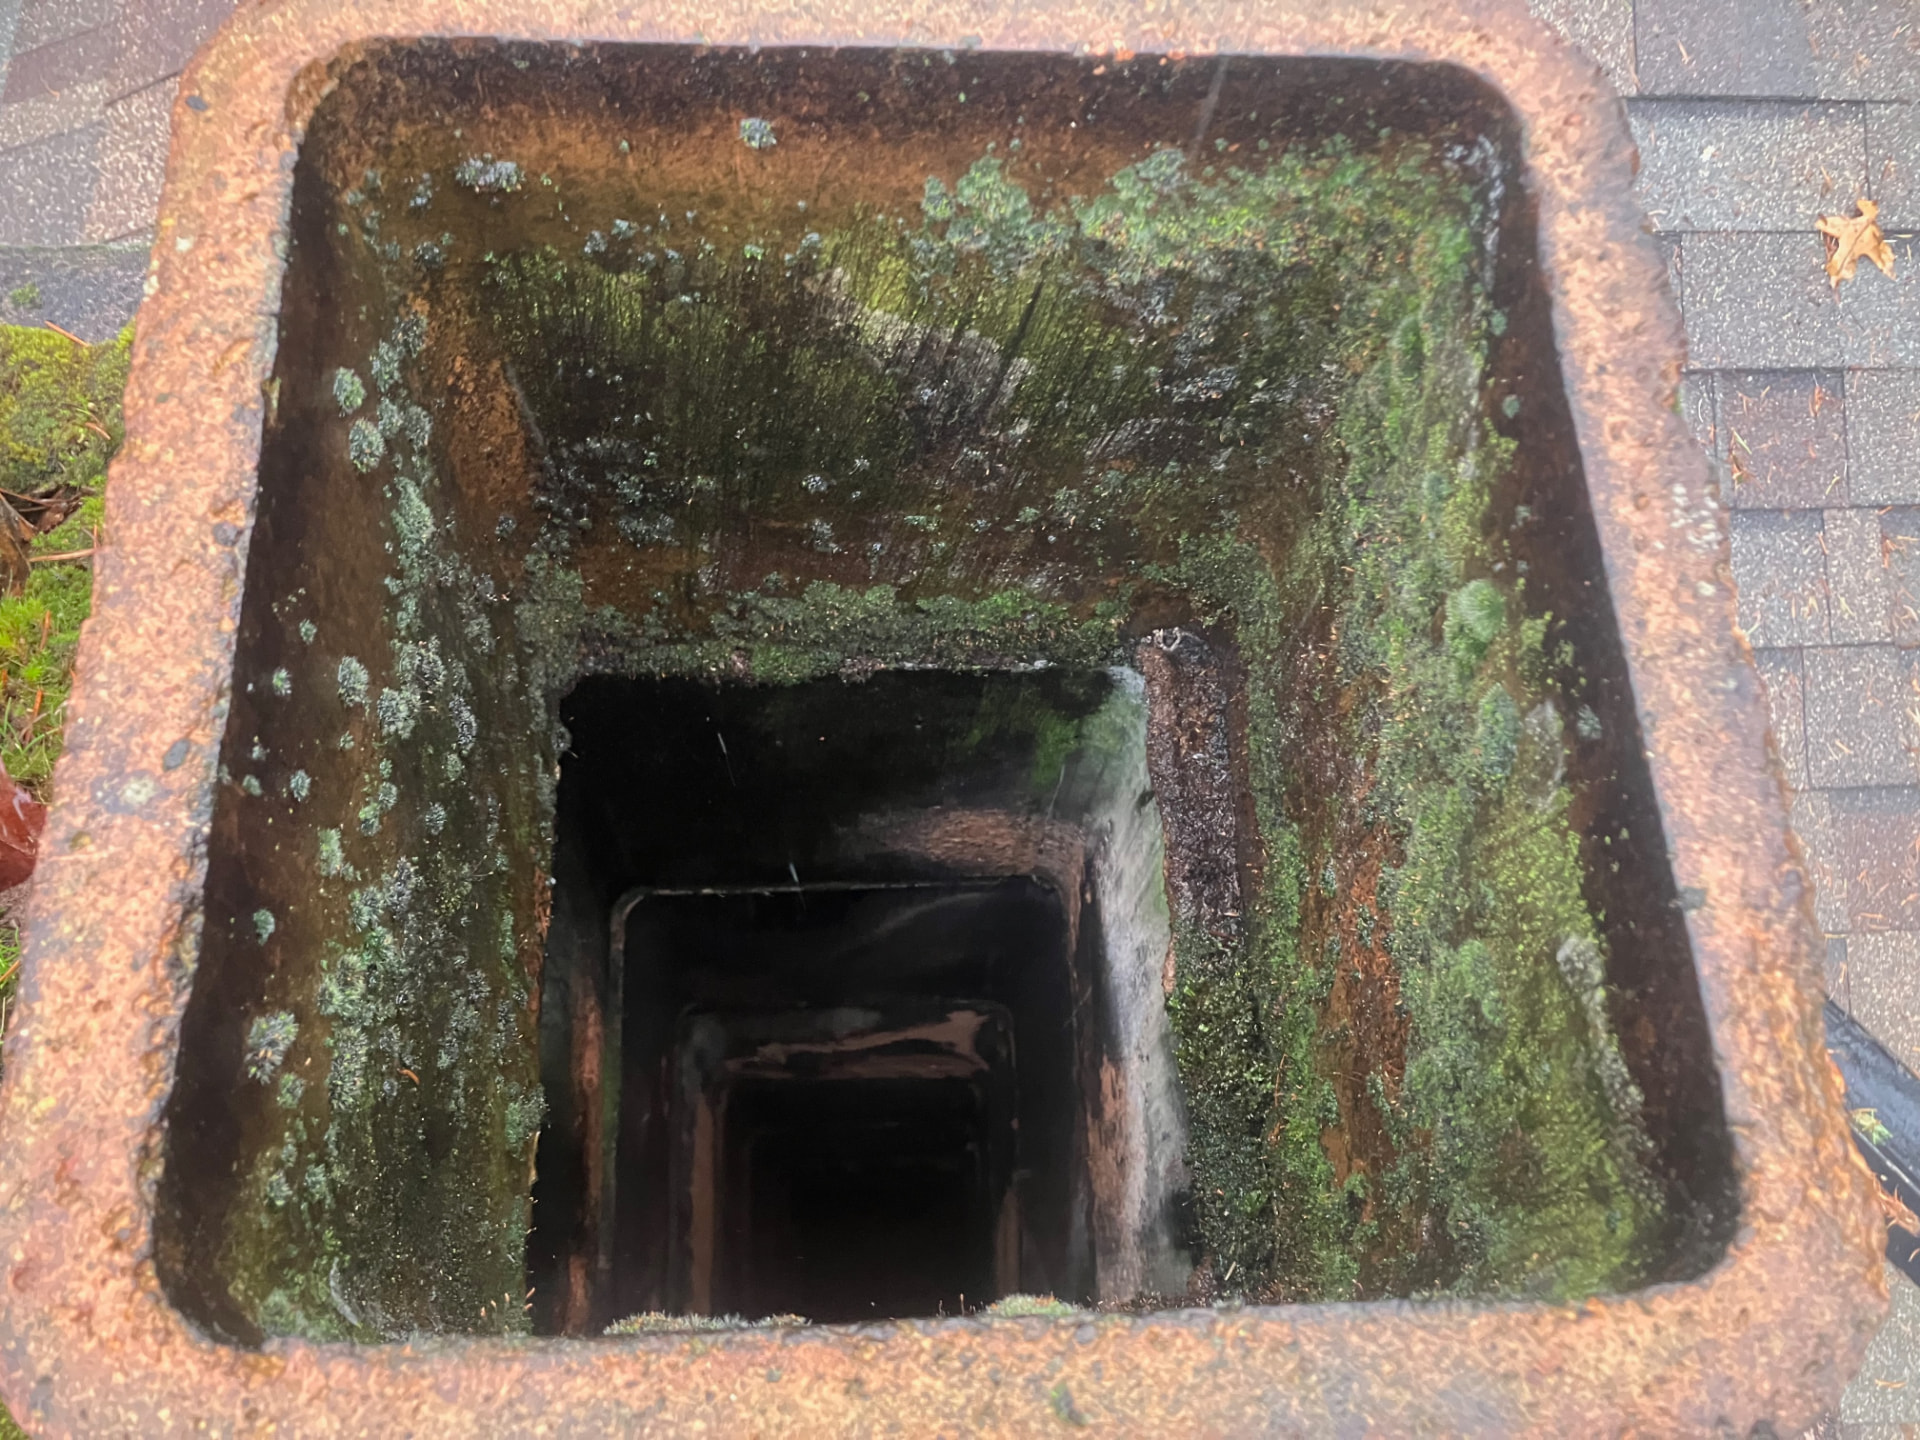
Moss inside an uncapped flue 1
Moss inside an uncapped flue 2
Moss inside an uncapped flue 3

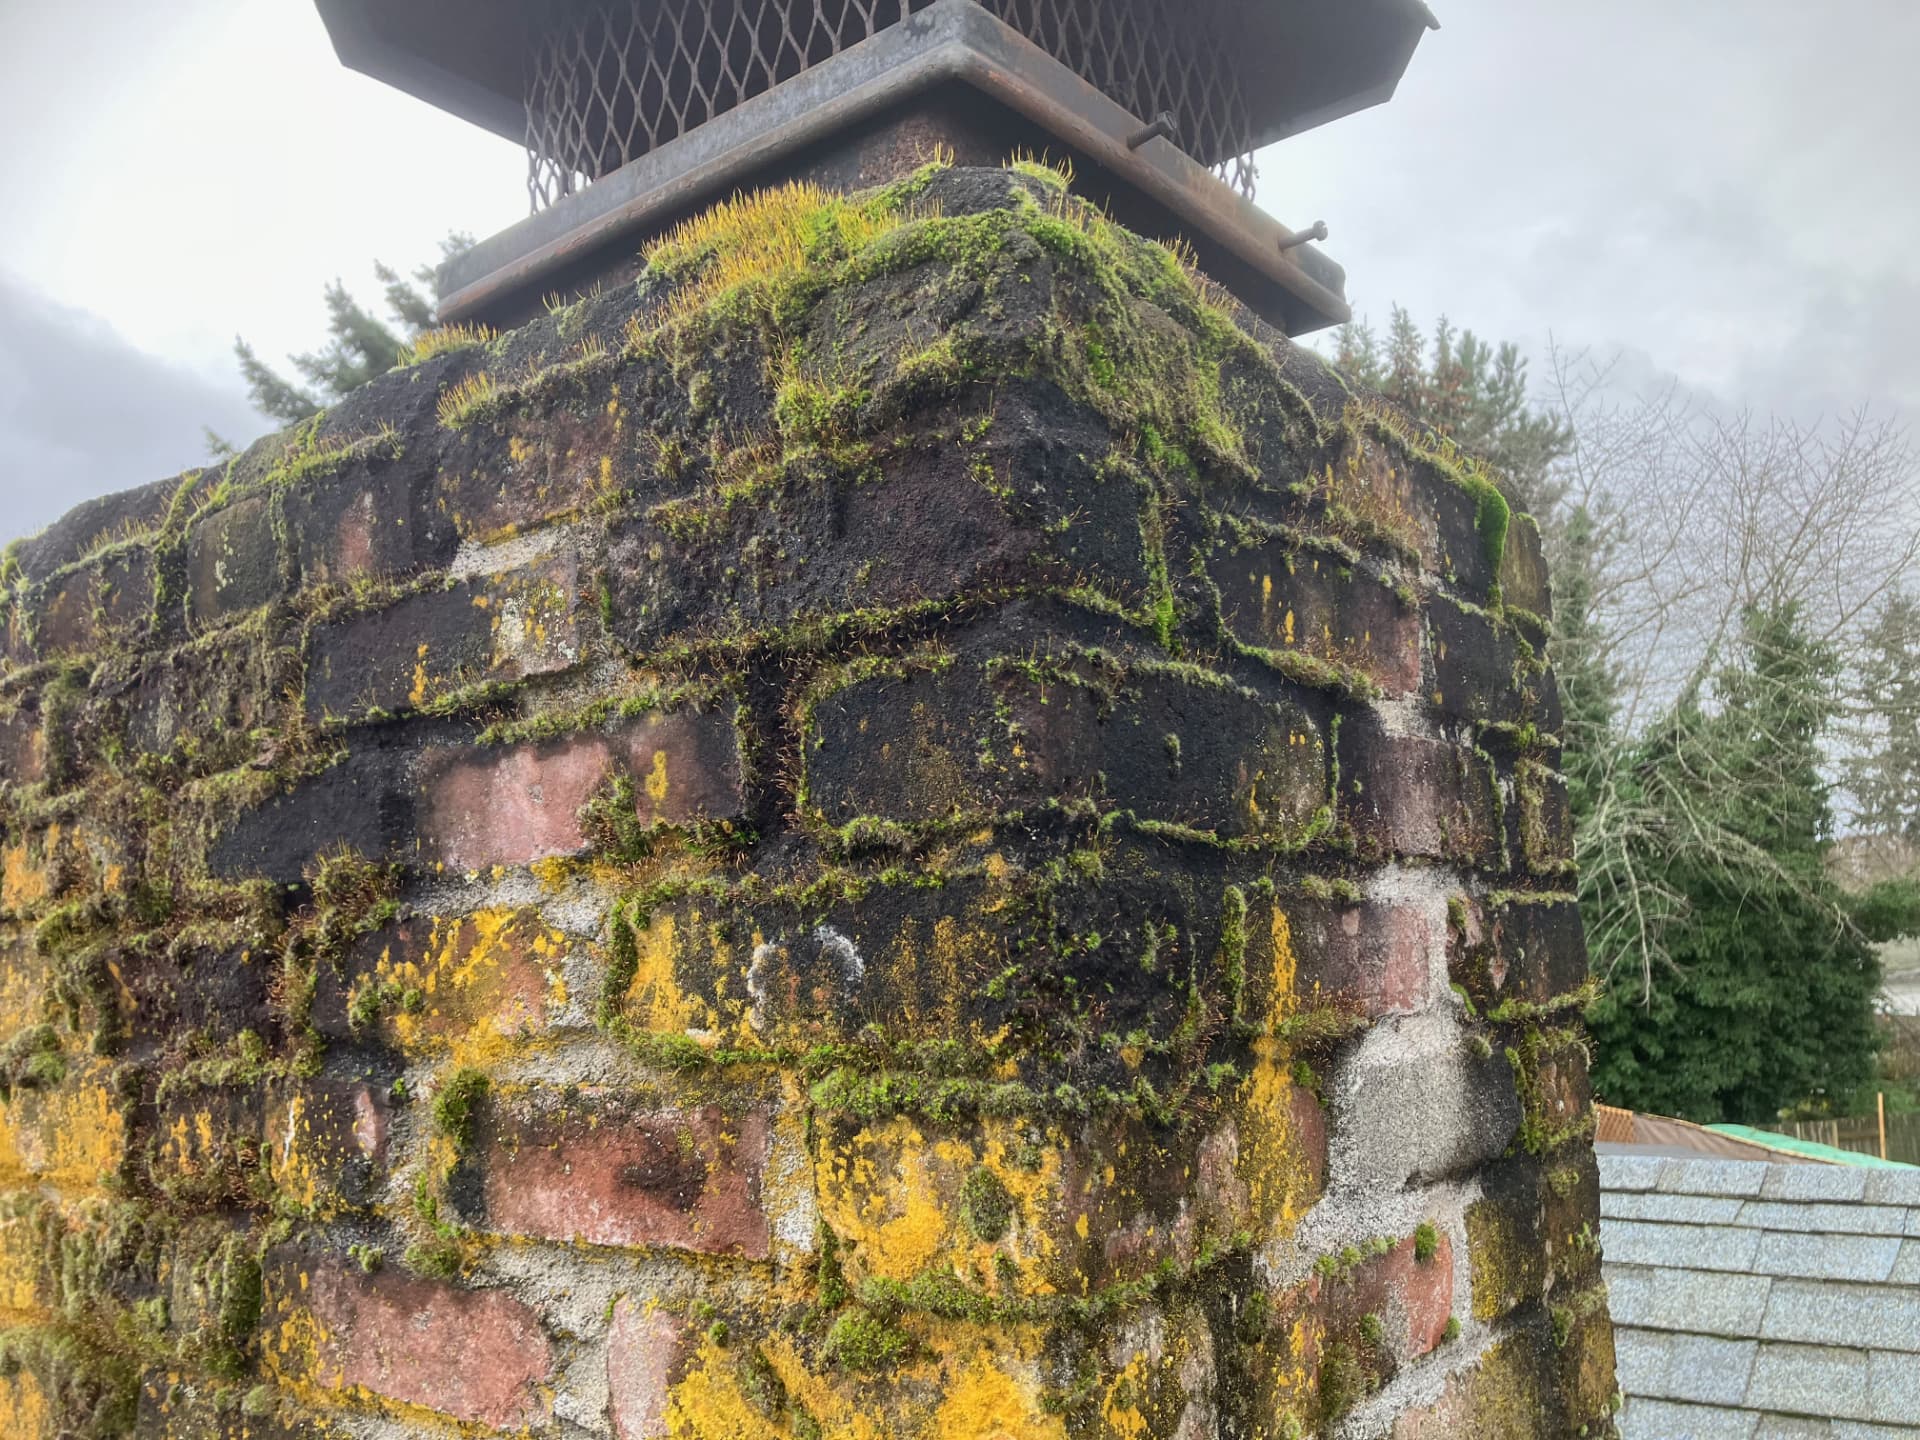
Black moss also grows on the chimney. This type of moss can severely damage chimneys and cause them to leak.

Photos to come: Black moss folder — the best of black_moss_01.jpg through black_moss_15.jpg

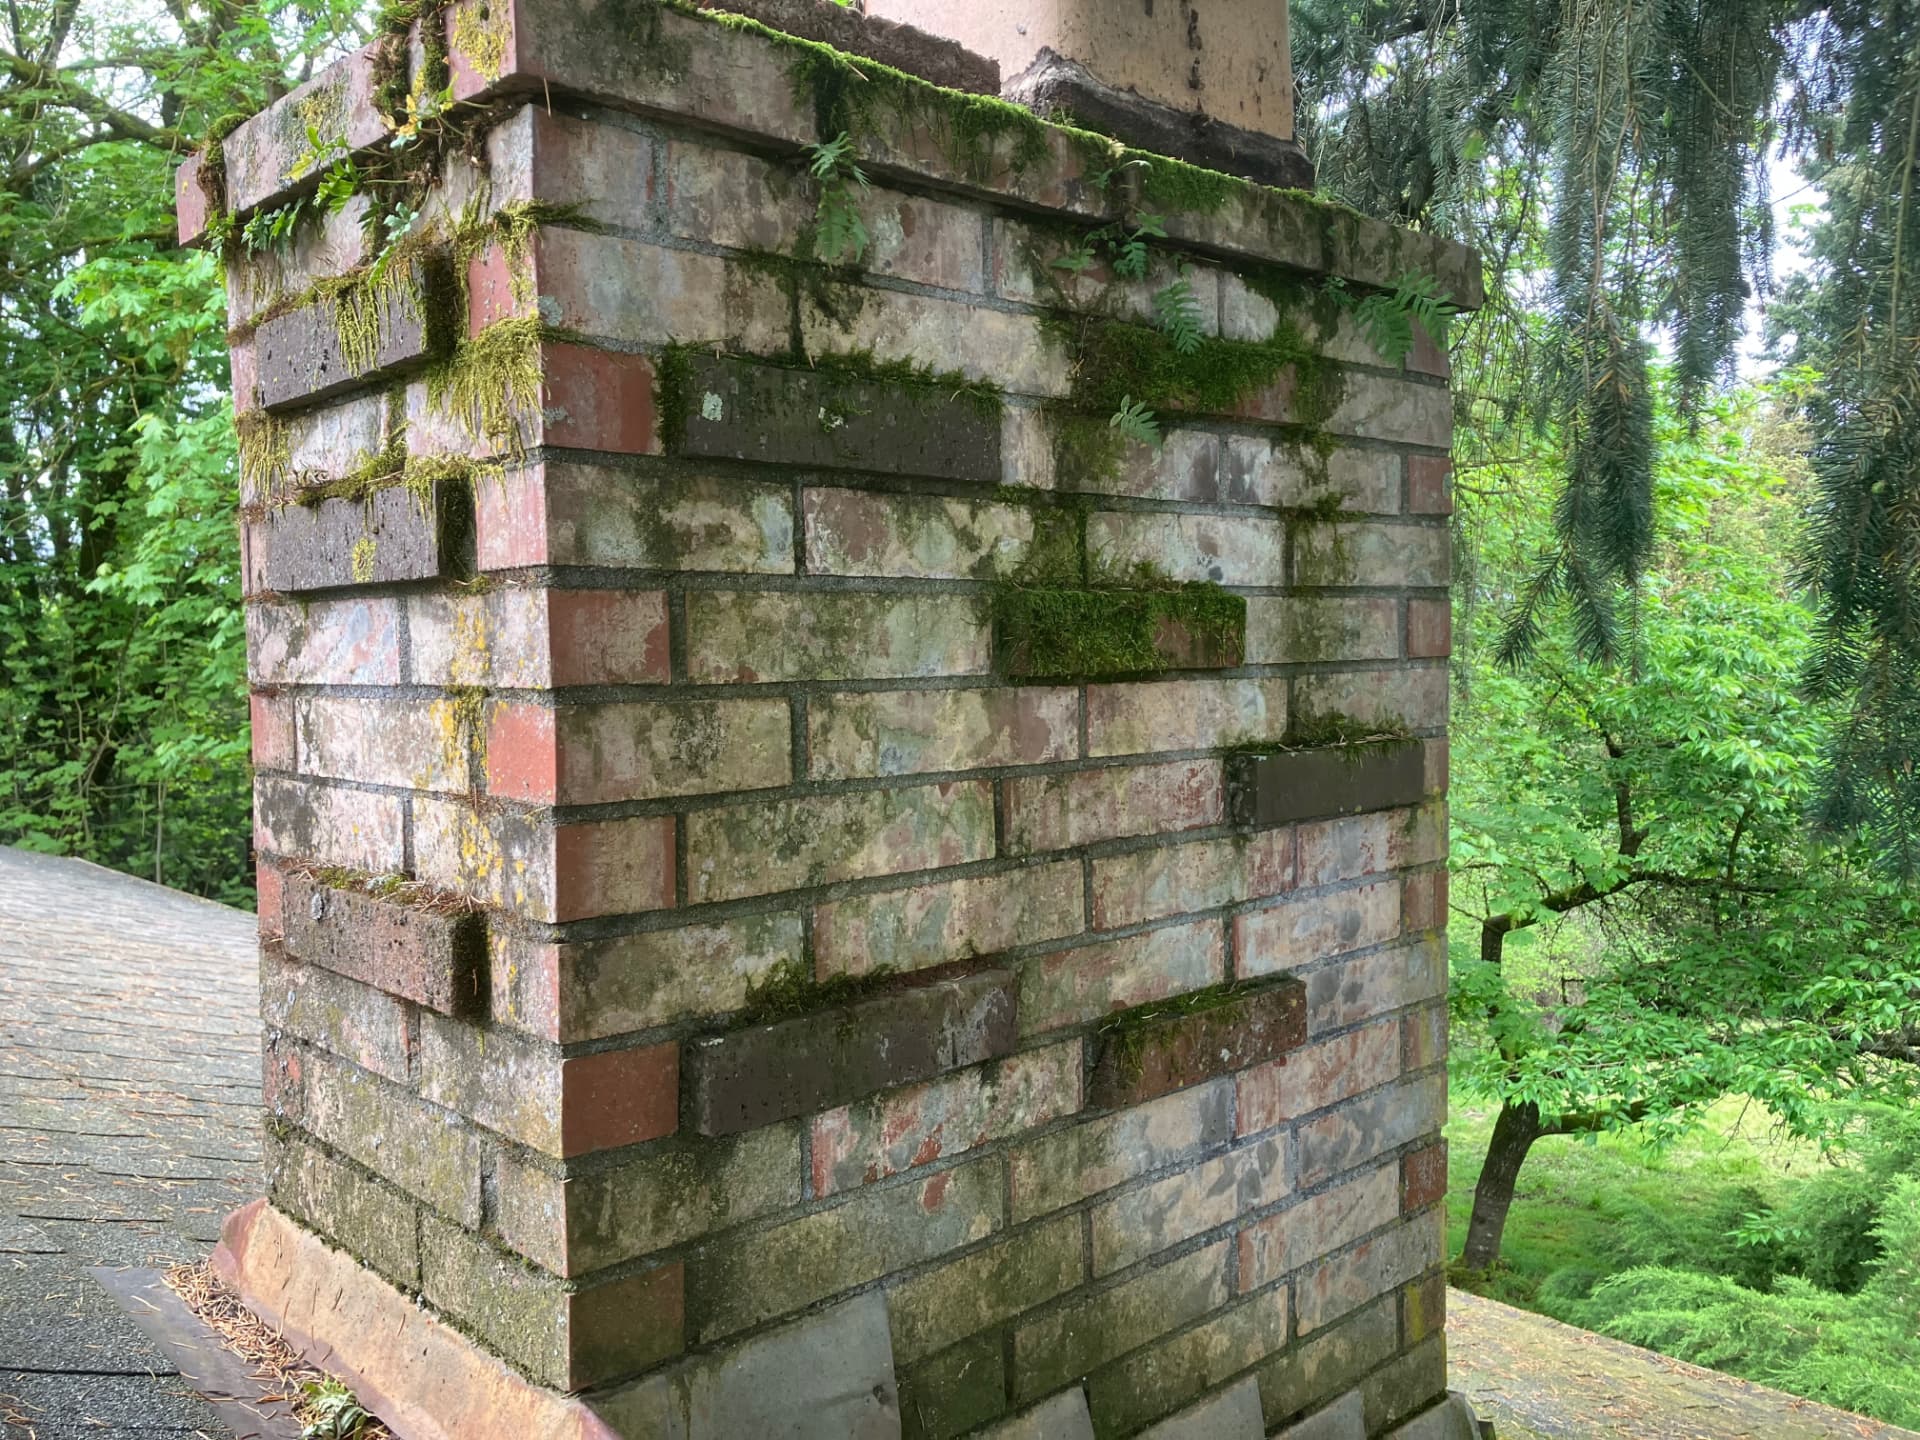
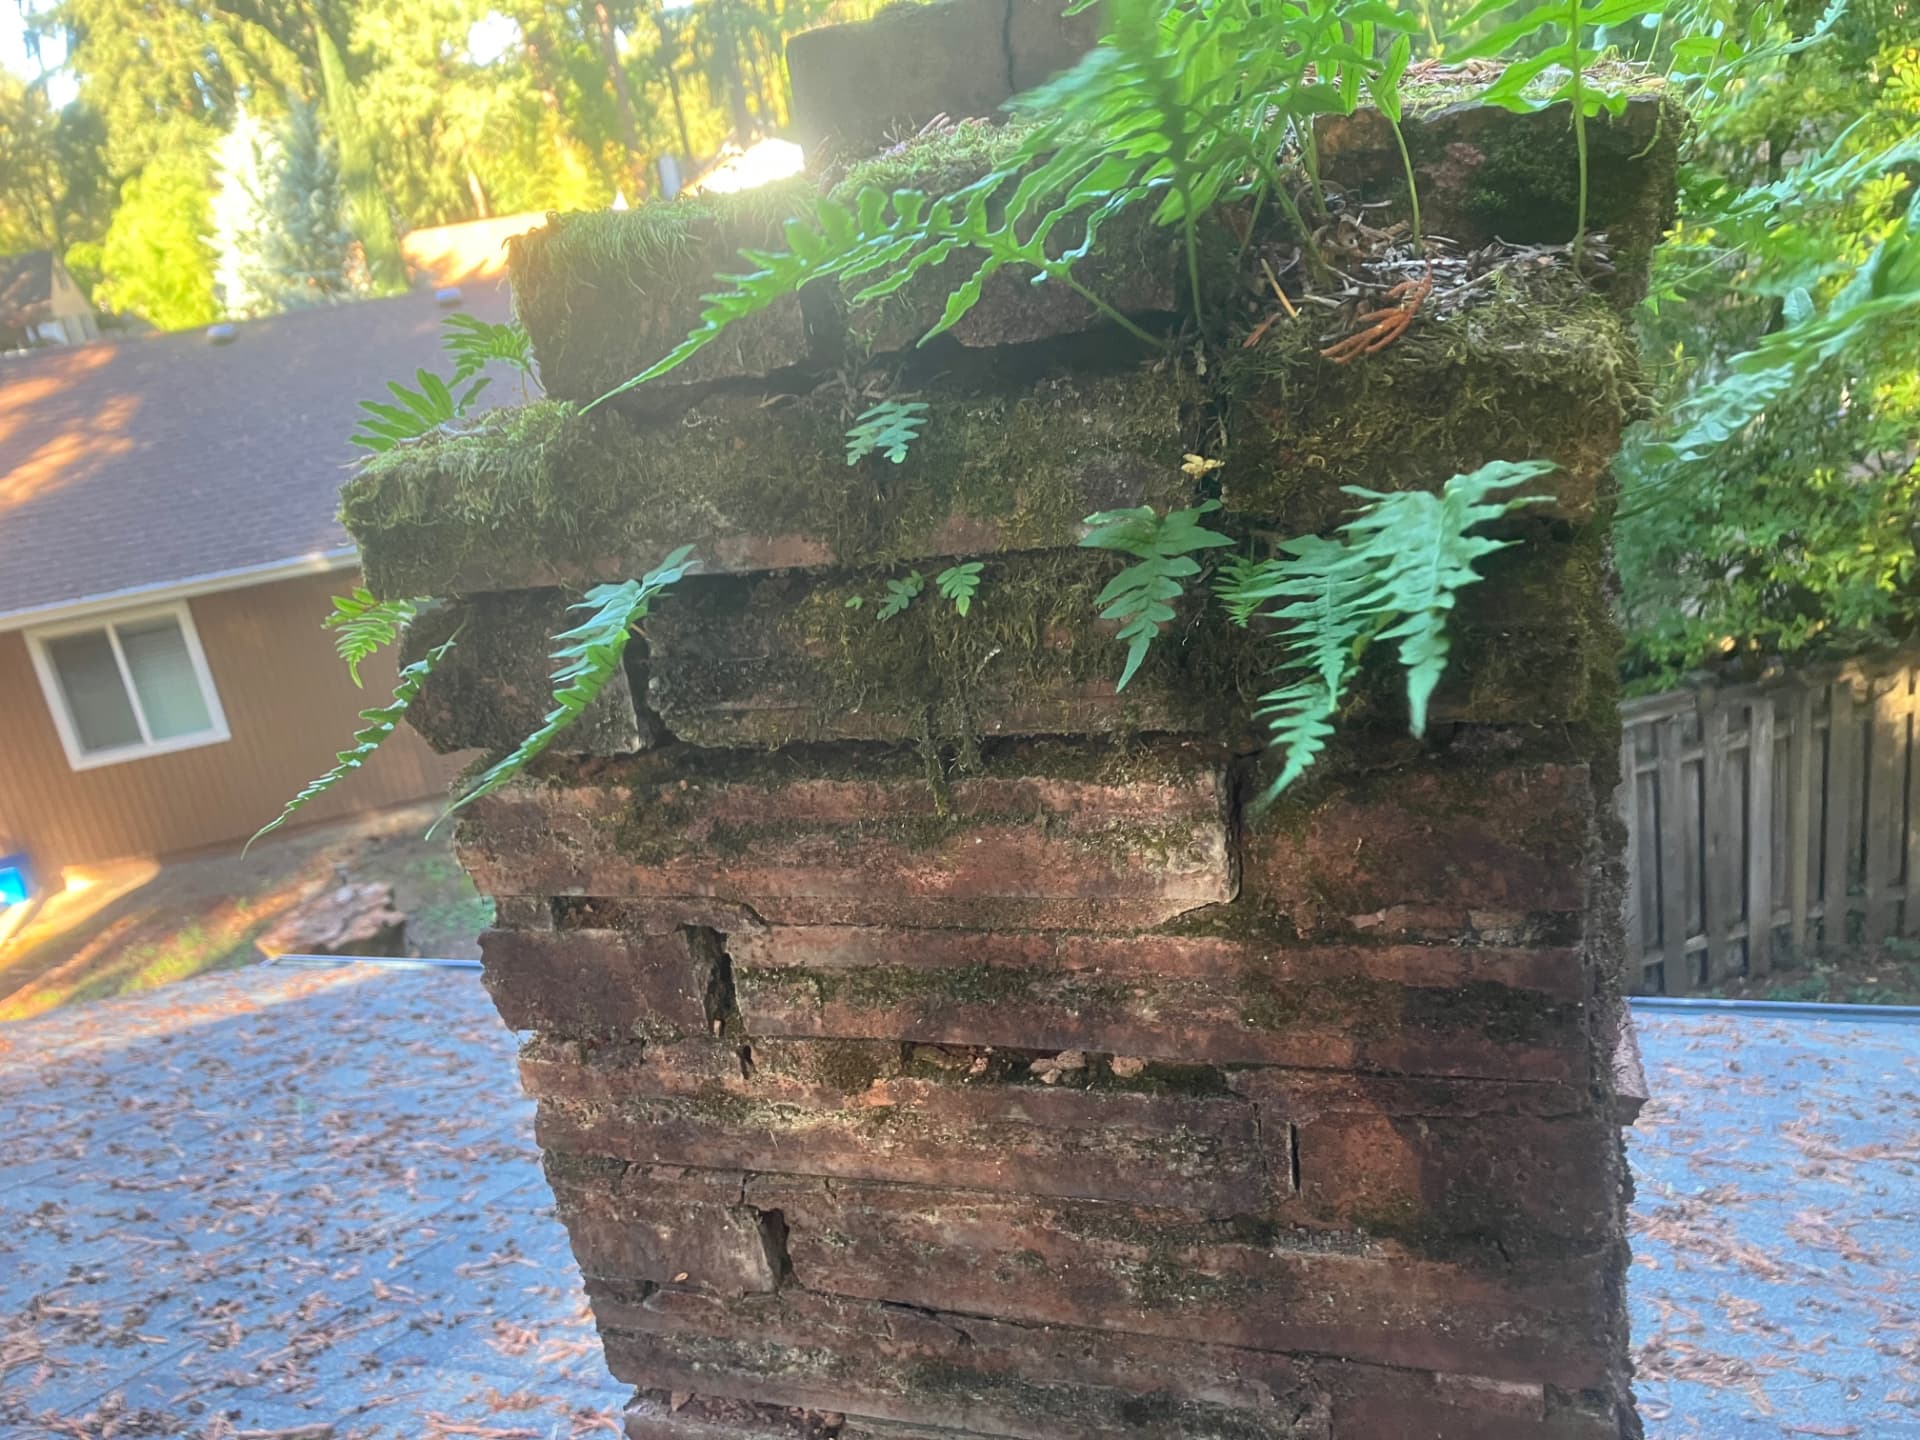
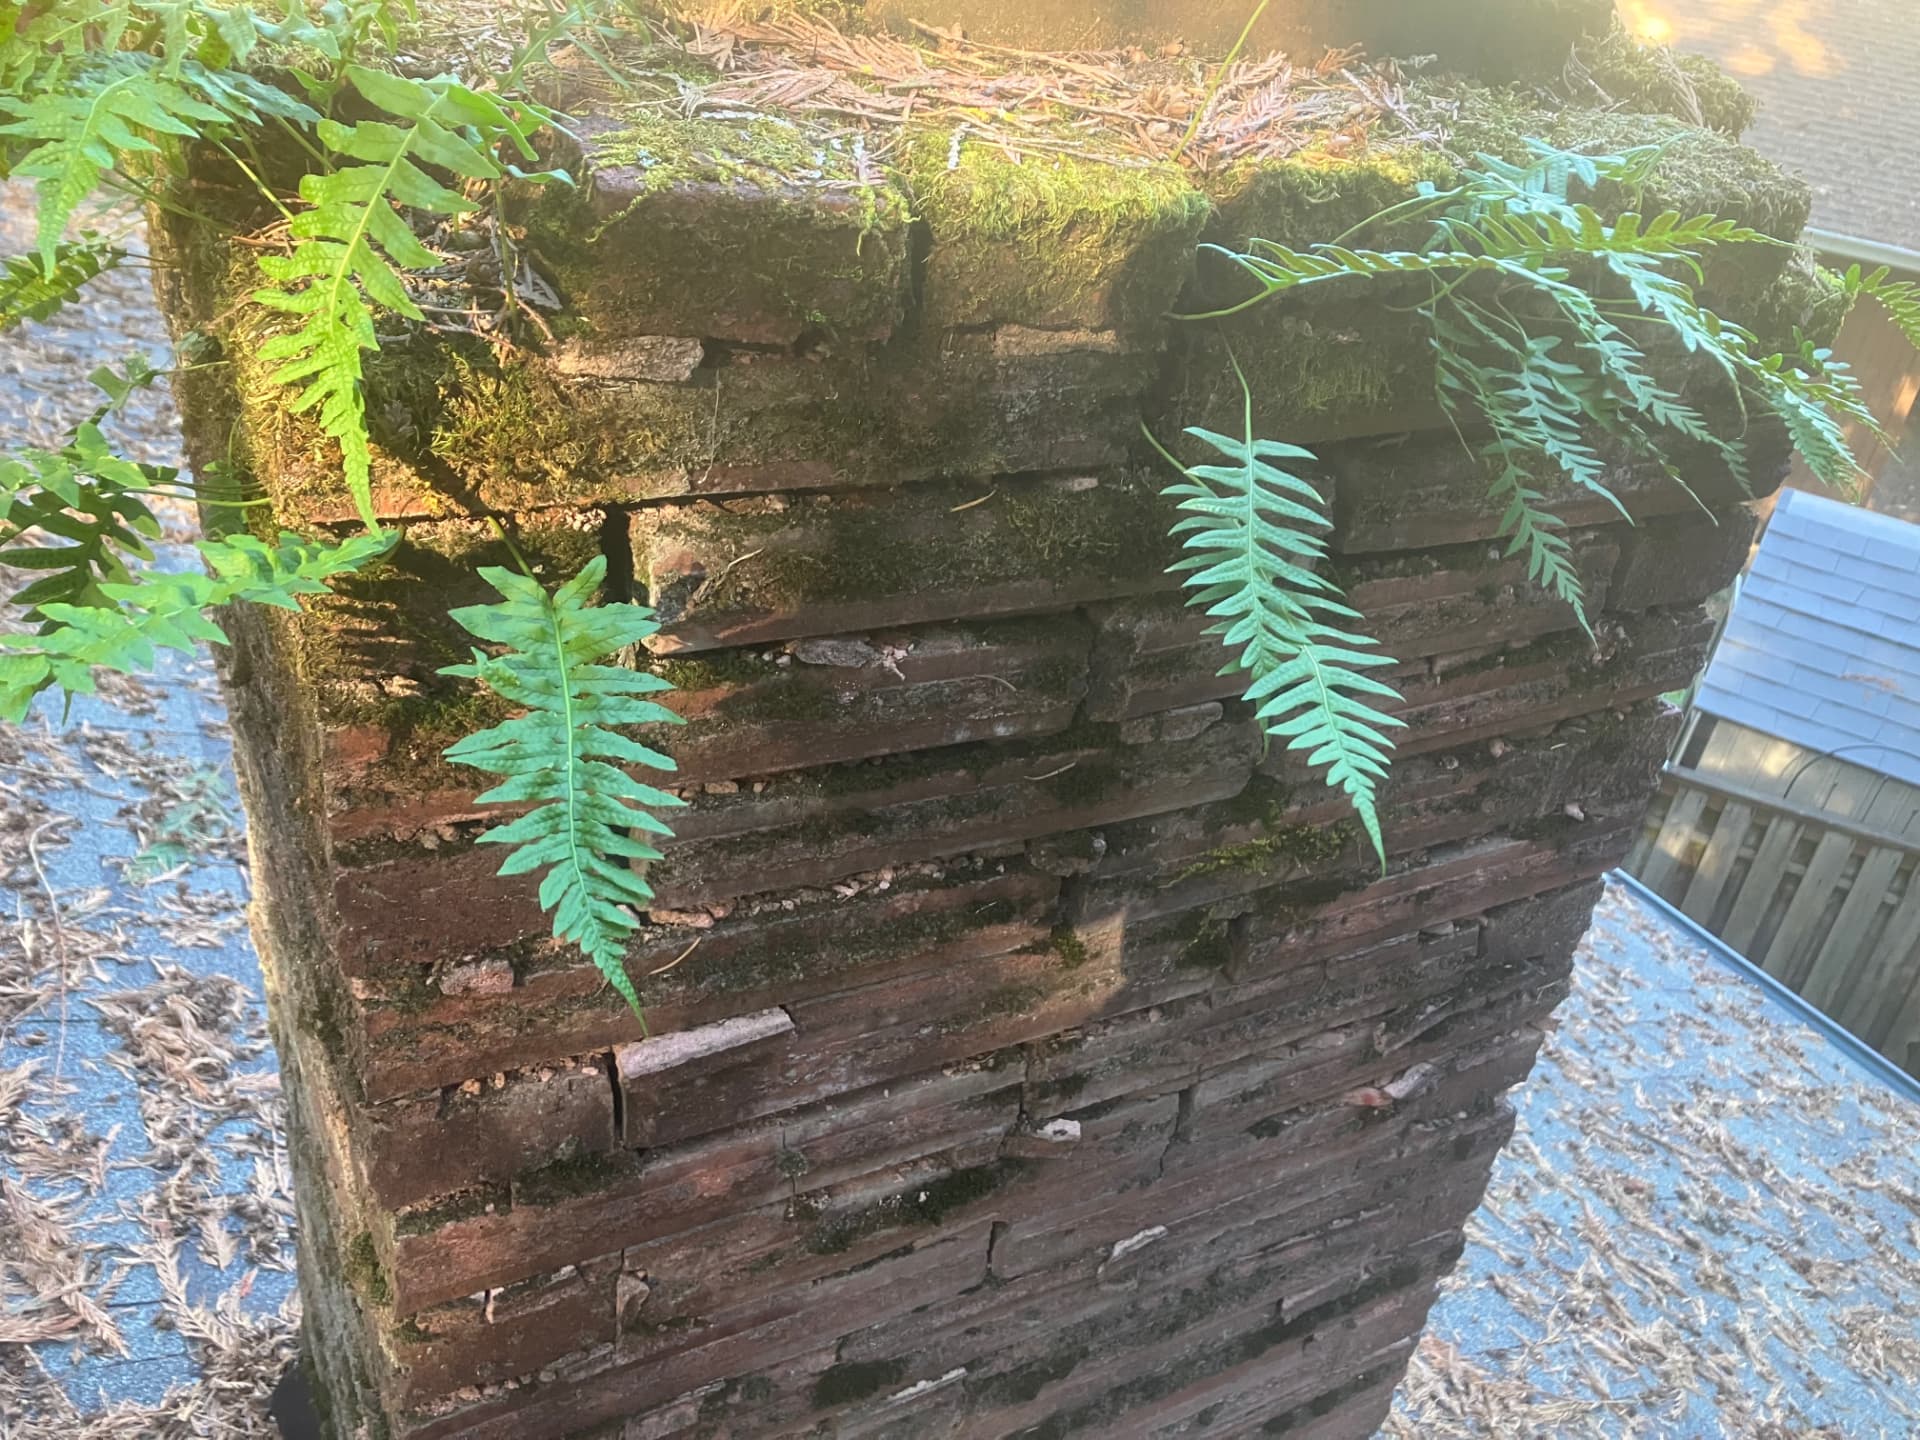
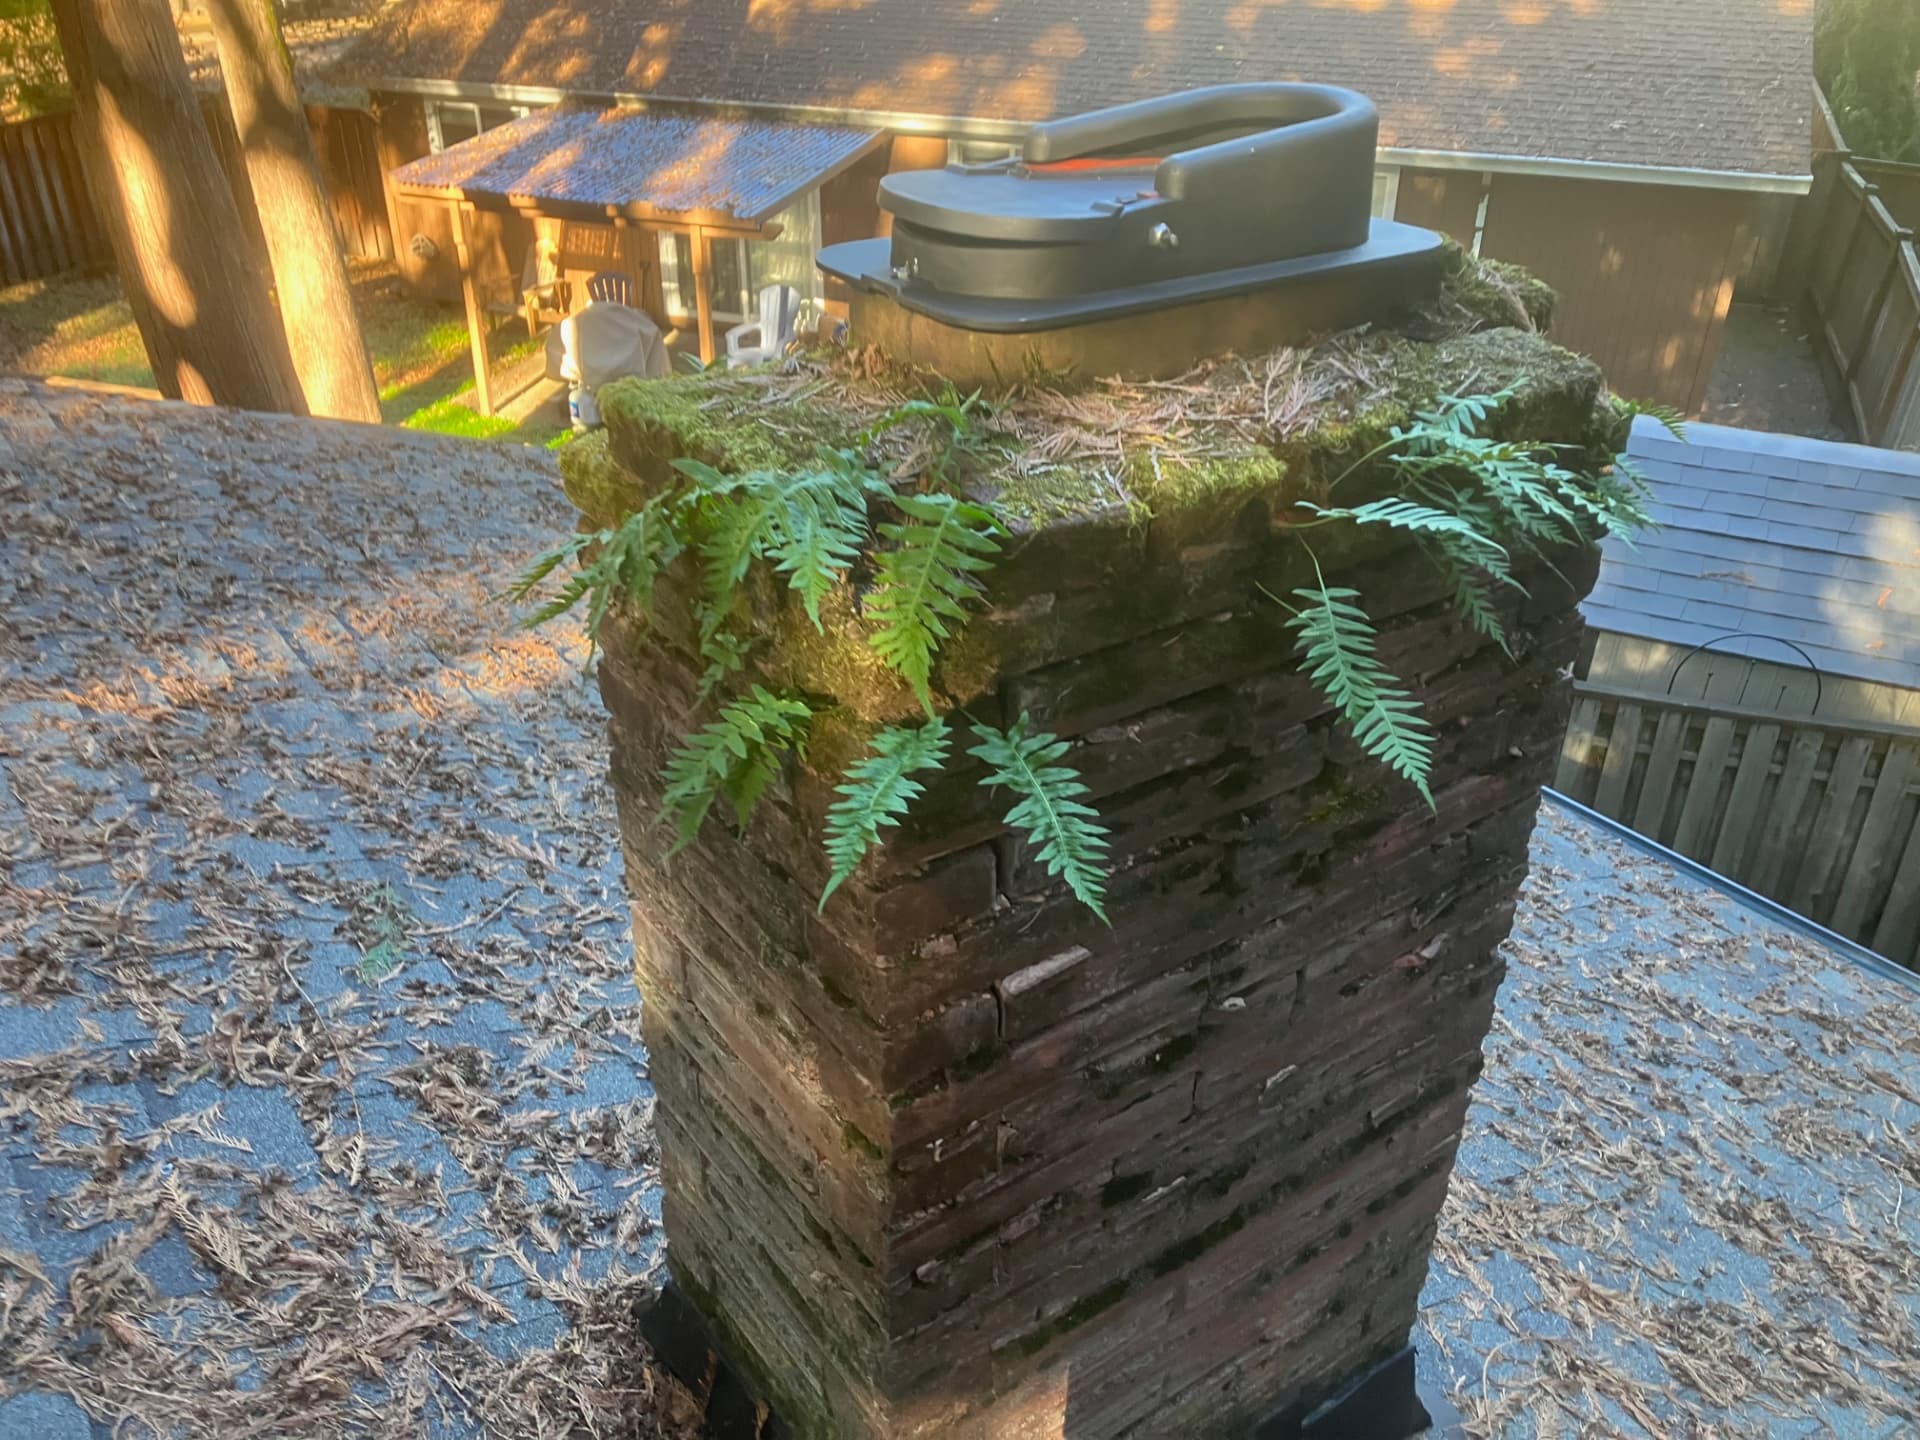
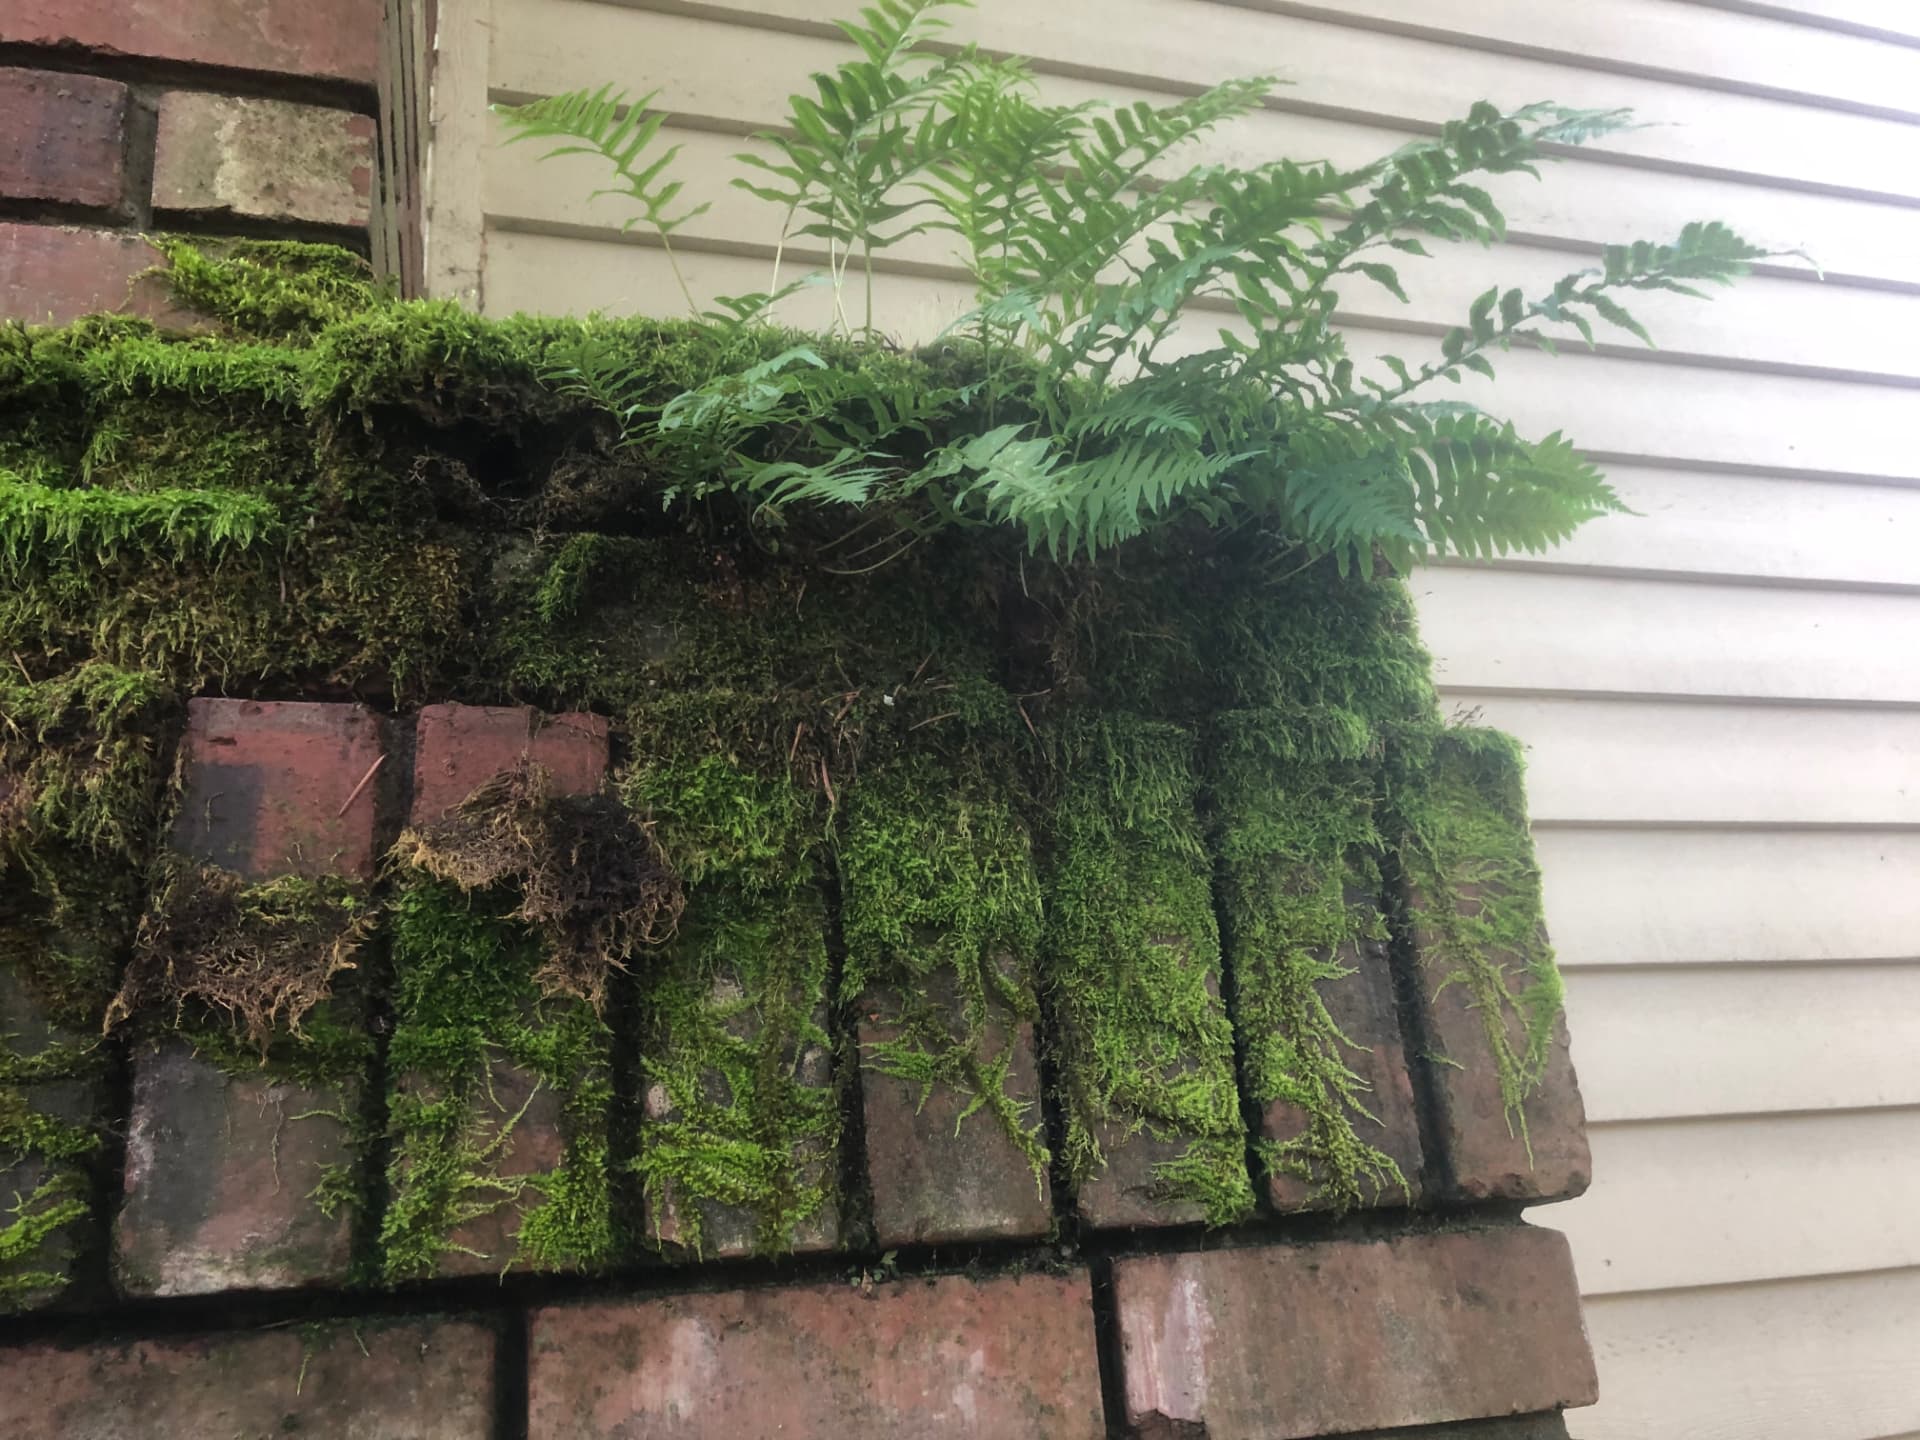
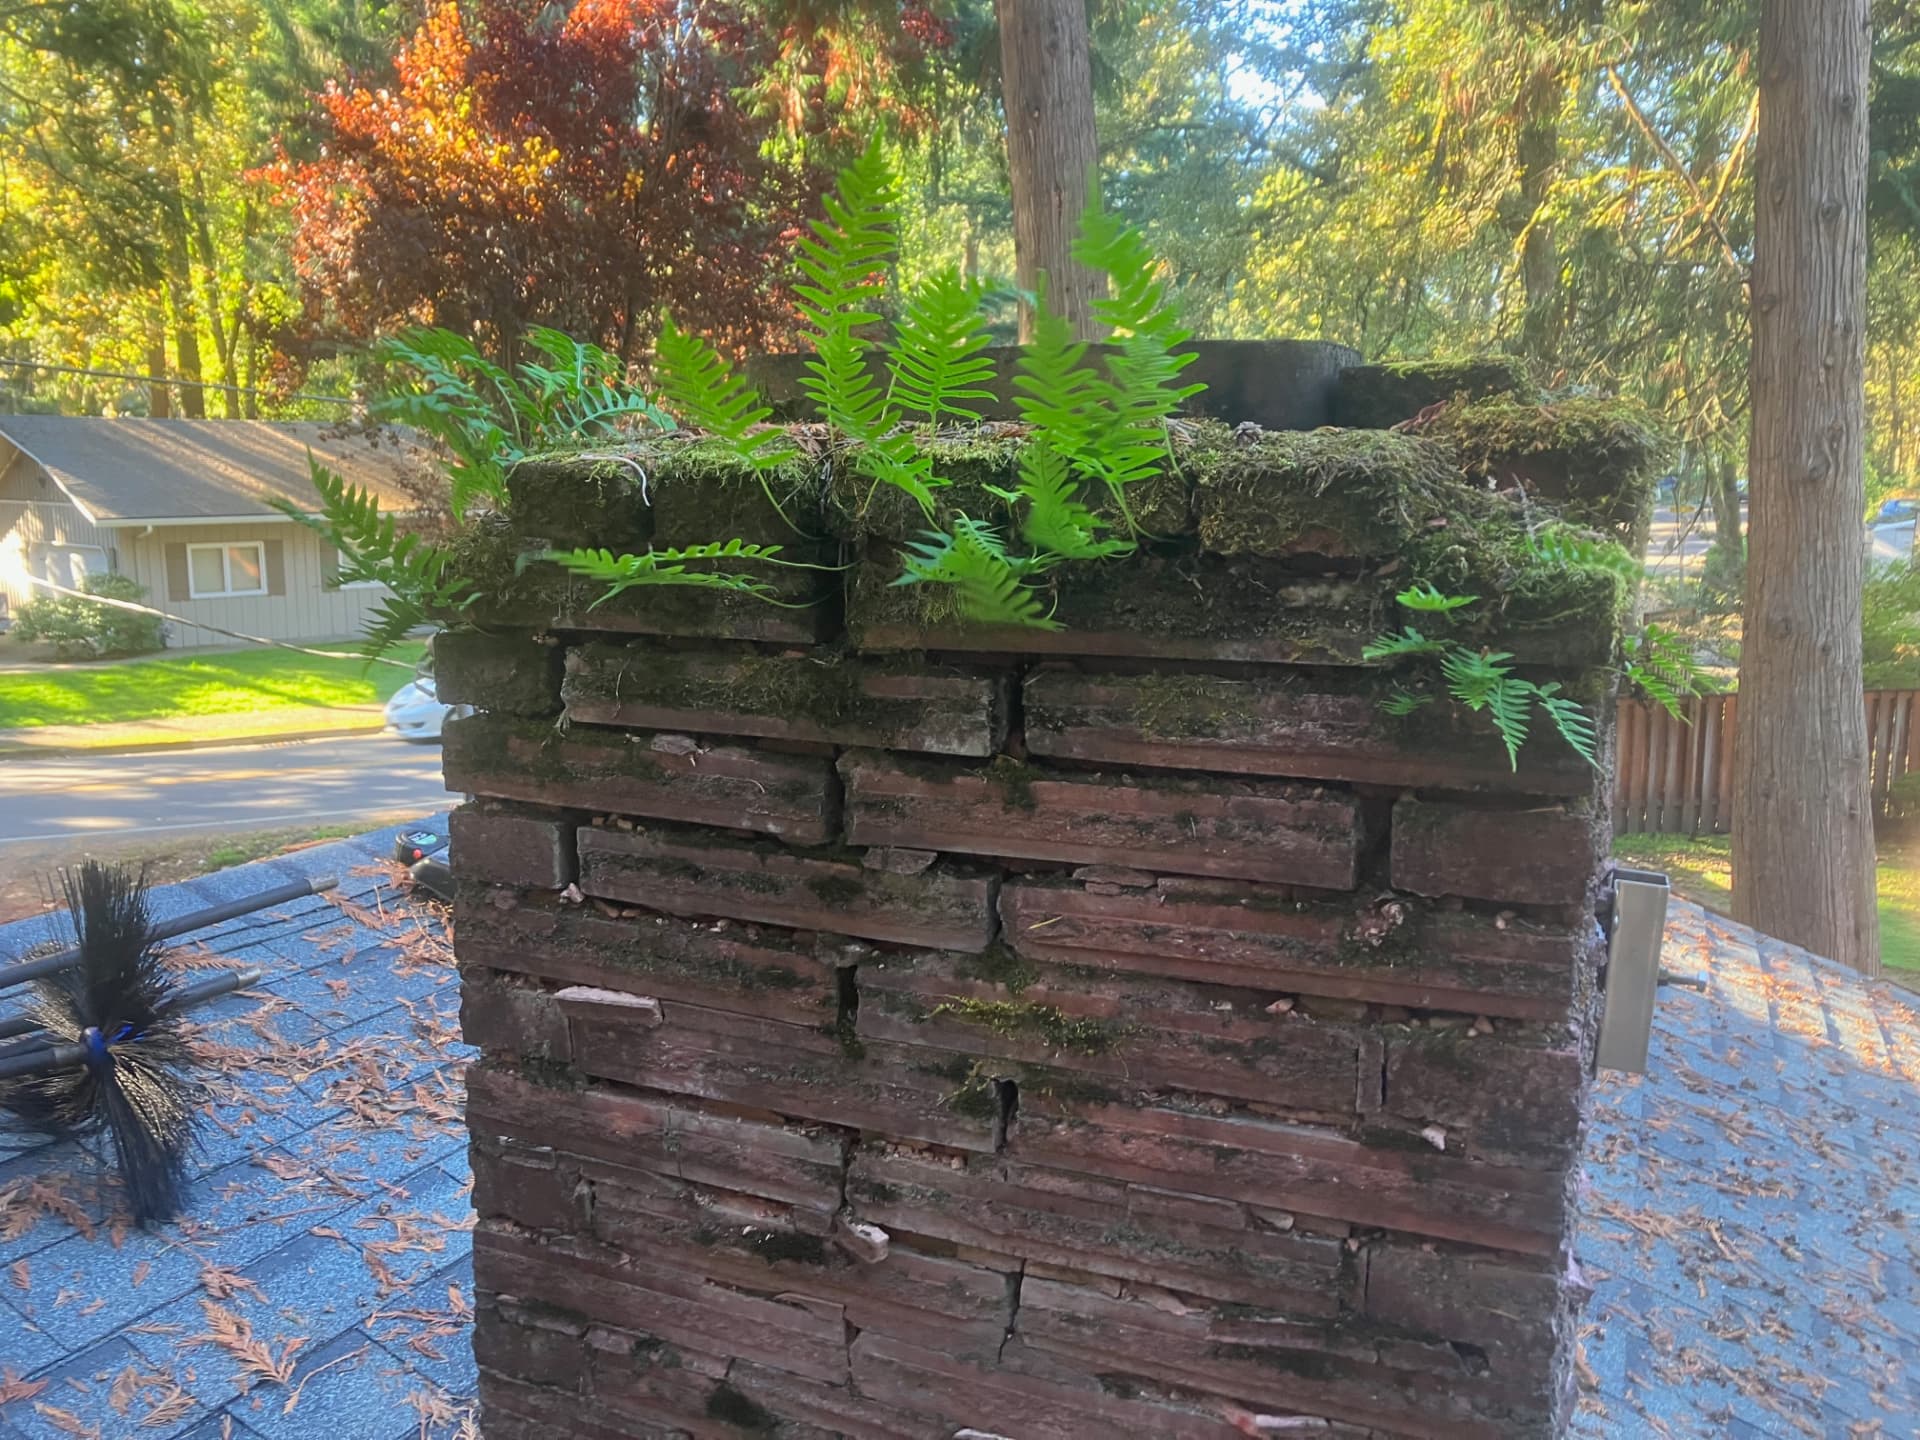
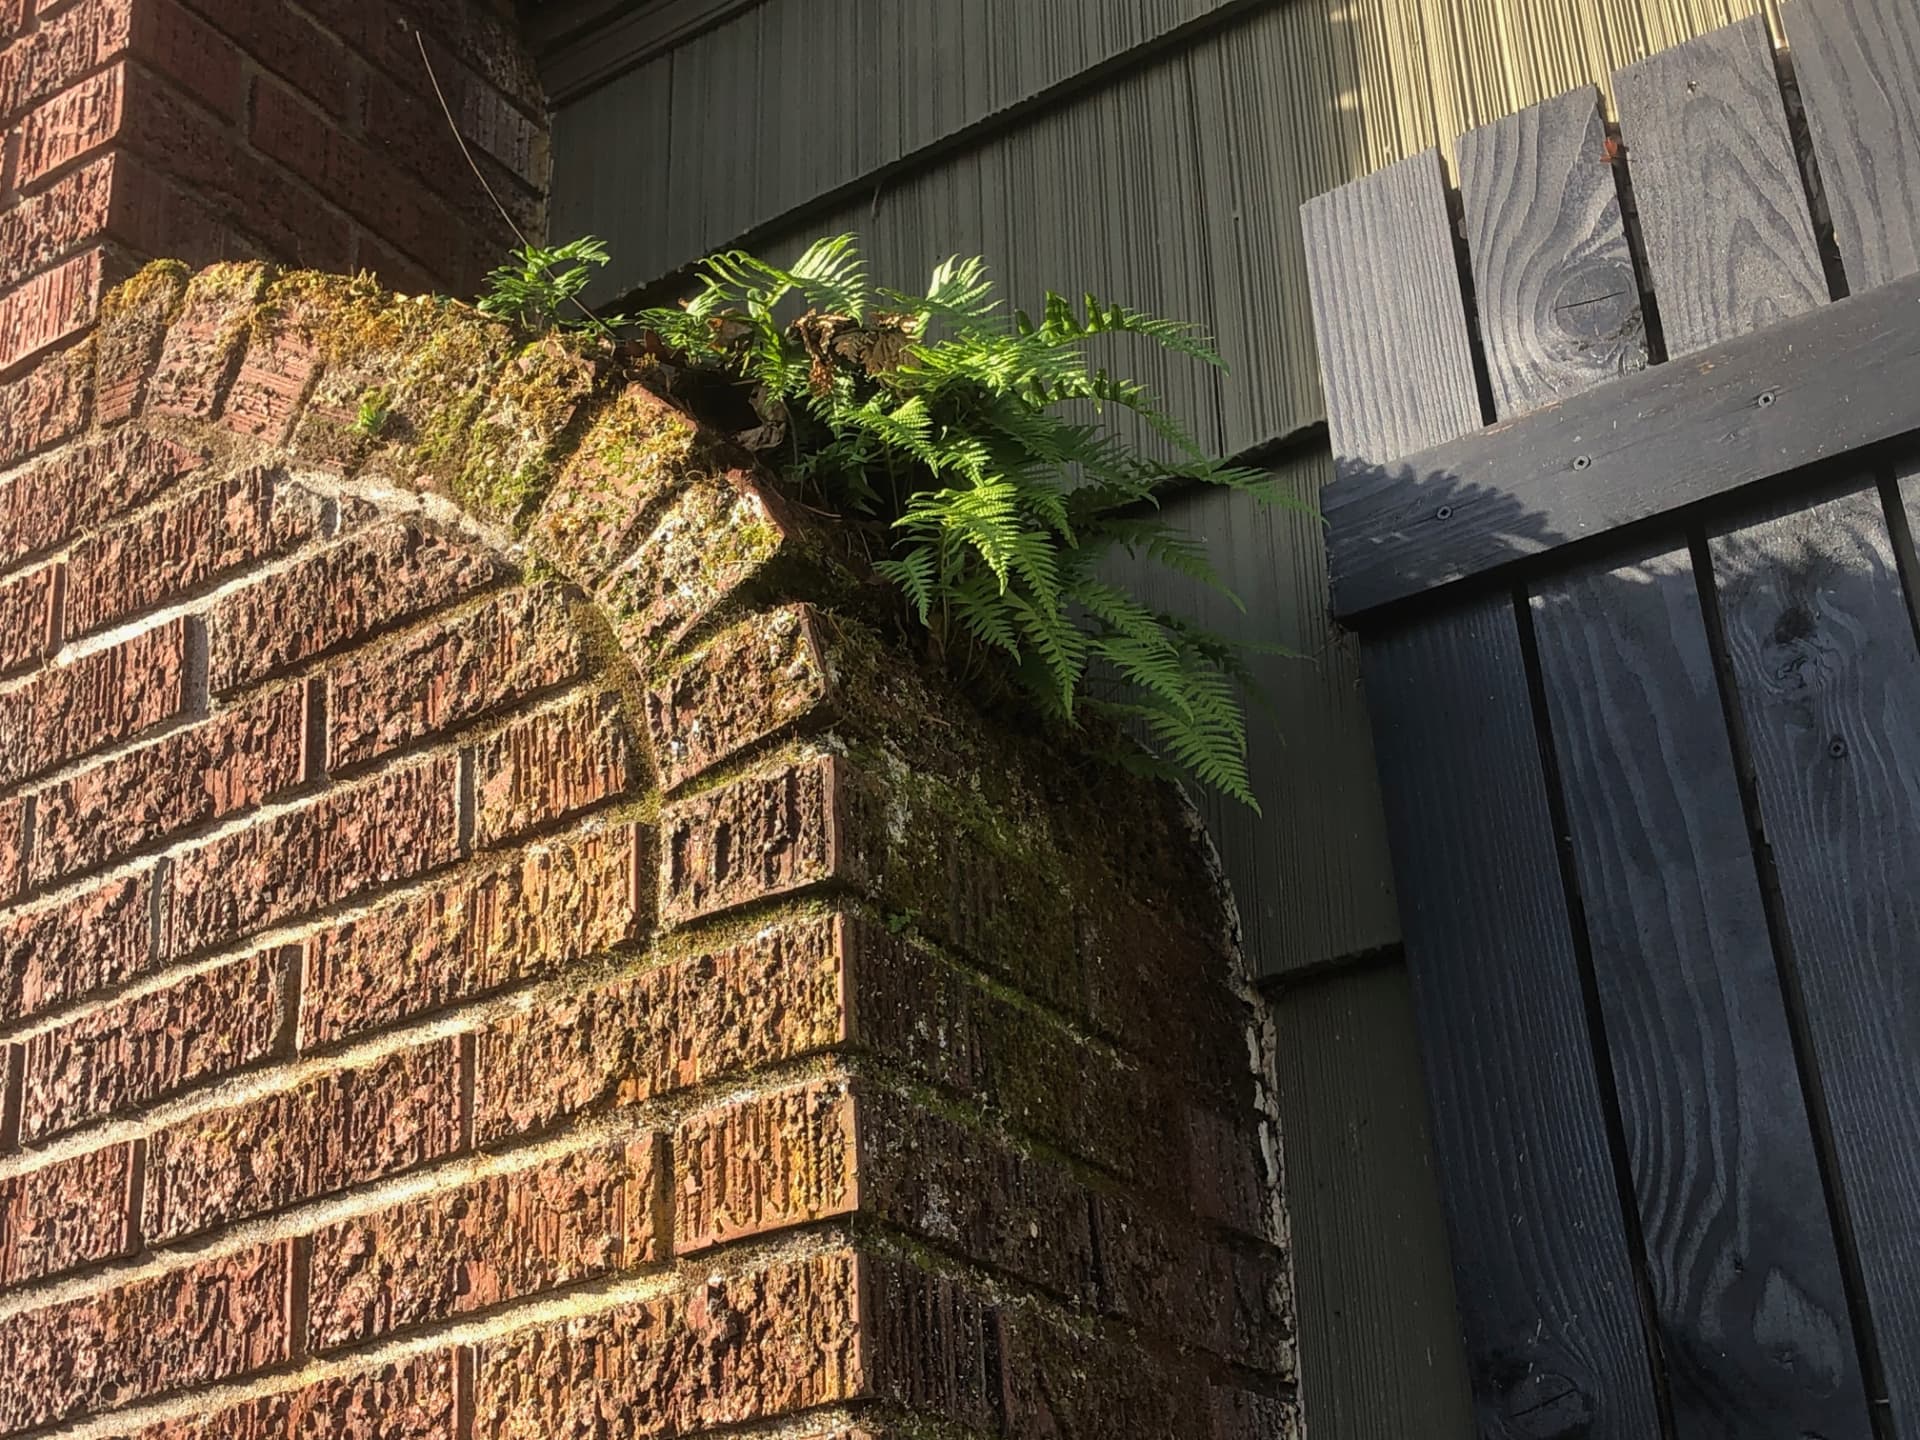
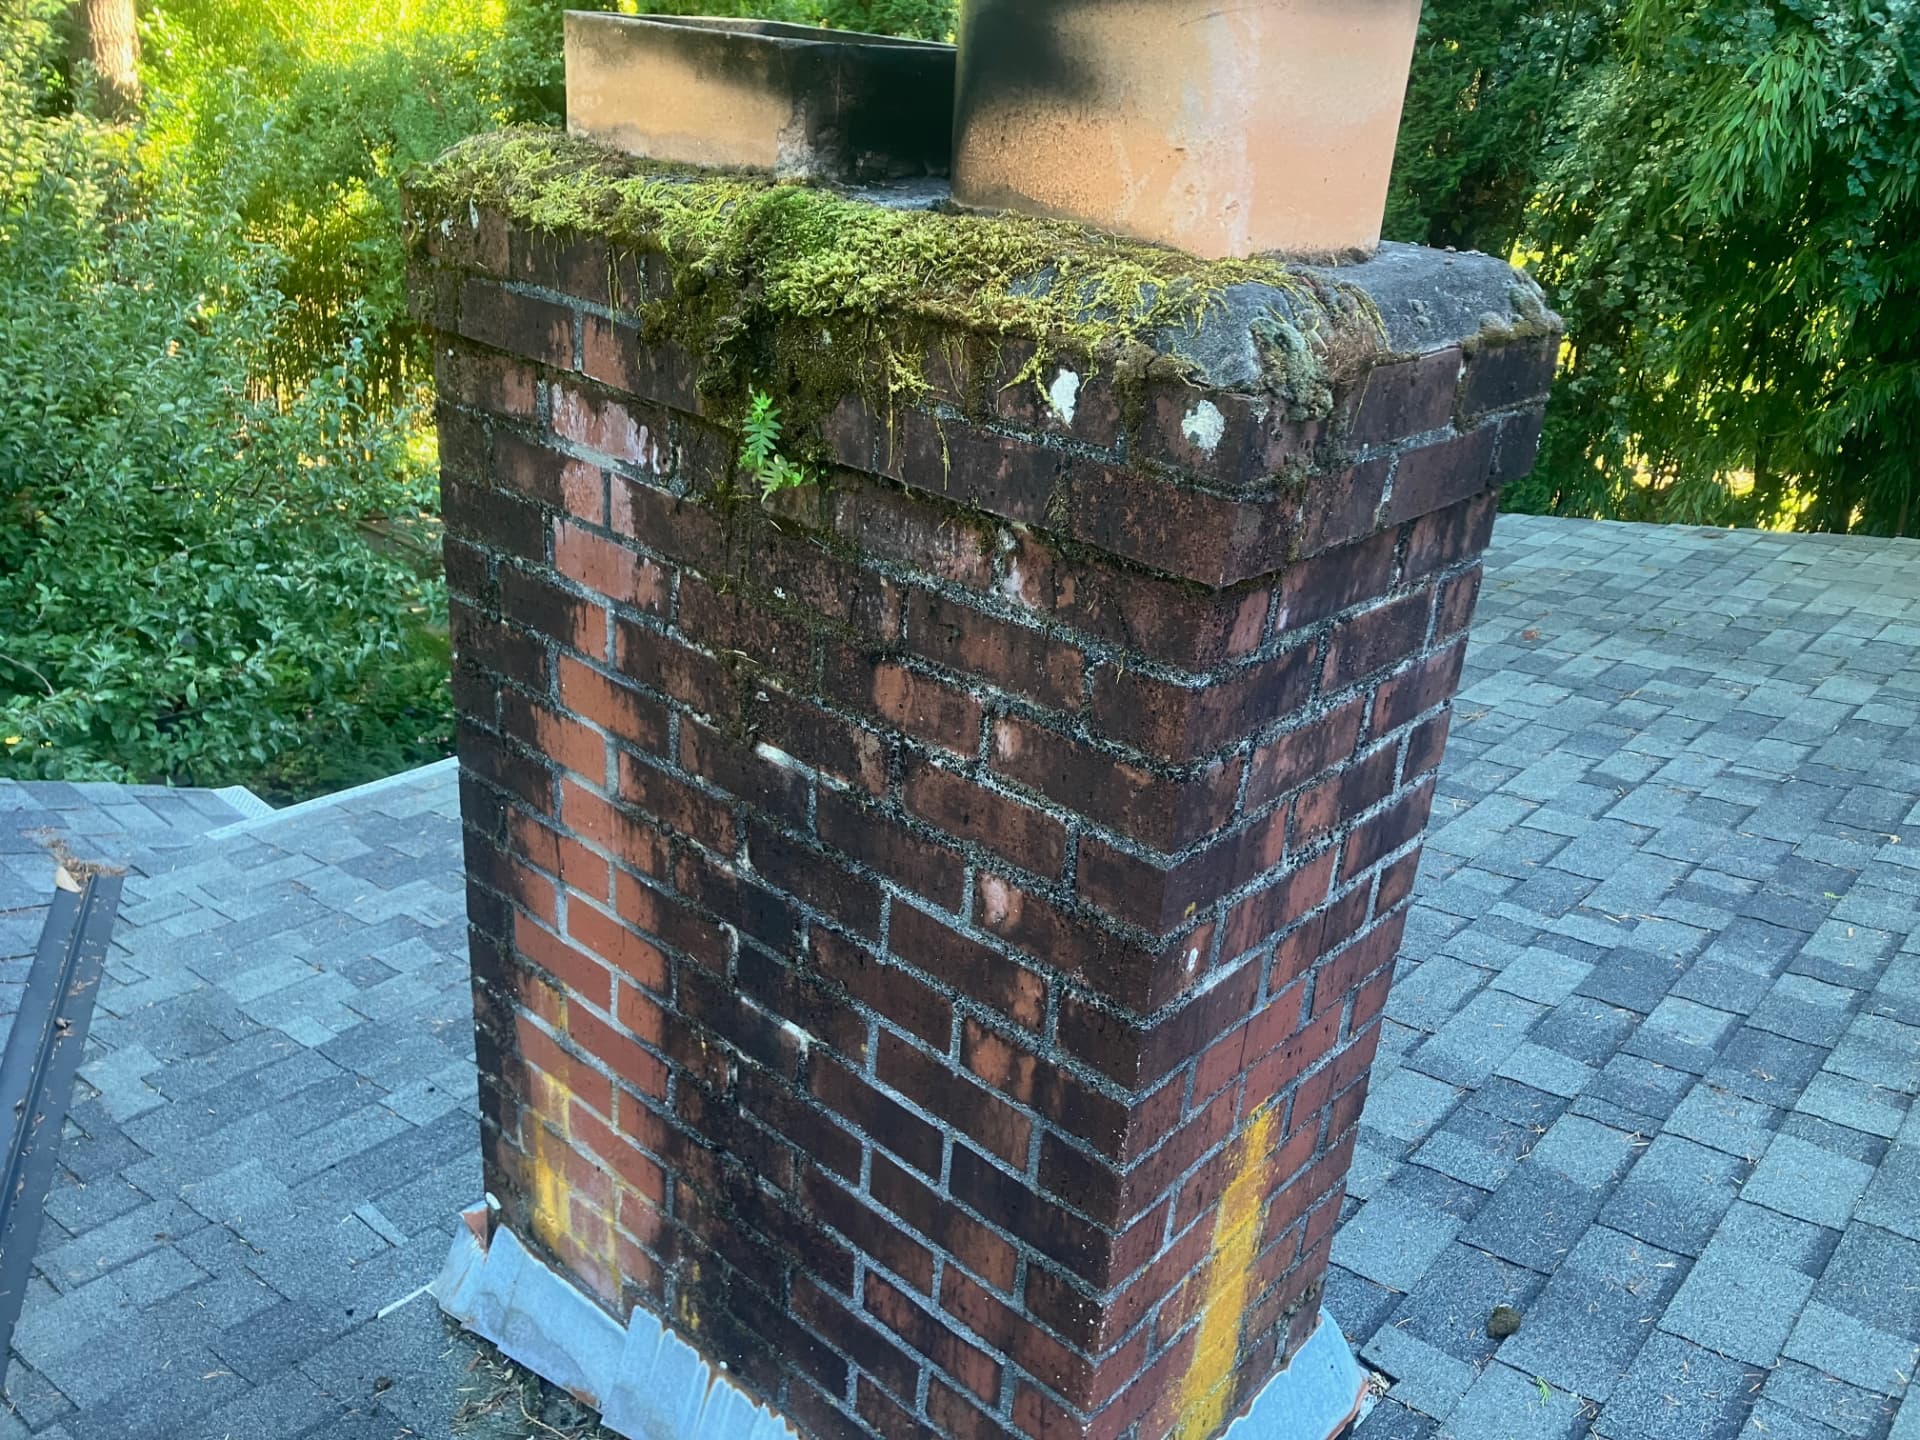
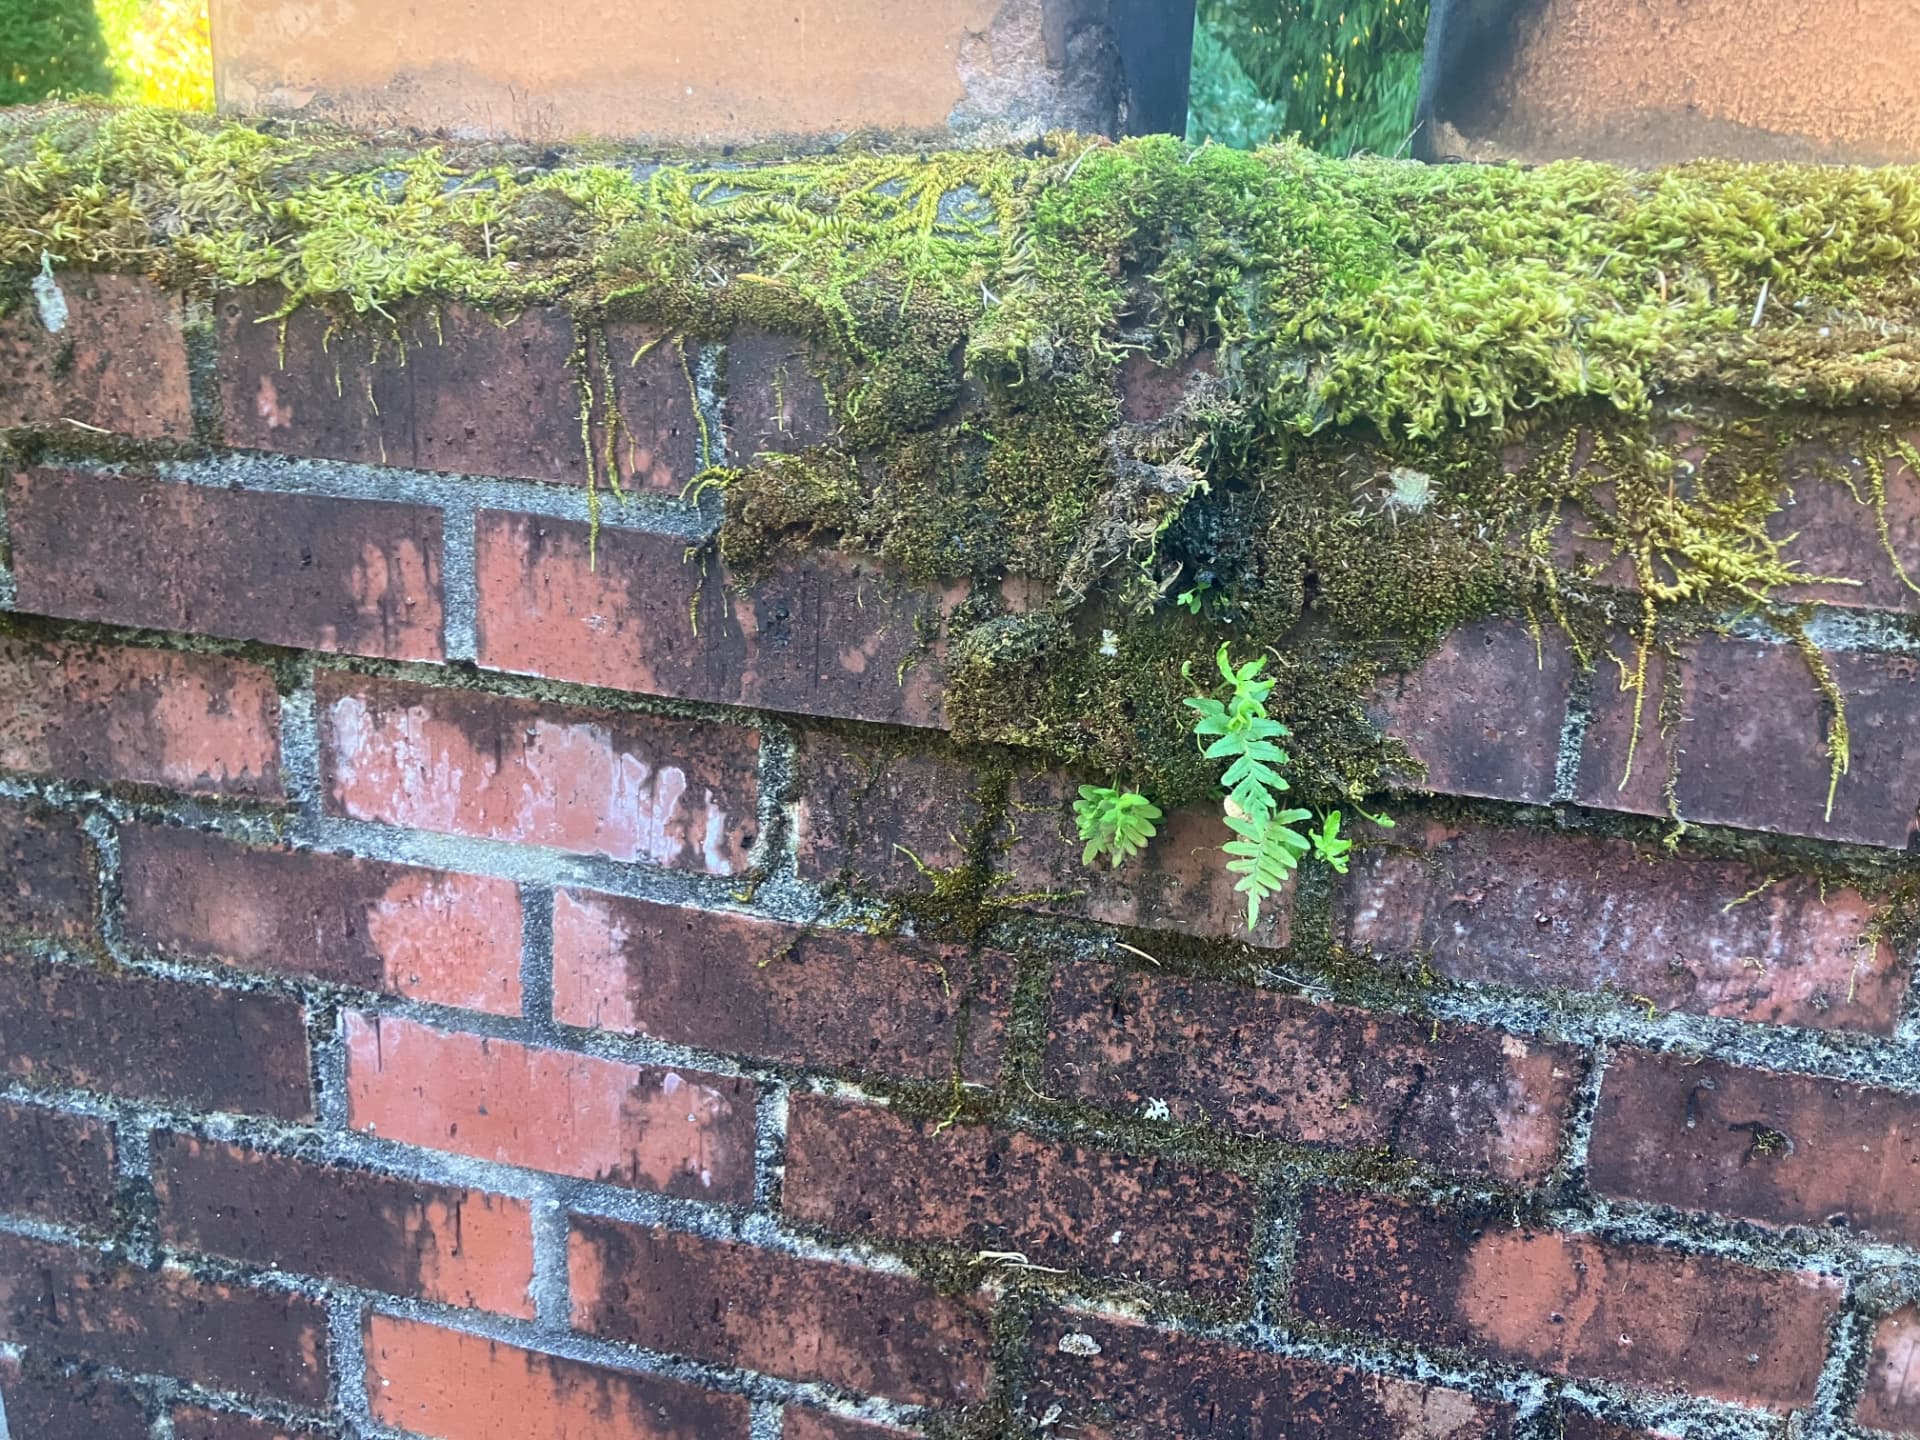
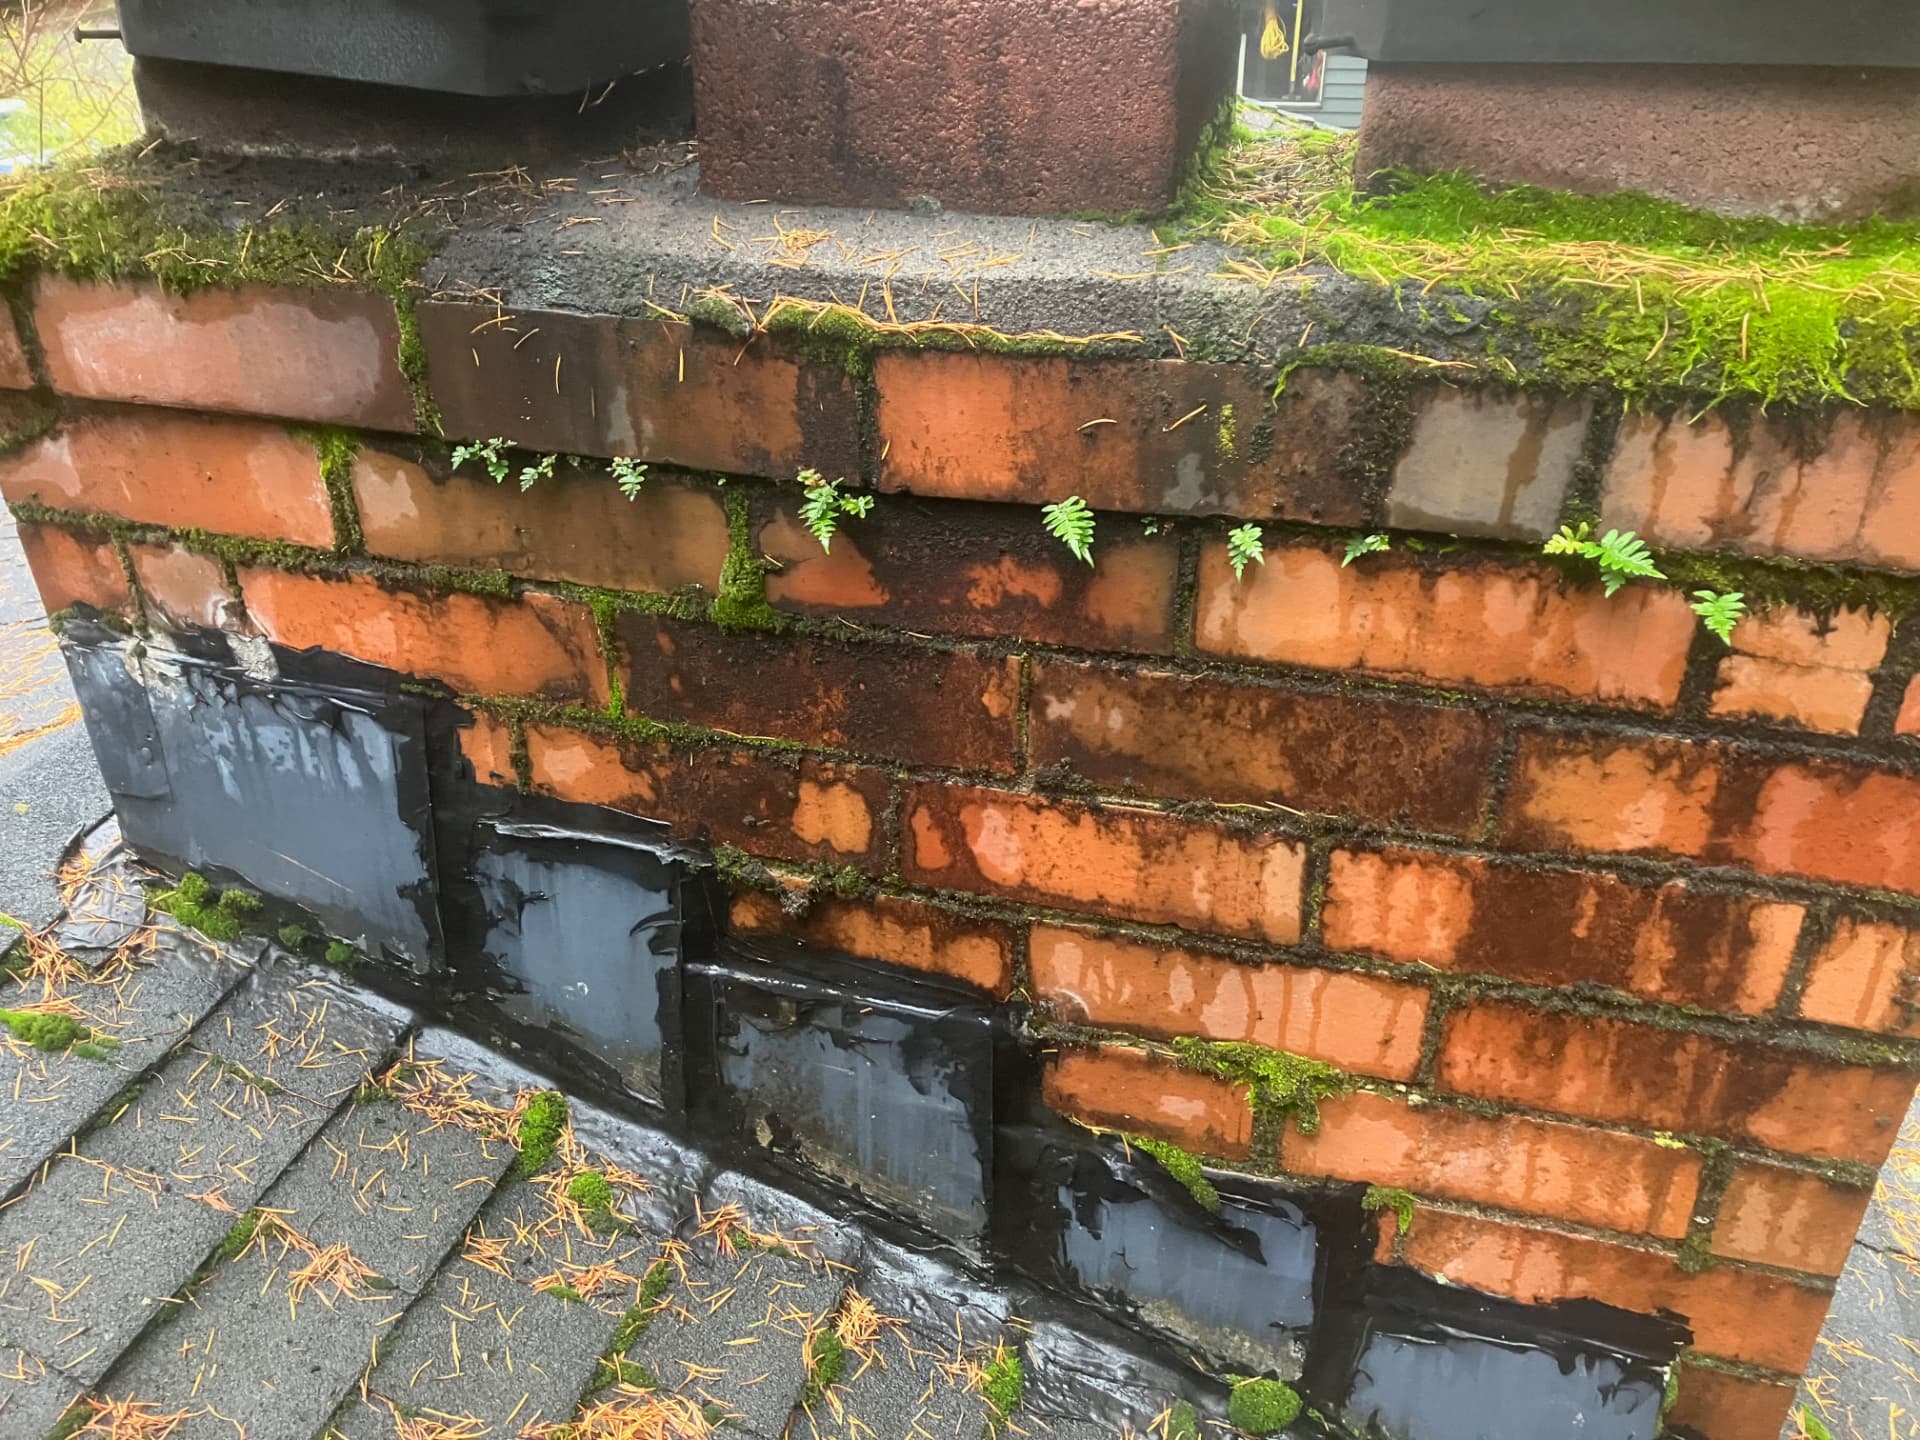
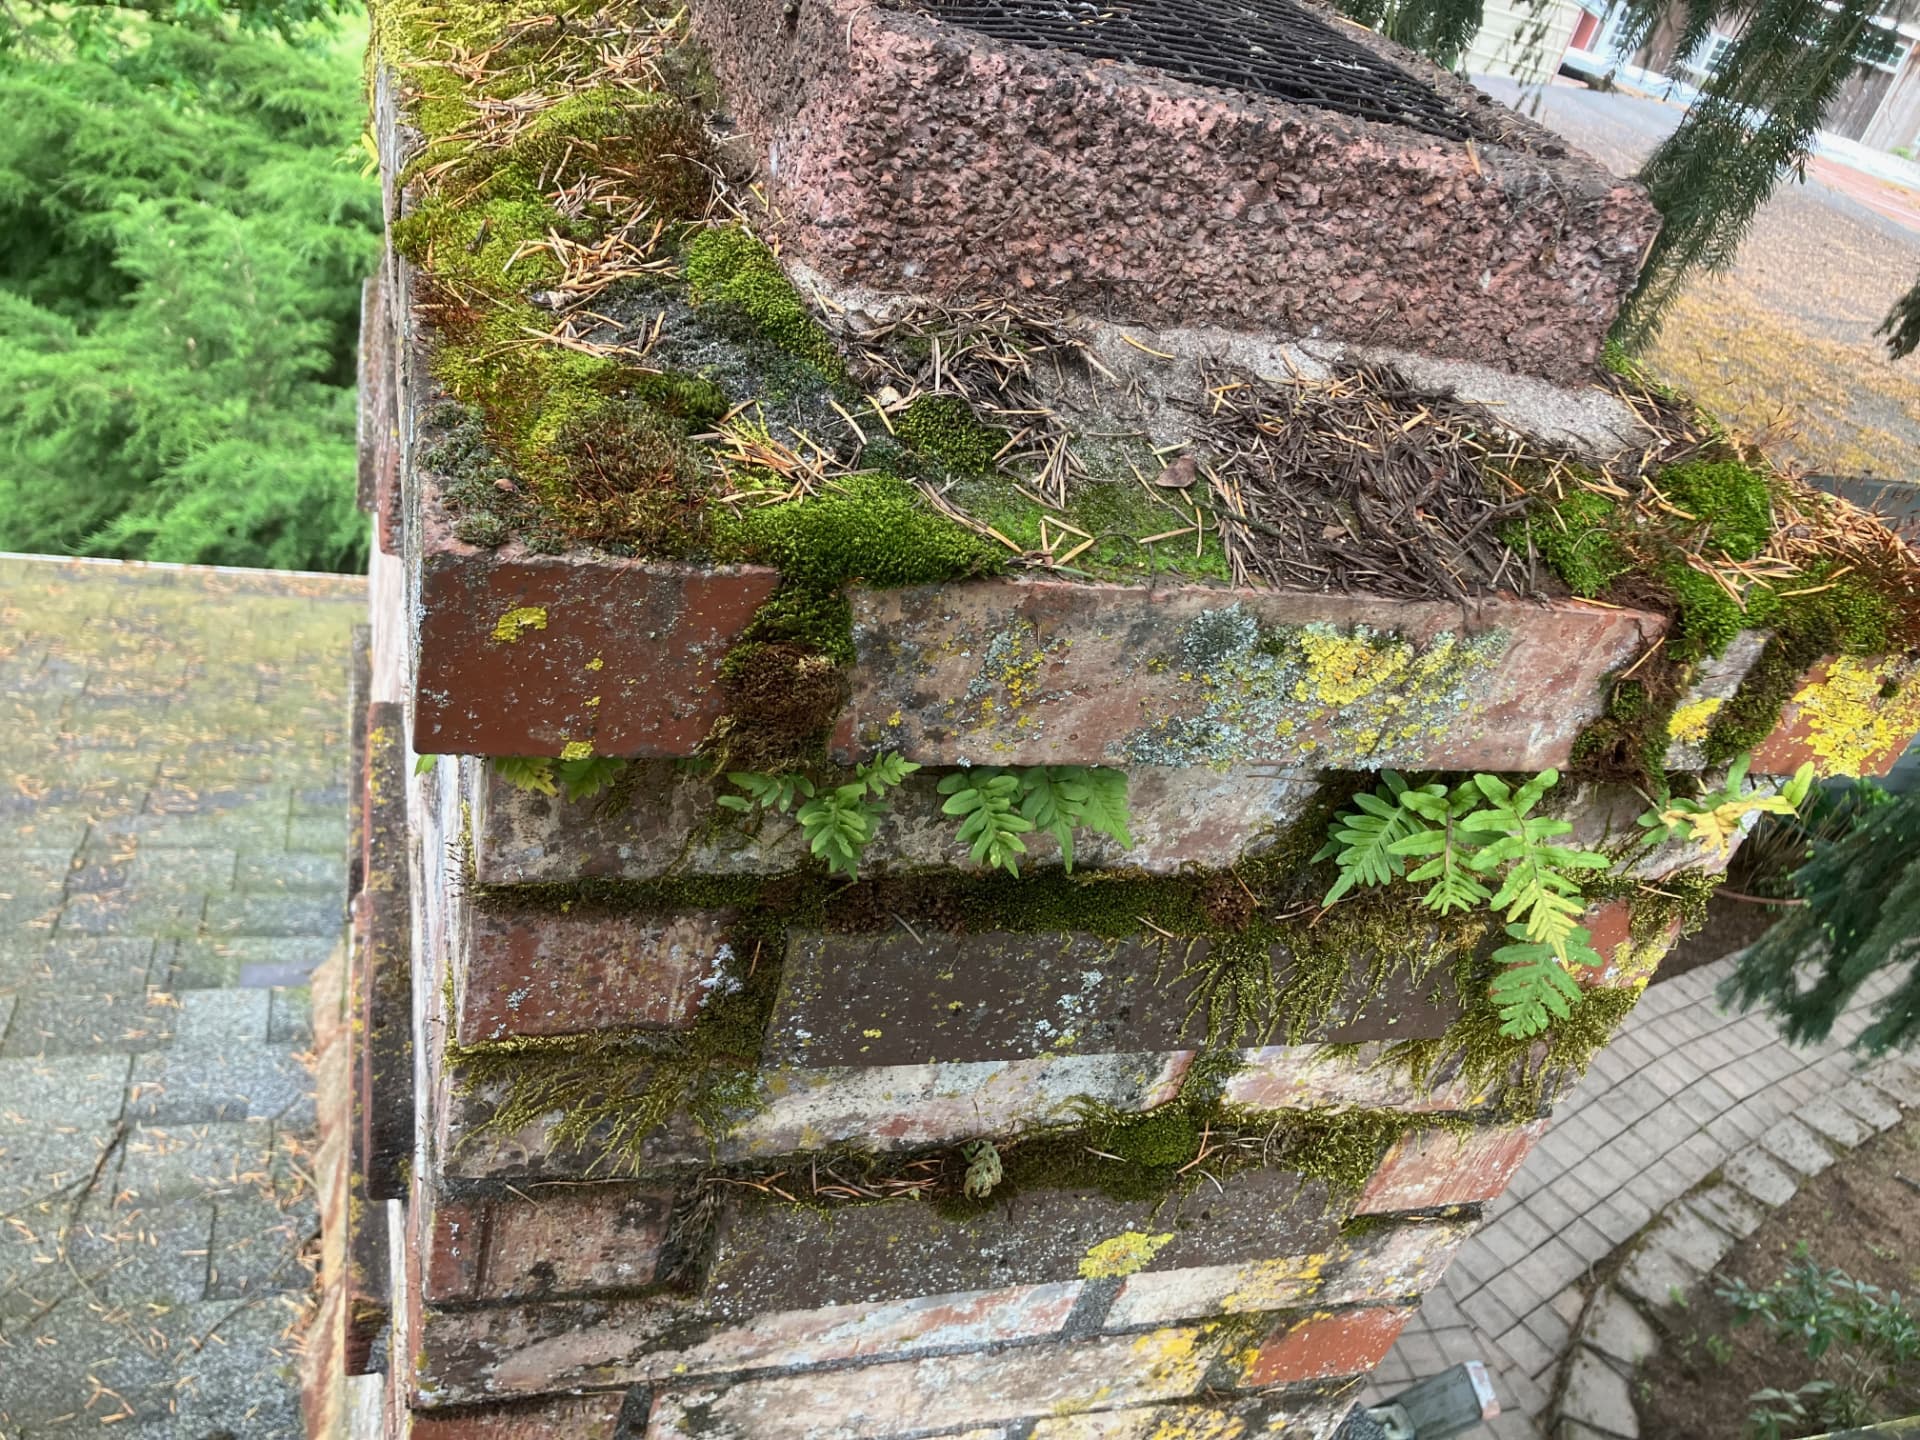
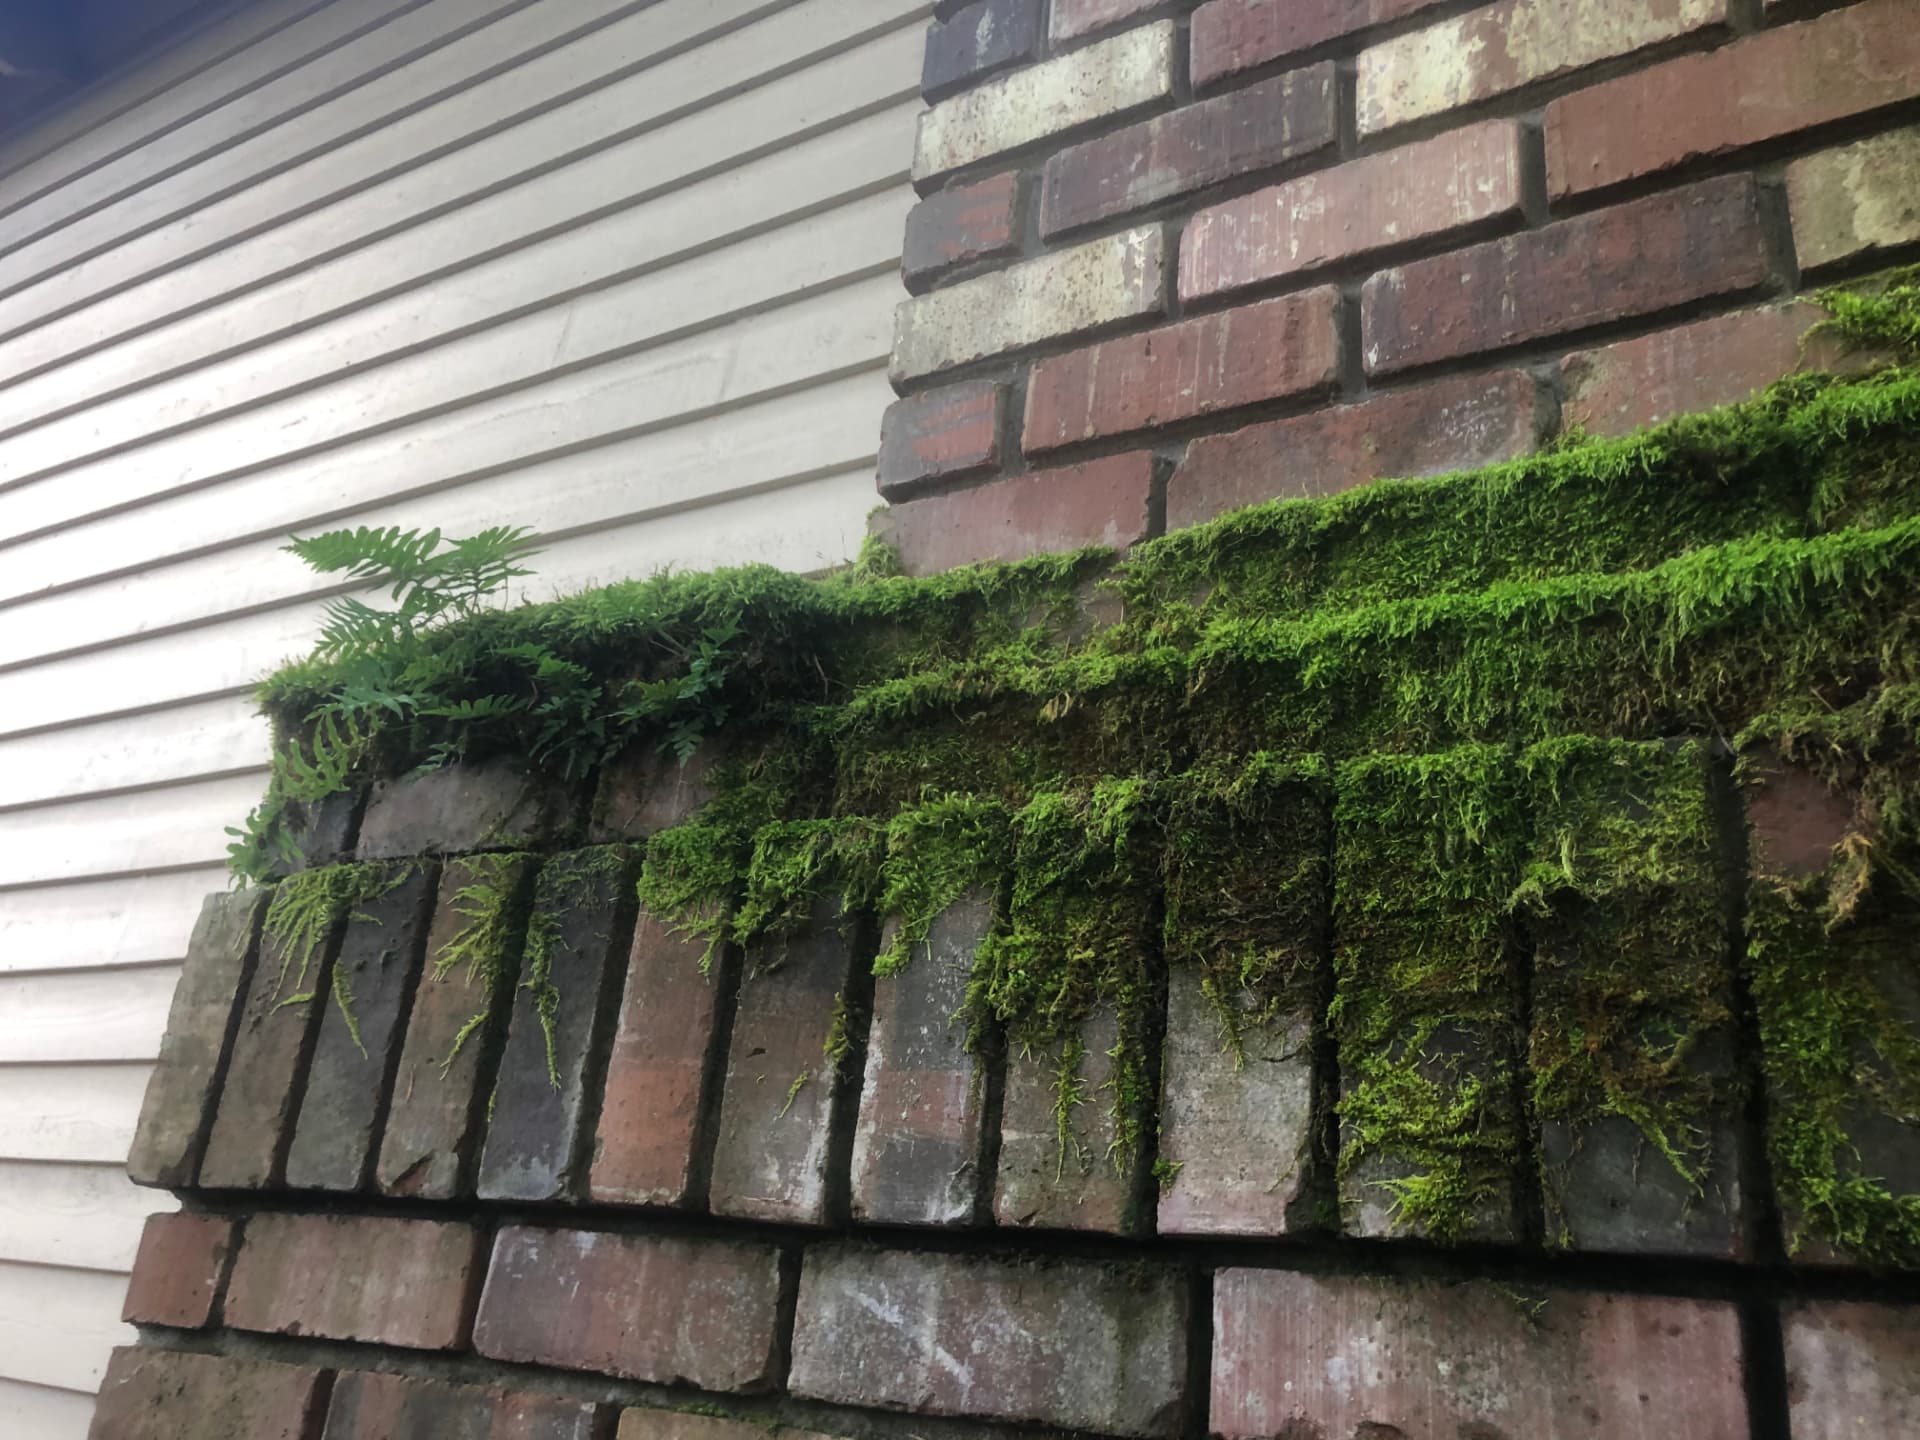
Moss will also continue to grow and eventually develop into ferns growing out of the chimney.
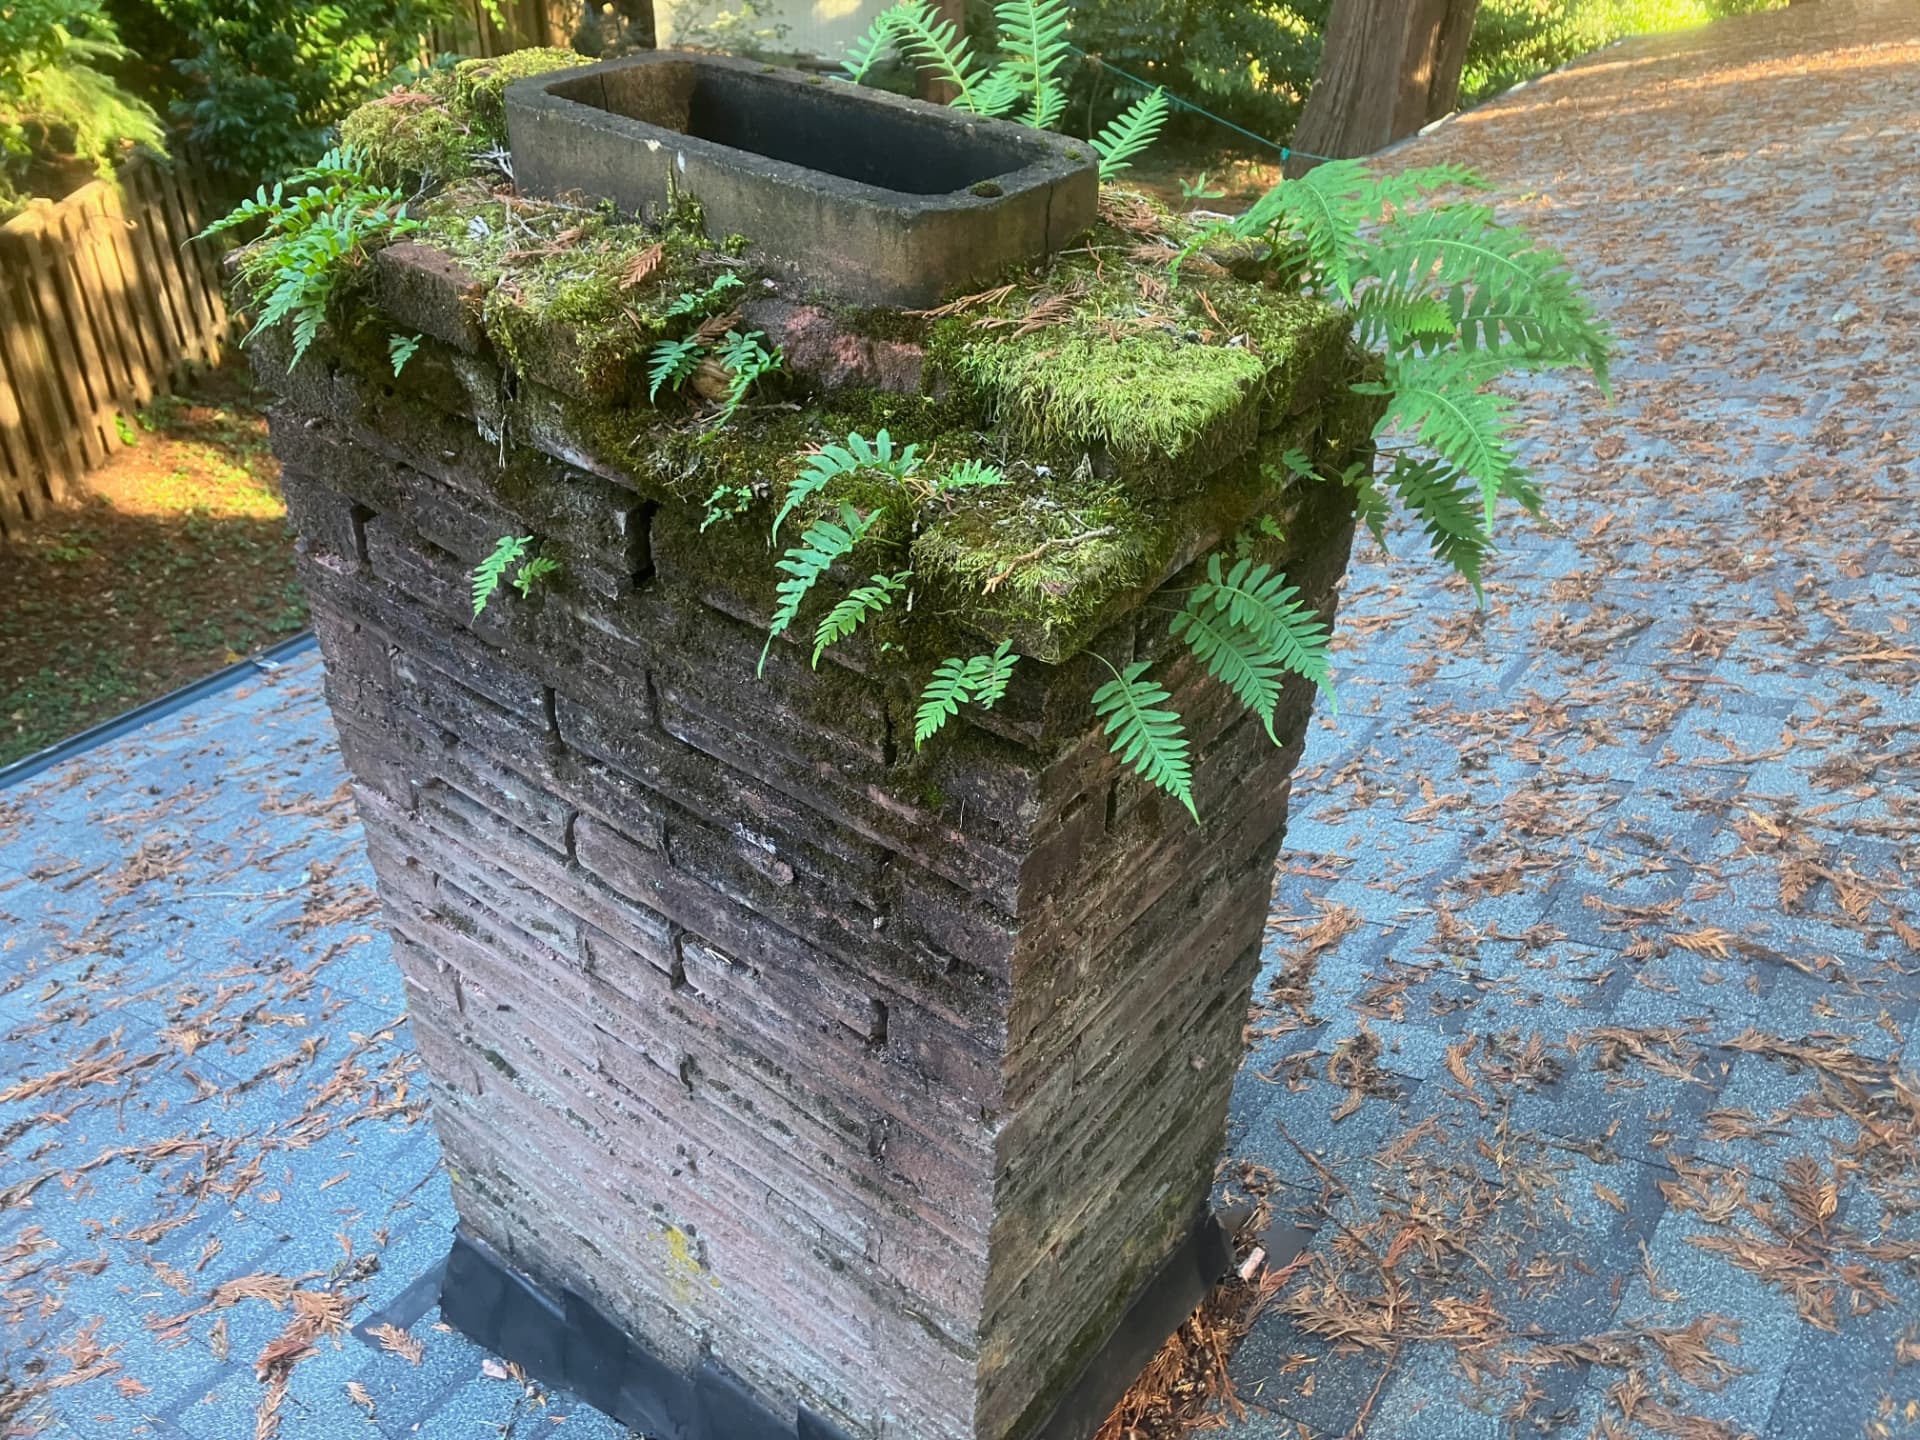
Ferns growing out of the chimney 1
Ferns growing out of the chimney 2
Ferns growing out of the chimney 3
Ferns growing out of the chimney 4
Ferns growing out of the chimney 5
Ferns growing out of the chimney 6
Ferns growing out of the chimney 7
Ferns growing out of the chimney 8
Ferns growing out of the chimney 9
Ferns growing out of the chimney 10
Ferns growing out of the chimney 11
Ferns growing out of the chimney 12
Regular moss growing into ferns

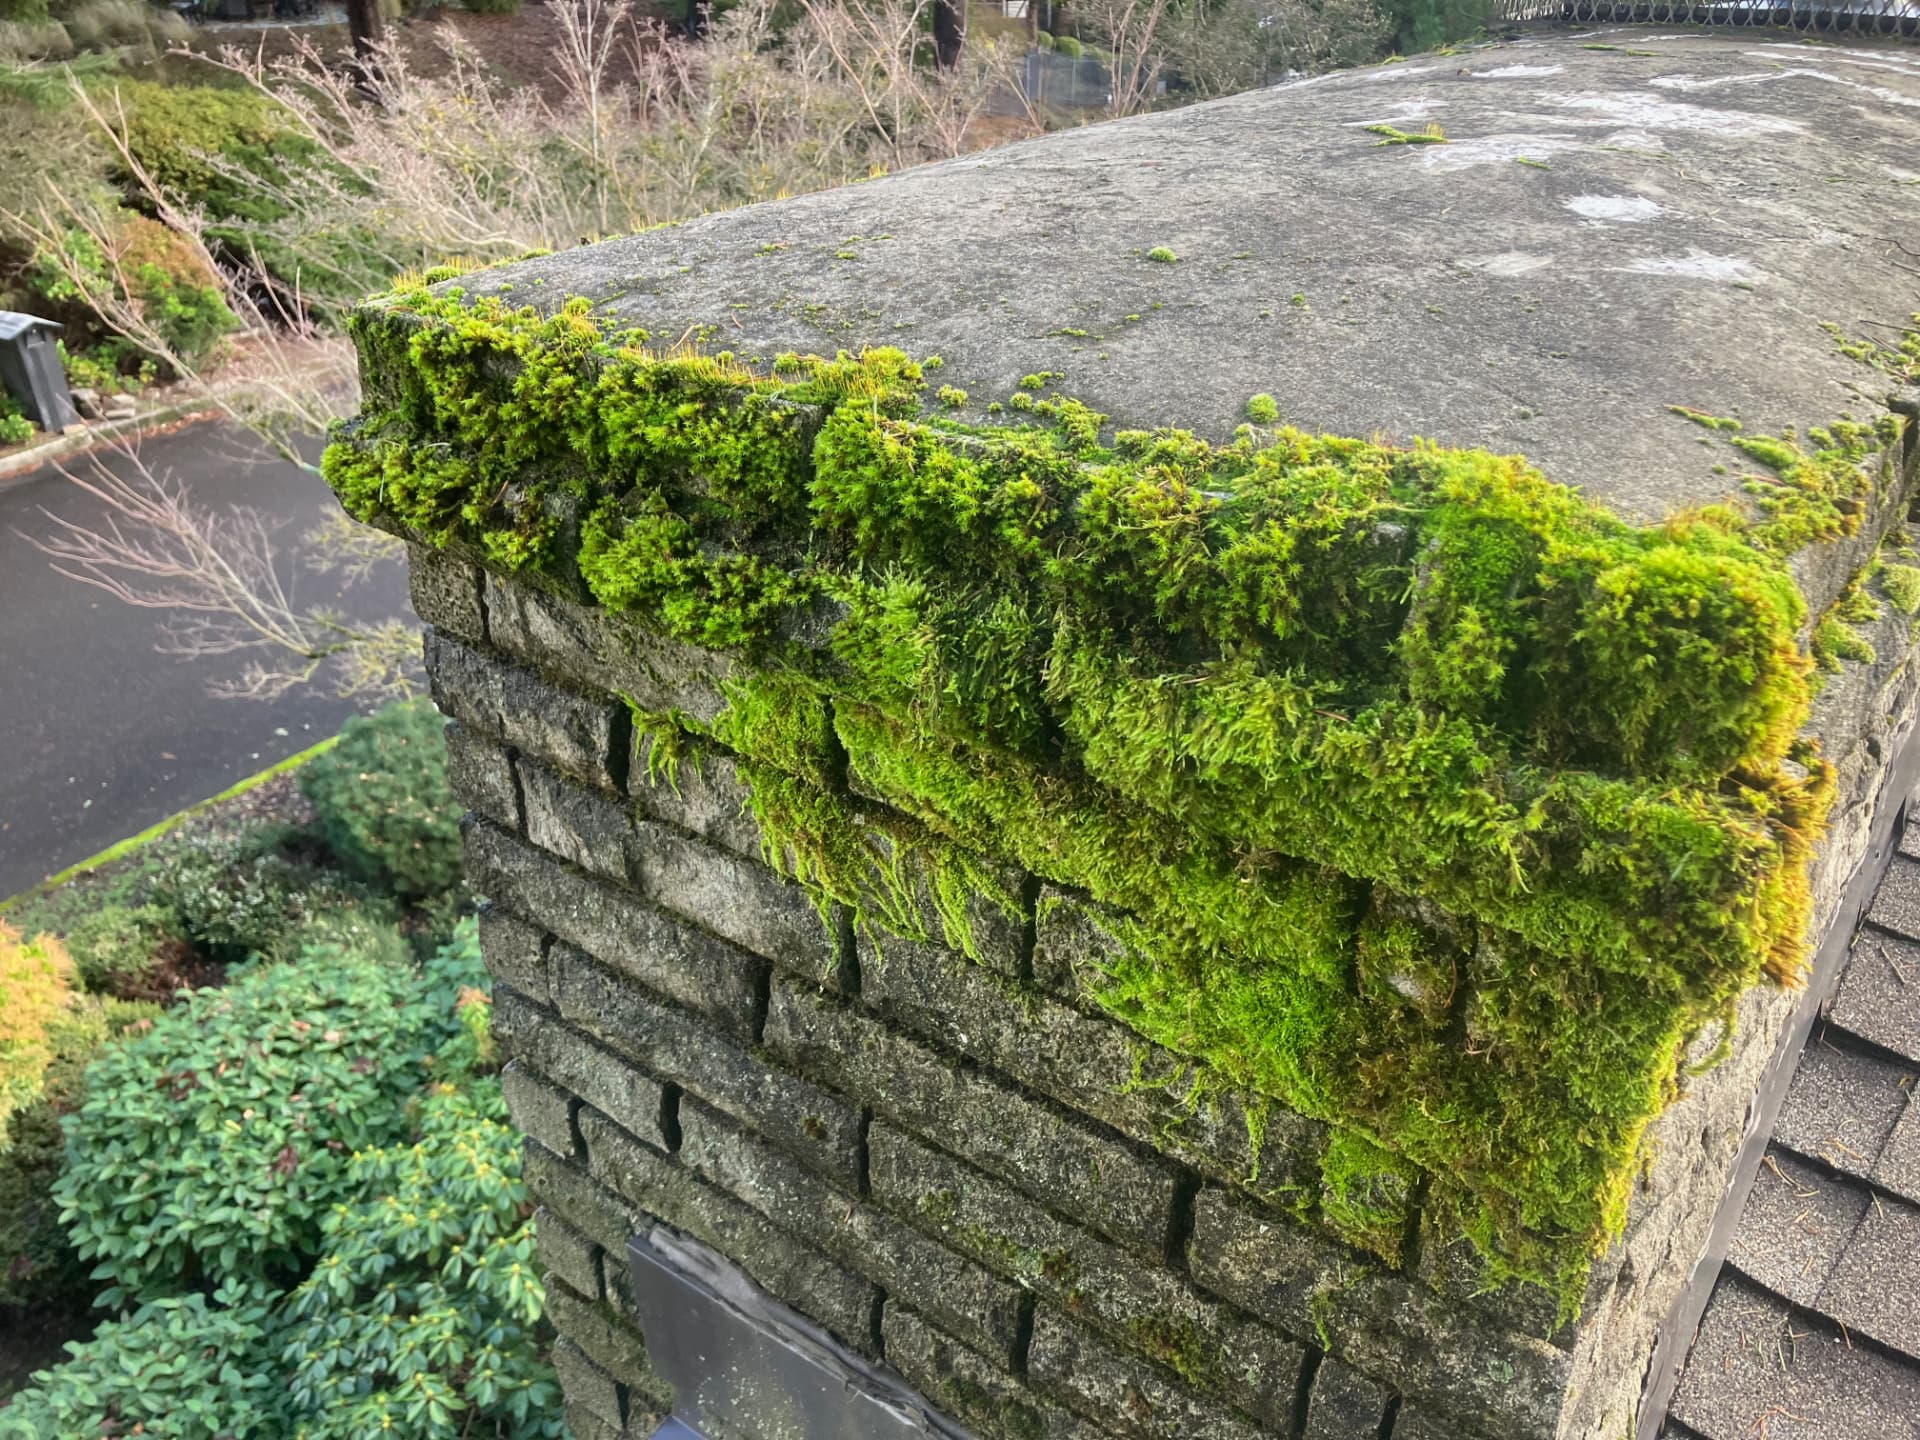
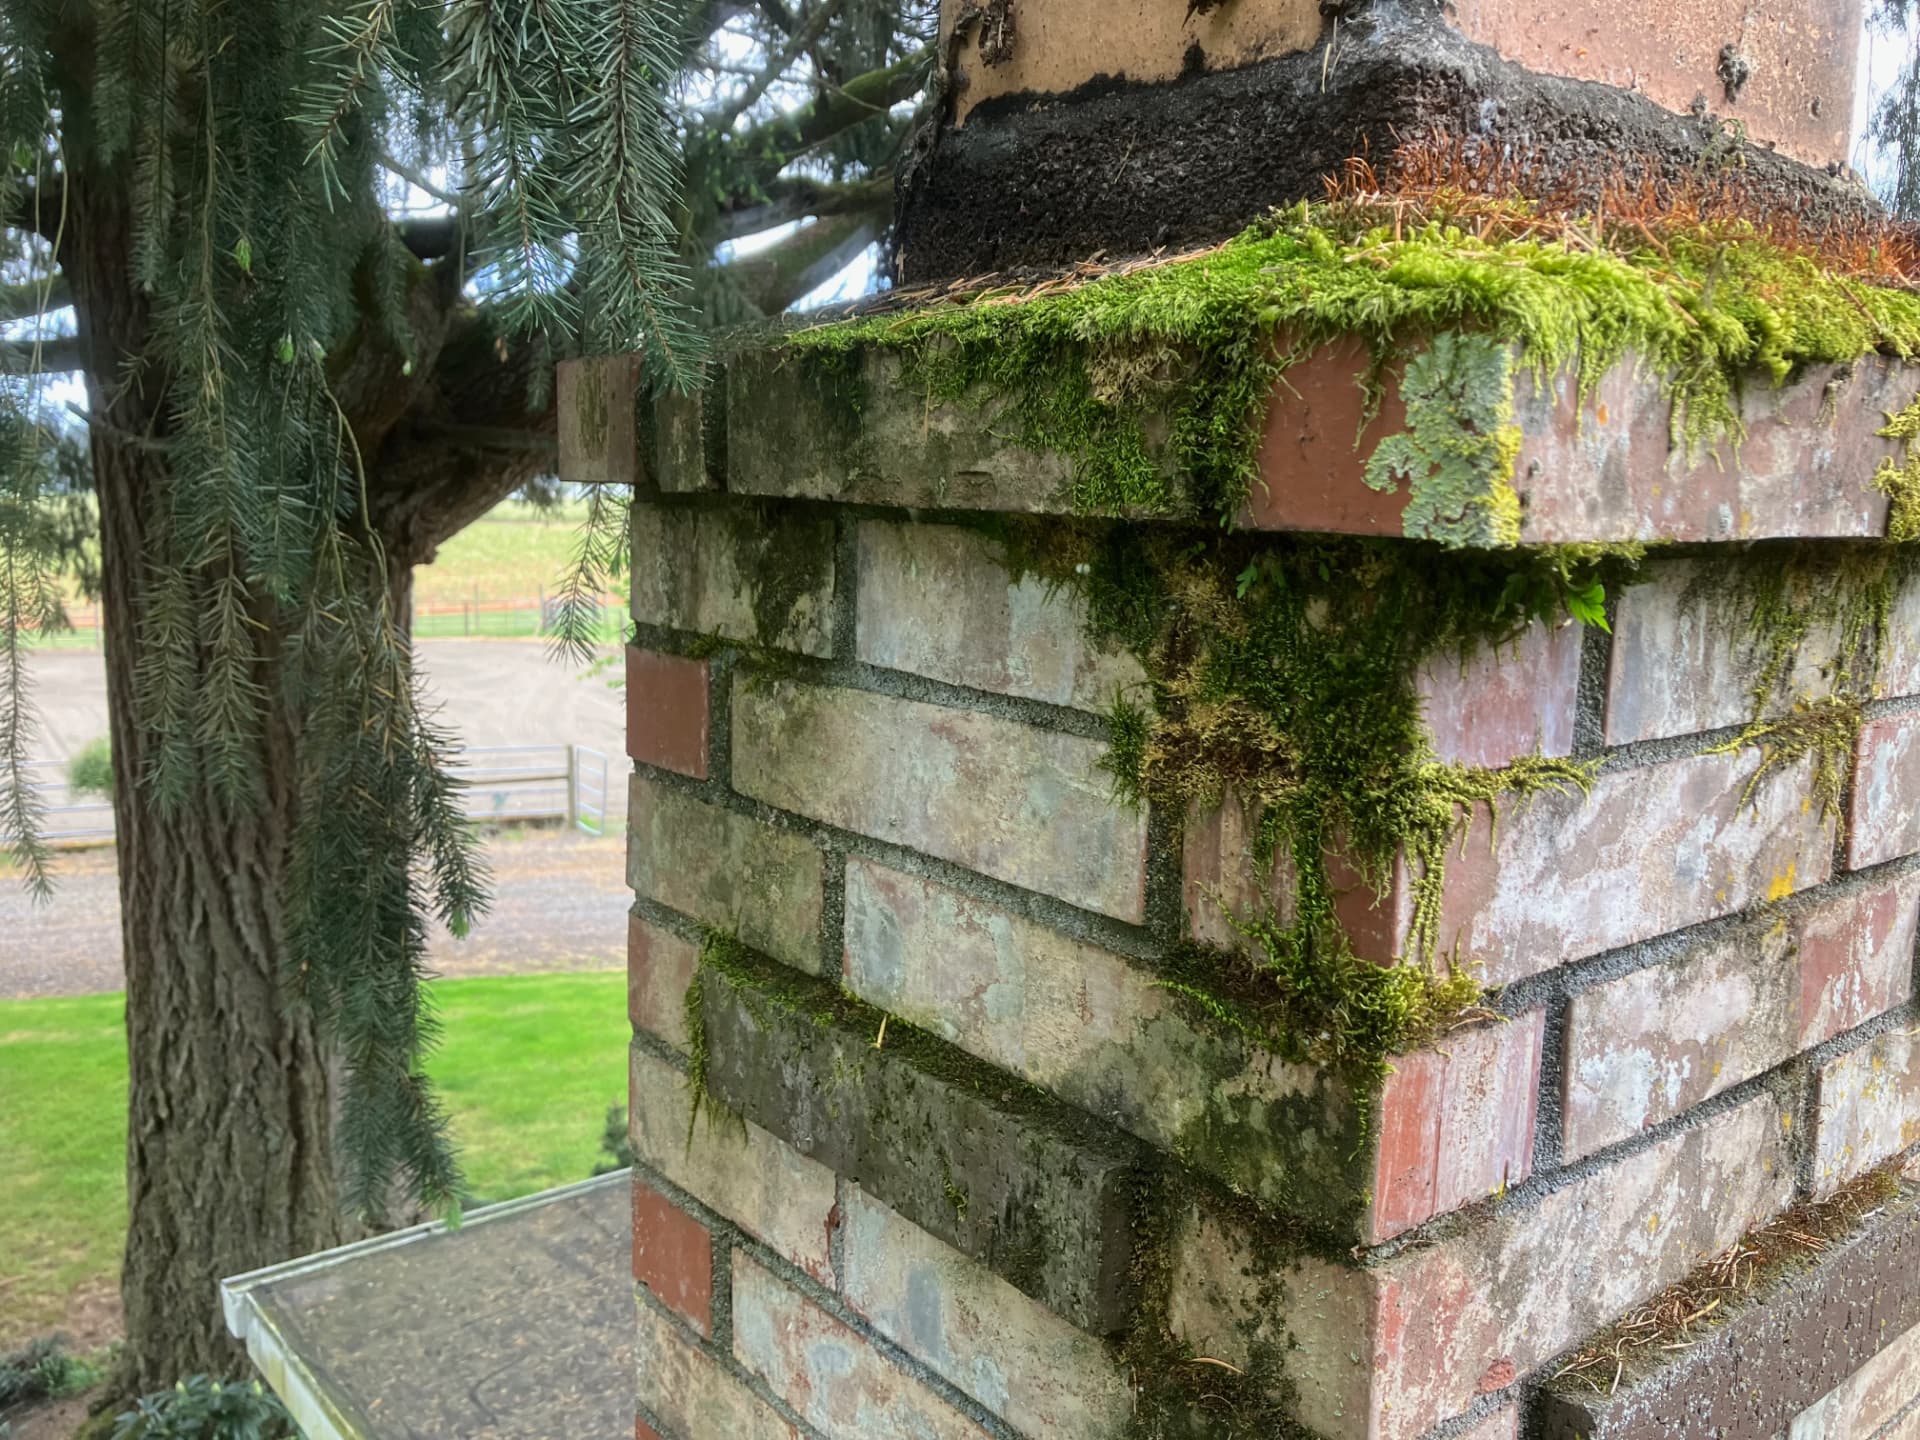
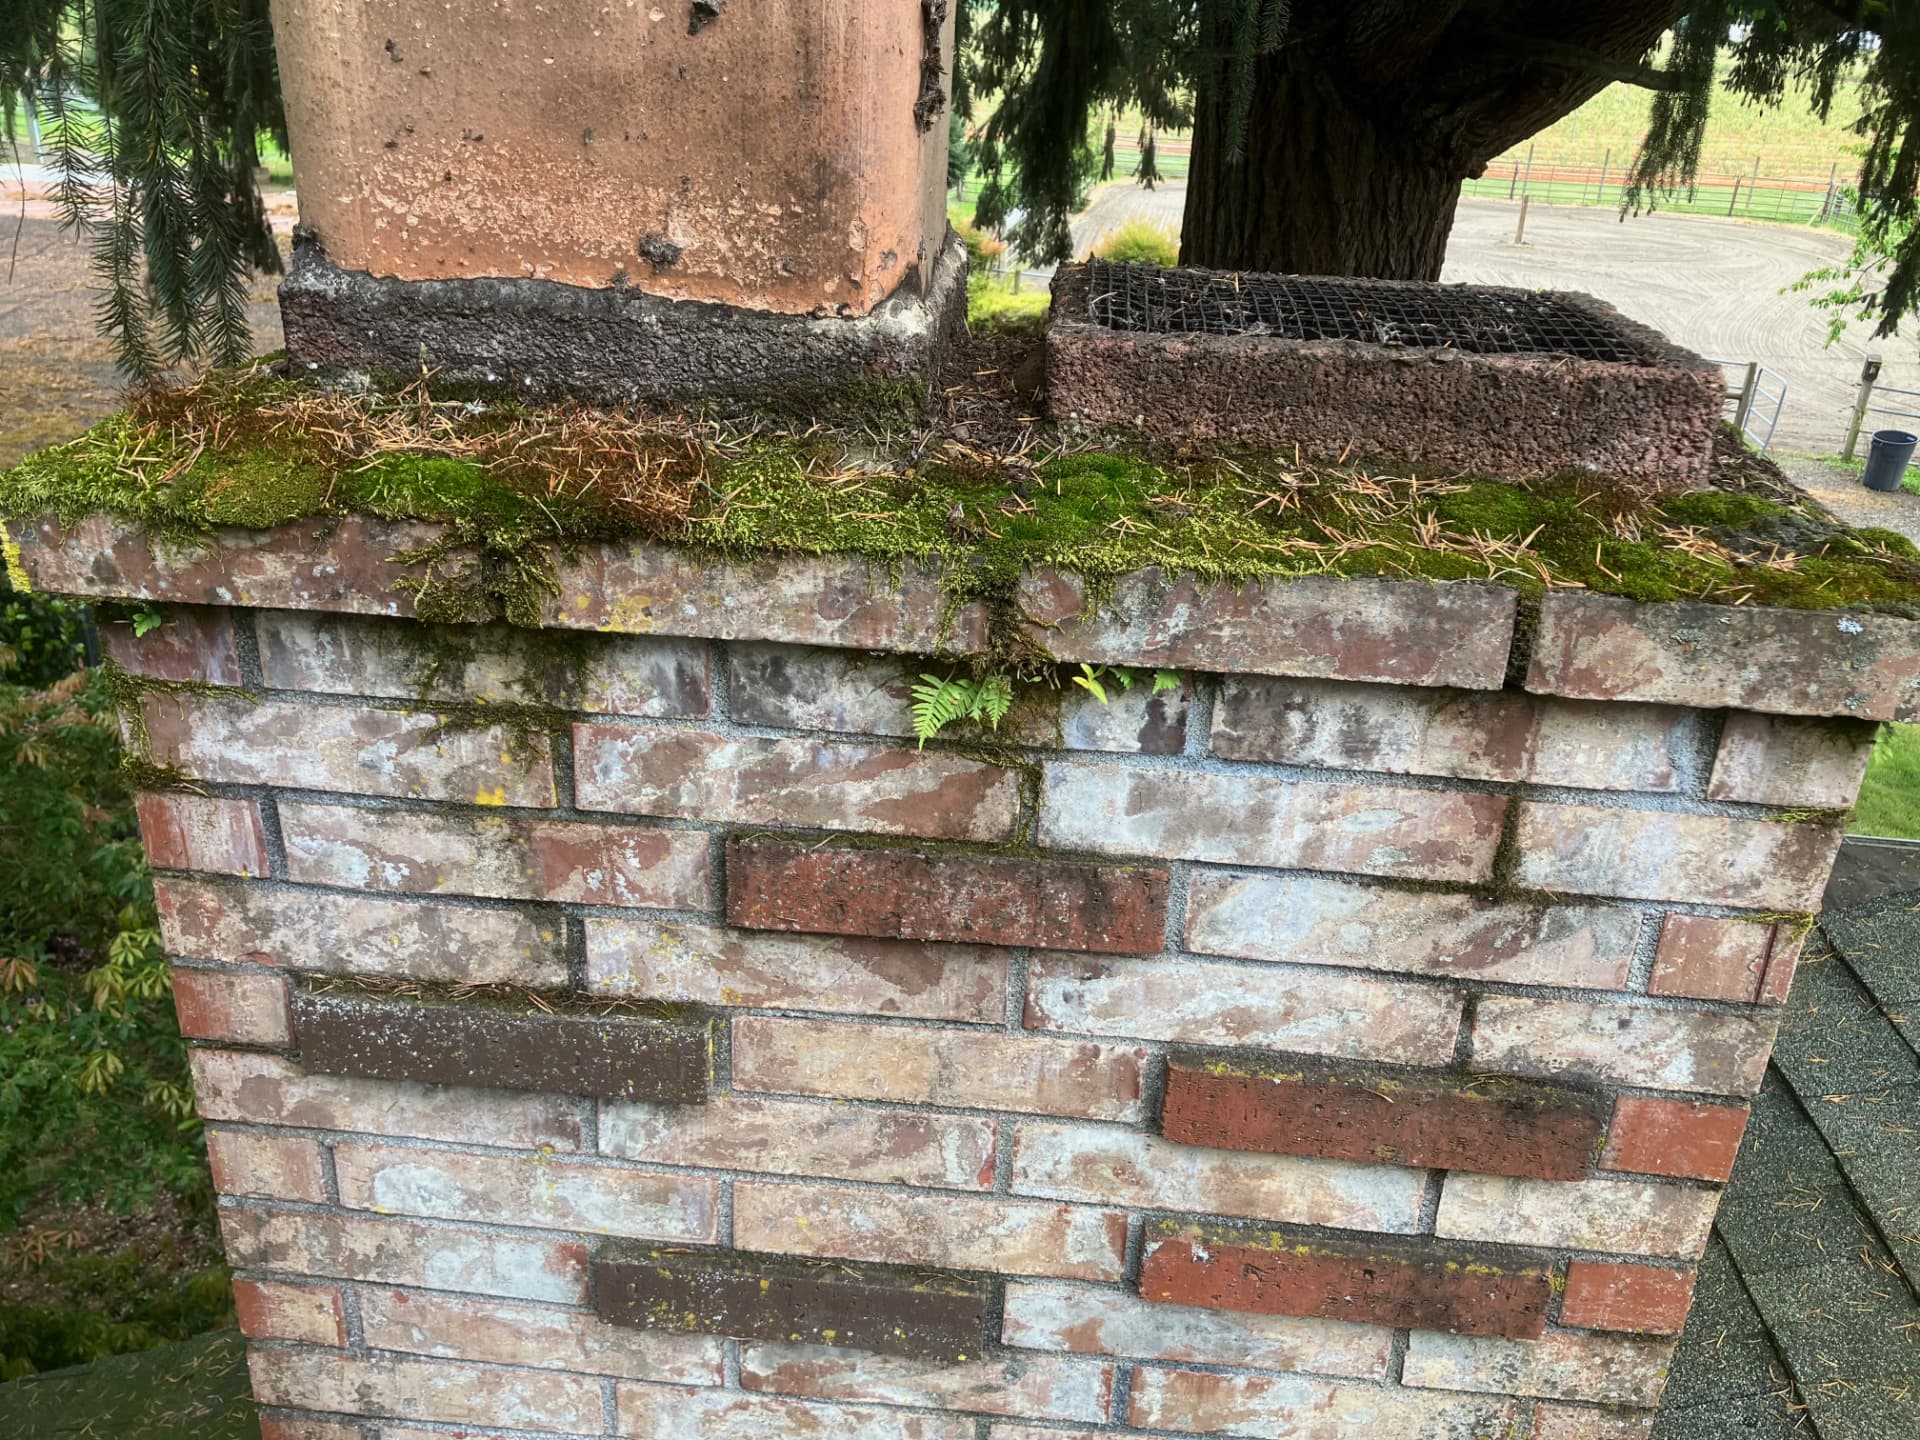
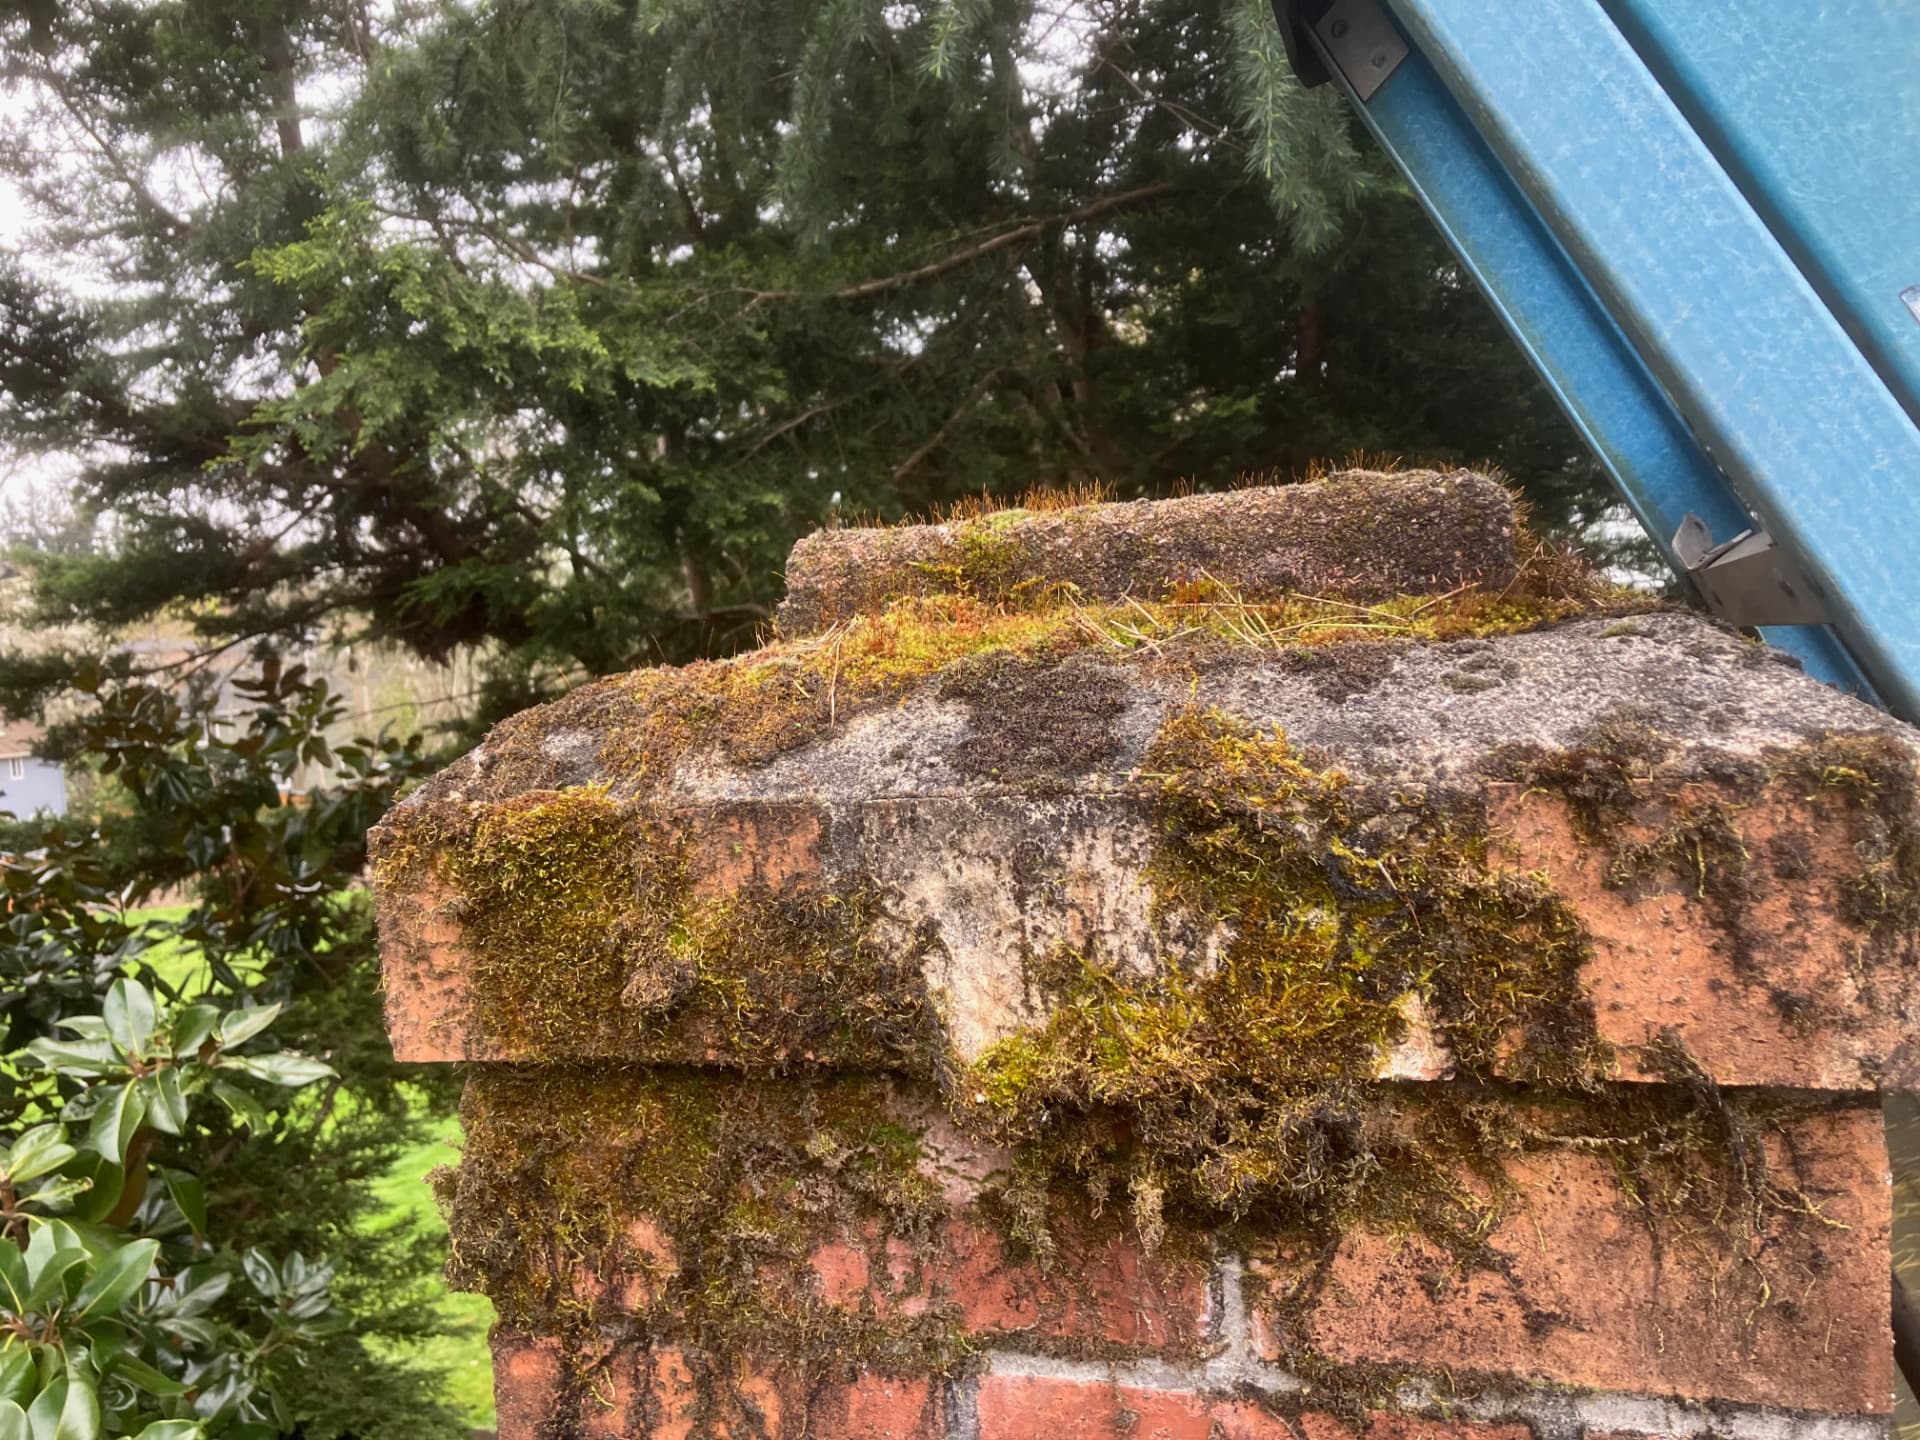
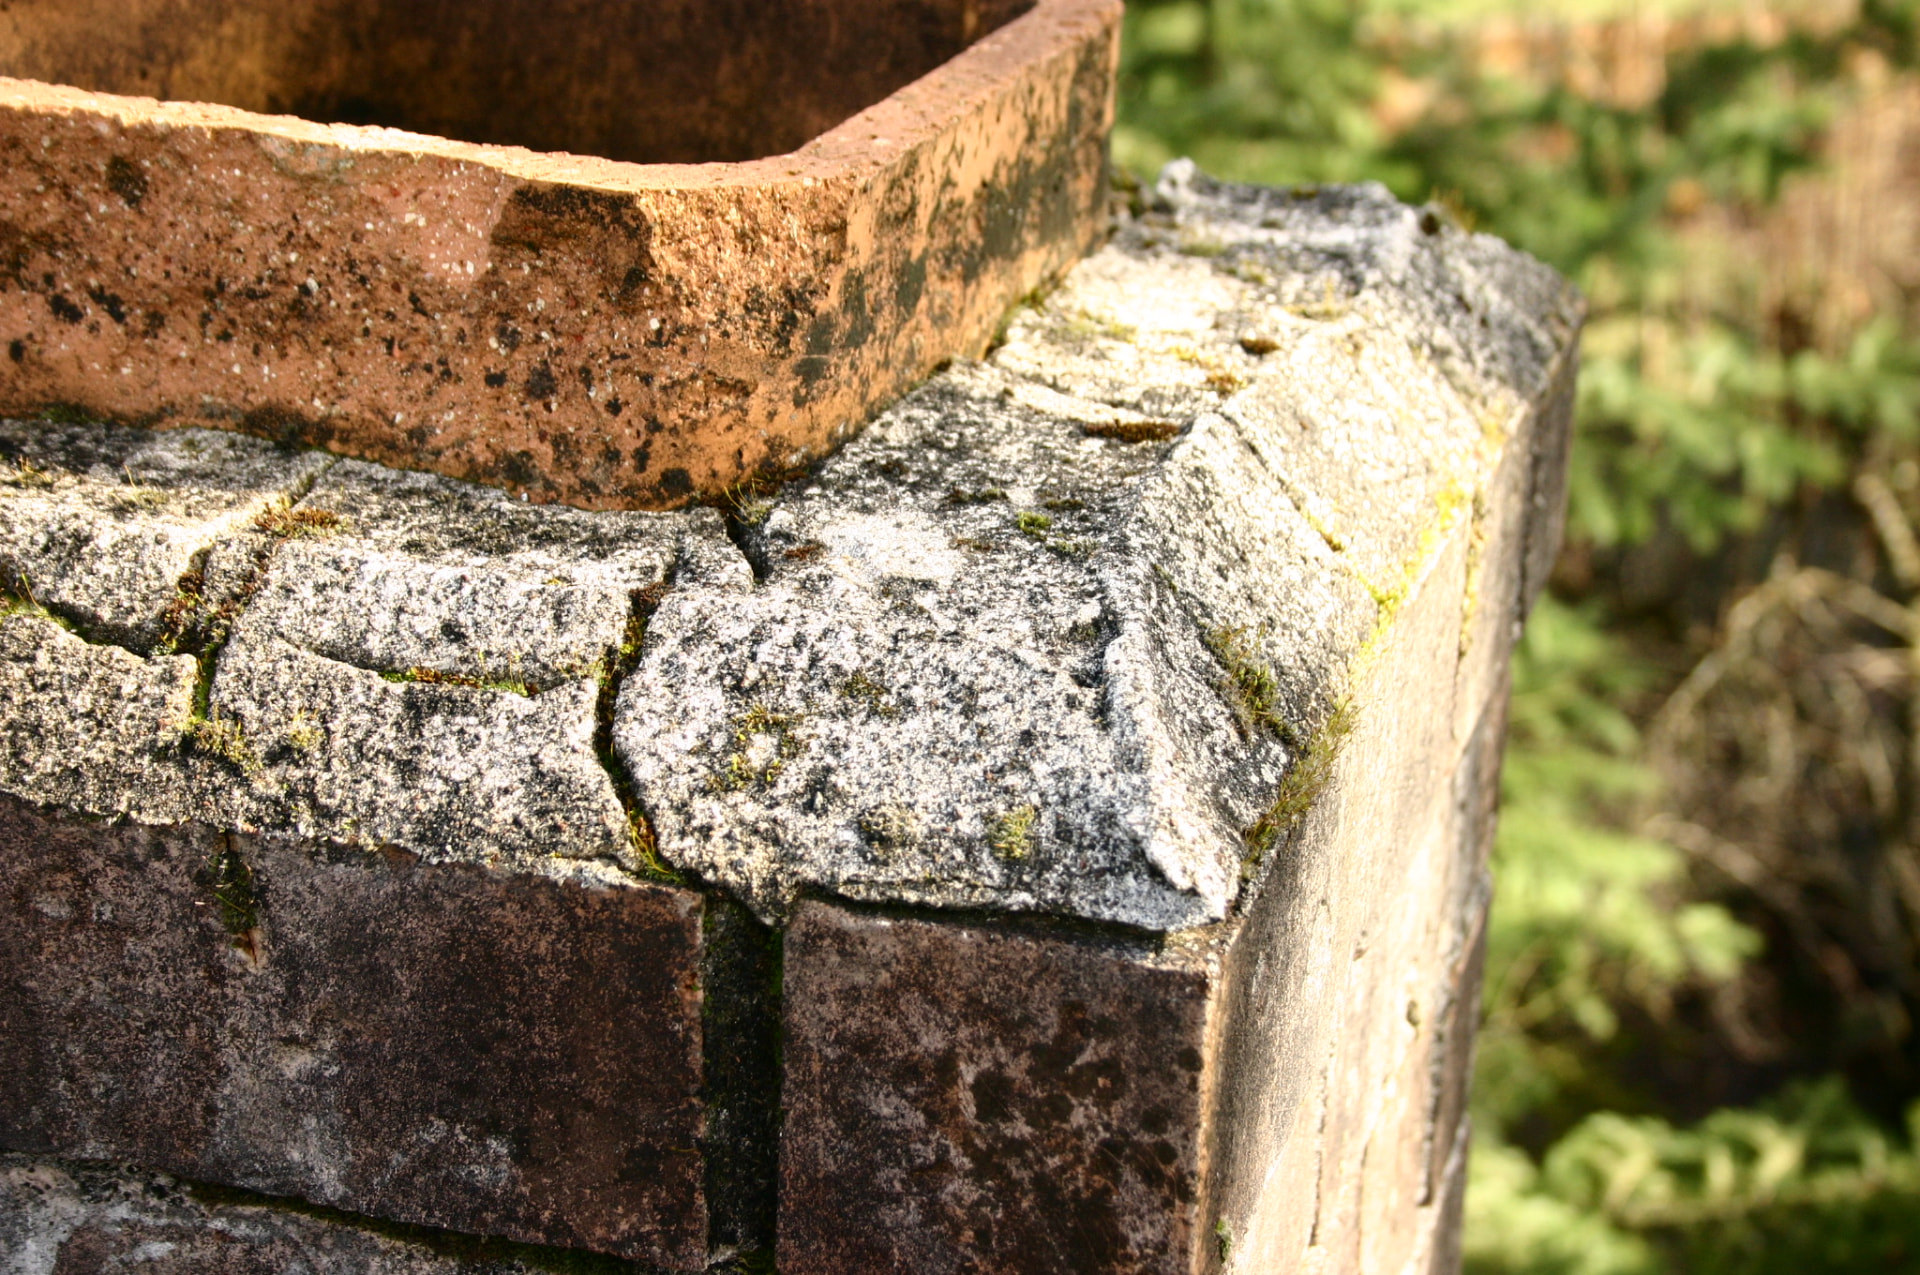
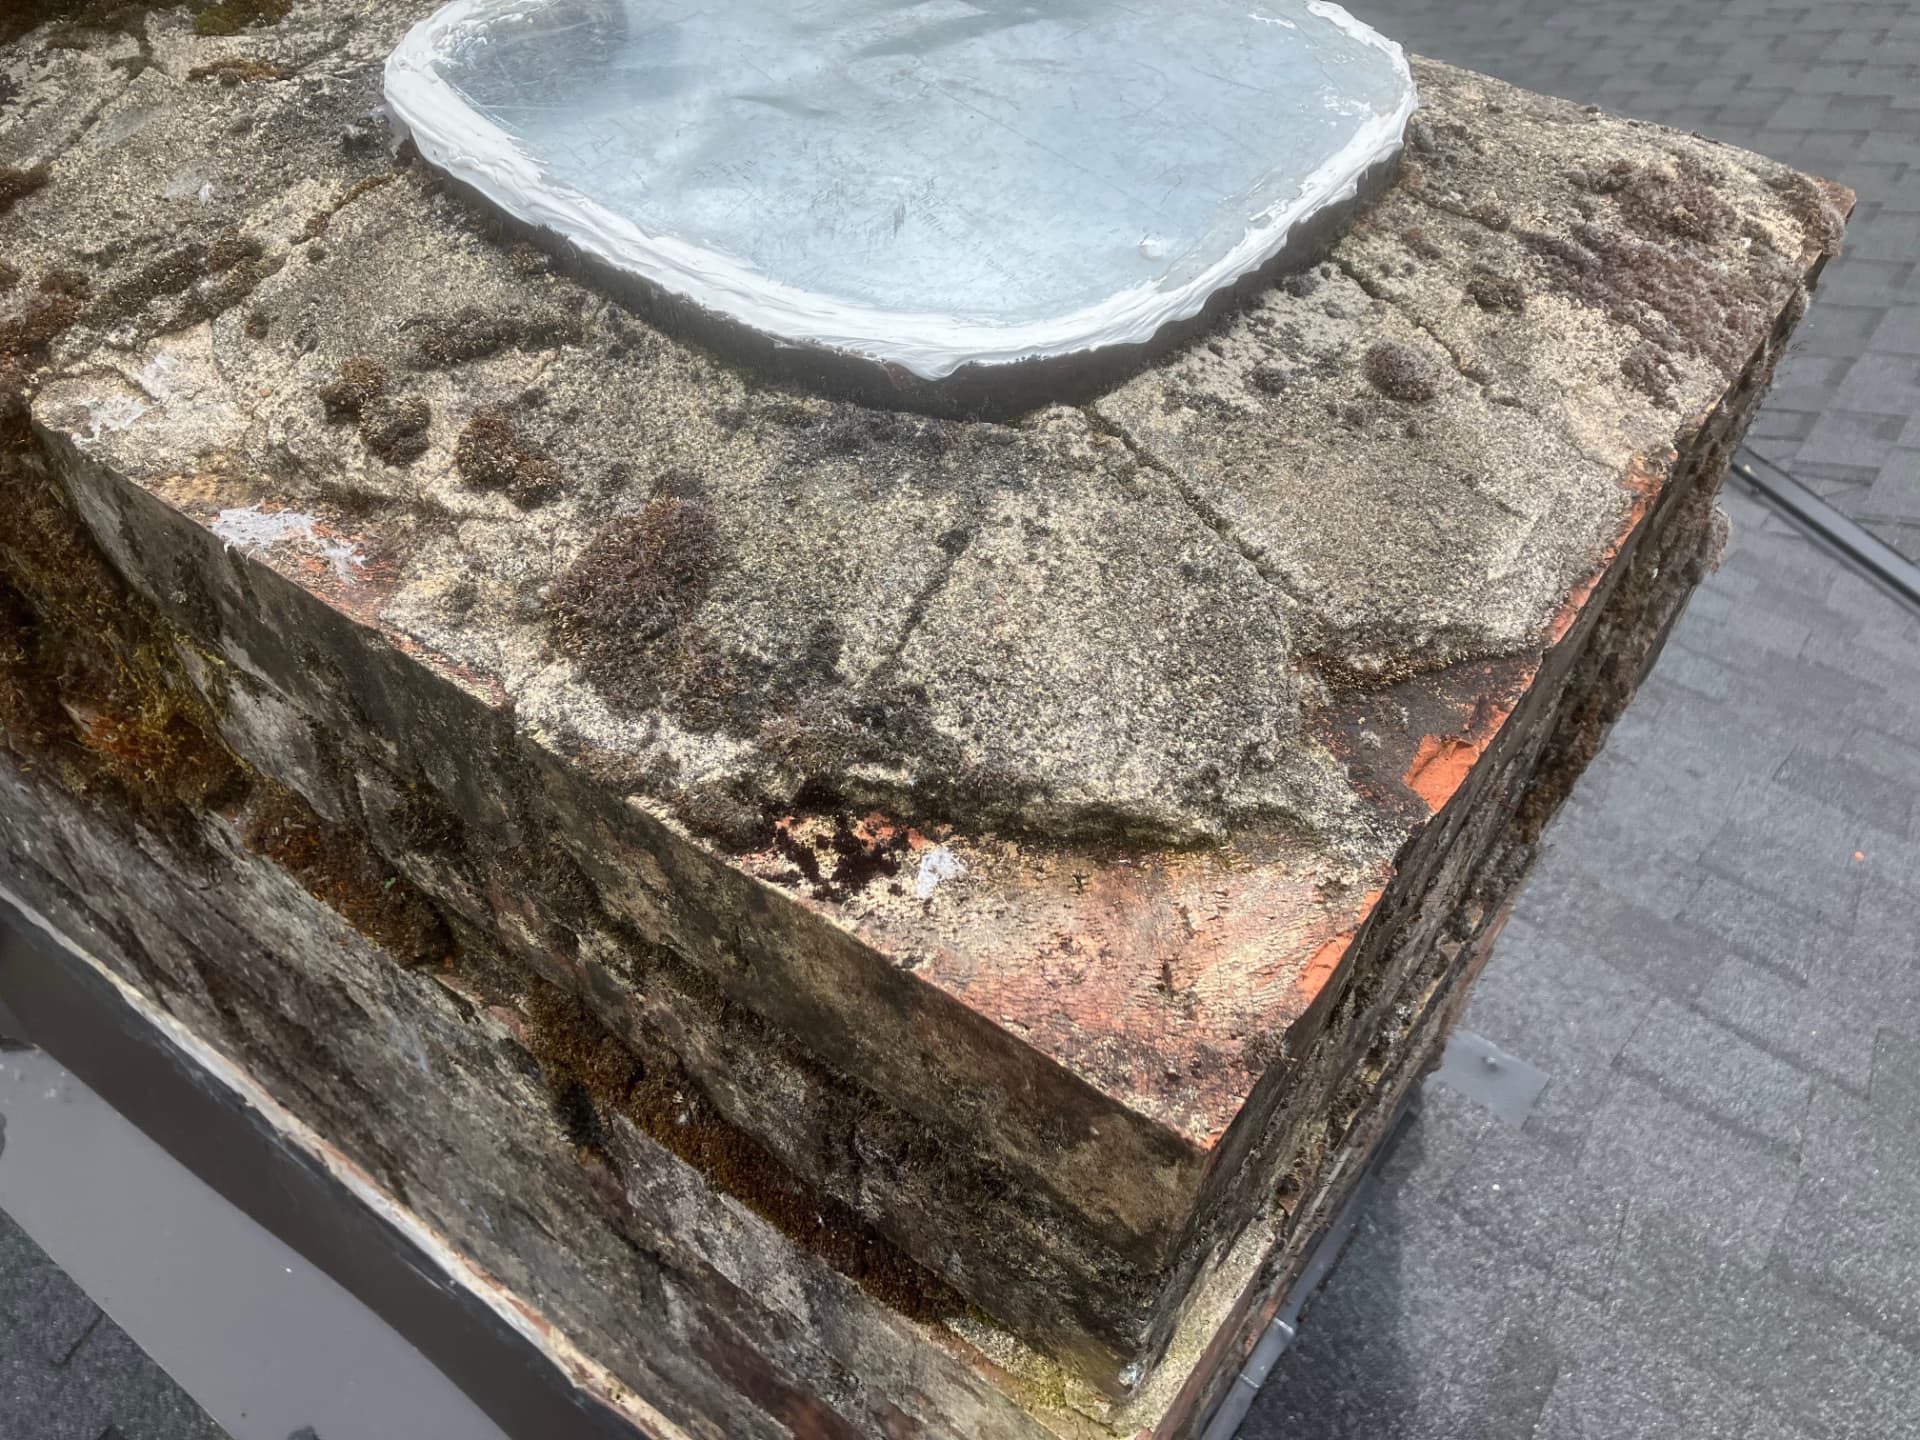
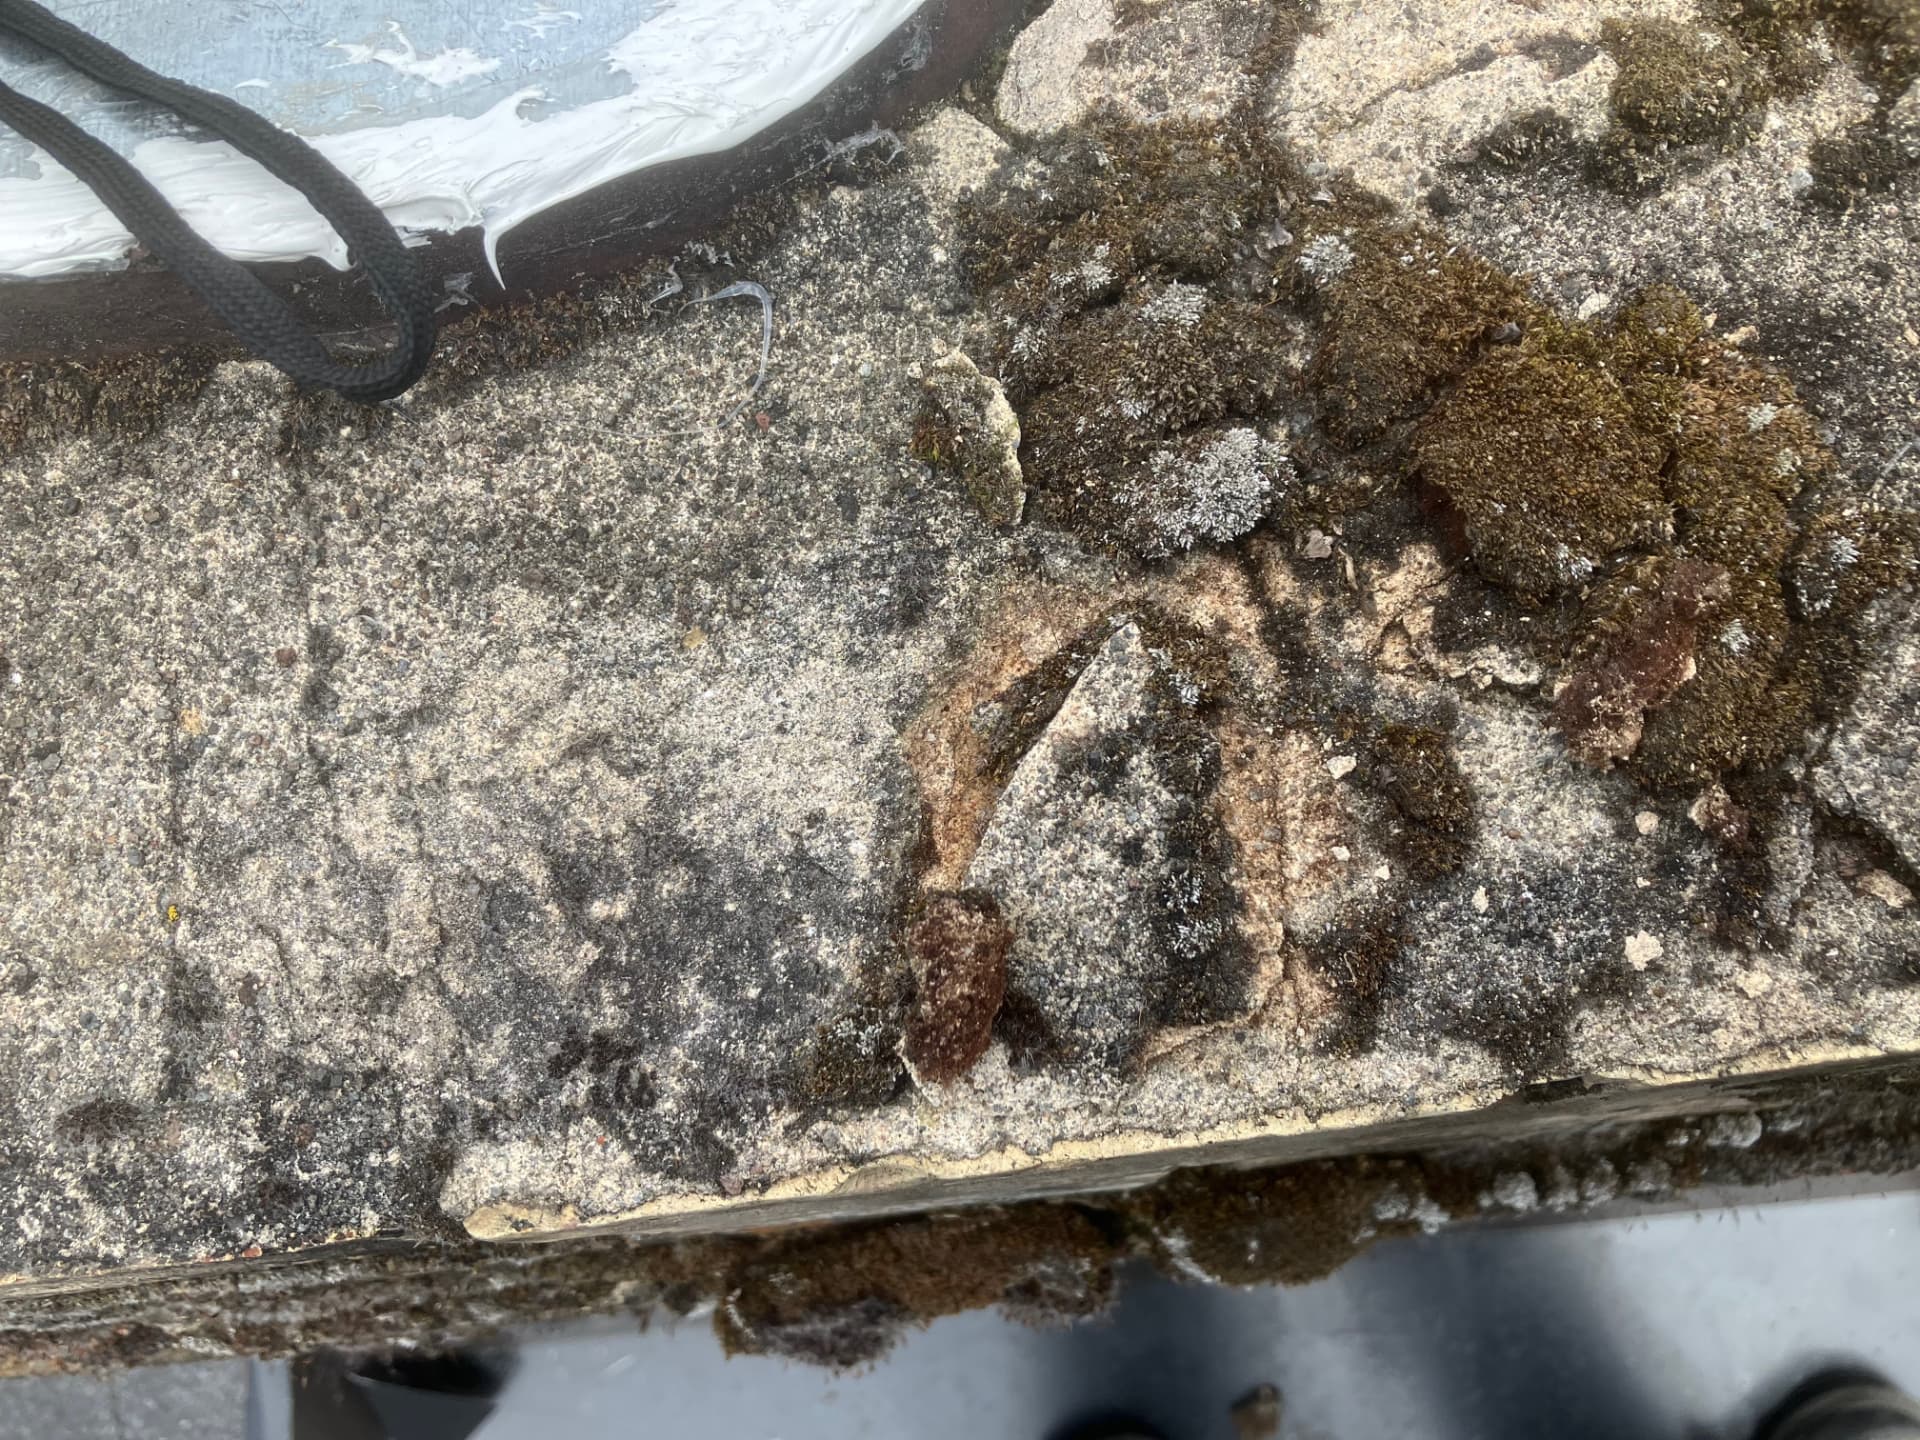
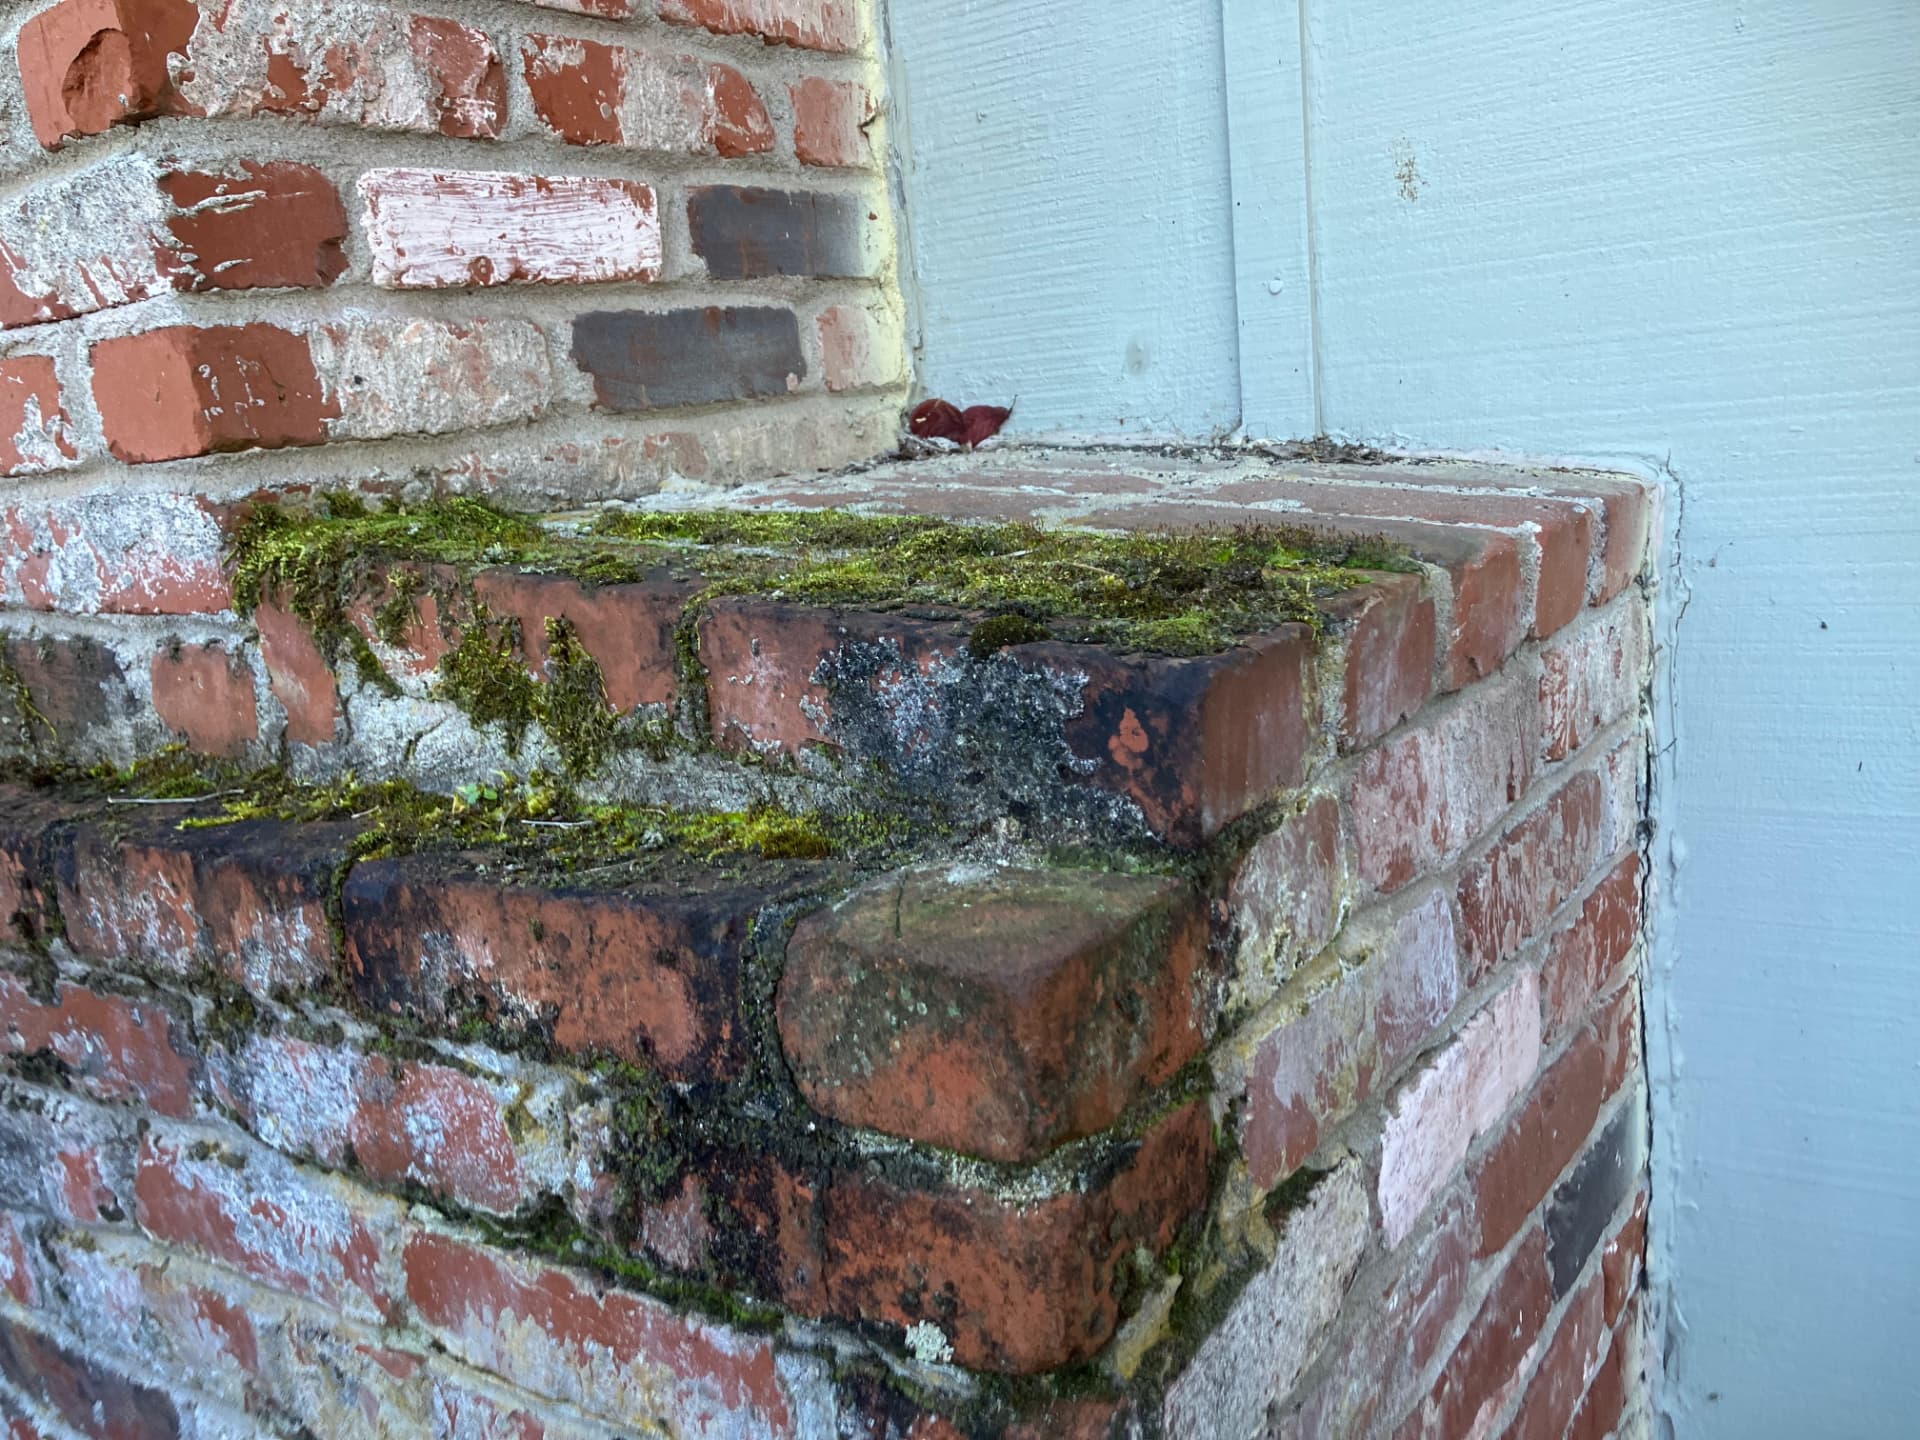
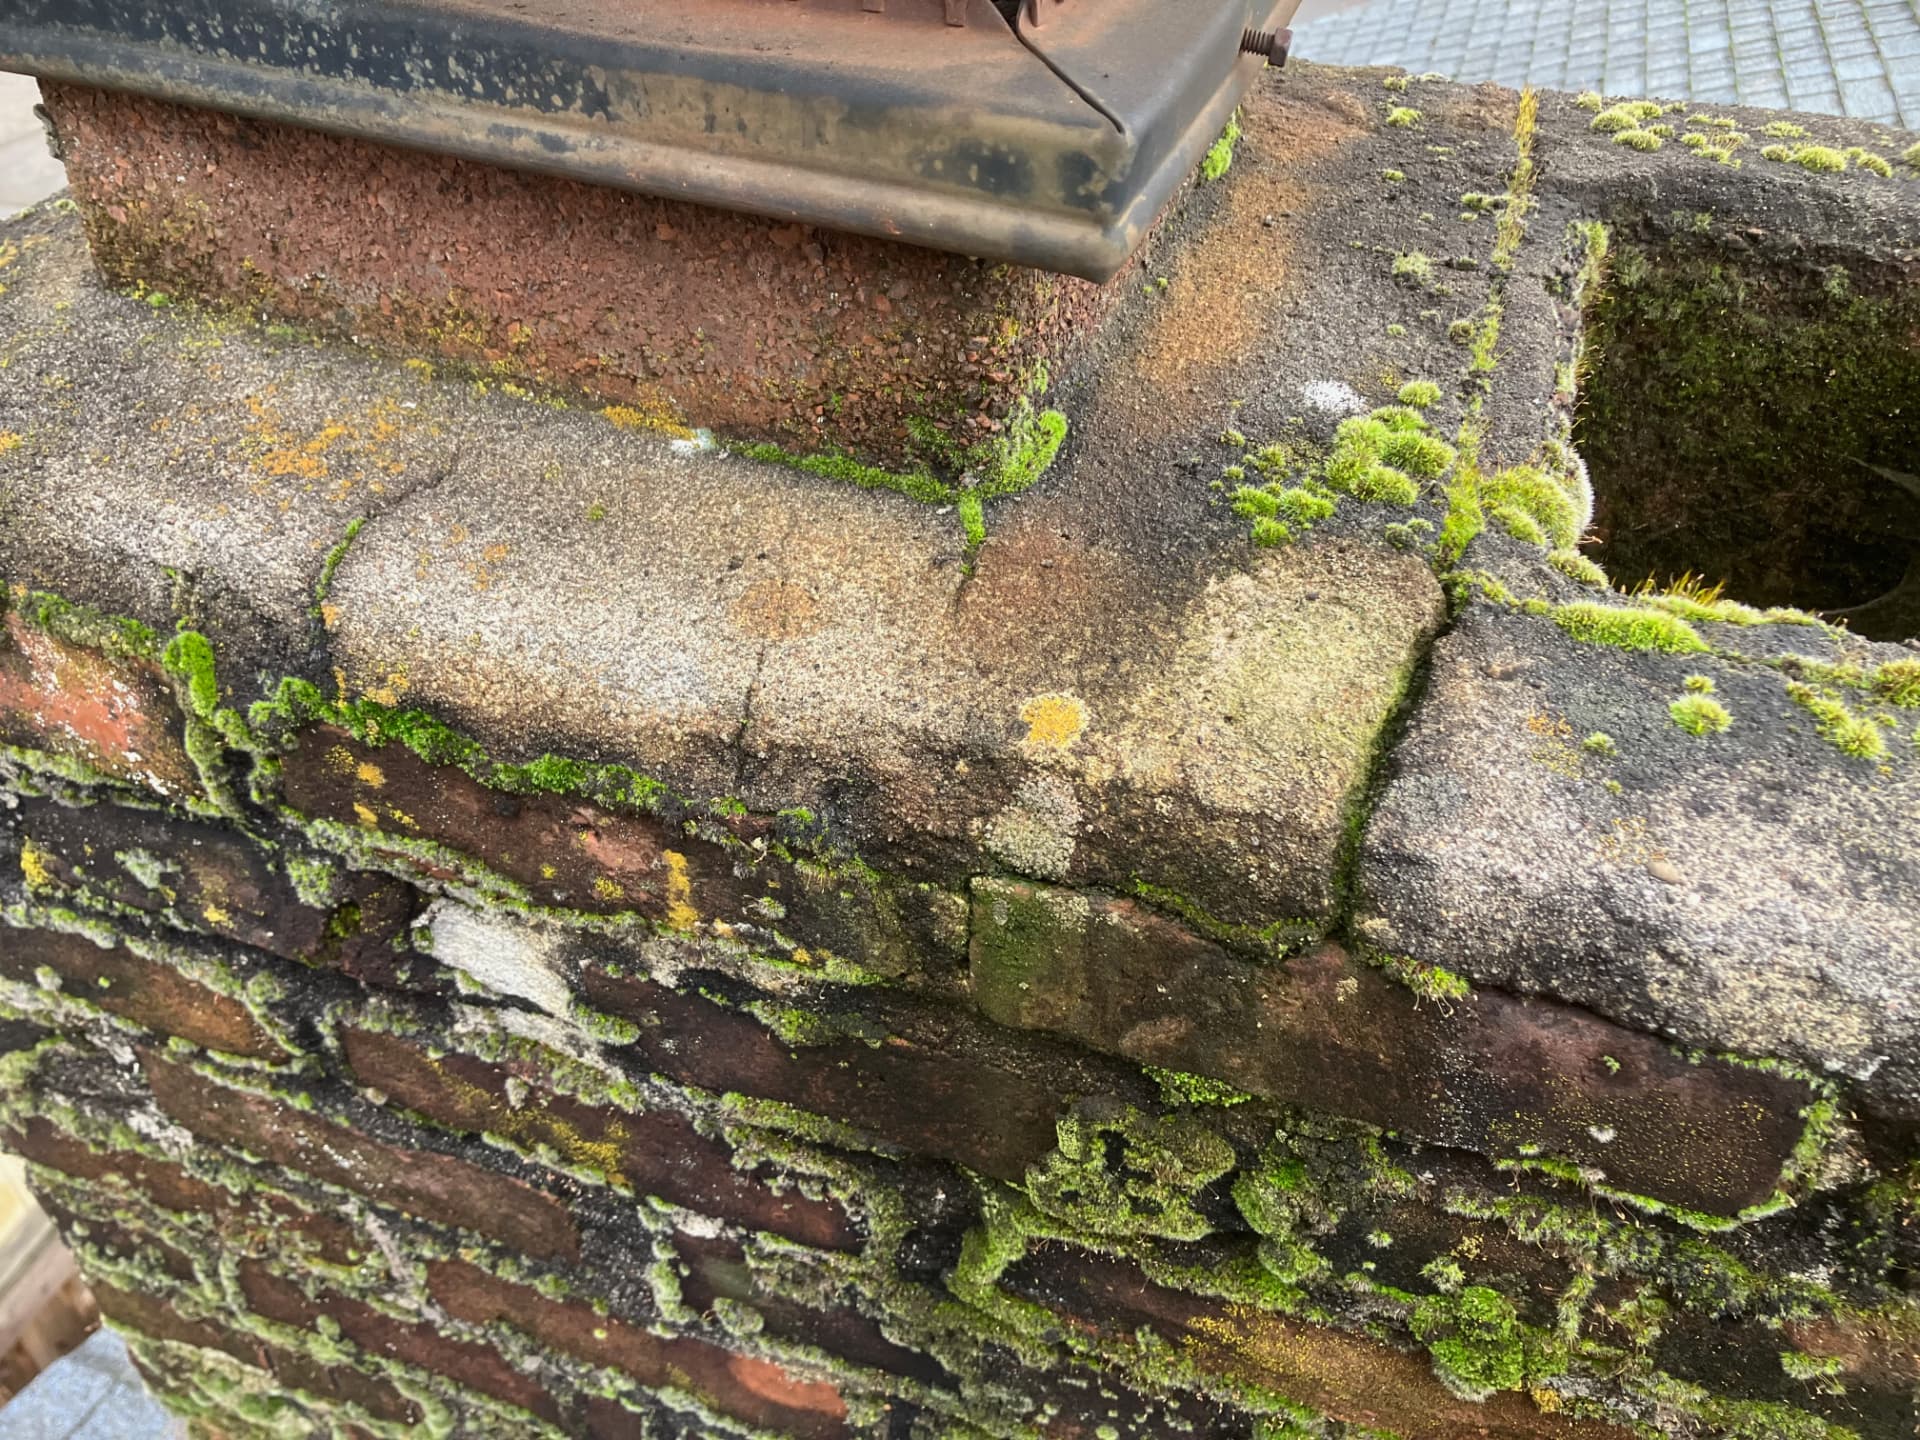
Moss will also start breaking down the crown and shoulders of the chimney.
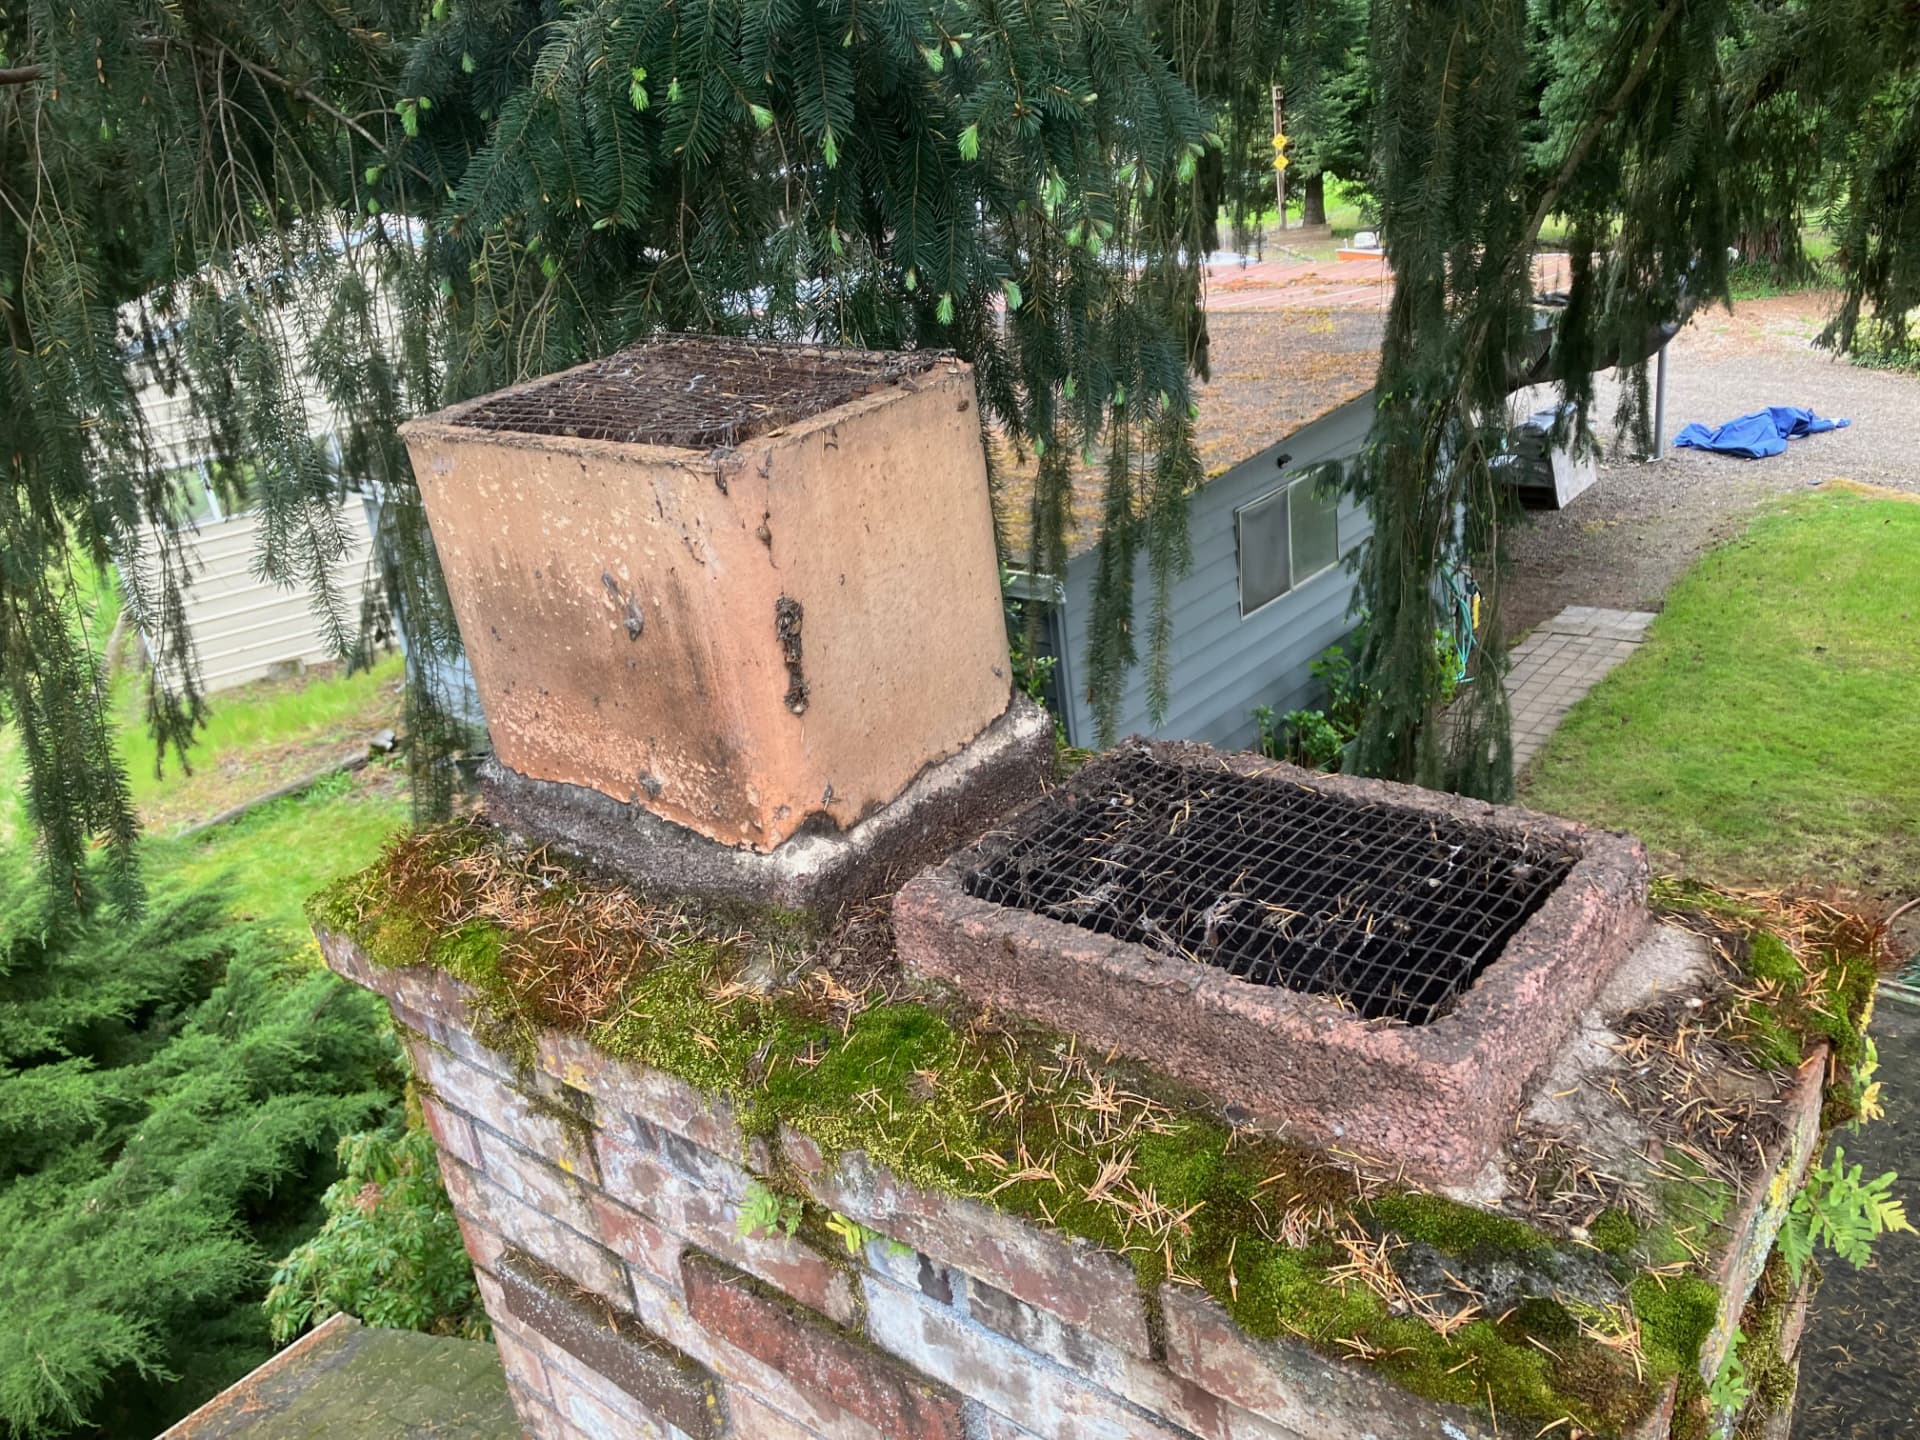
Moss on the crown and shoulders 1
Moss on the crown and shoulders 2
Moss on the crown and shoulders 3
Moss on the crown and shoulders 4
Moss on the crown and shoulders 5

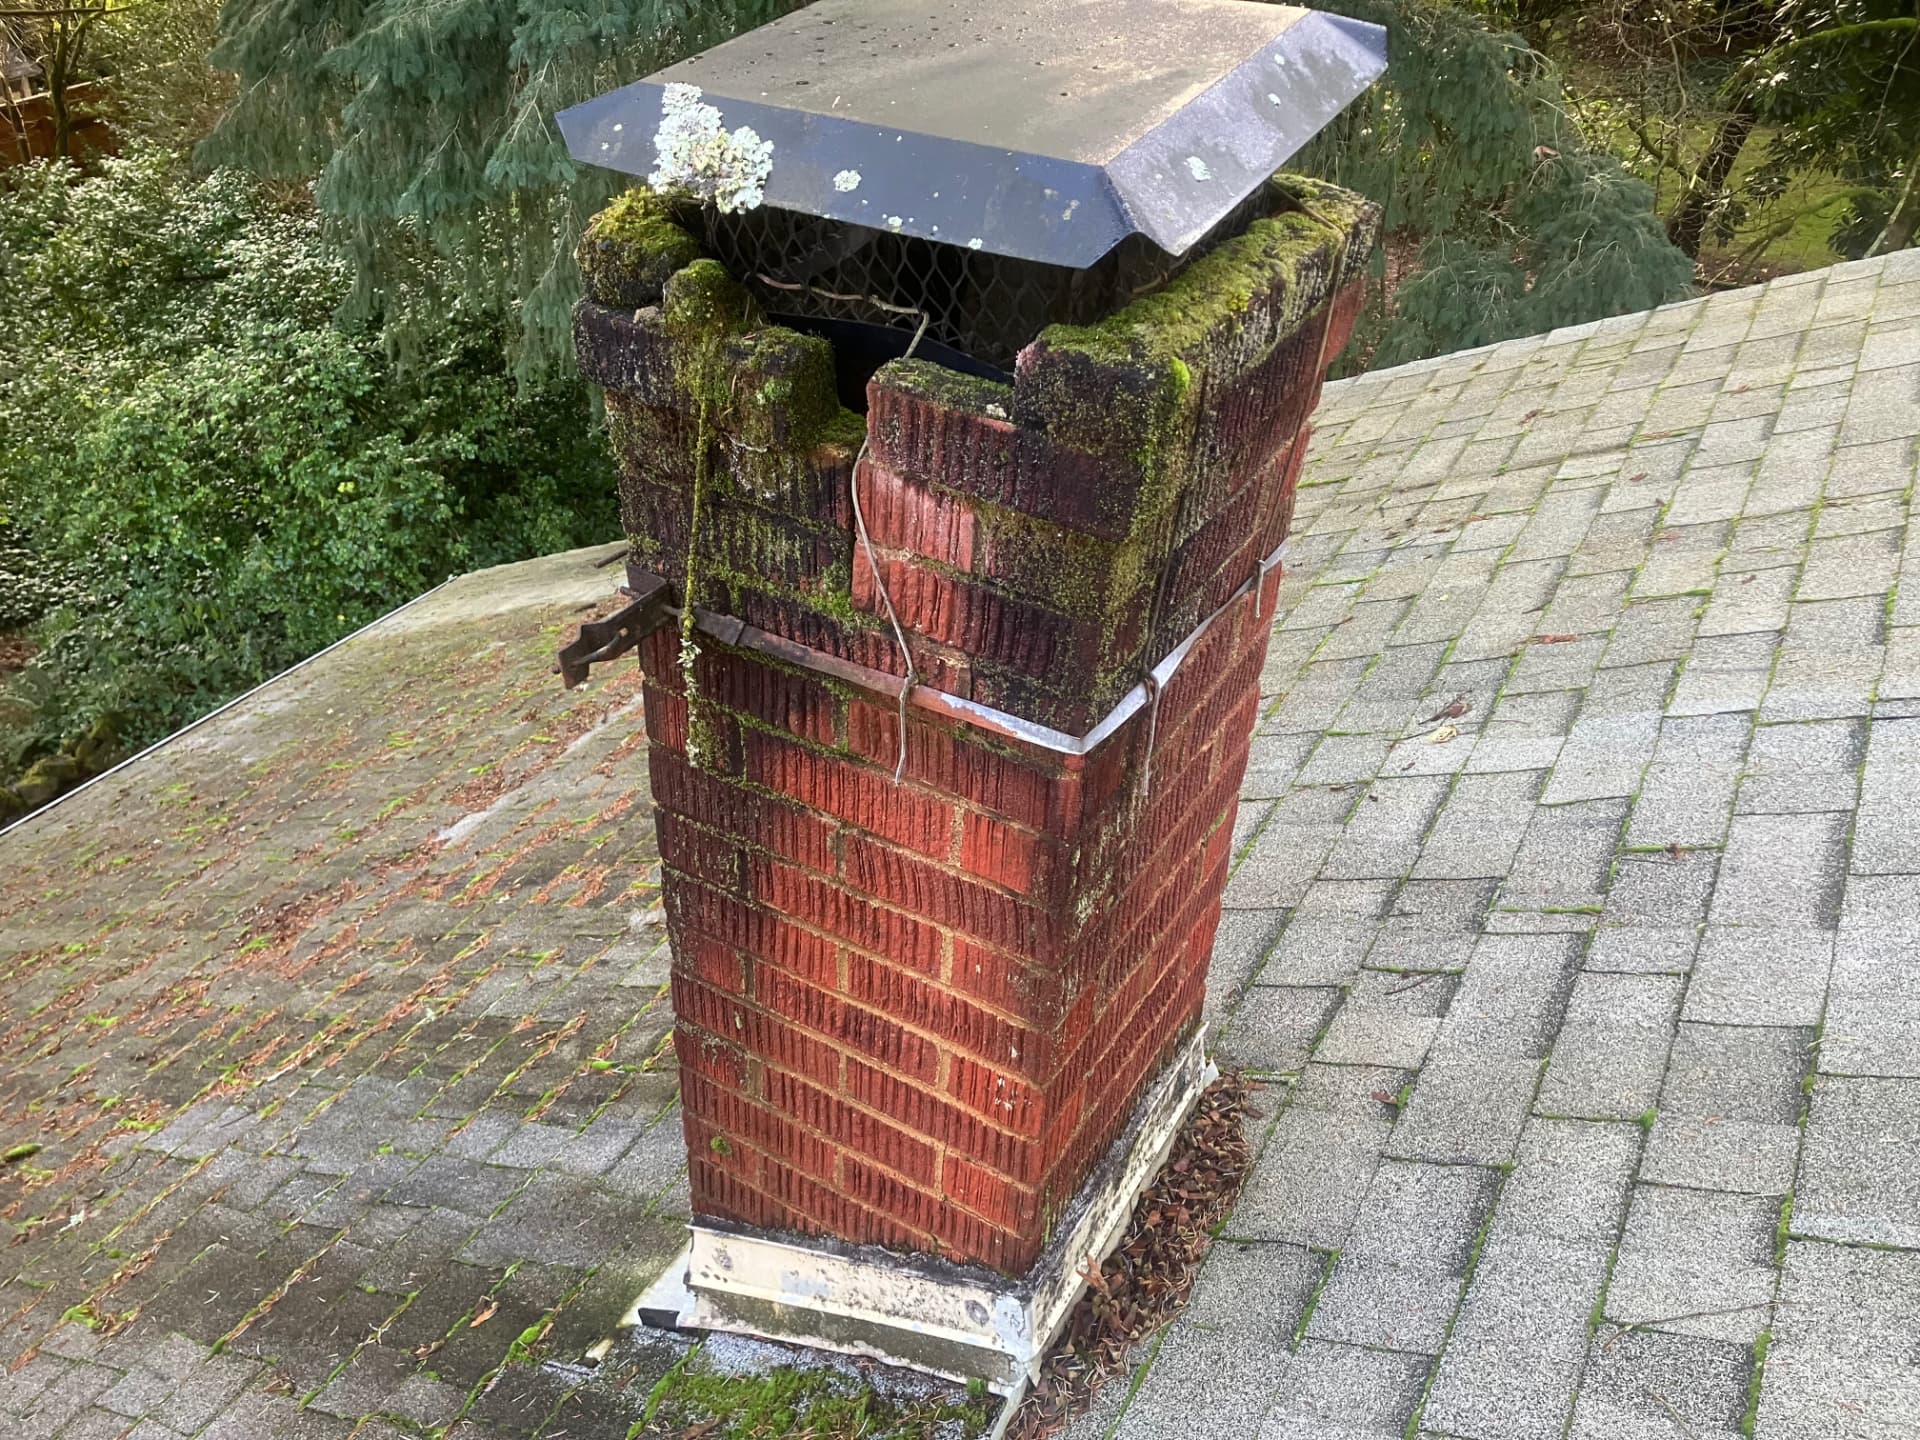
As the damage progresses, the moss will further break down the crown.
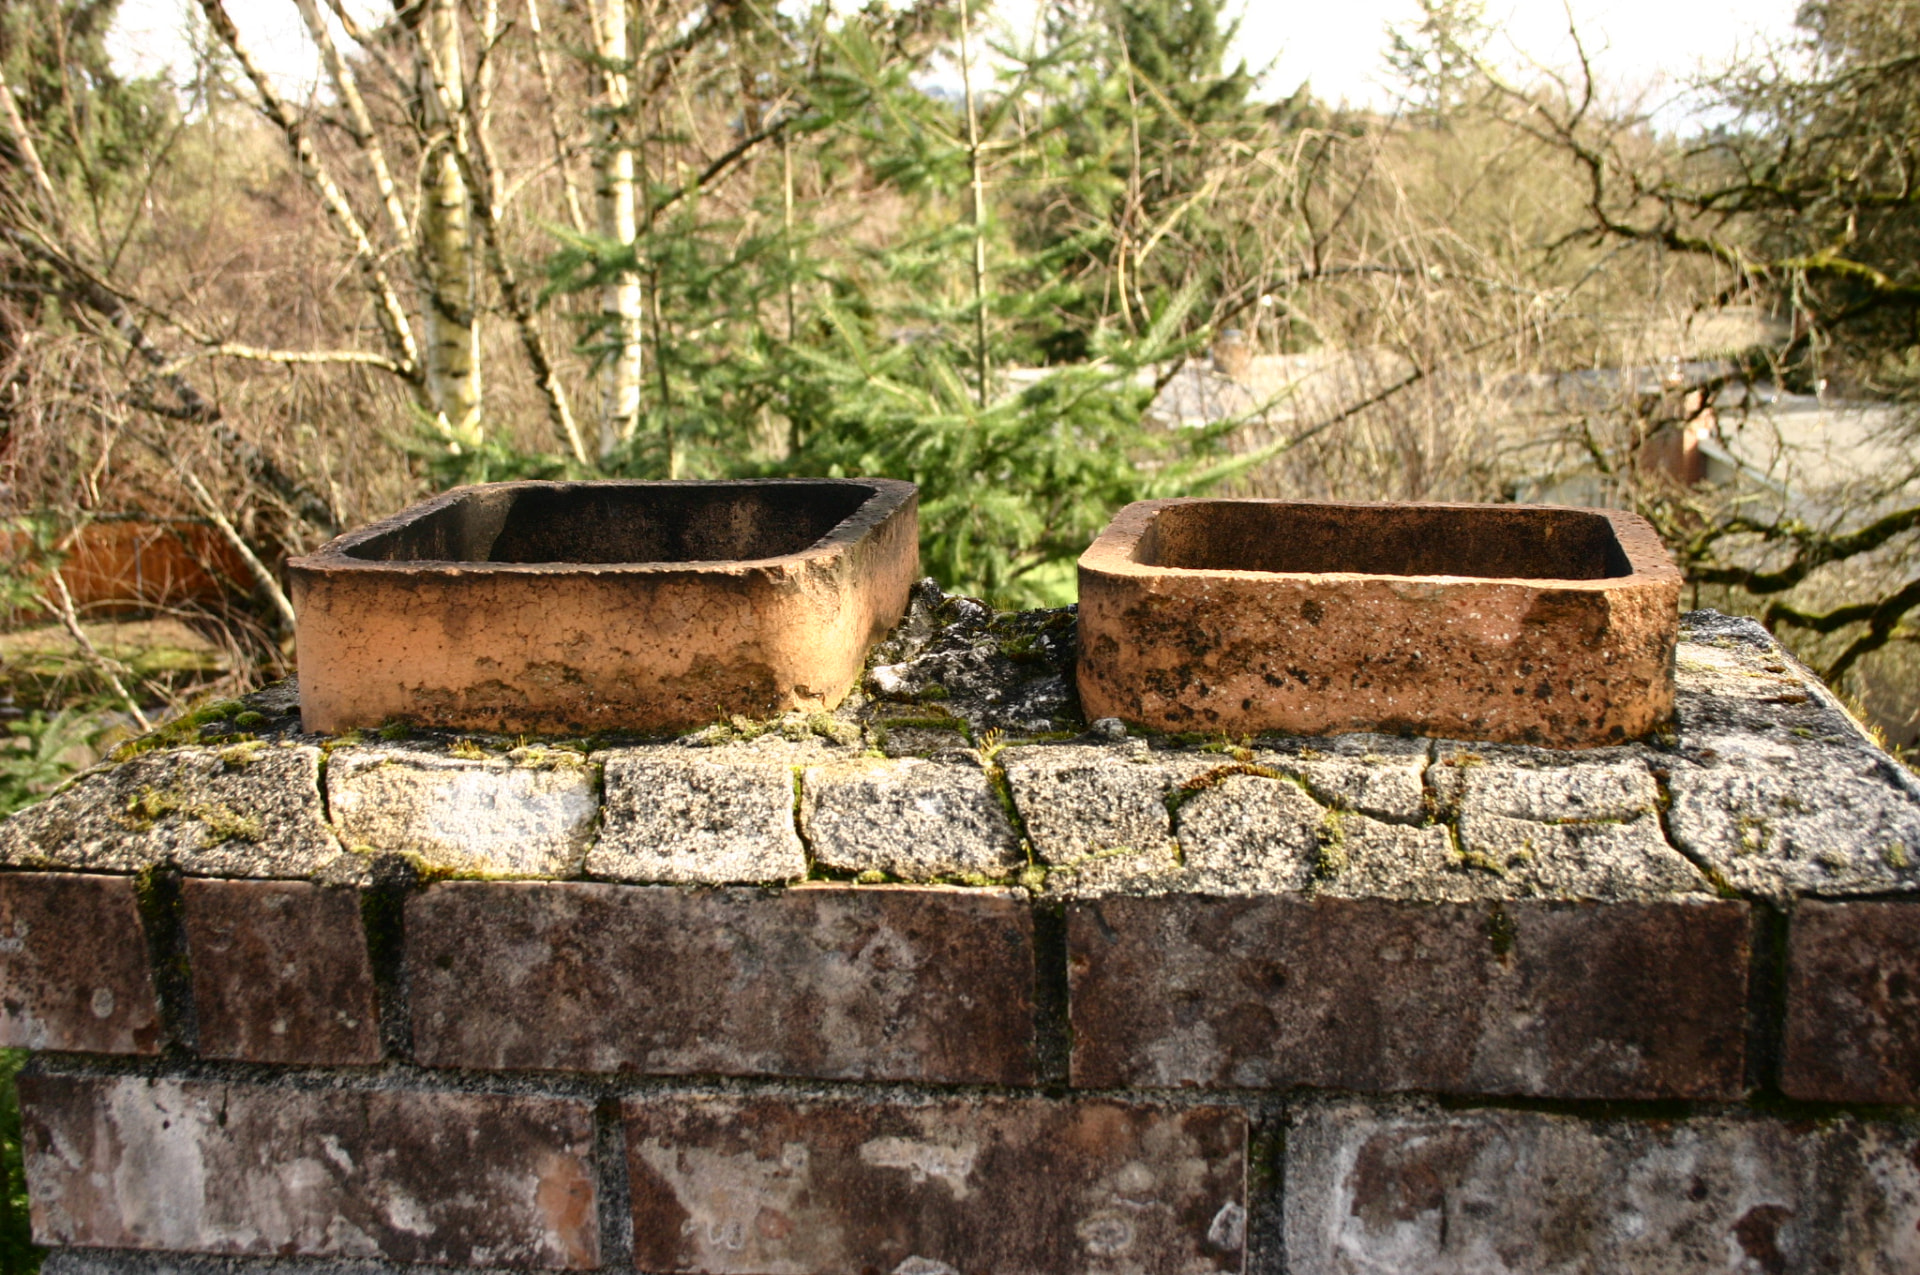
Moss breaking down the crown 1
Moss breaking down the crown 2
Moss breaking down the crown 3
Moss breaking down the crown 4
Moss breaking down the crown 5
Moss breaking down the crown 6

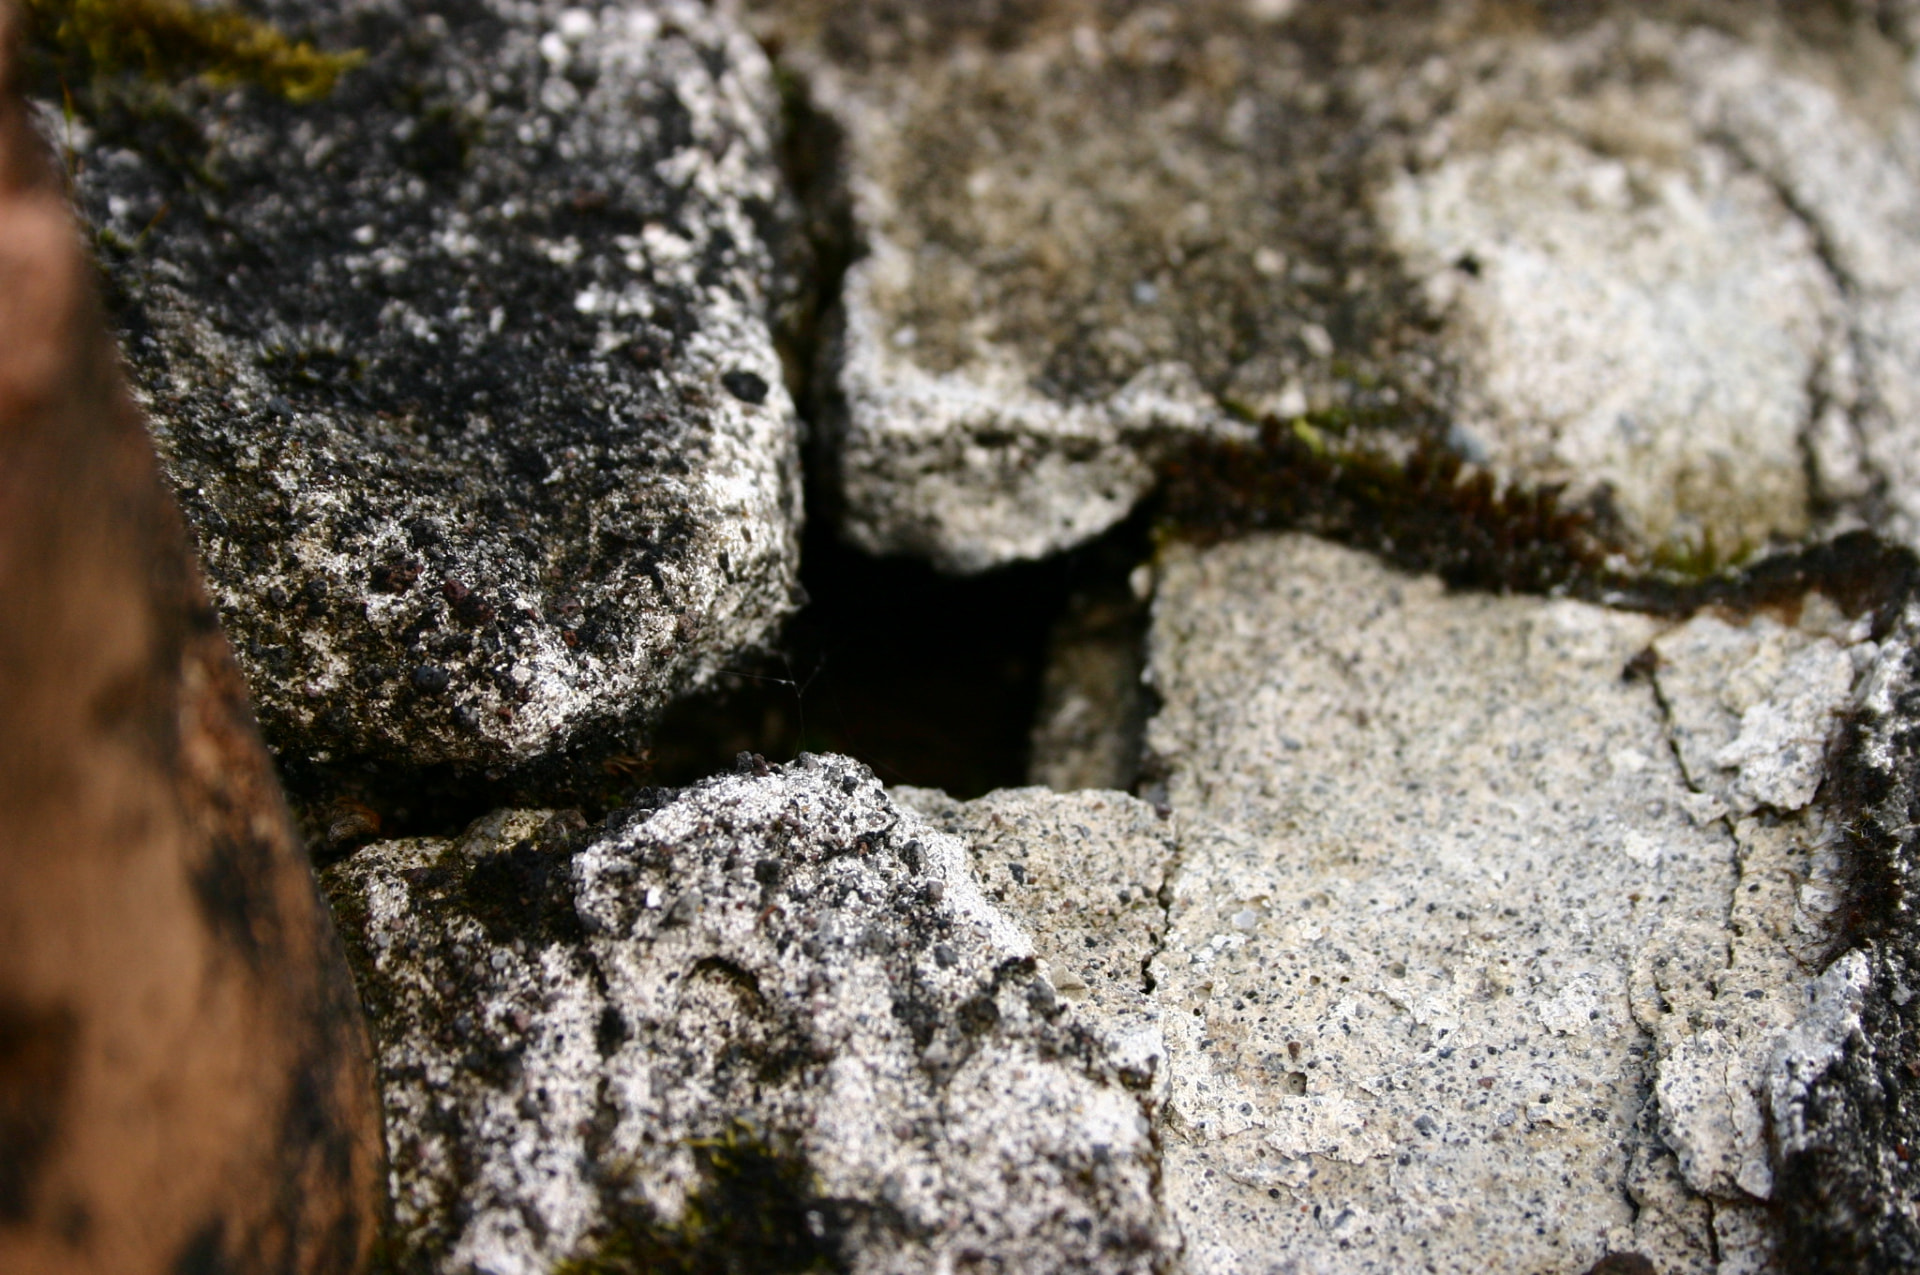
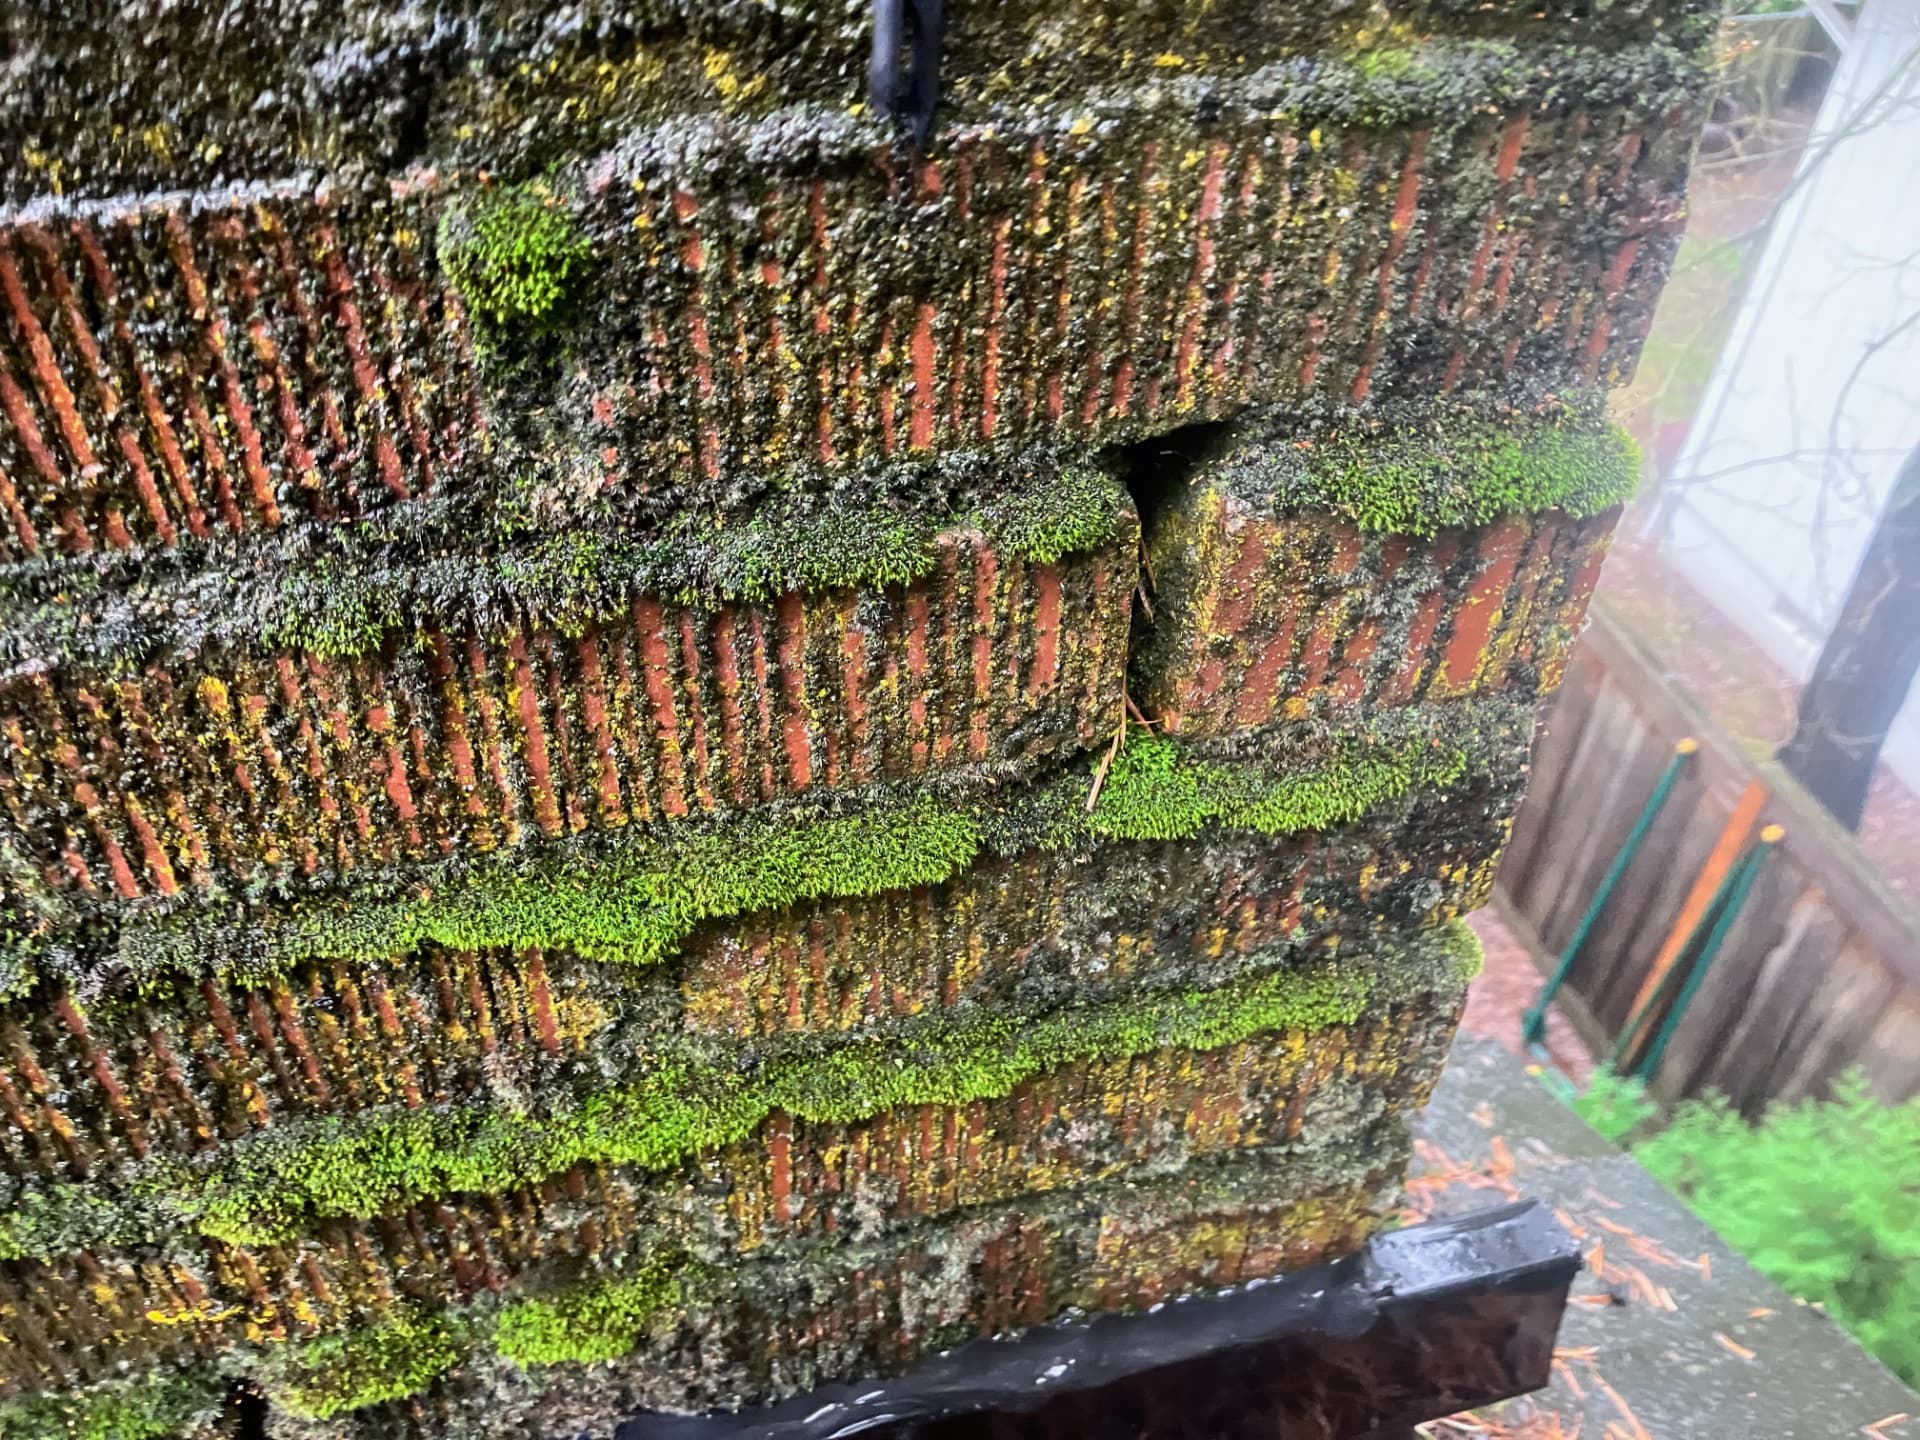
Once this happens, gravity starts pushing apart the vertical joints, which are the structural joints of the chimney. This pushes the bricks away from each other and causes the chimney to break apart.
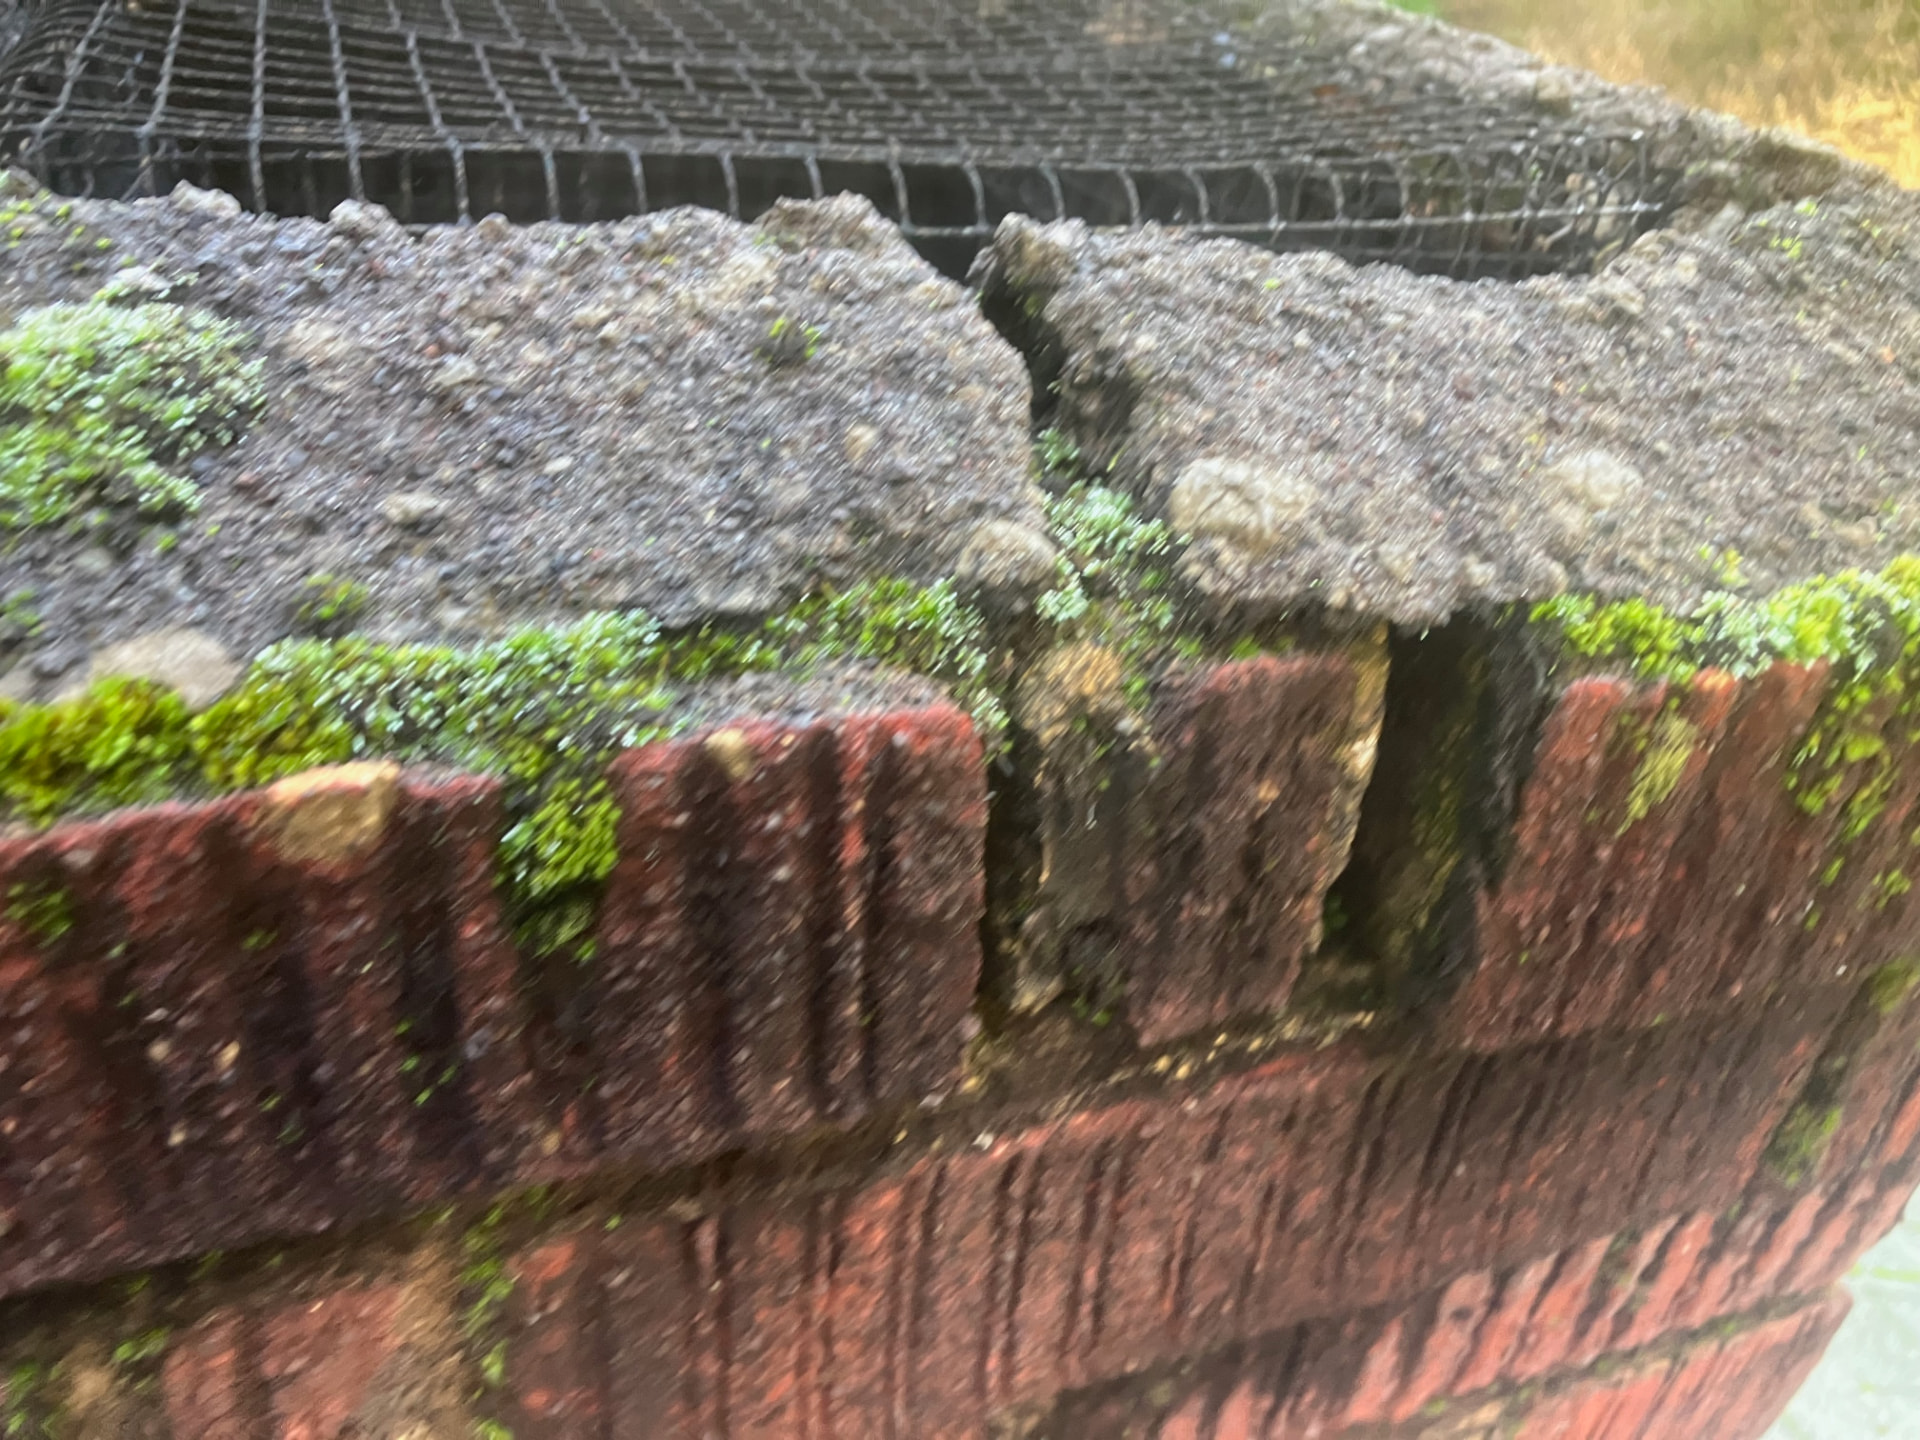
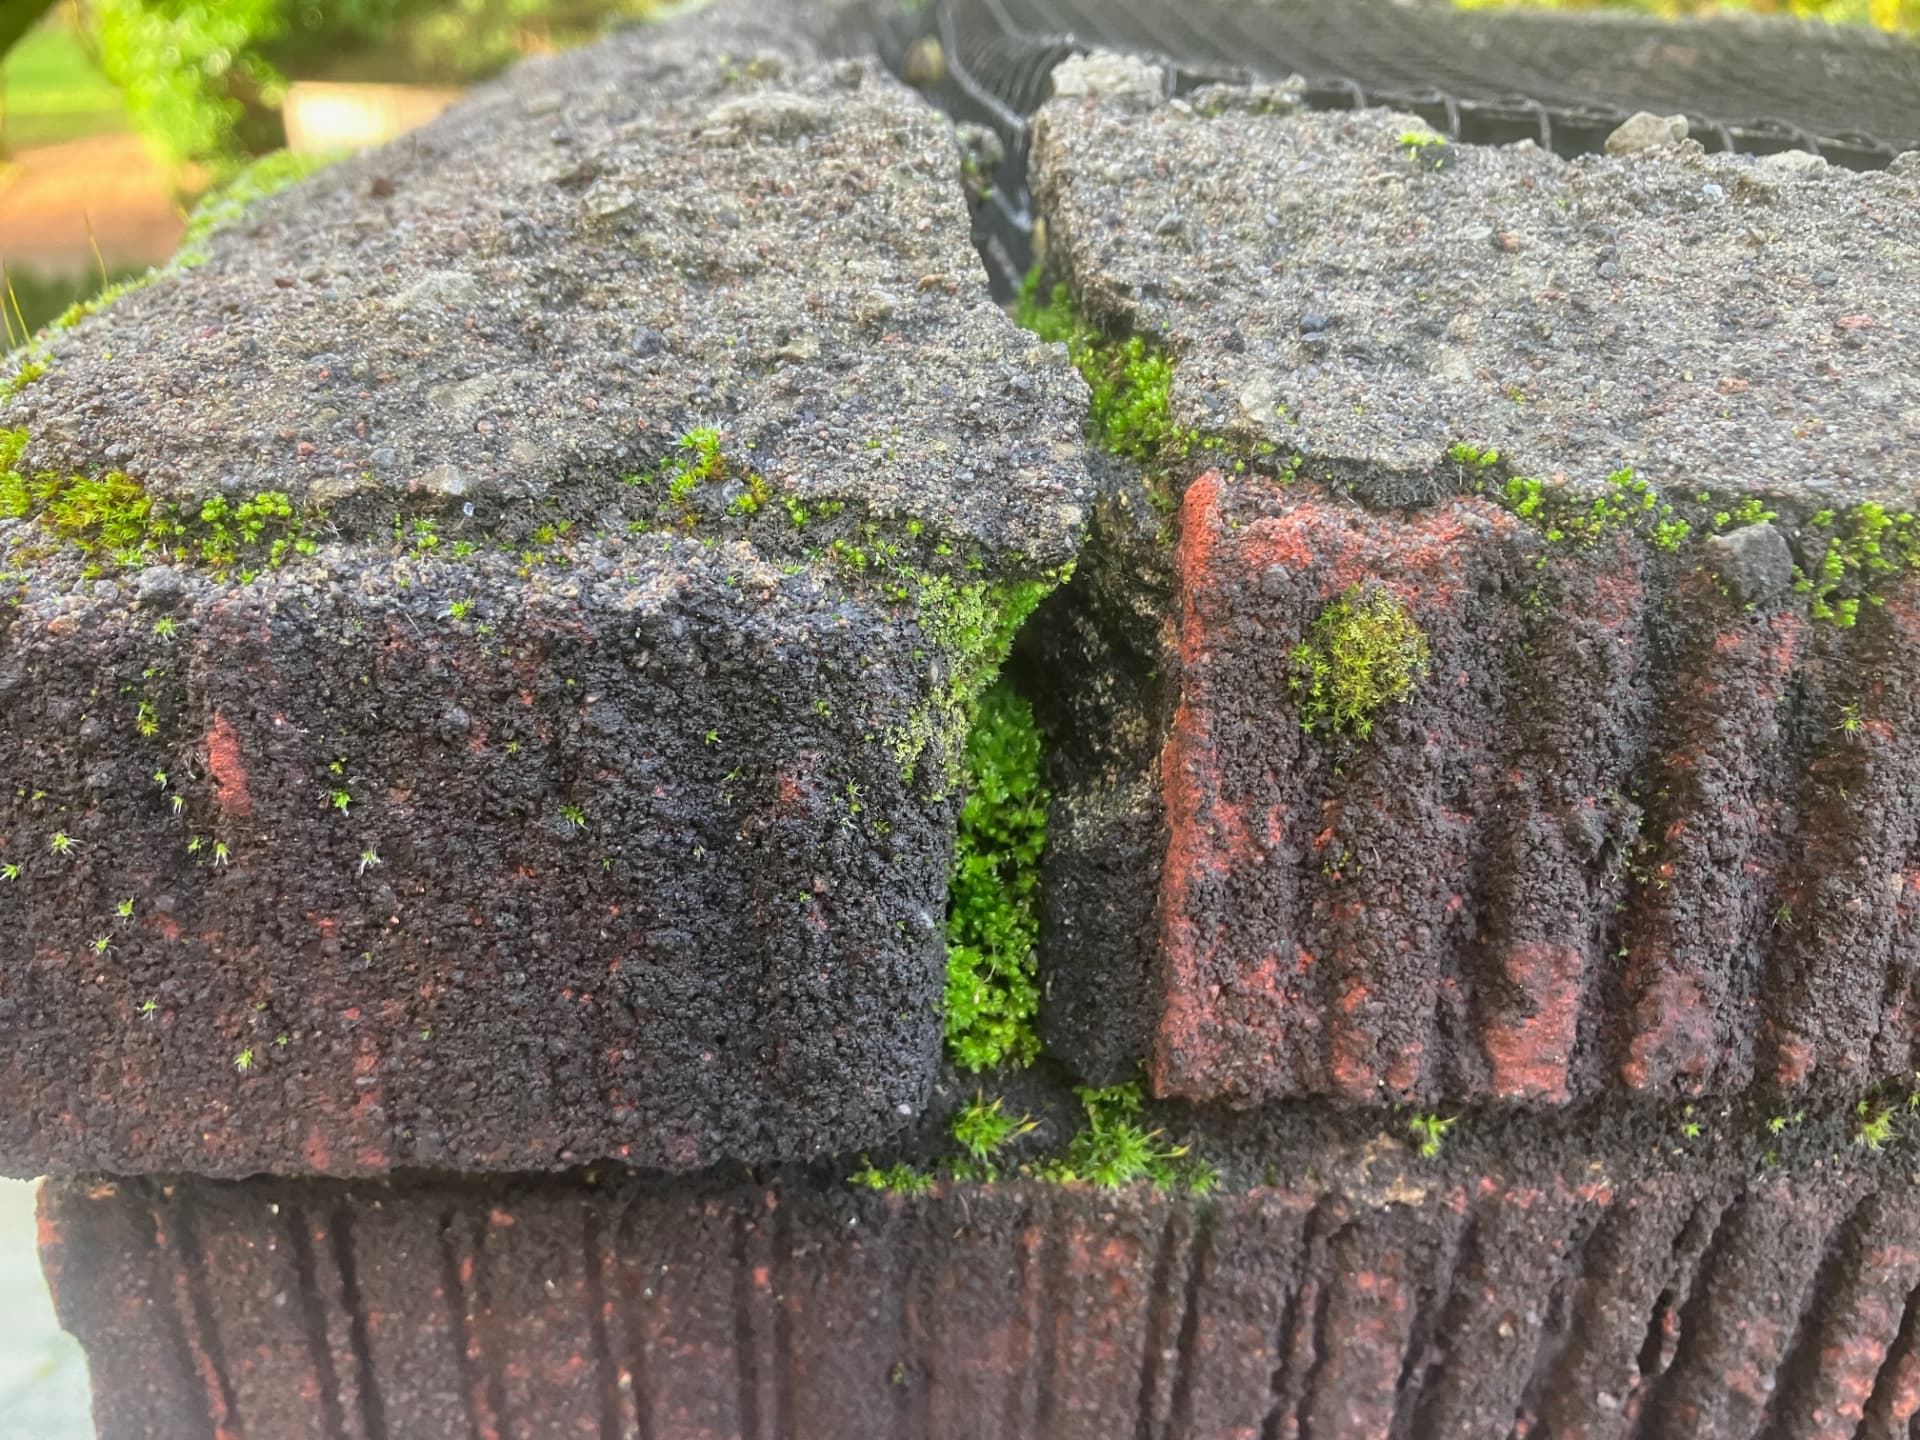
Gravity widening the vertical joints 1
Gravity widening the vertical joints 2
Gravity widening the vertical joints 3

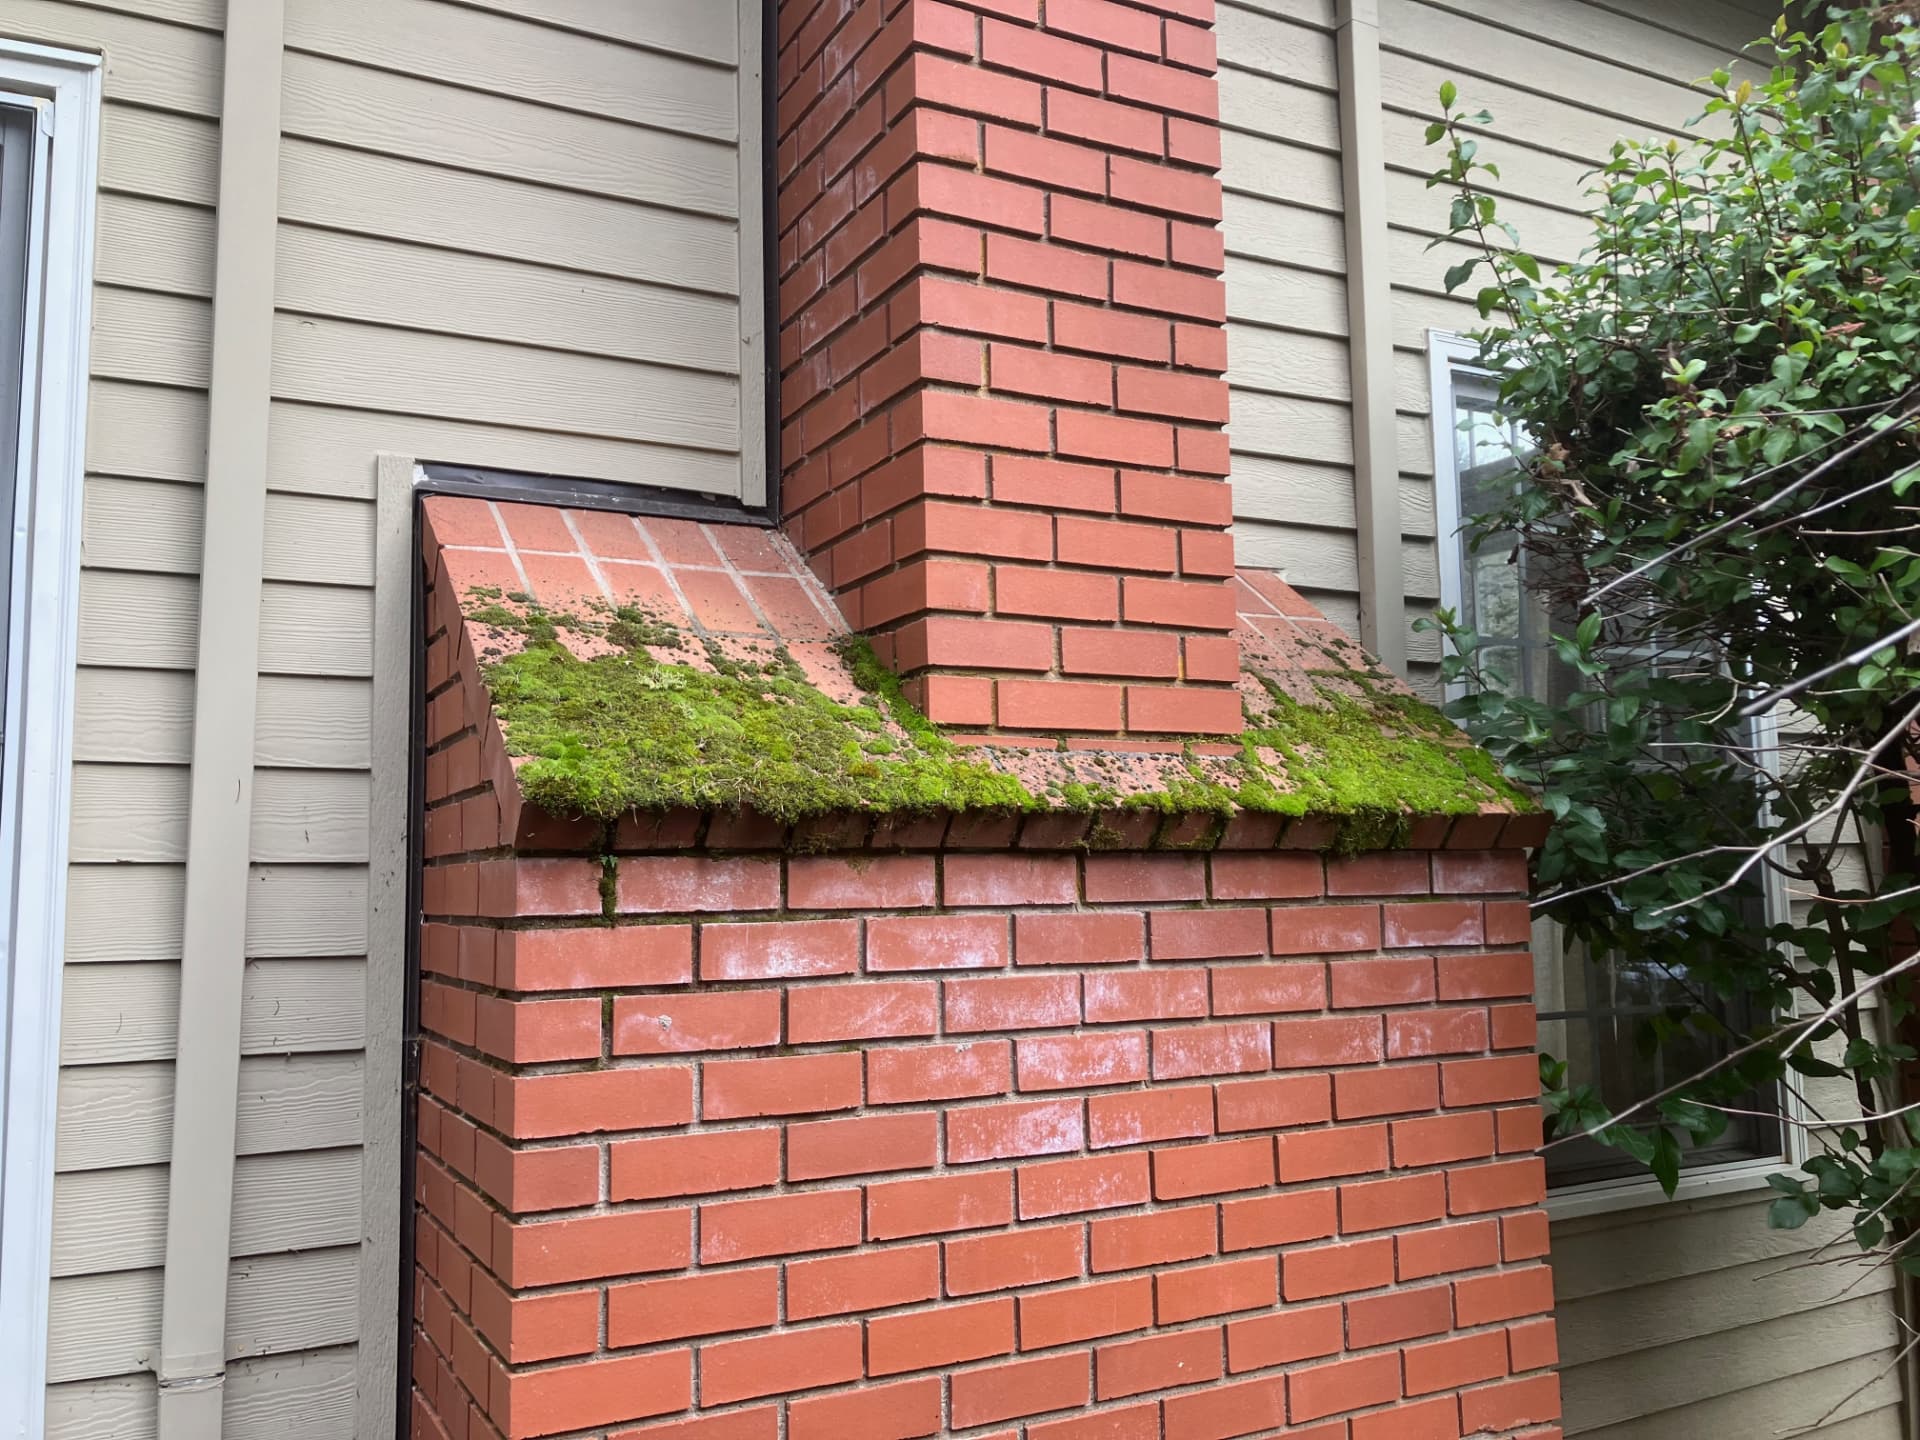
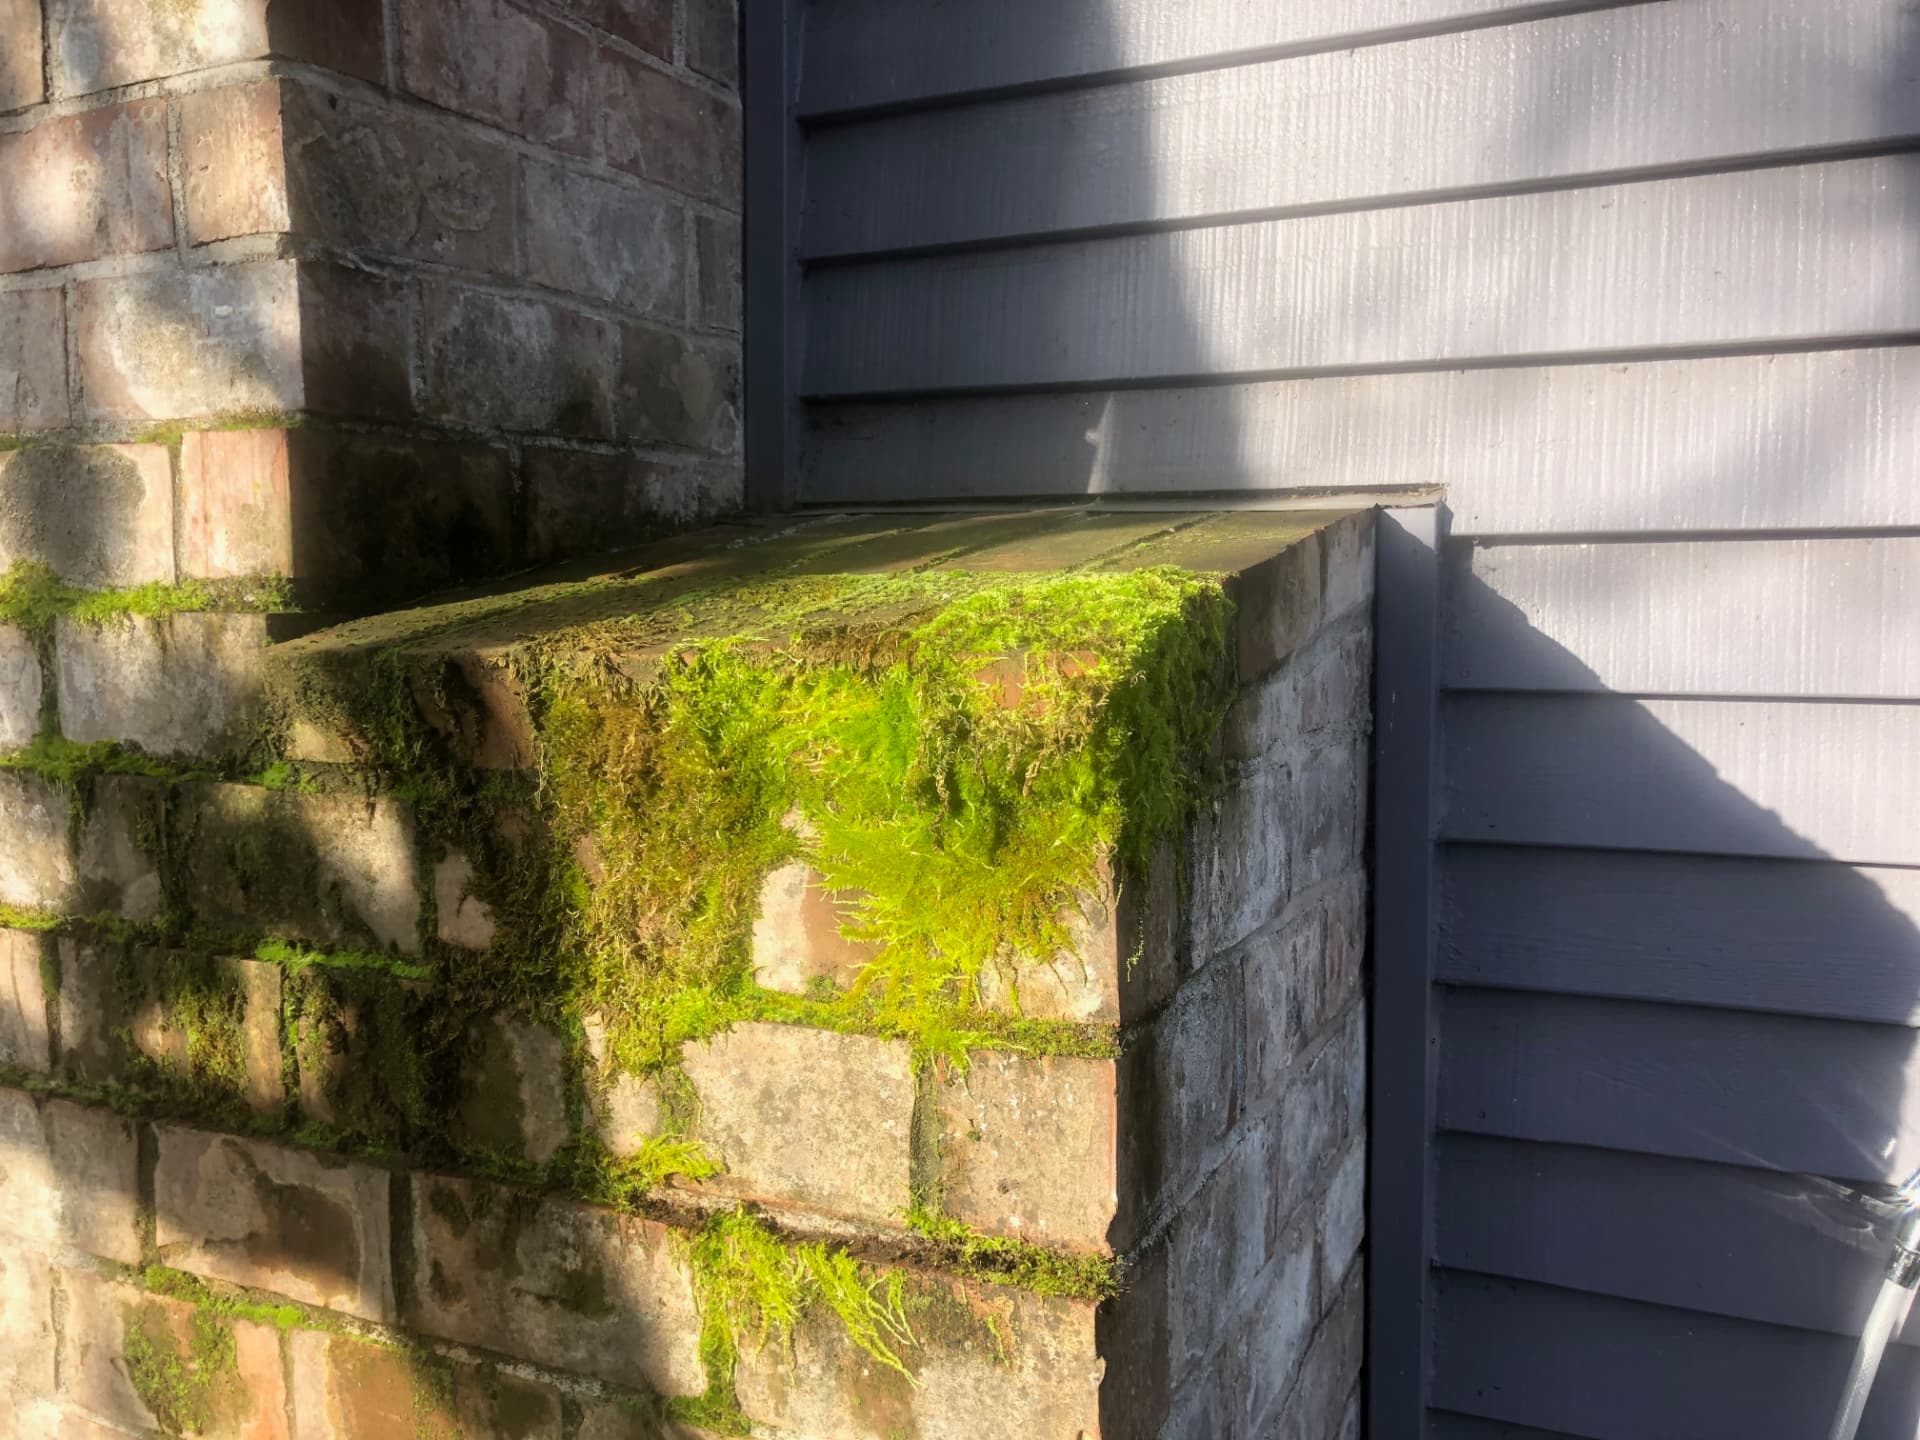
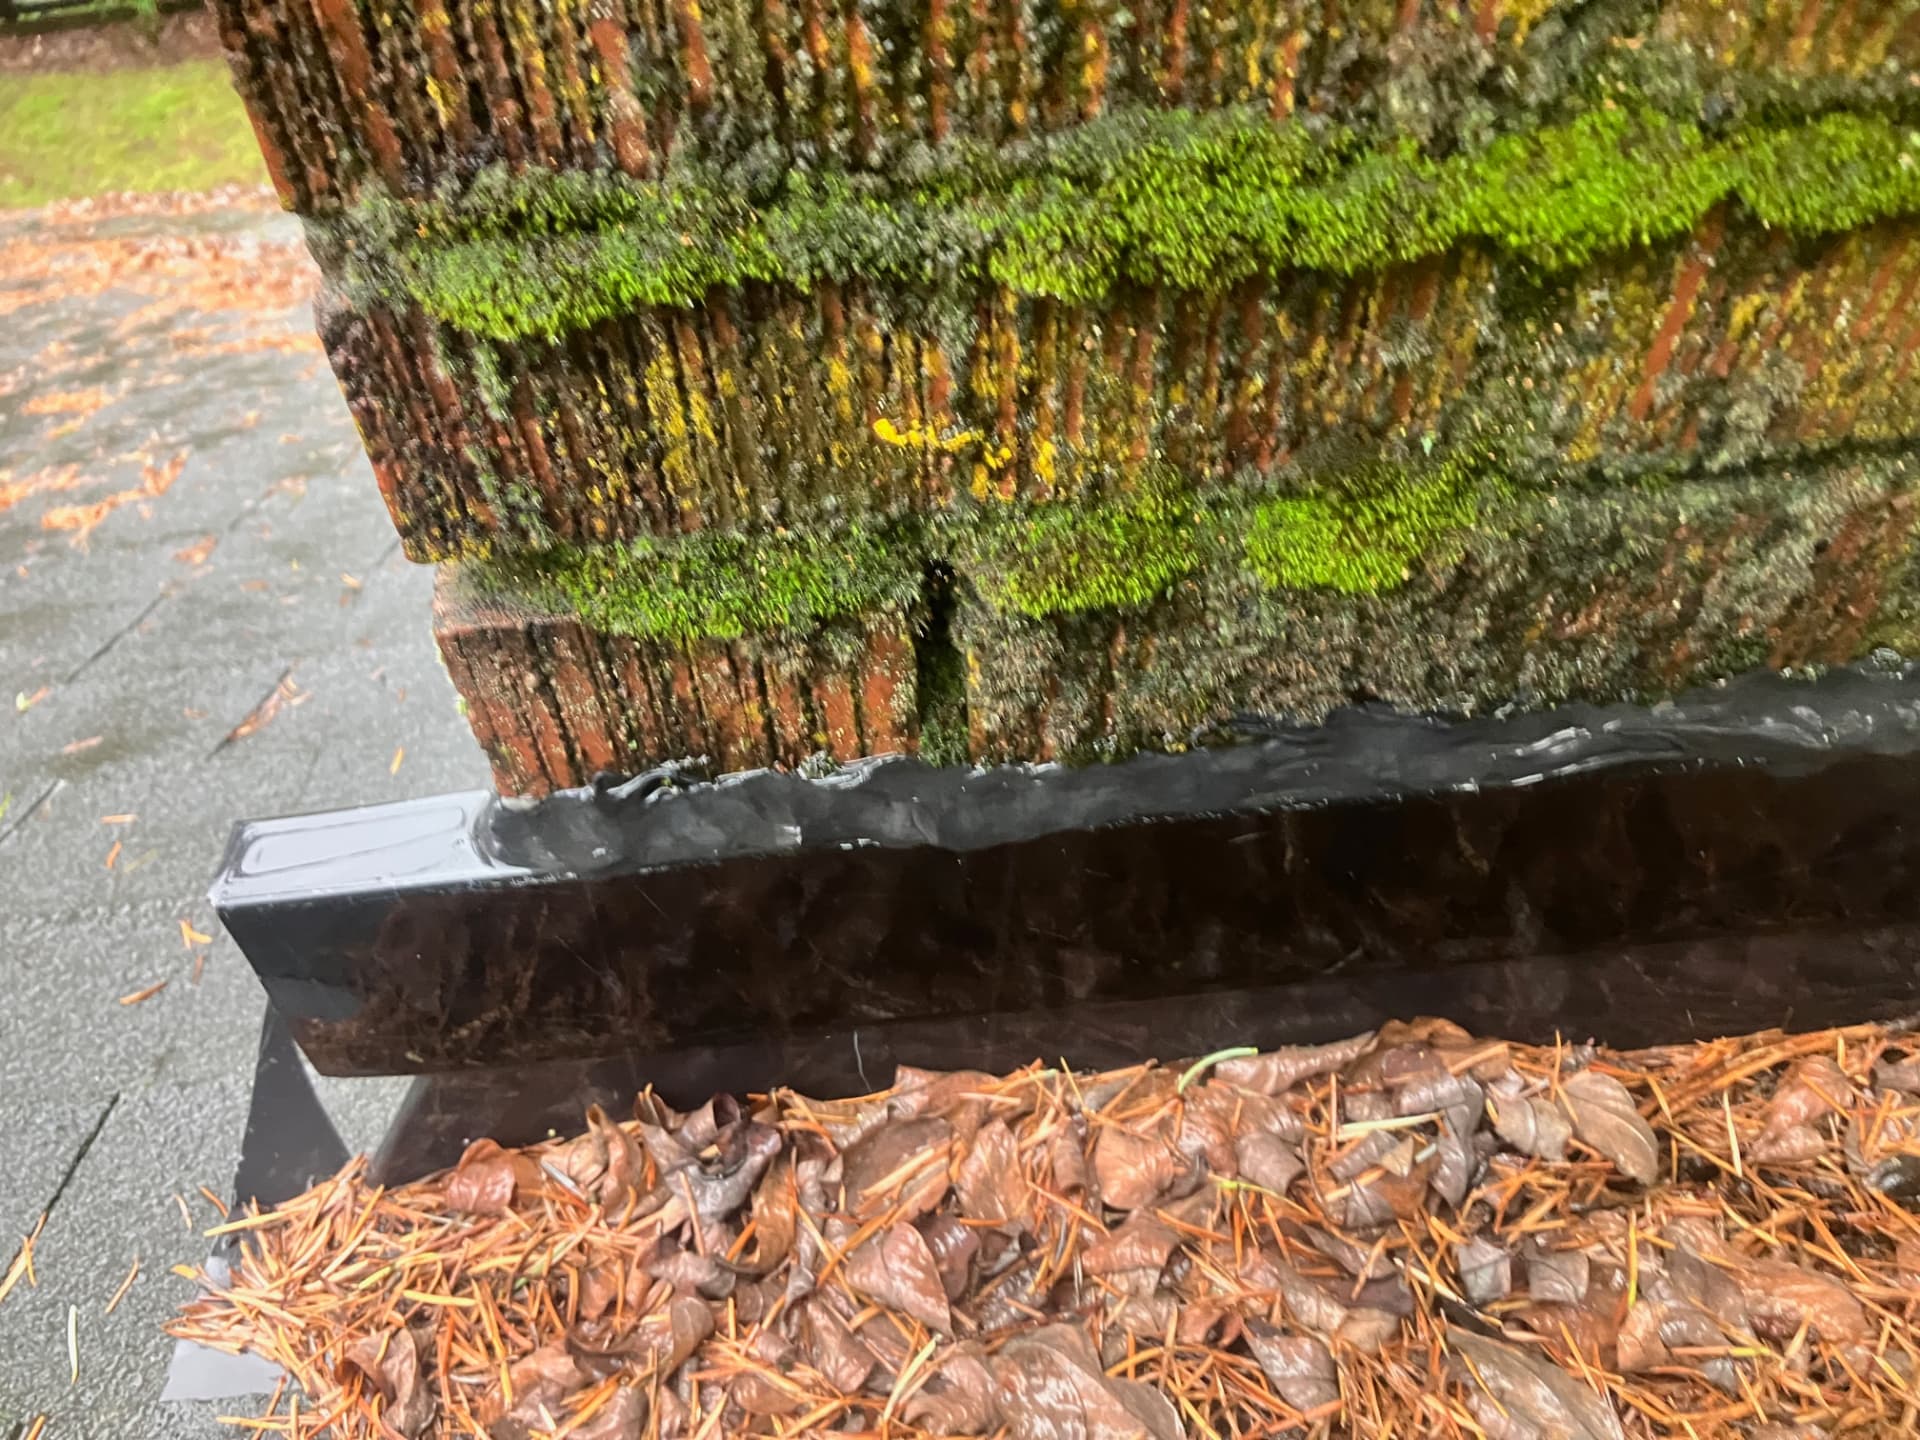
This also happens to the lower shoulders of the chimney.
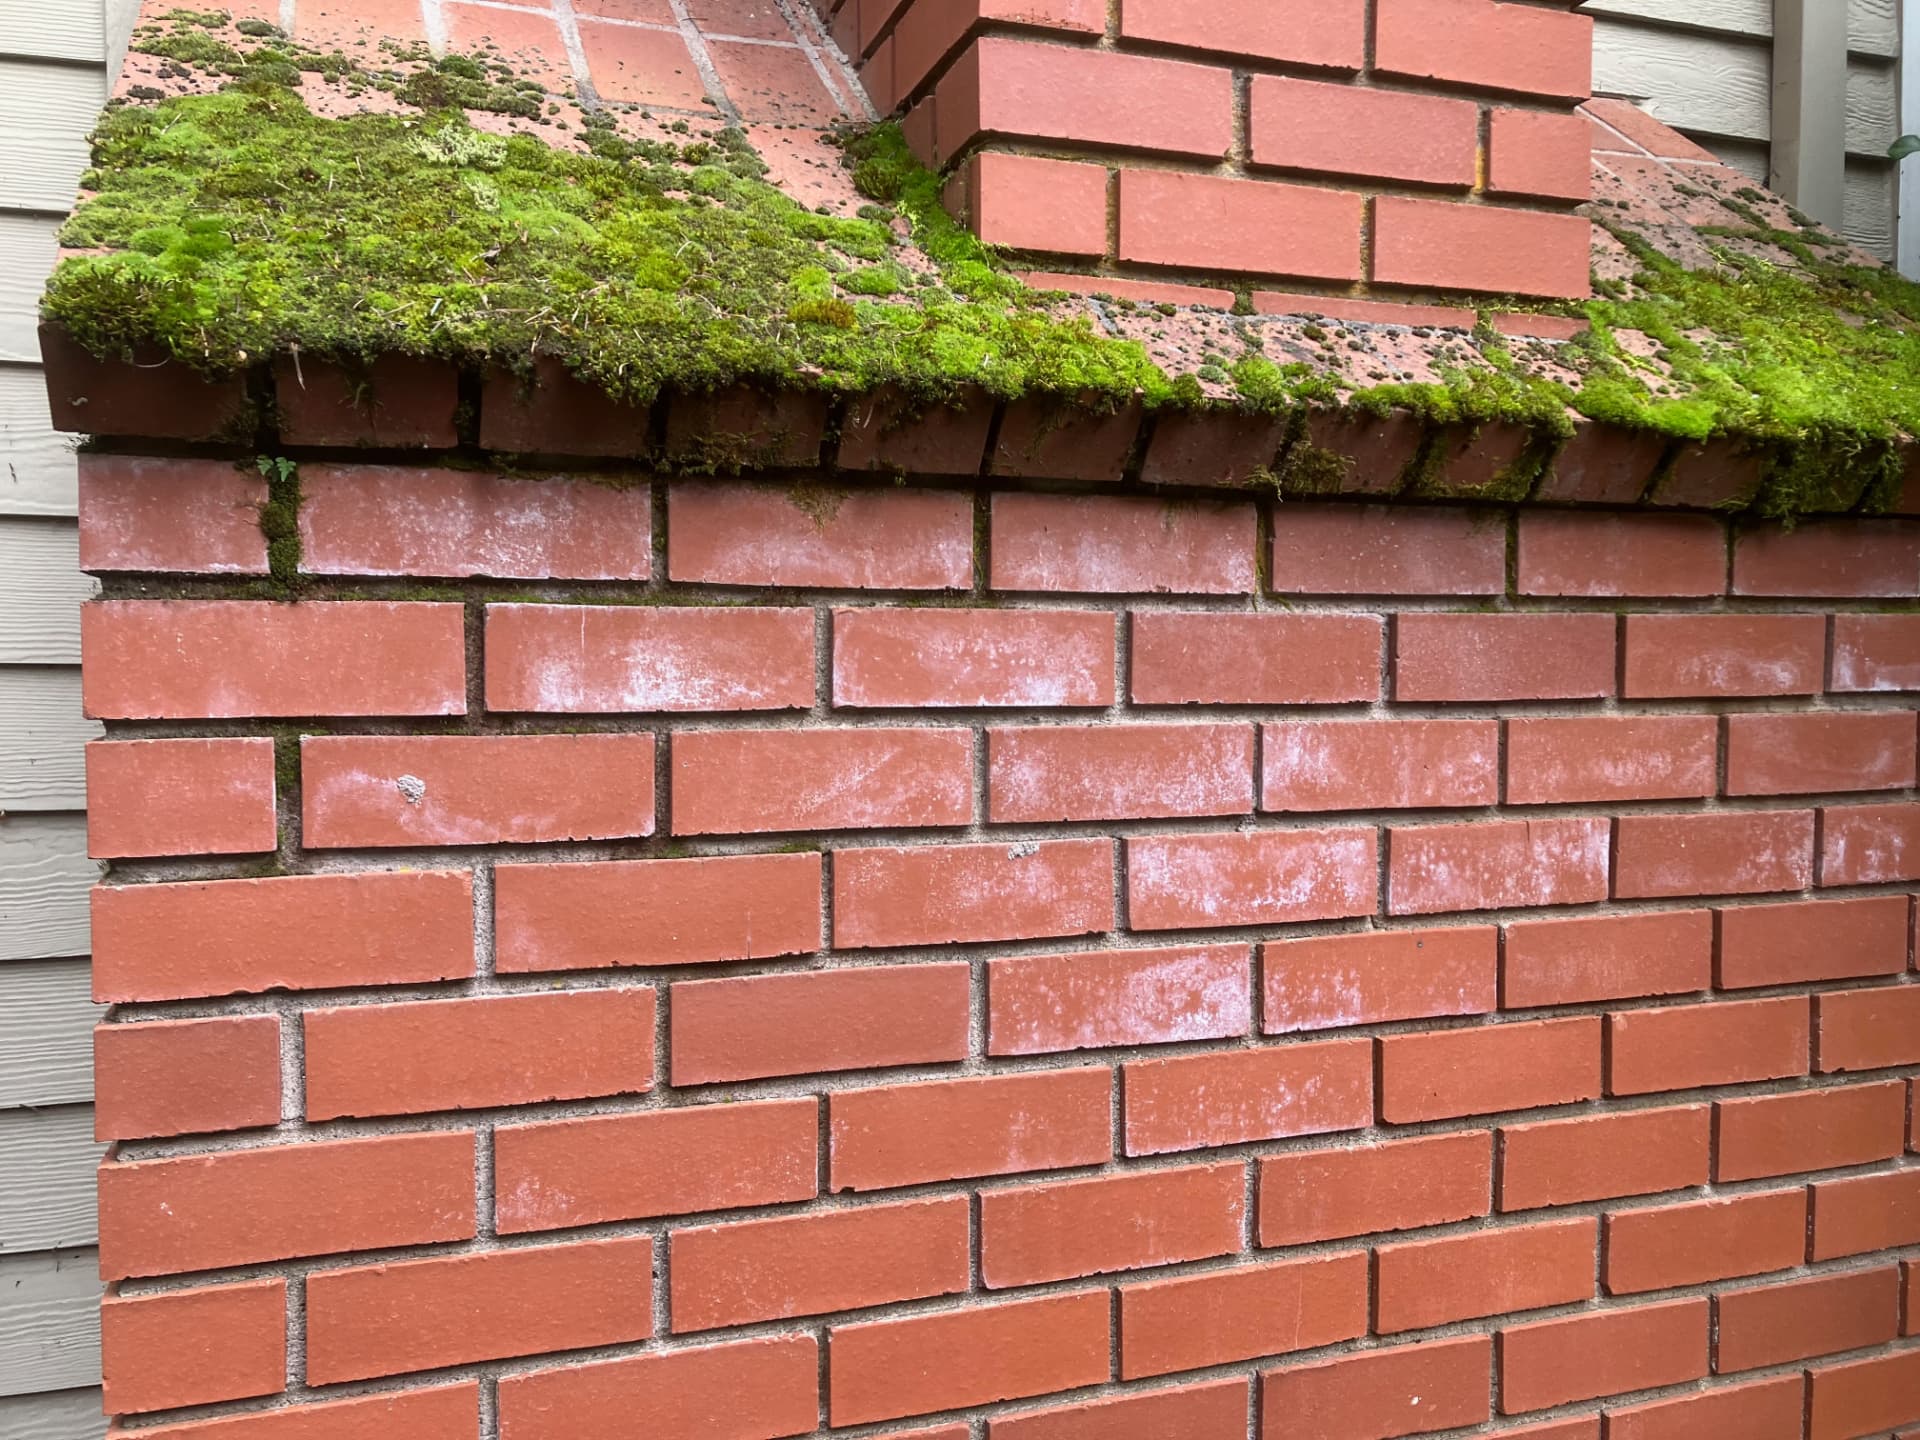
Moss on the lower shoulders 1
Moss on the lower shoulders 2
Moss on the lower shoulders 3
Moss on the lower shoulders 4
Moss on the lower shoulders 5
Moss on the lower shoulders 6
Moss on the lower shoulders 7
Moss on the lower shoulders 8

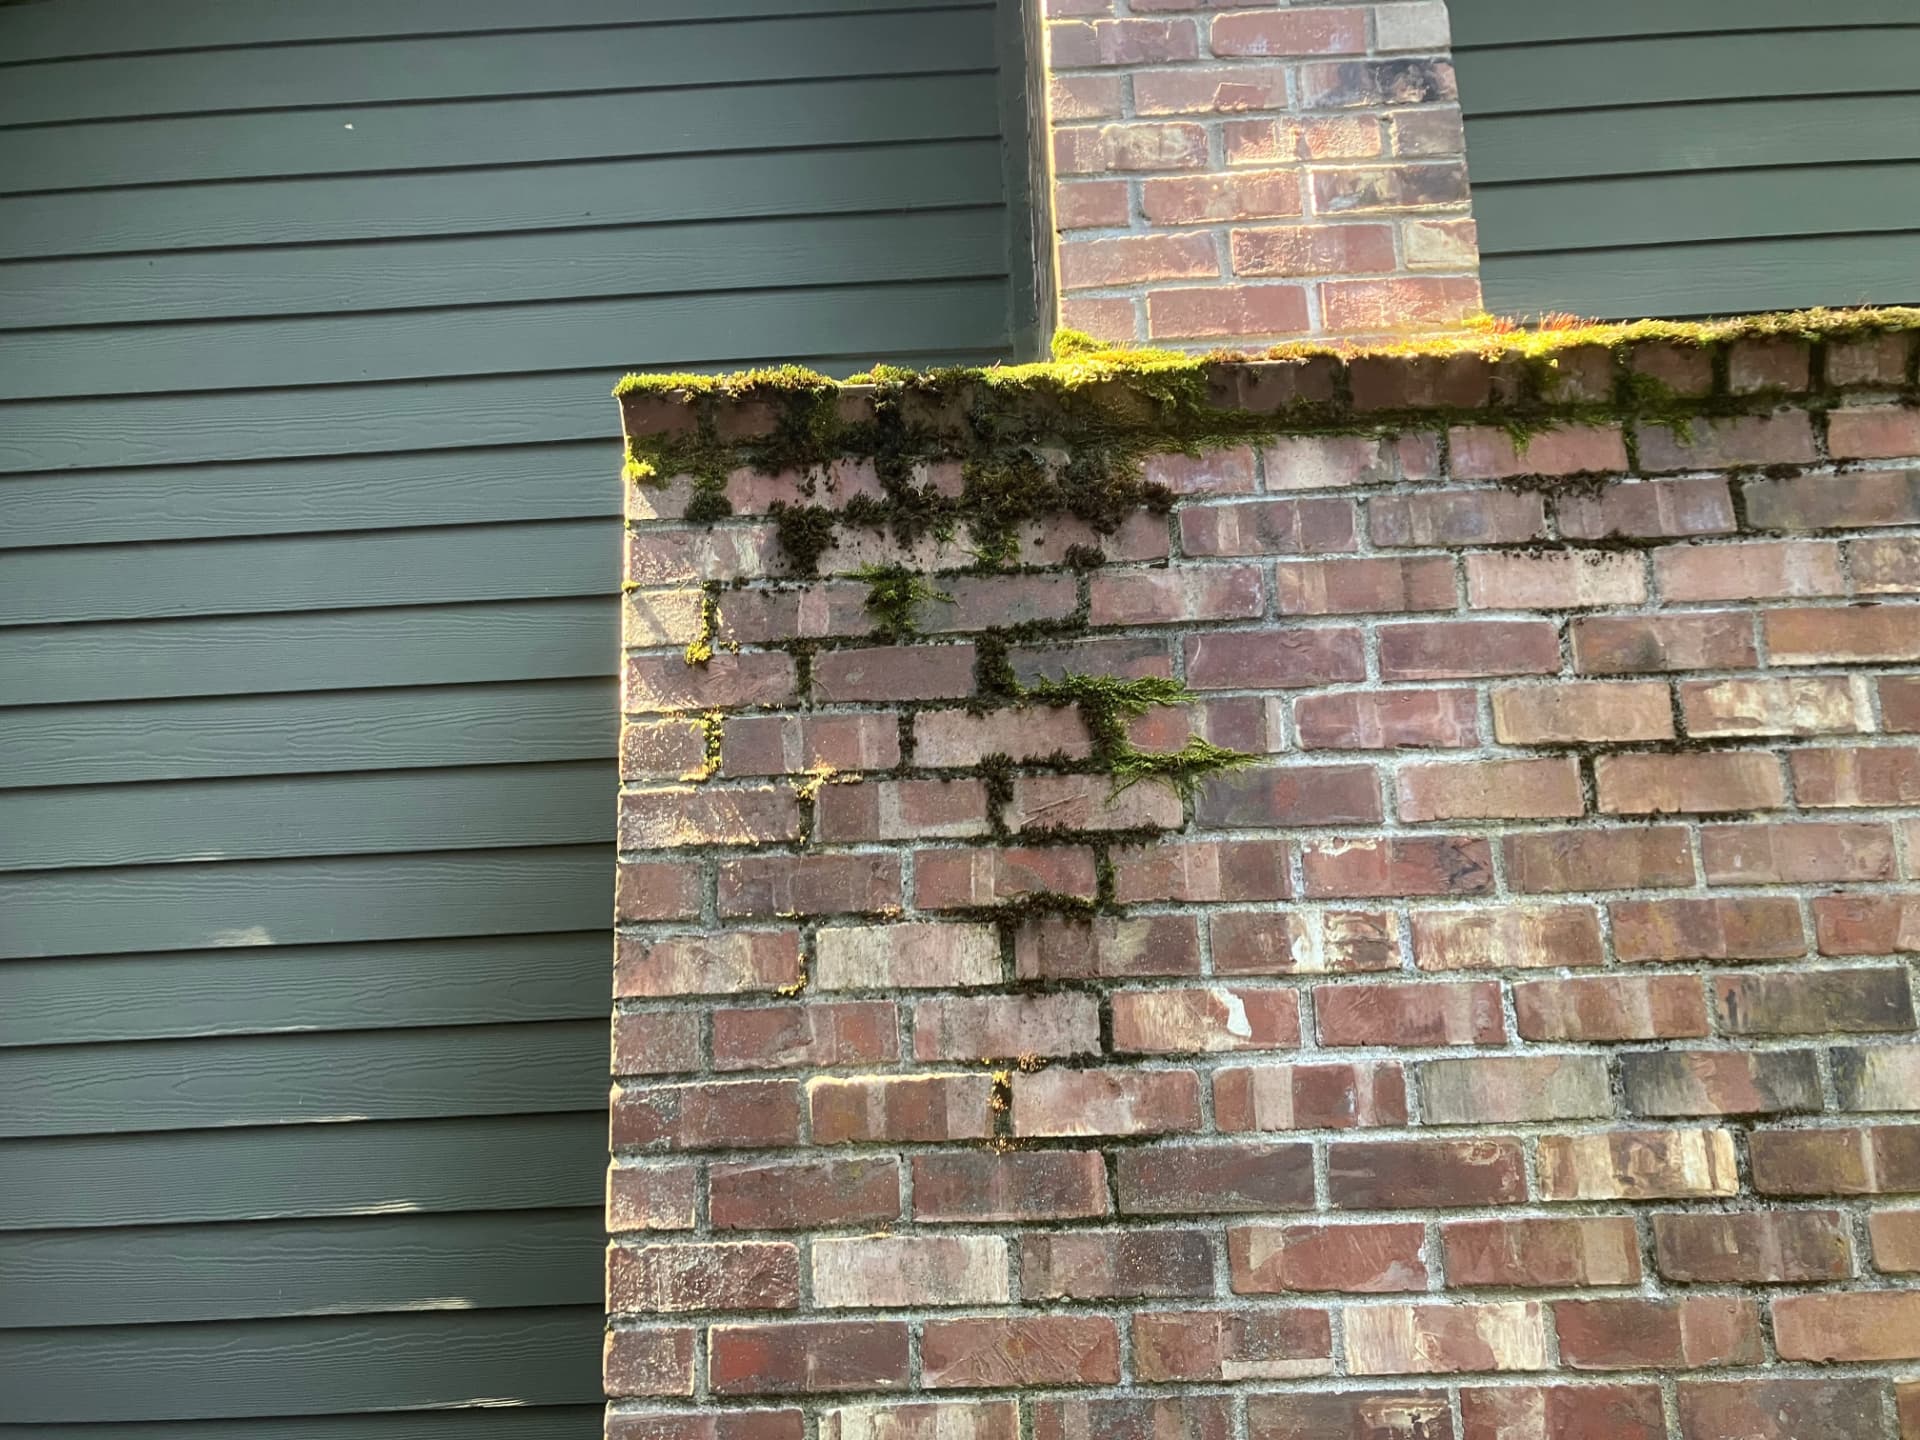
Moss roots also start destroying the mortar joints, allowing water to penetrate the flue and cause leaks inside the home.
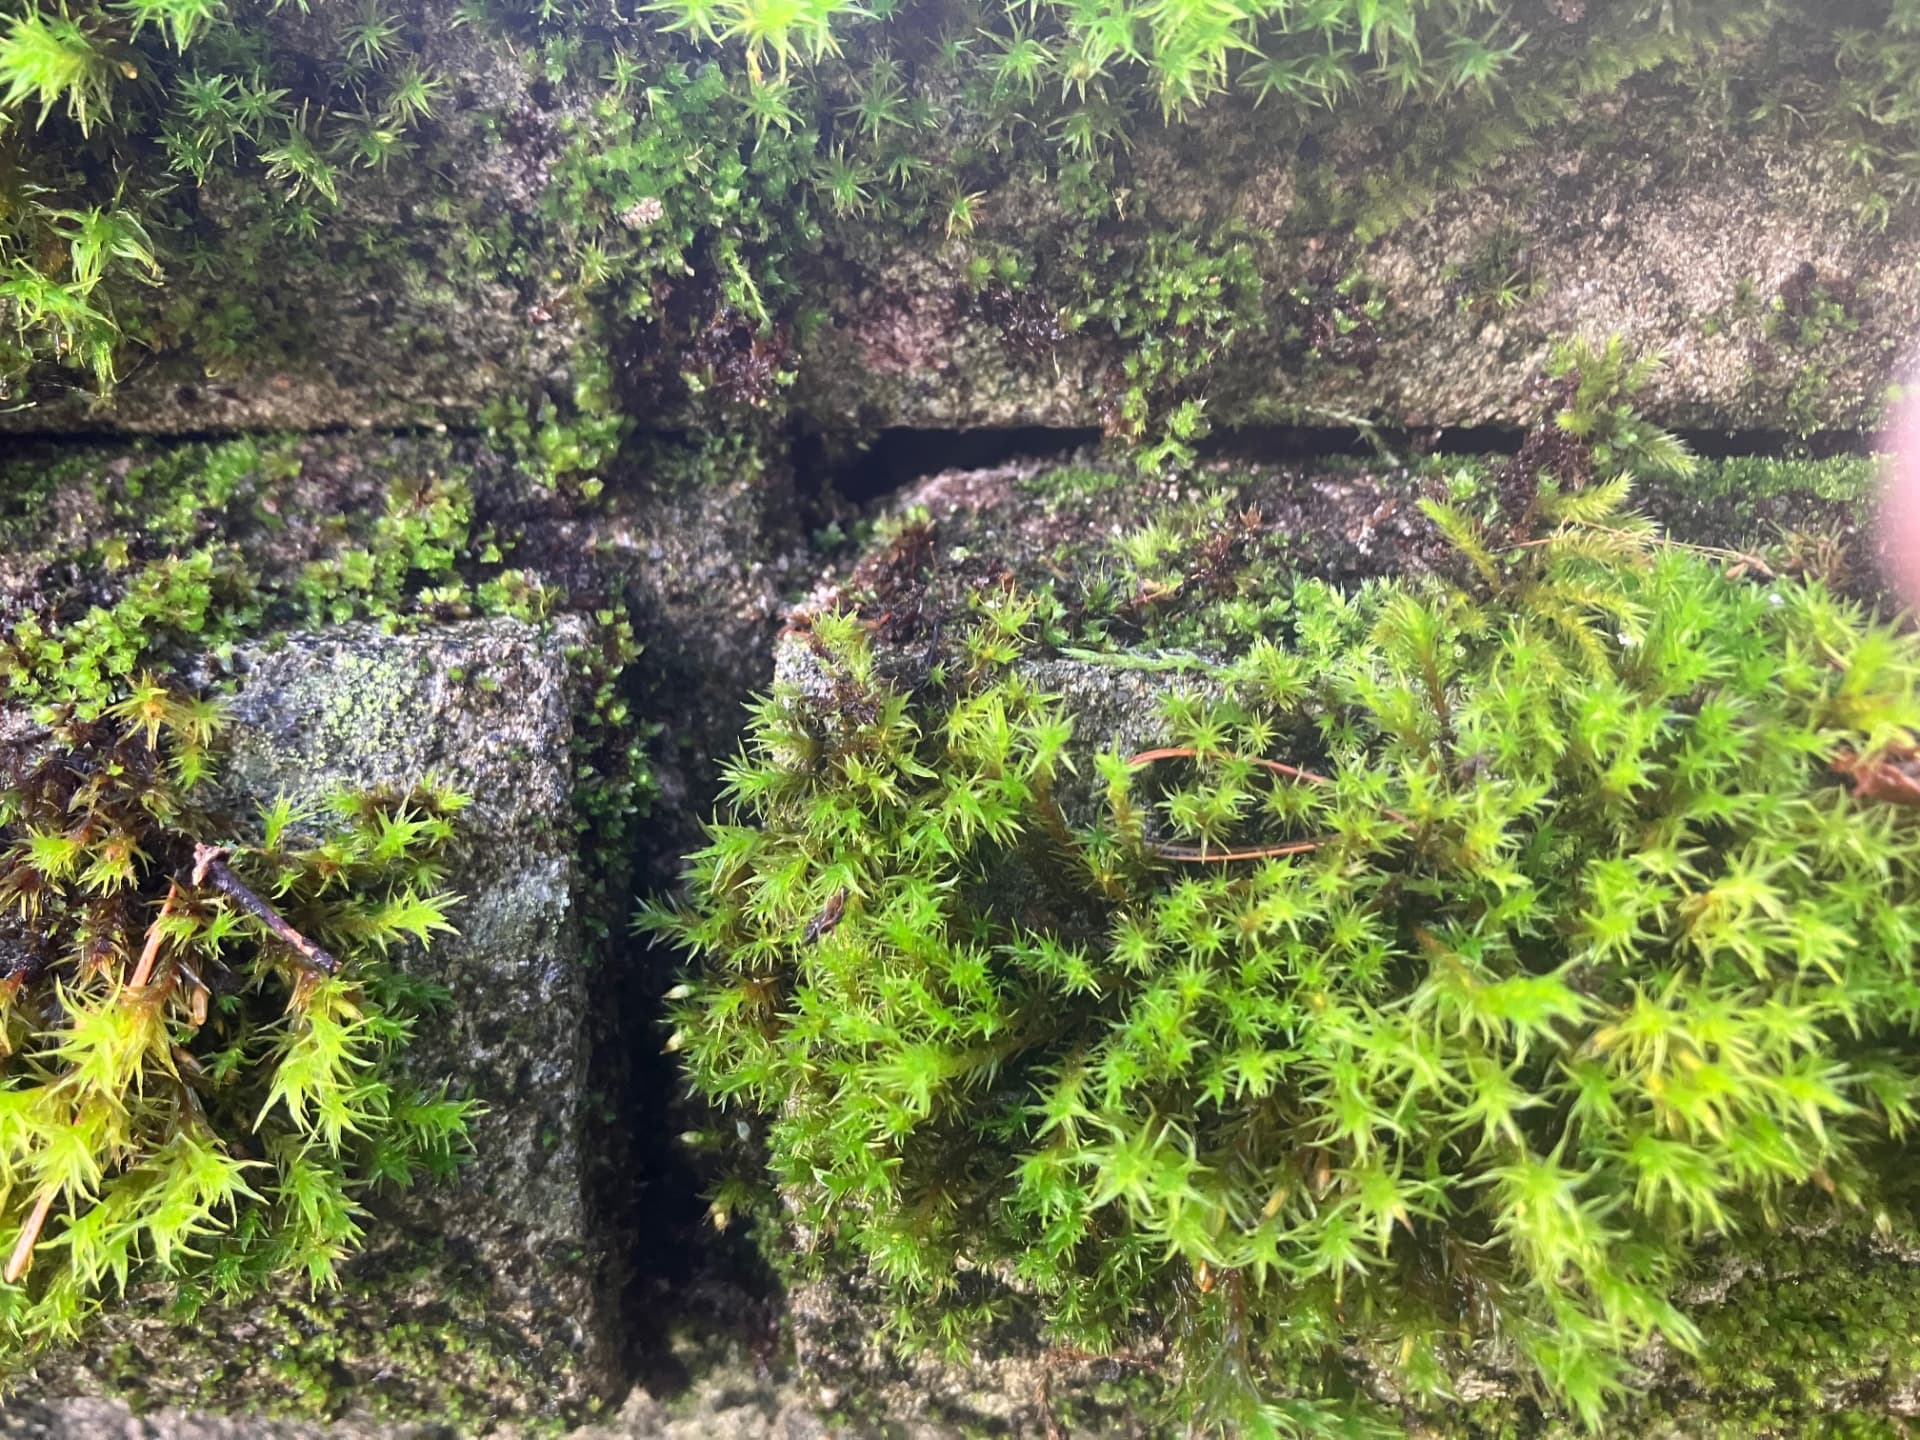
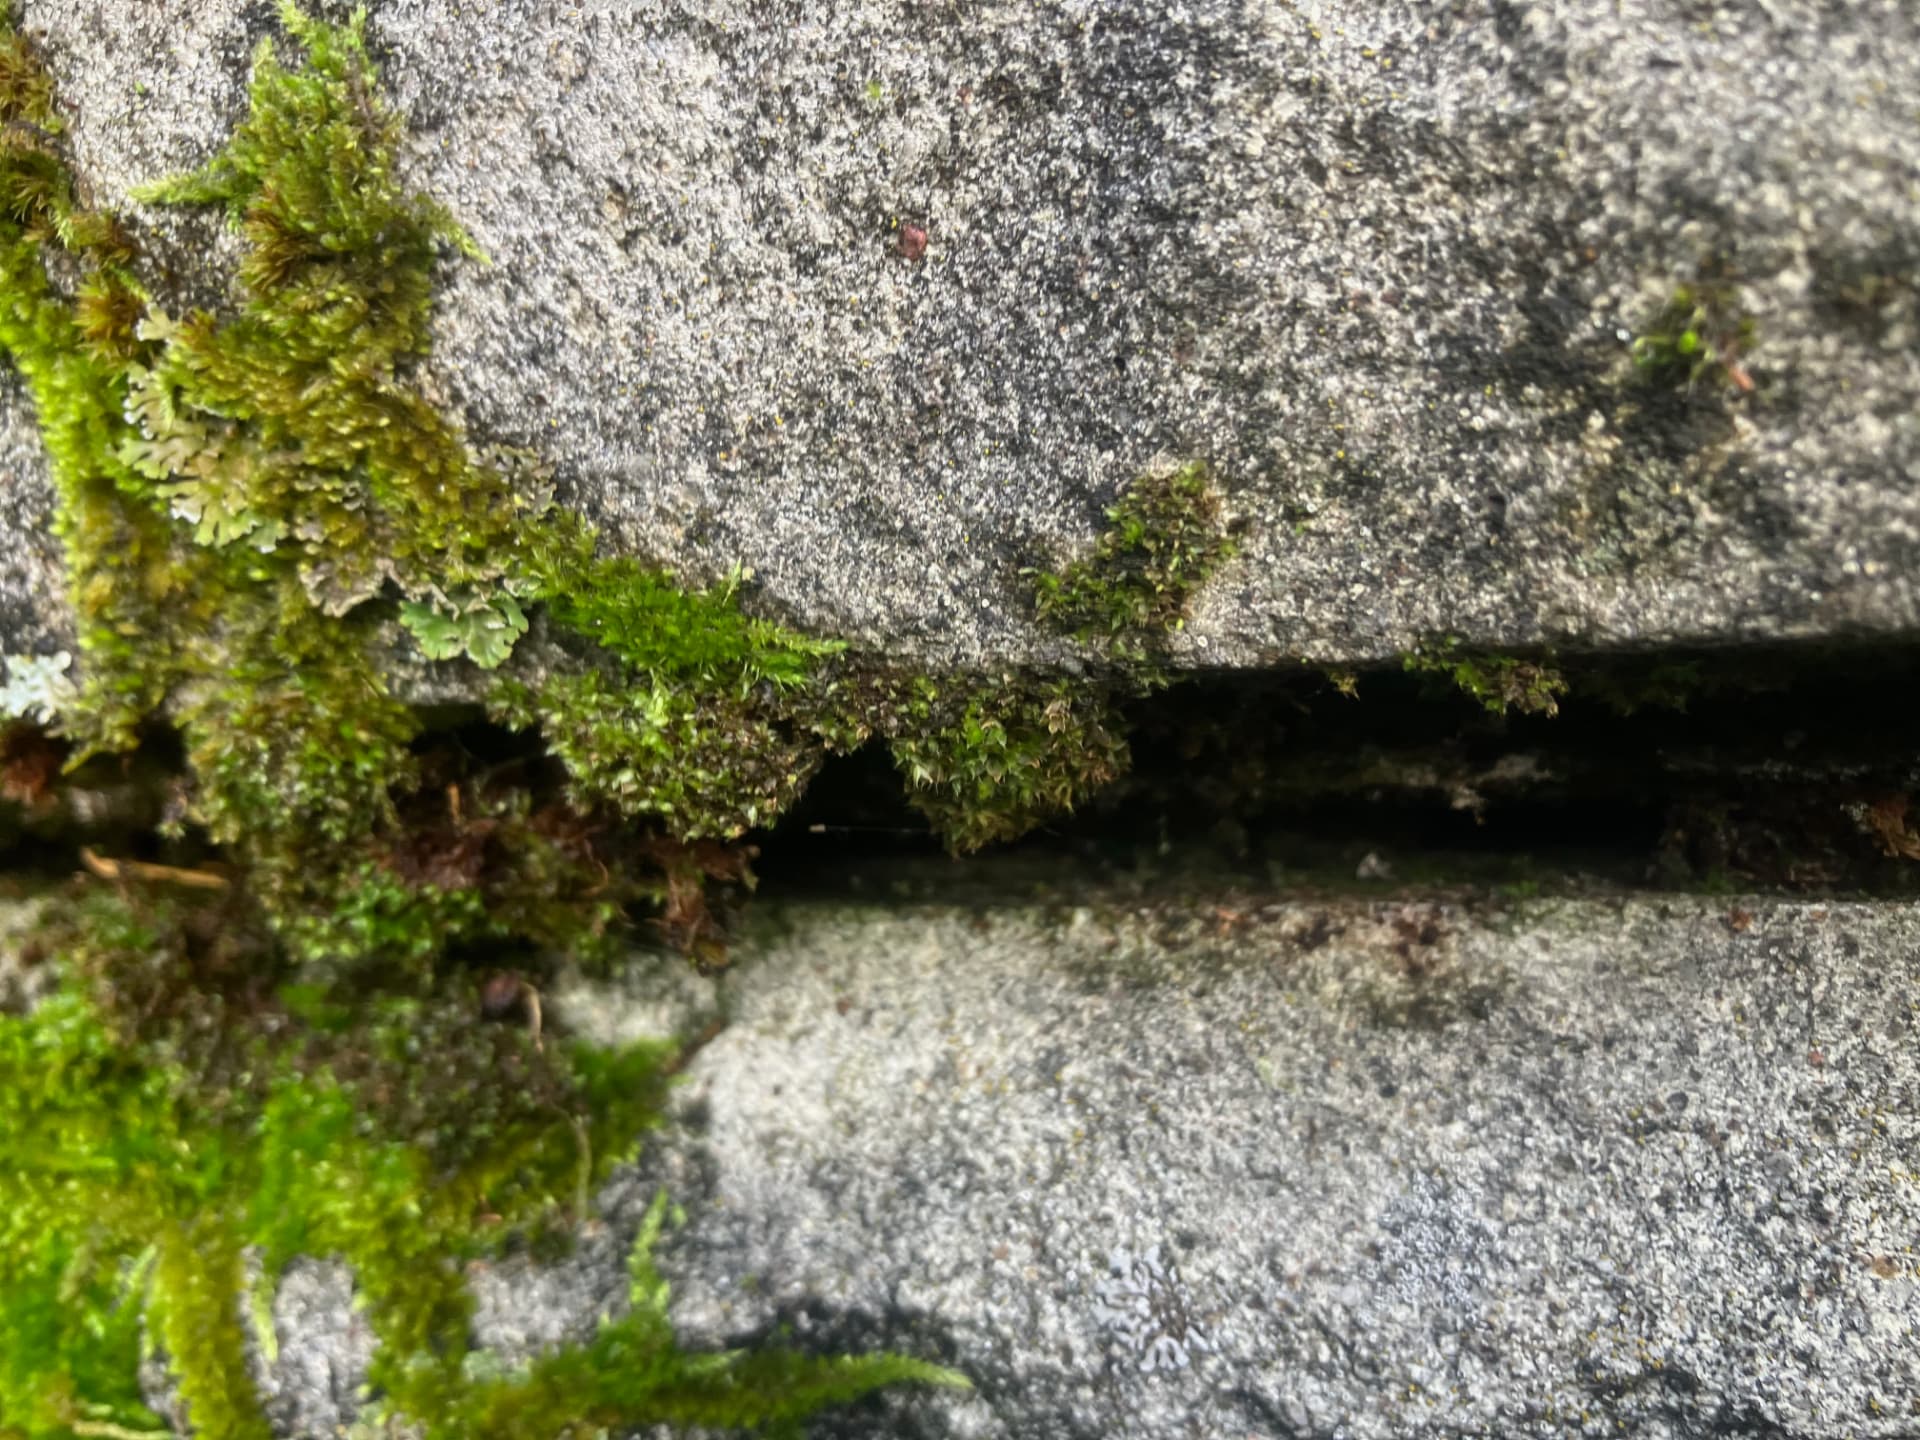
Moss roots destroying the mortar joints 1
Moss roots destroying the mortar joints 2
Moss roots destroying the mortar joints 3
Moss roots destroying the mortar joints 4

Once this happens, leaks begin to develop, and the damage can cause sections of the chimney—or even the entire chimney—to break apart.

Before and After — Moss Removal from June 2025
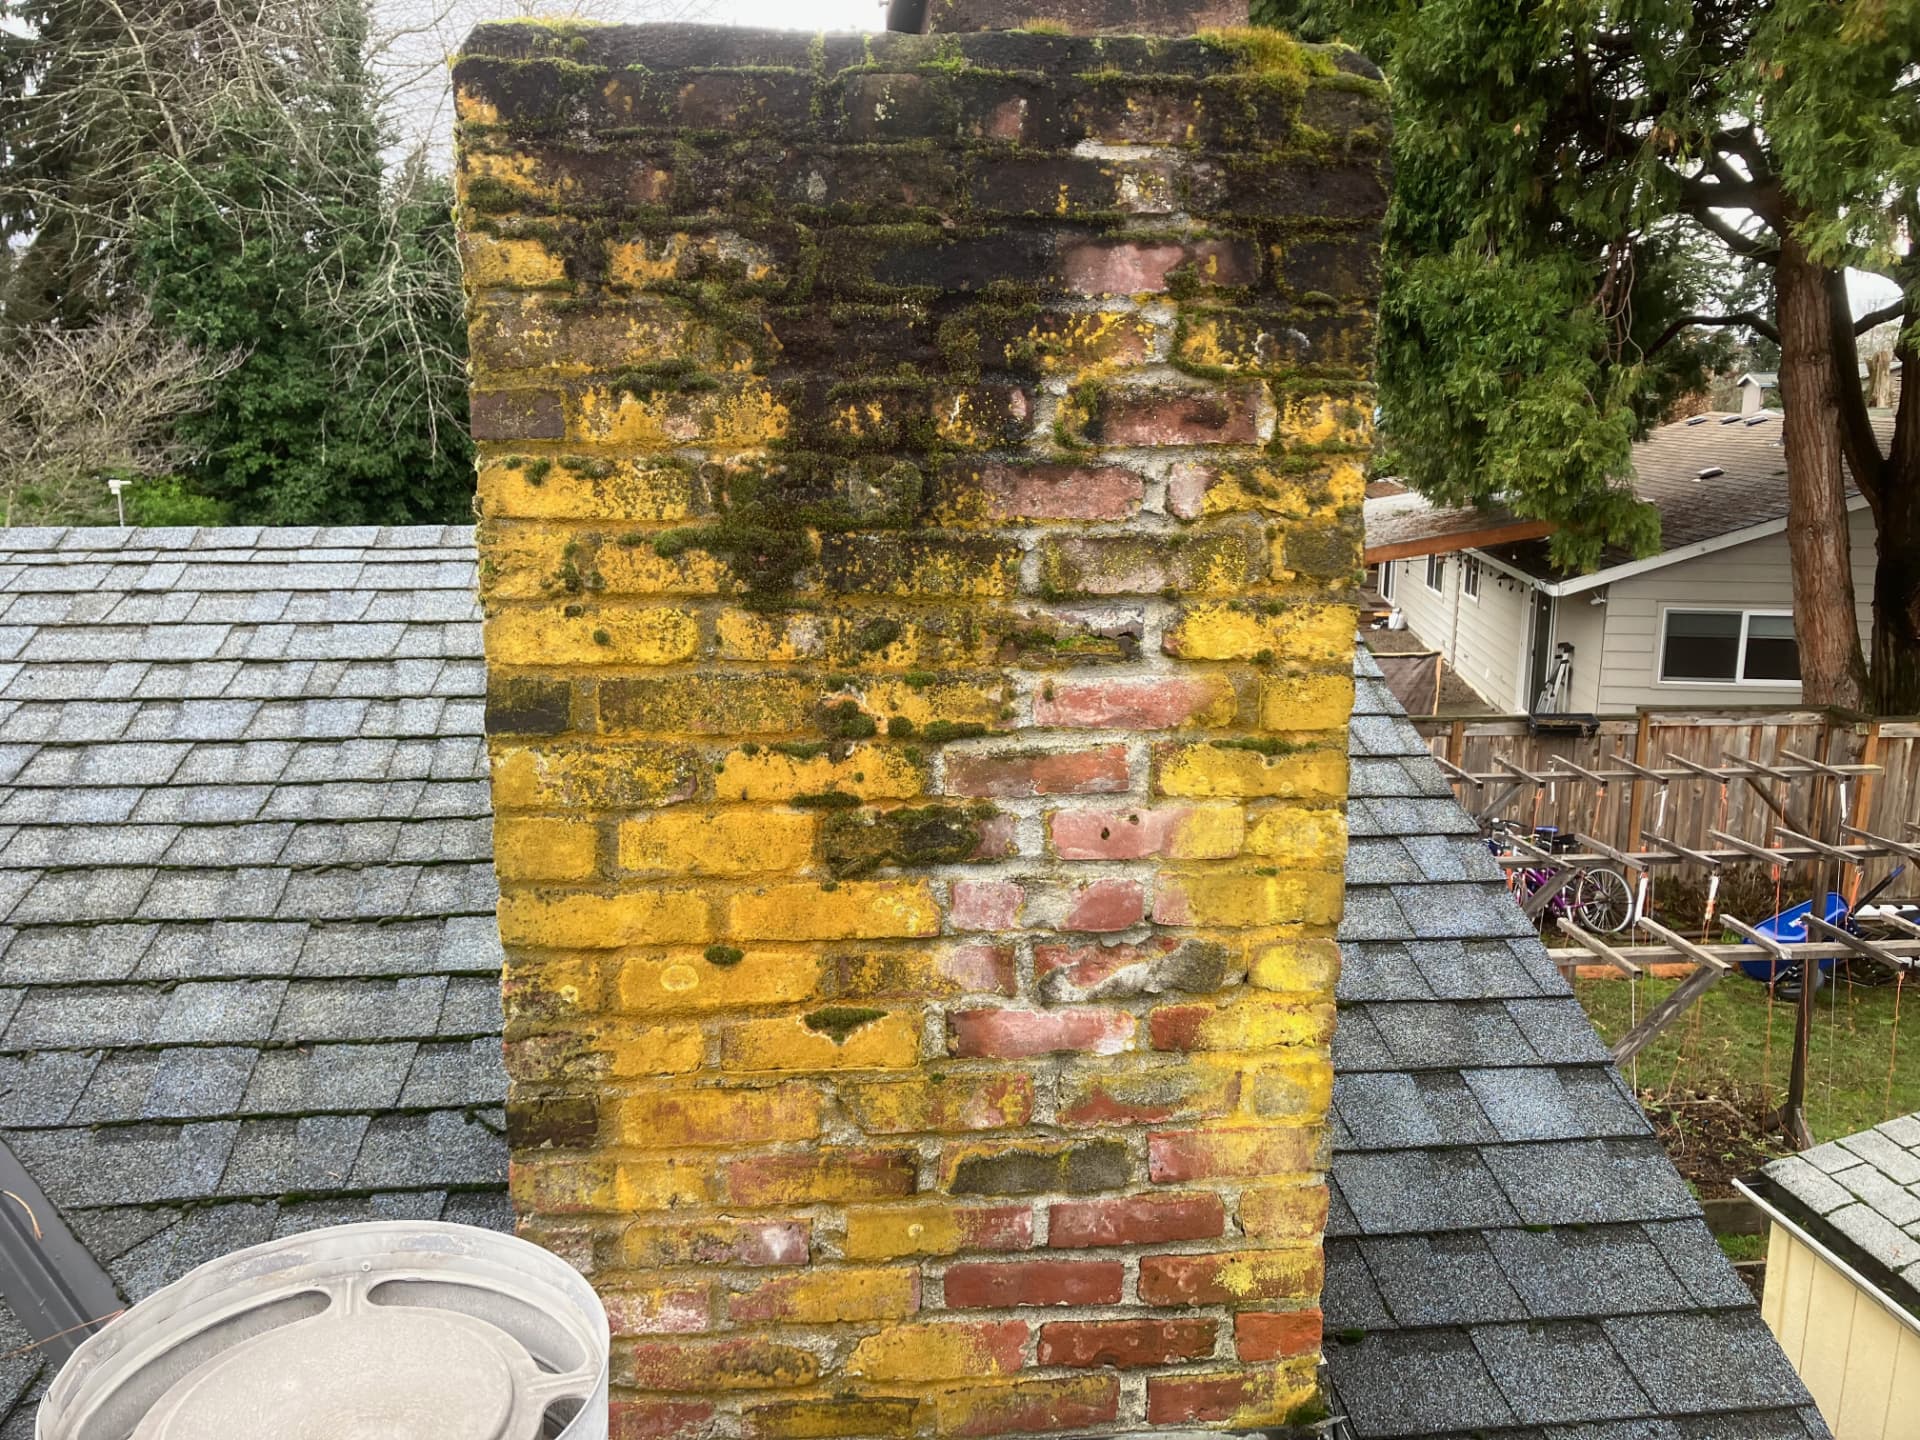
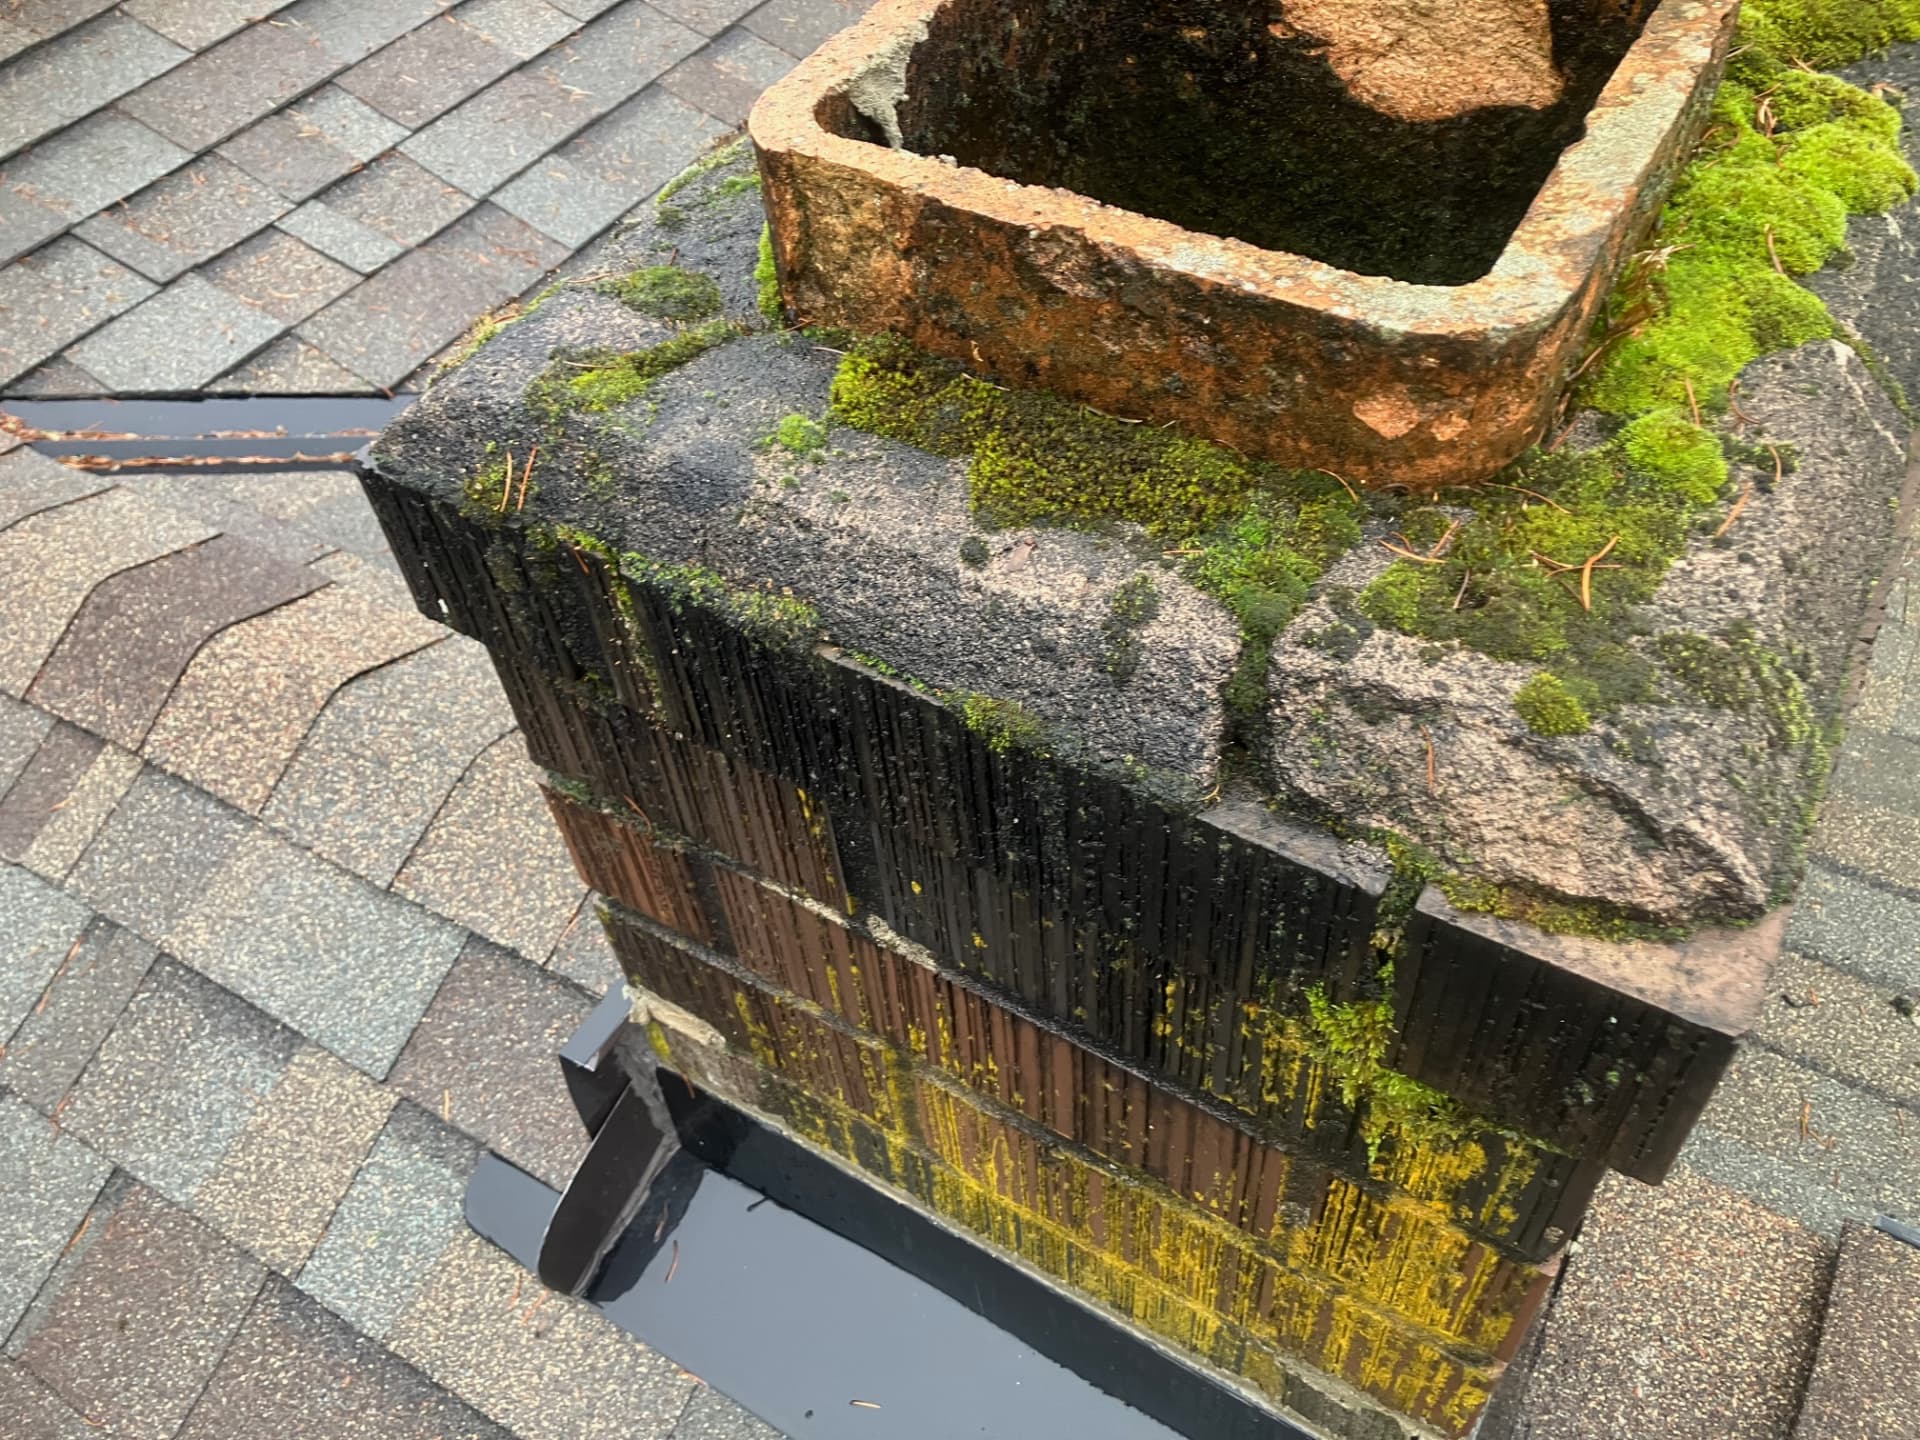
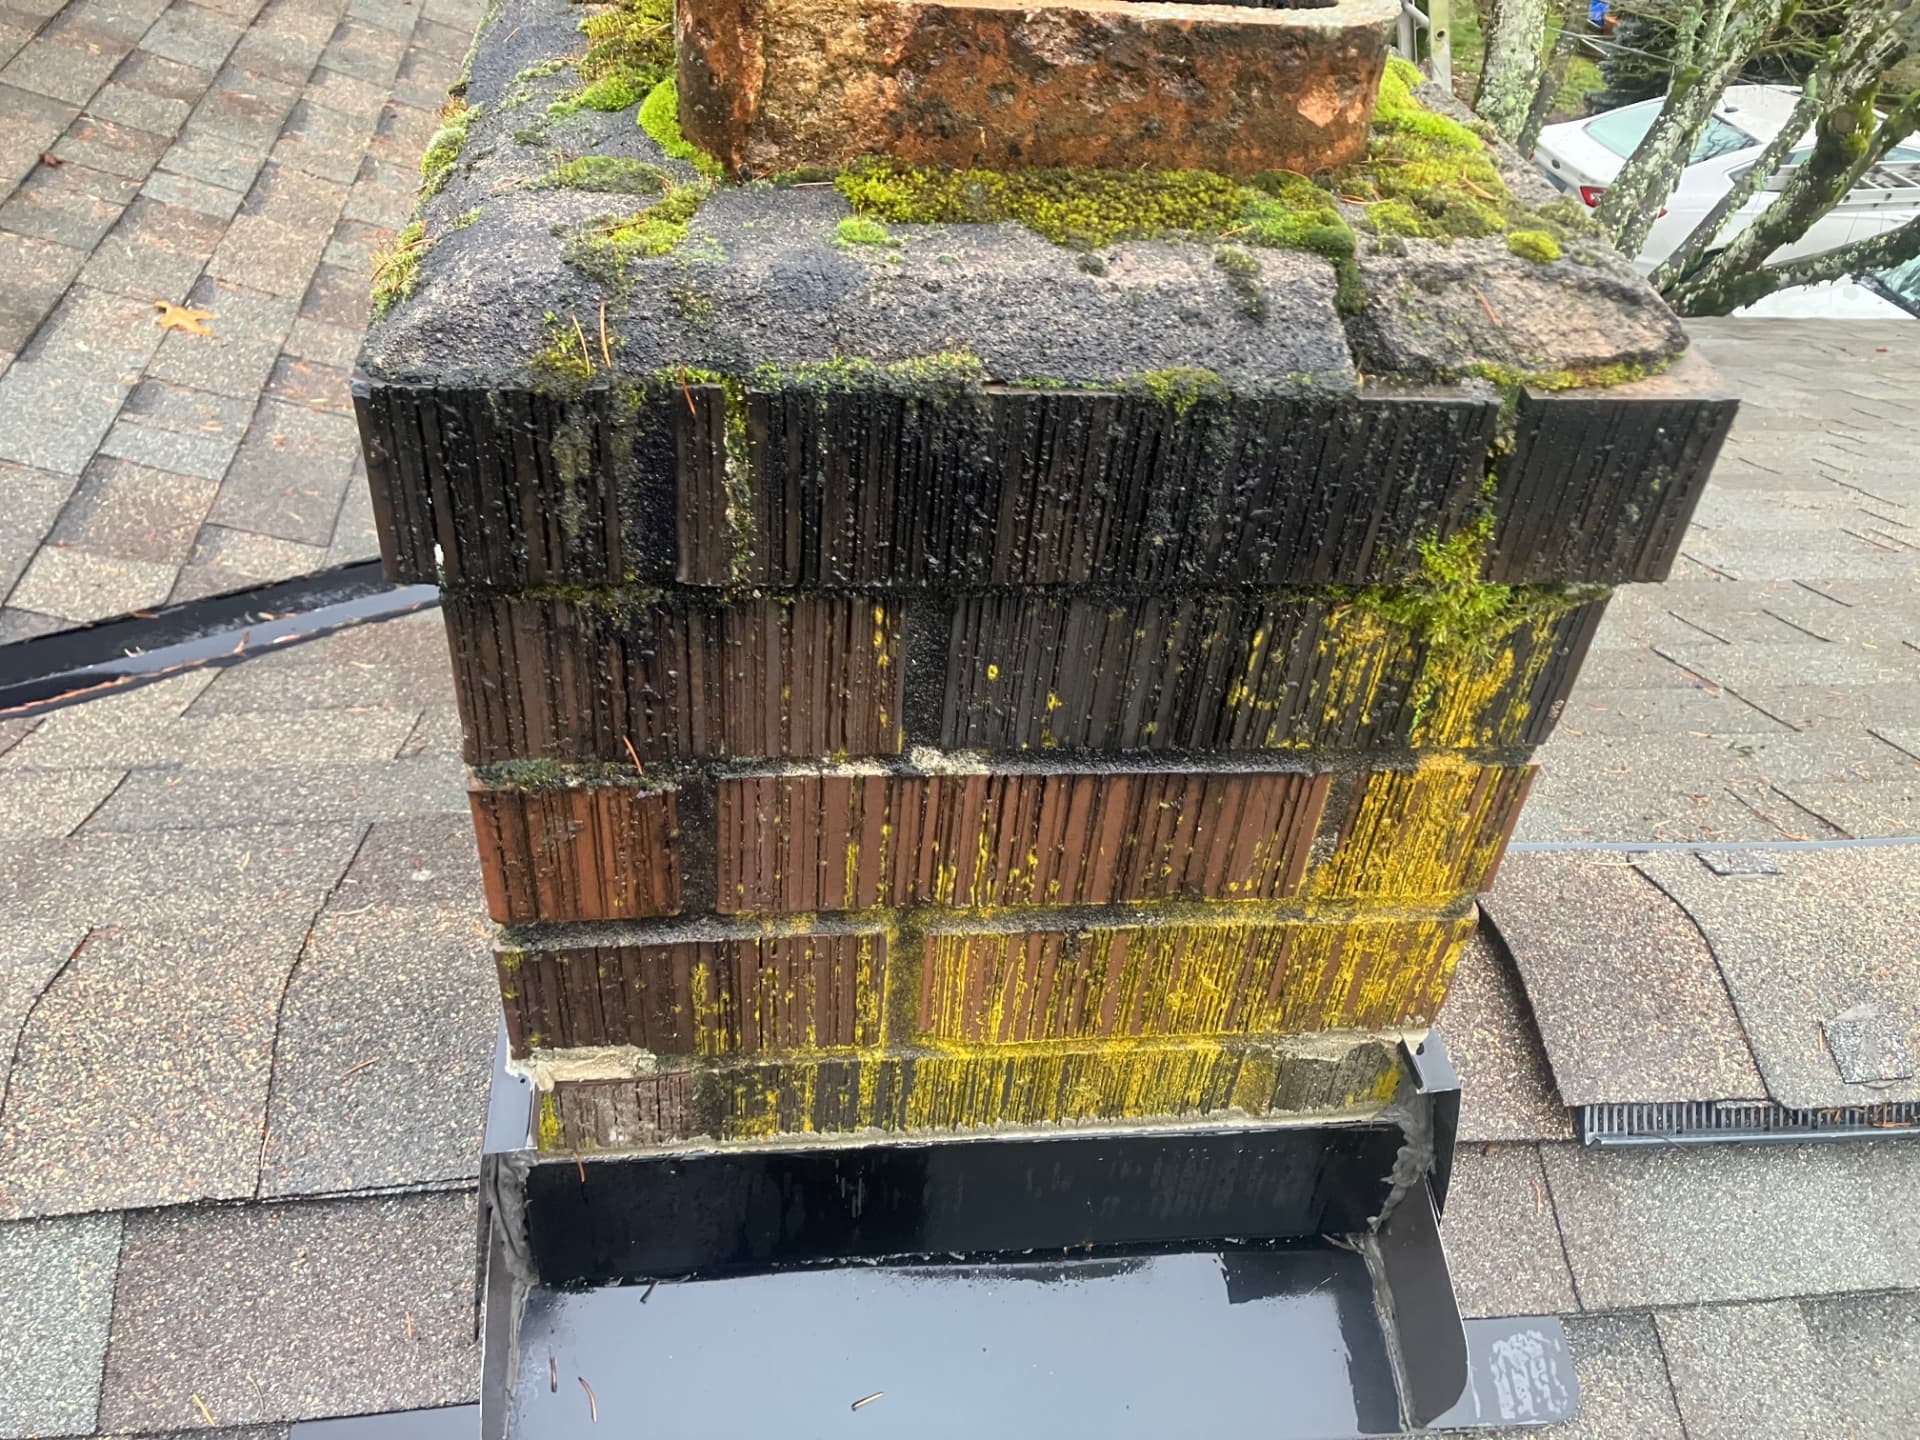
Before — moss and lichen across brick and mortar
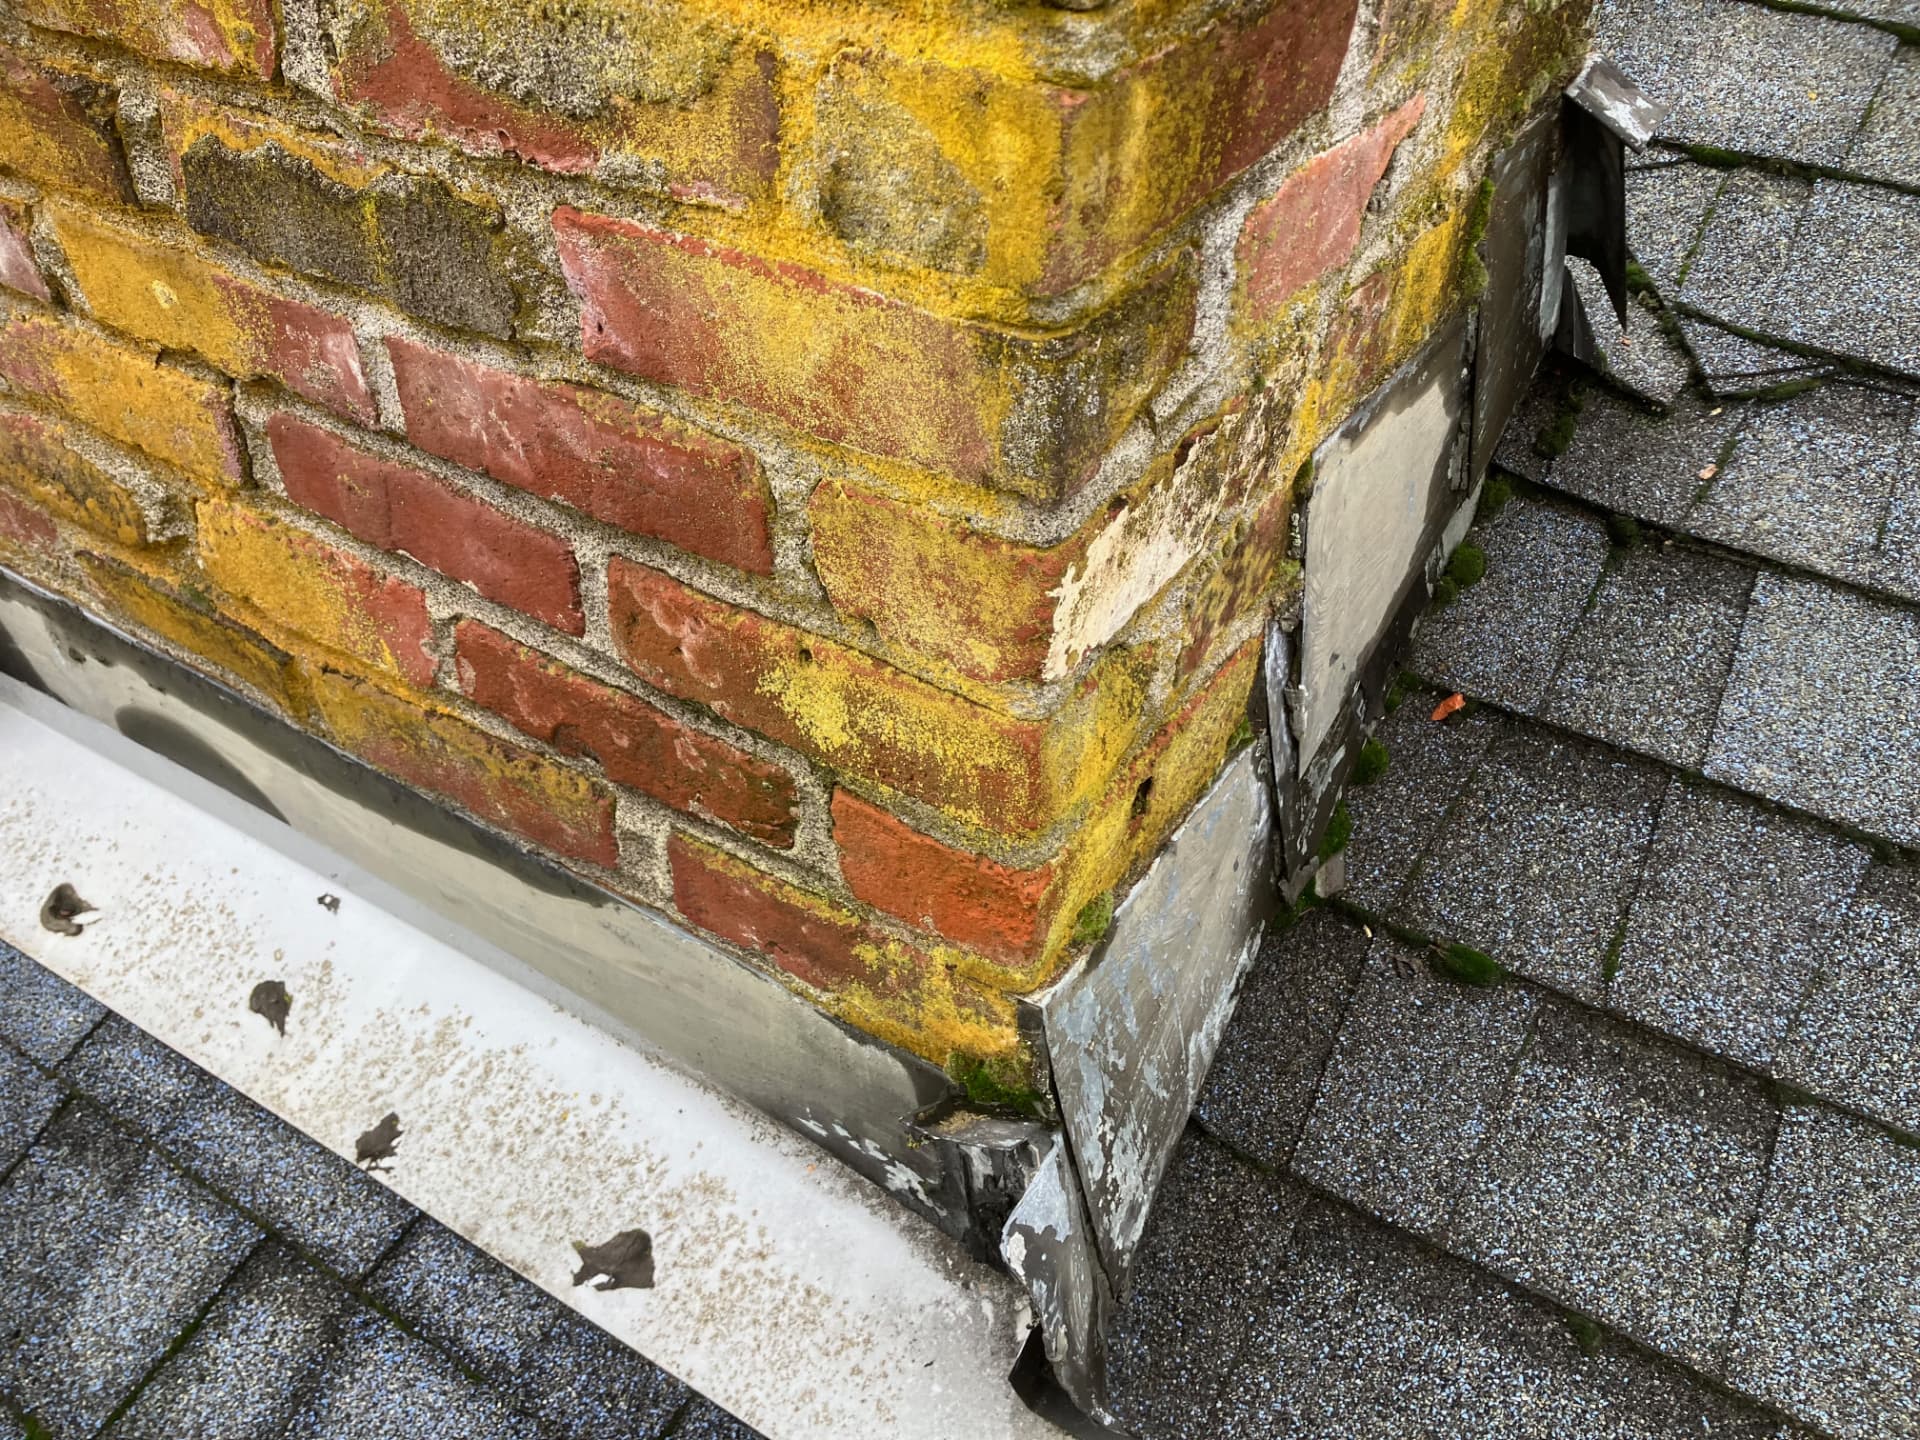
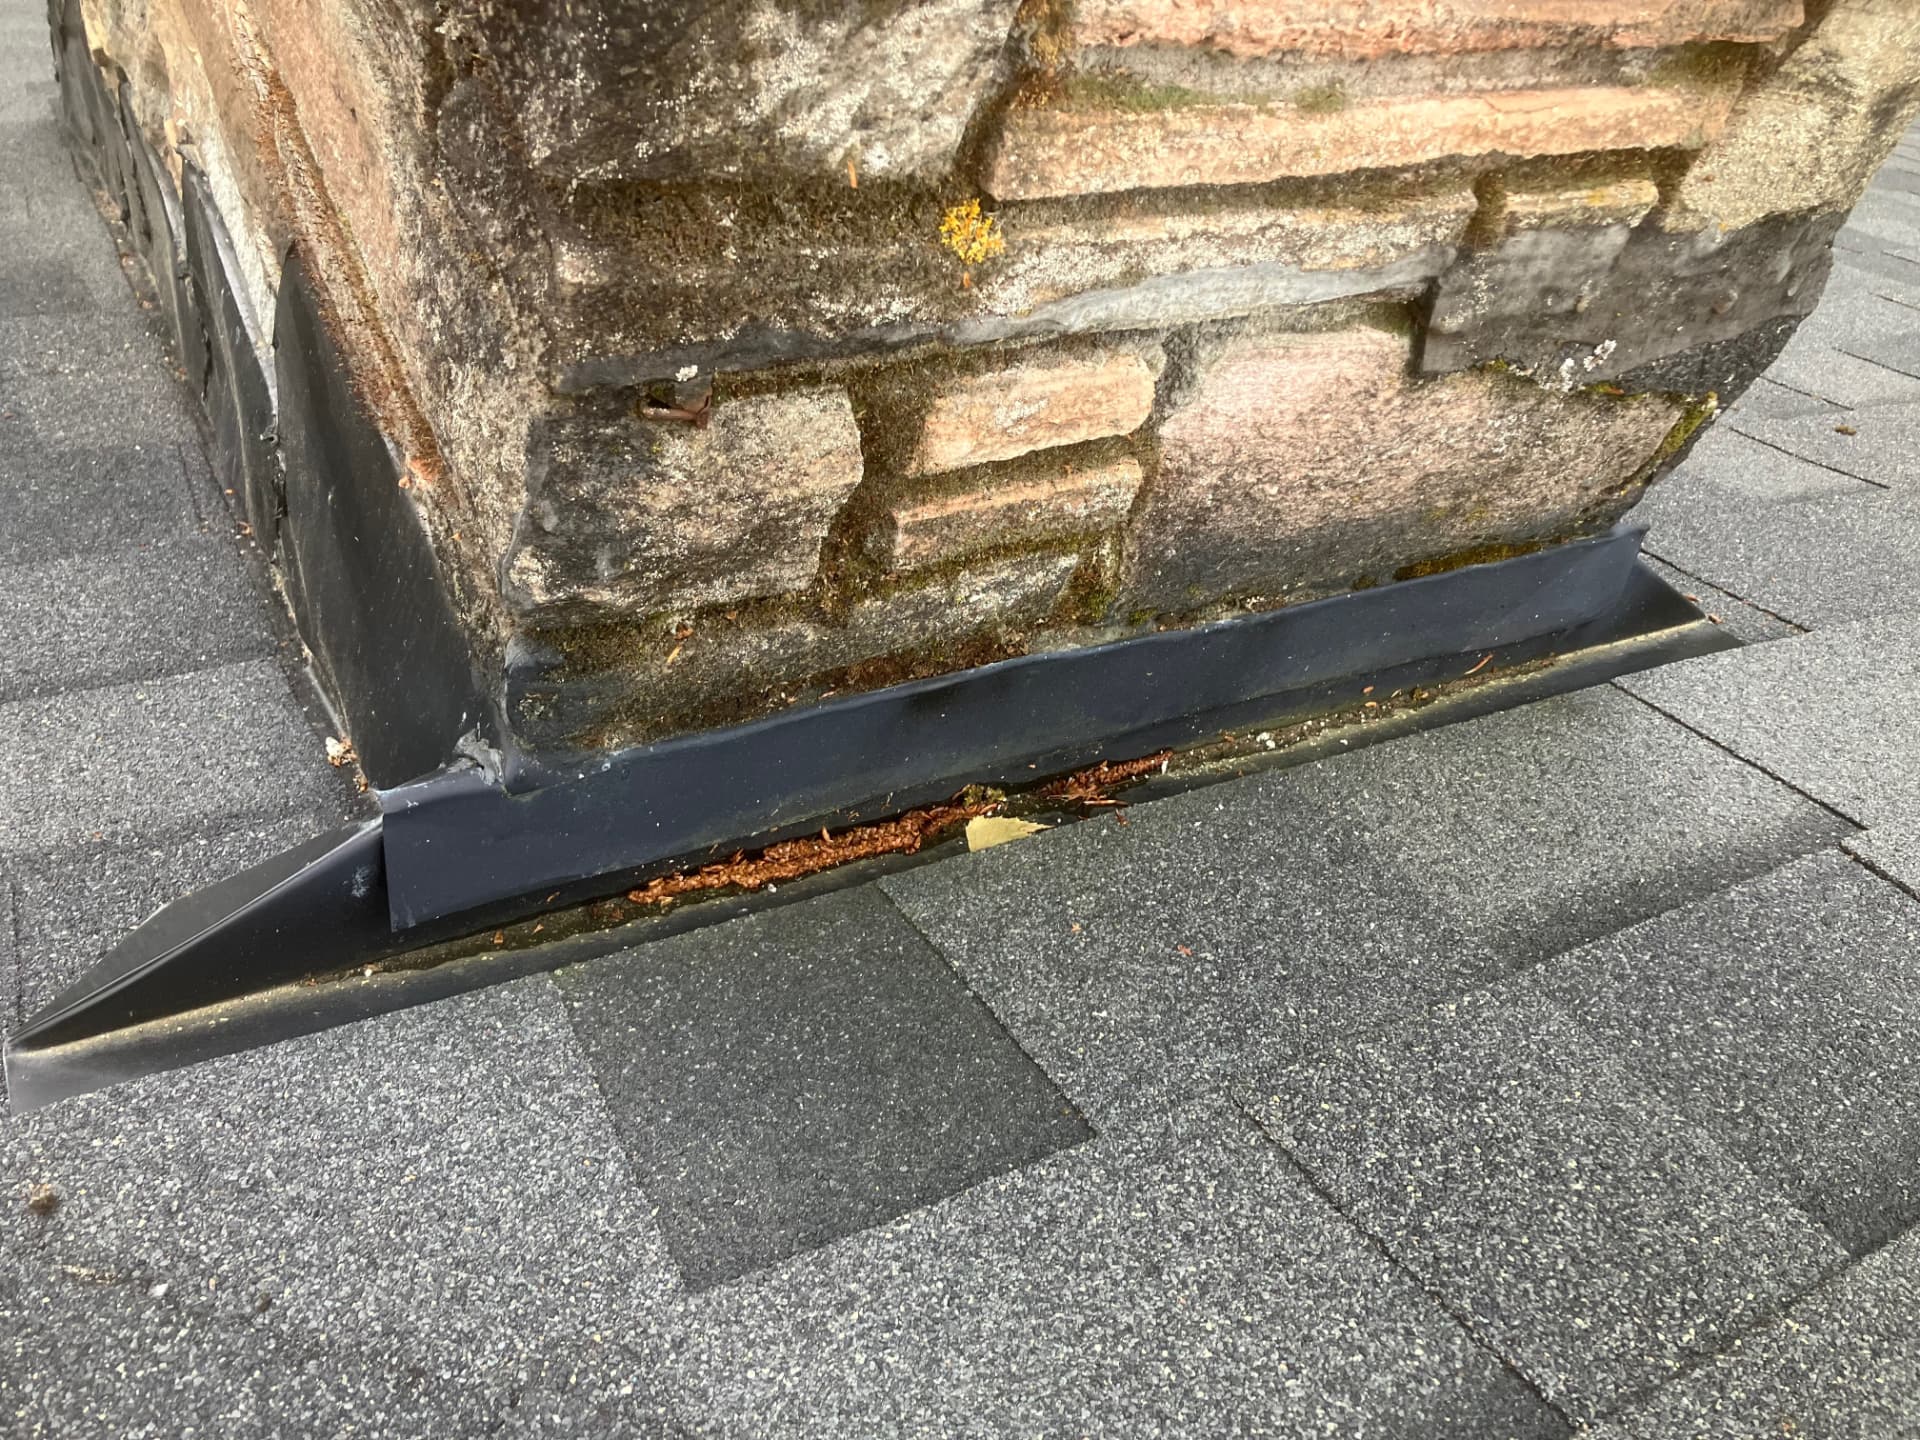
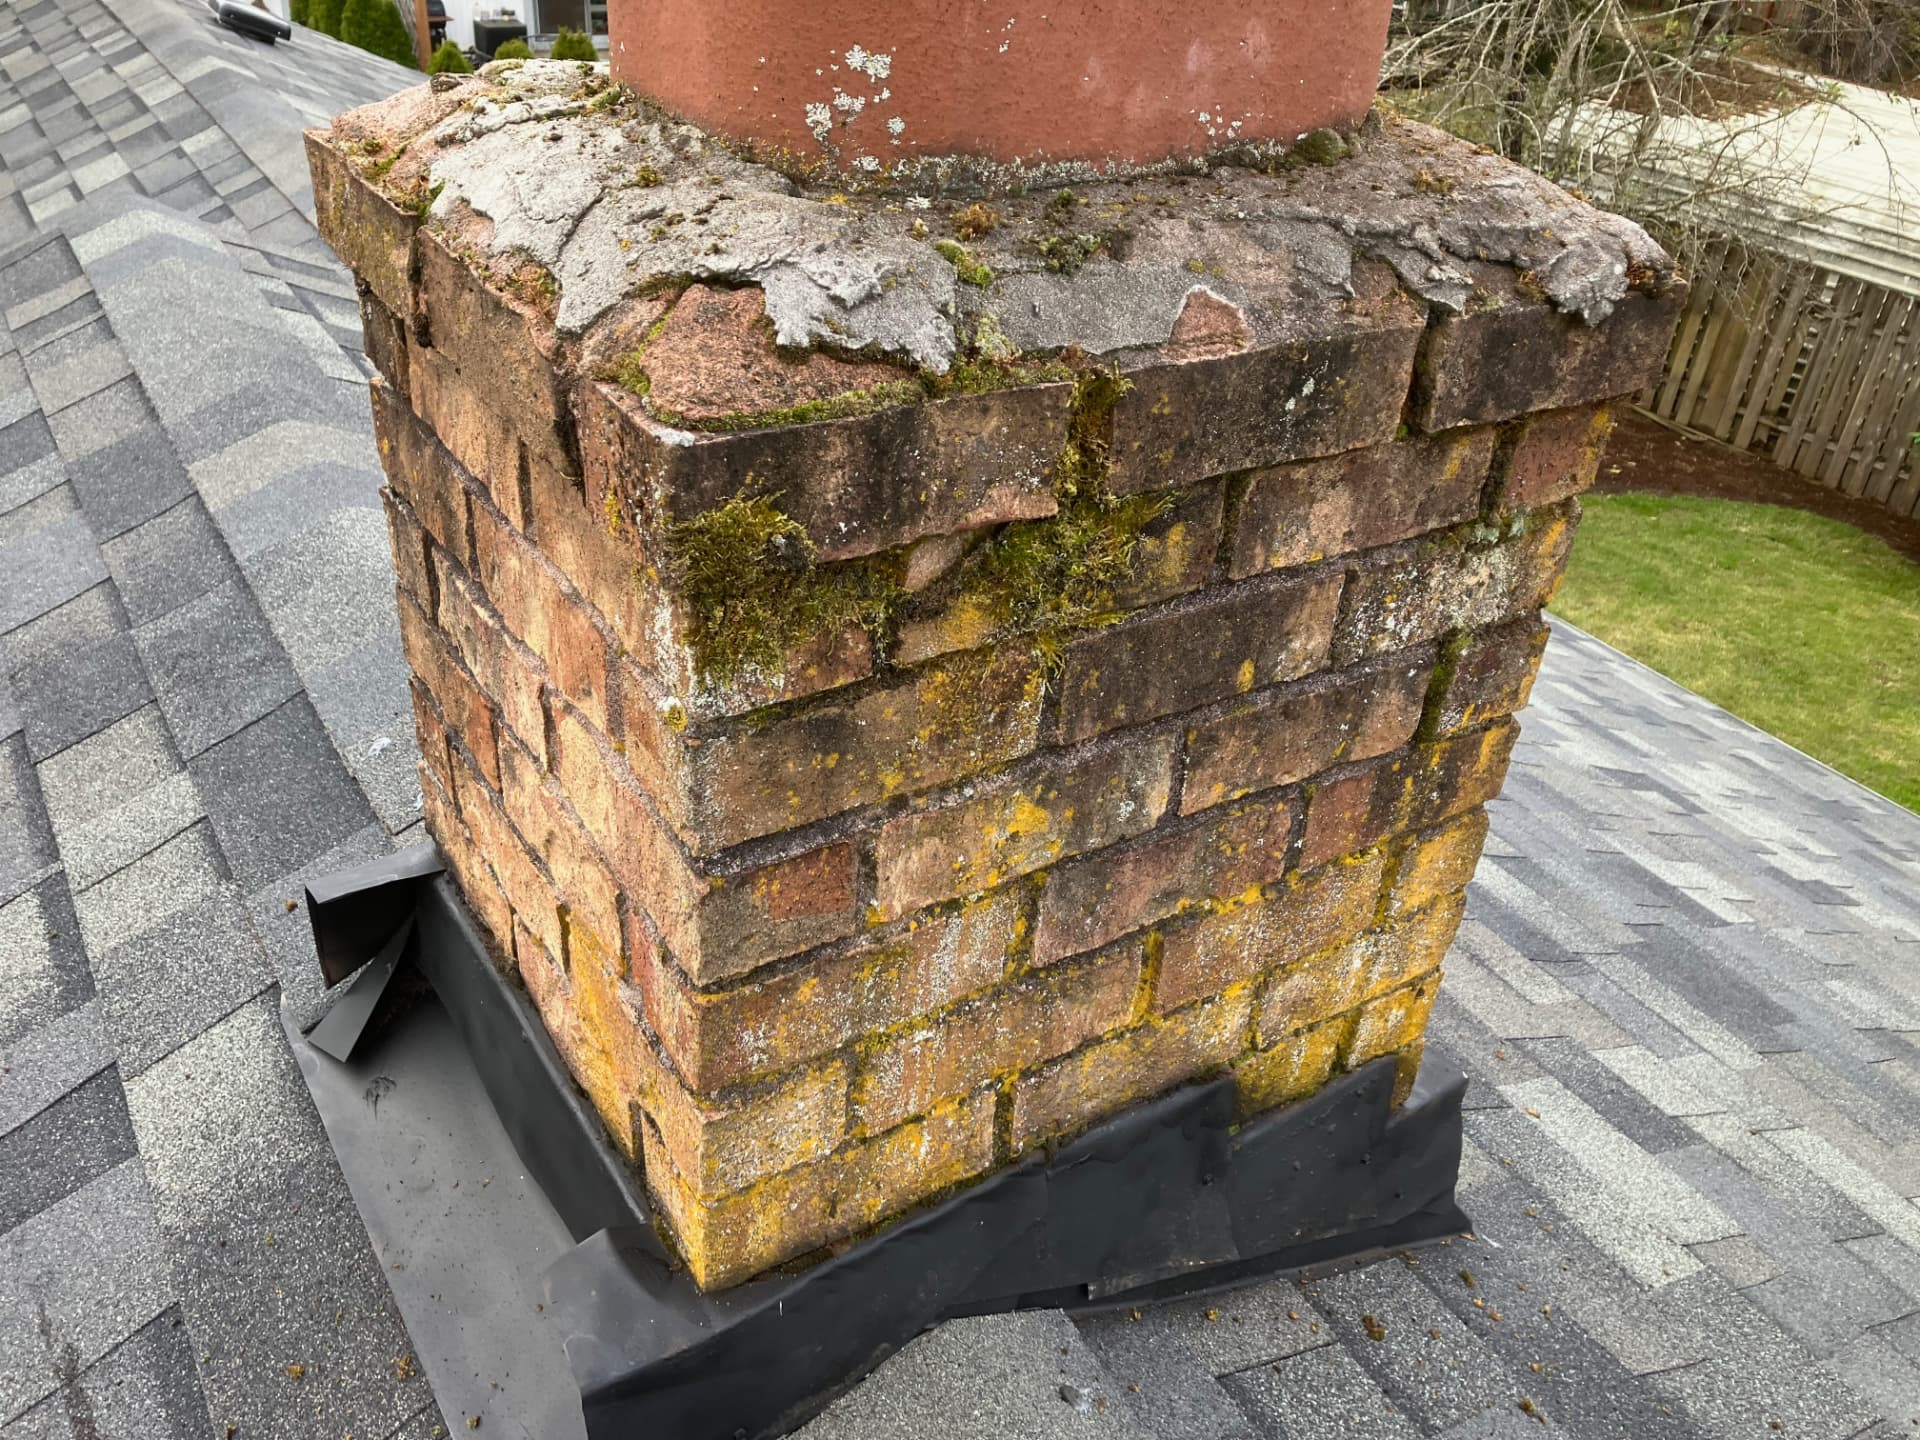
Before — moss at the chimney base and flashing
Before — moss at the chimney corner
Before — moss at the base flashing
Before — moss across the whole chimney face
Before — moss above the base flashing
Before — moss in the mortar joints, close up
Before — moss on the upper brick below the cap
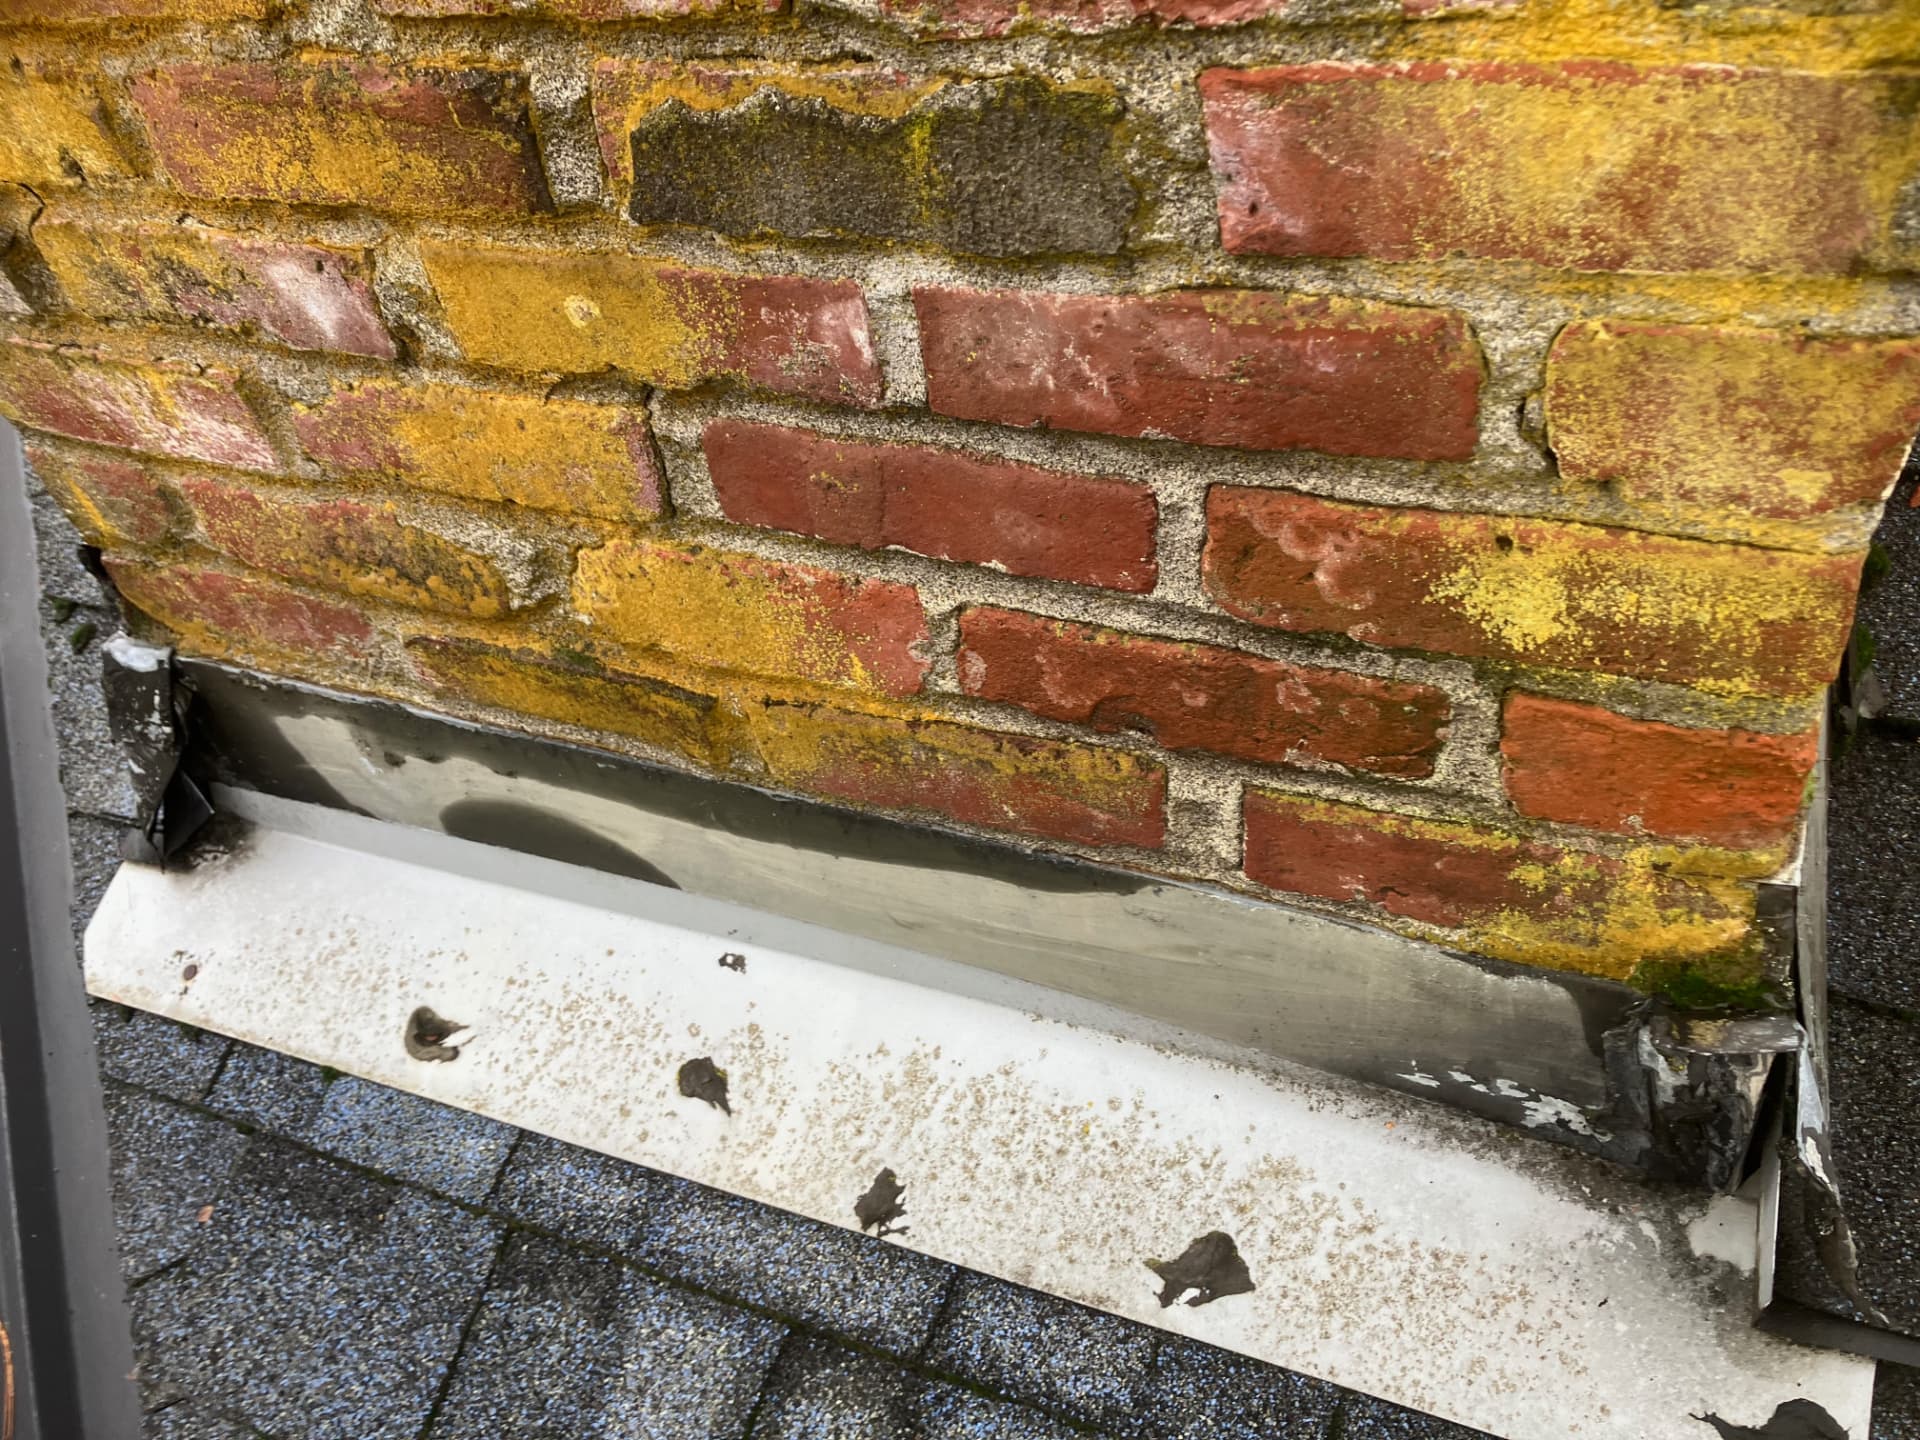
Before — lichen on the chimney corner
Before — lichen at the corner and flashing
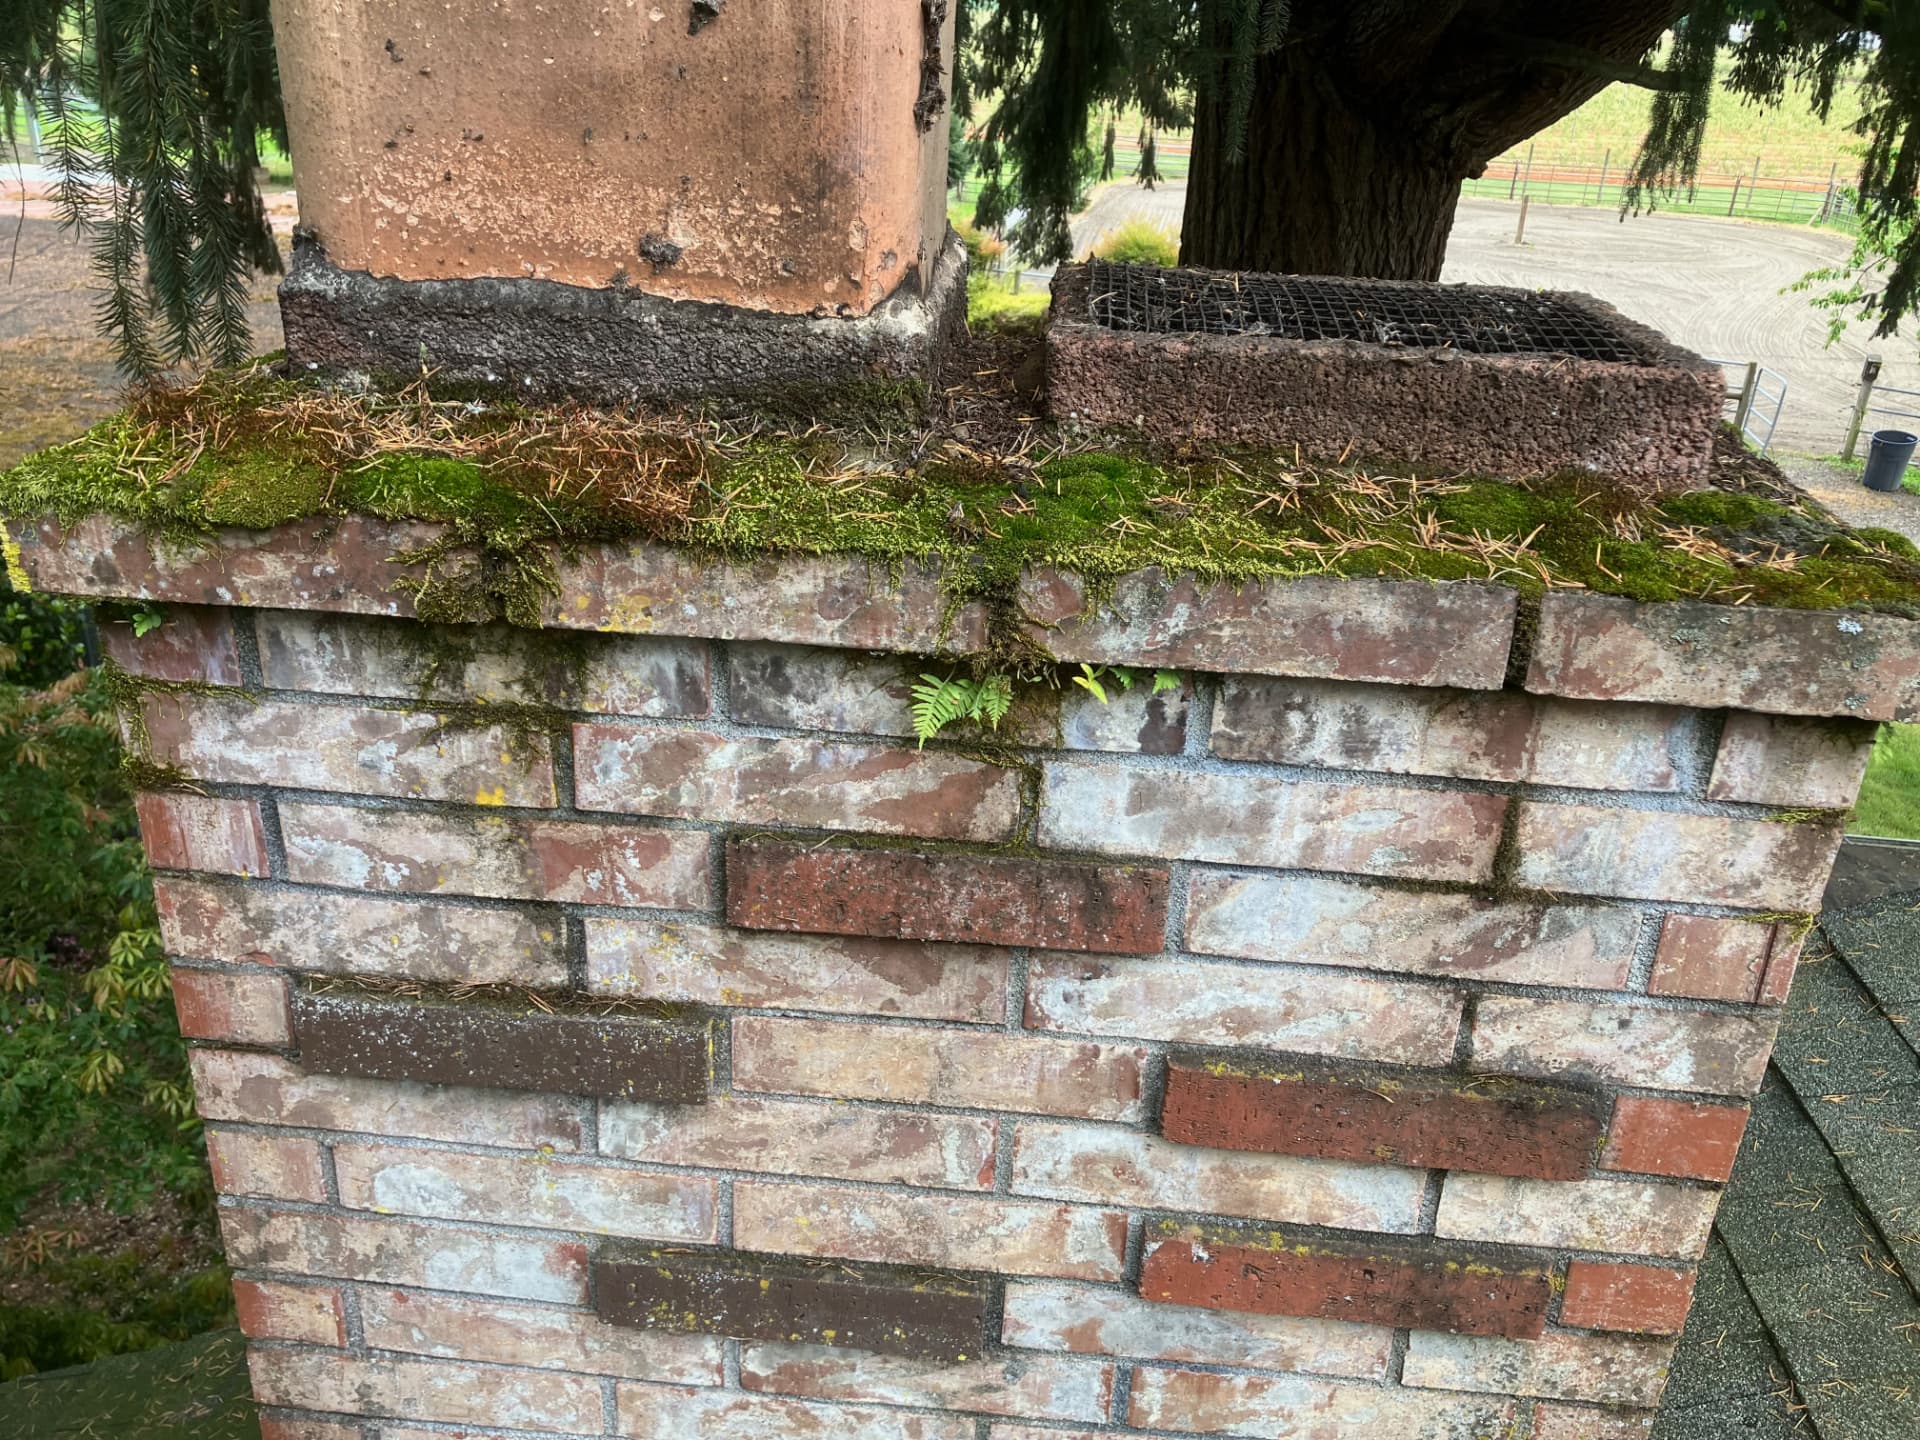
Before — moss on the crown
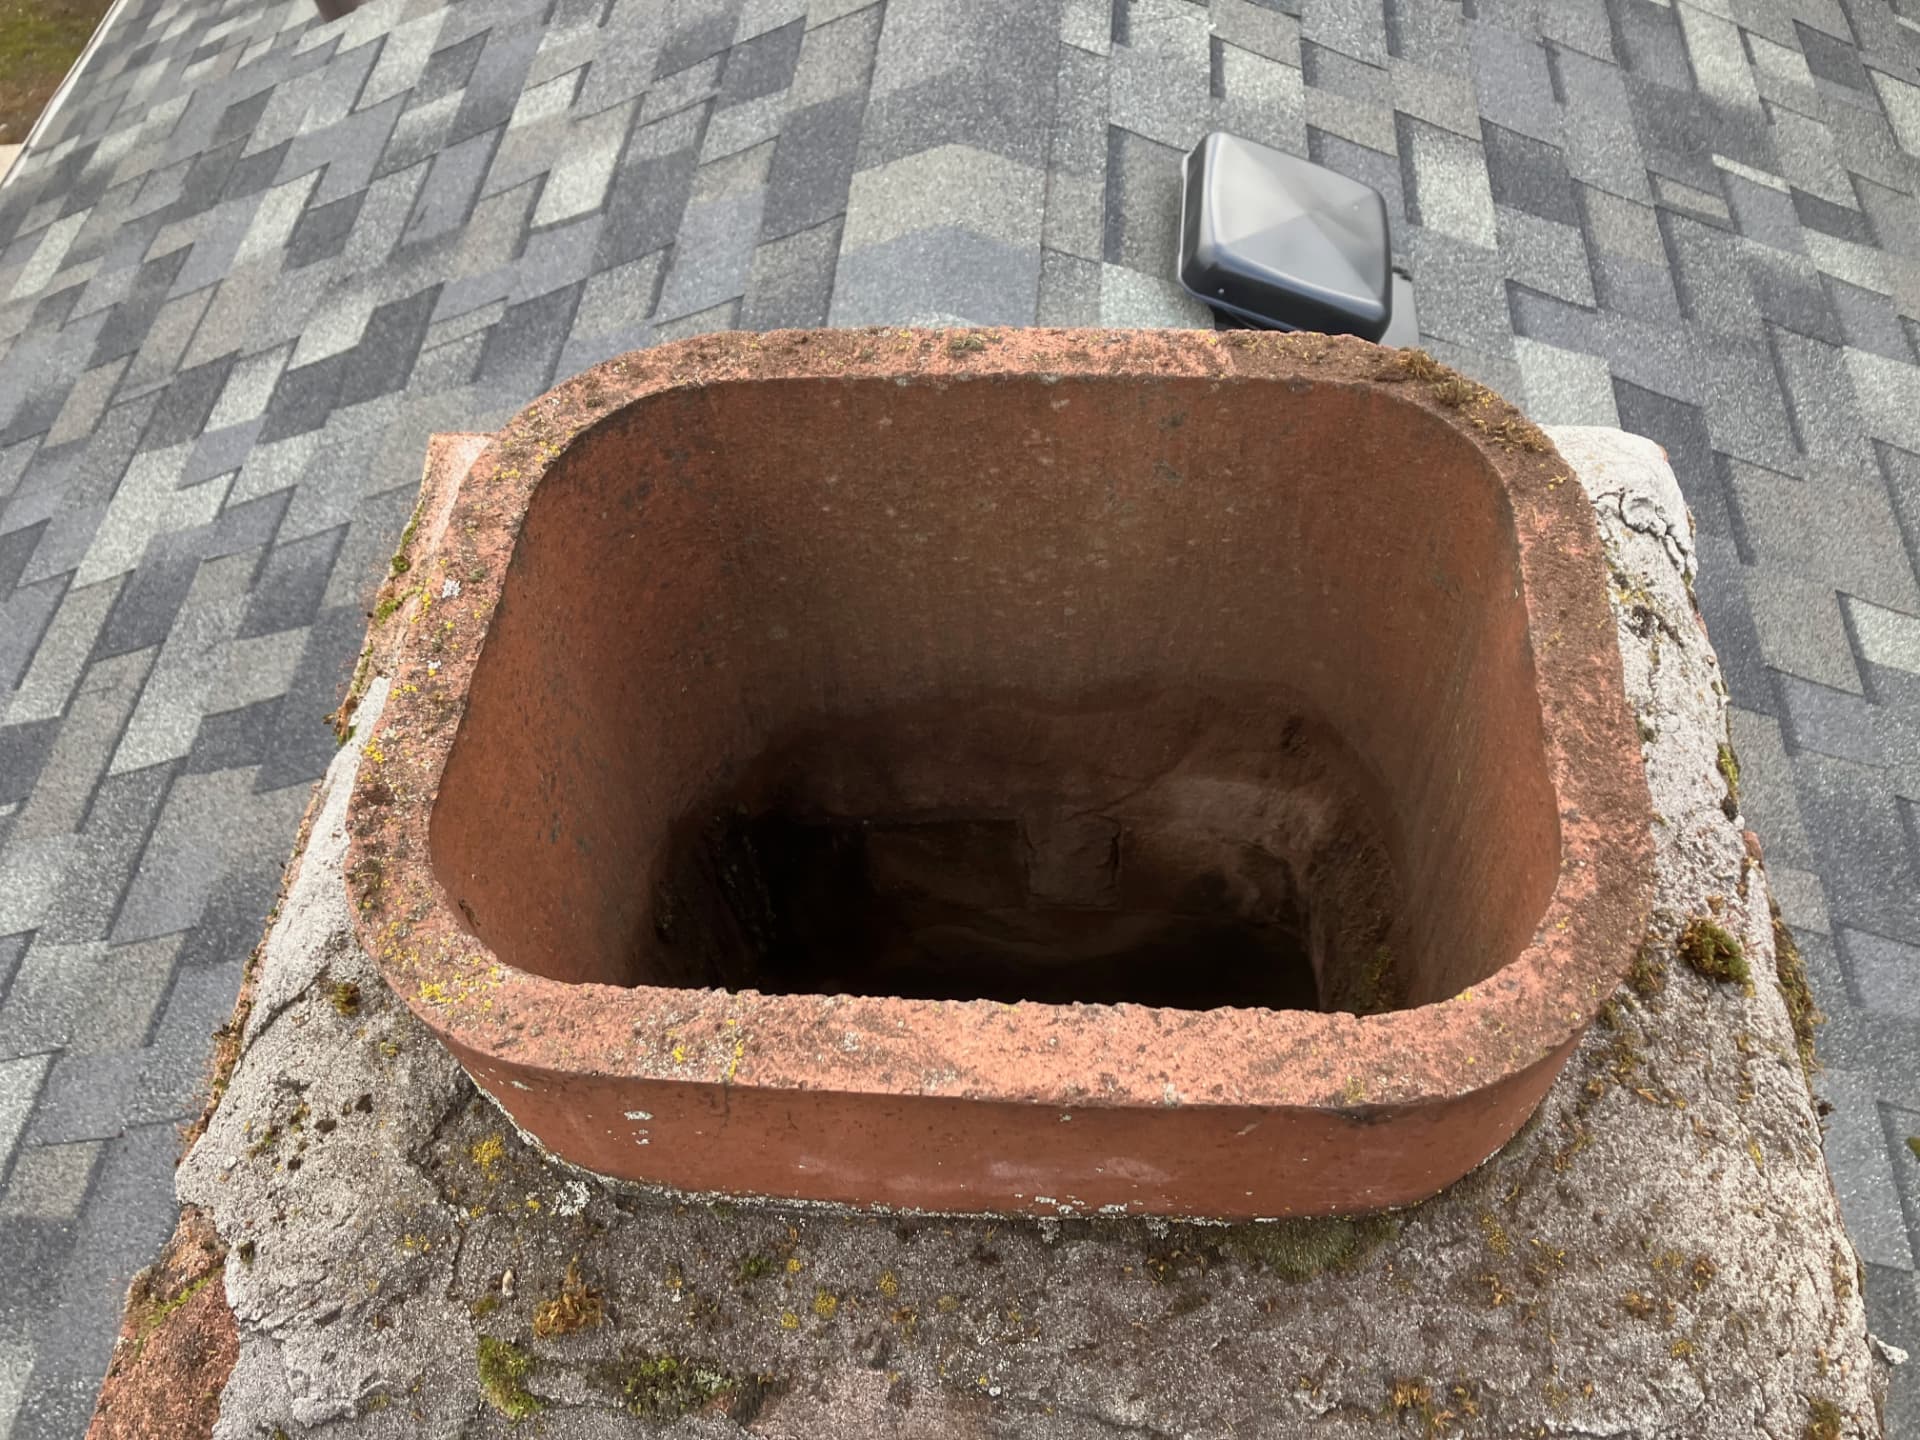
Before — moss inside the flue opening
Before — moss on the crown and mortar
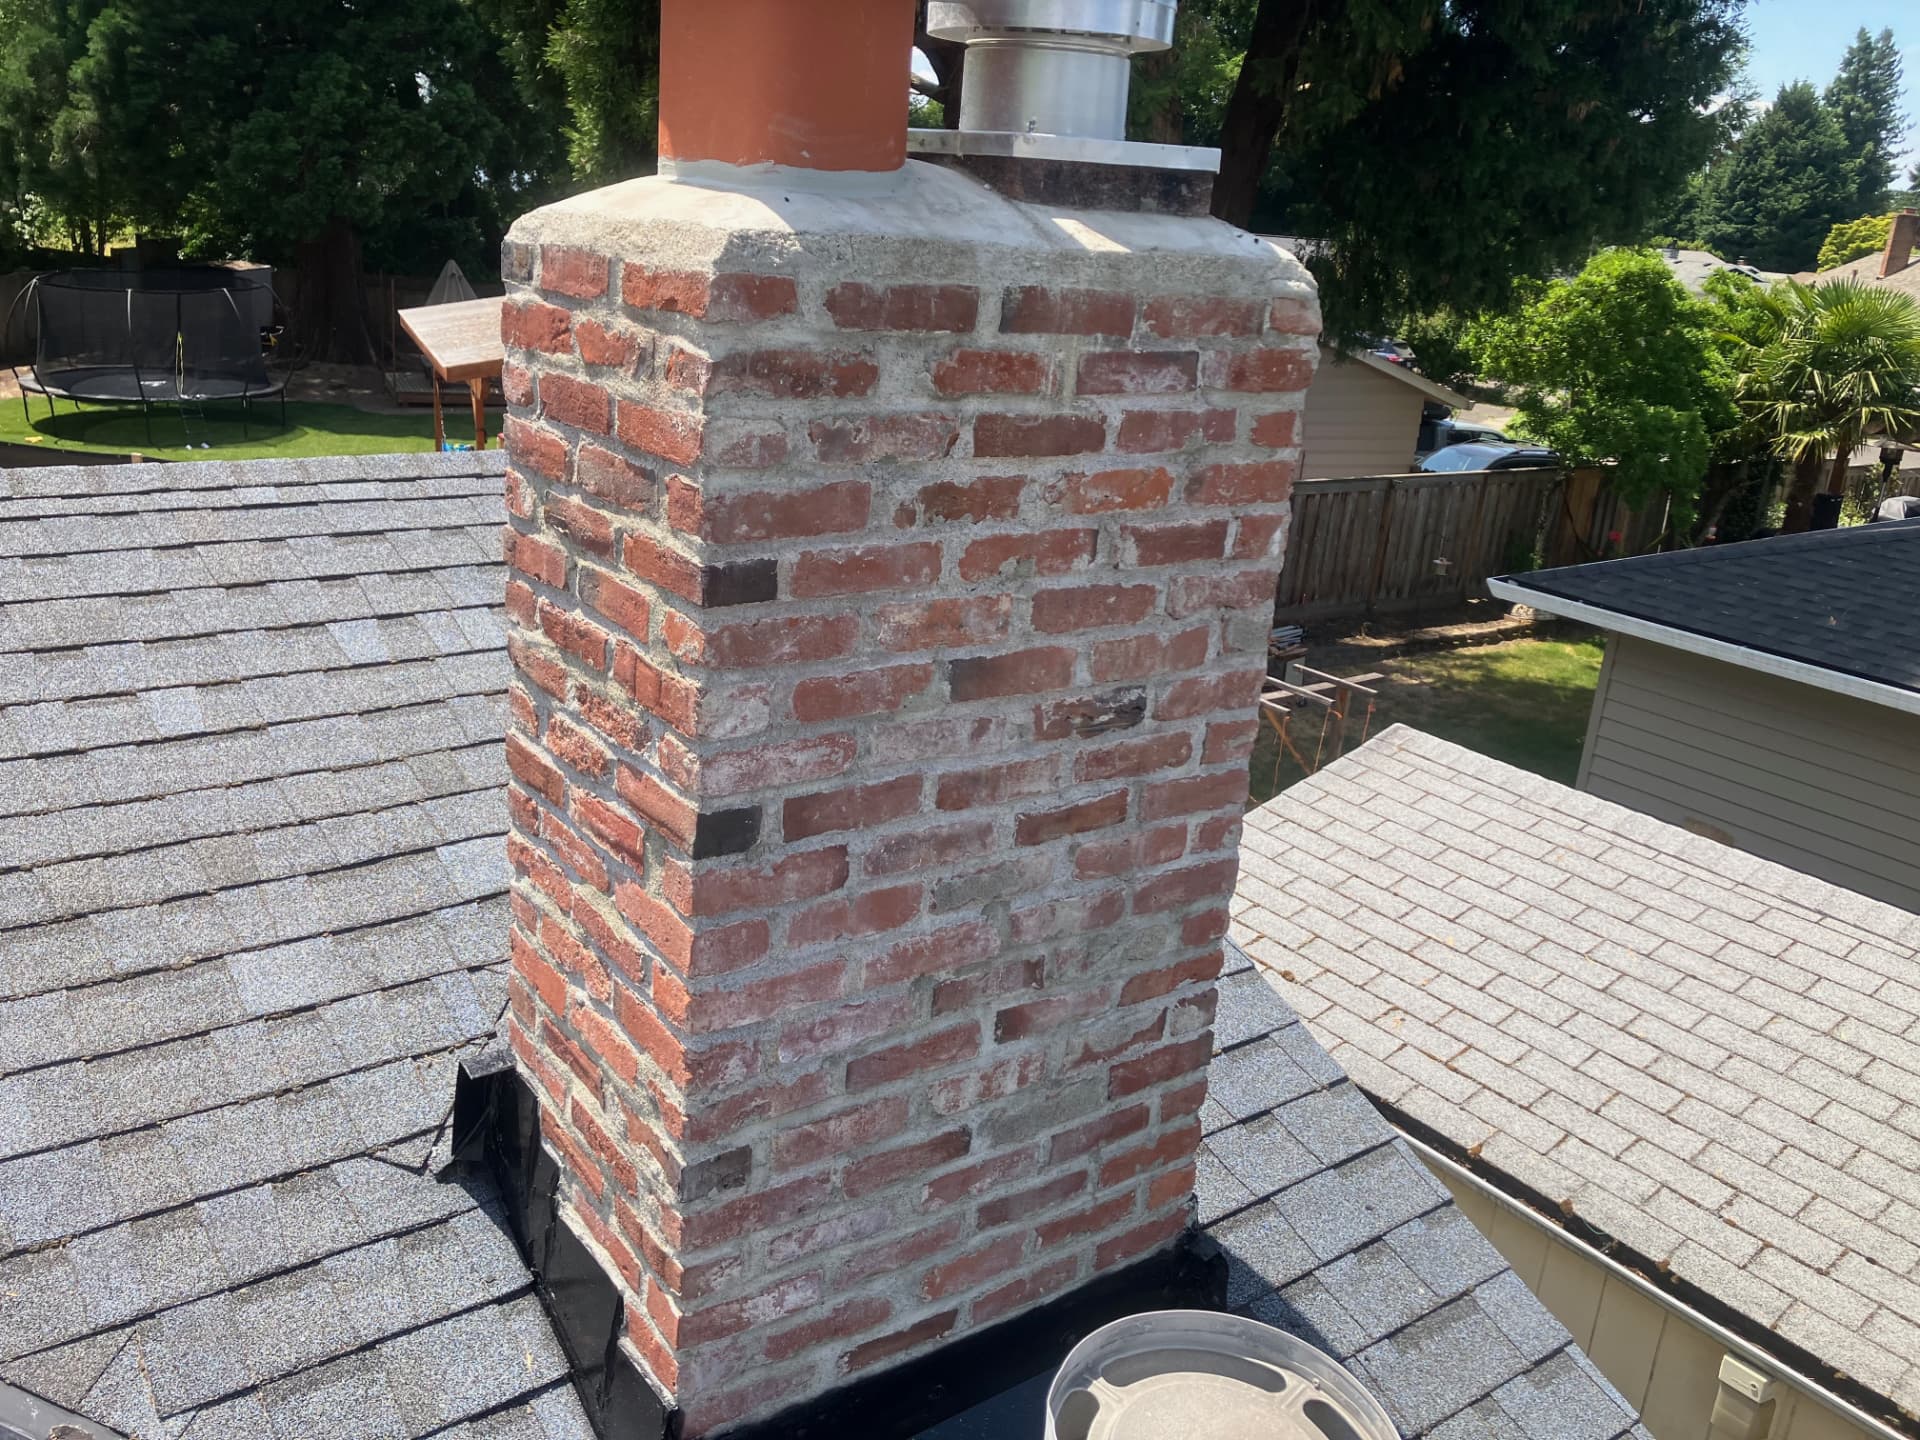
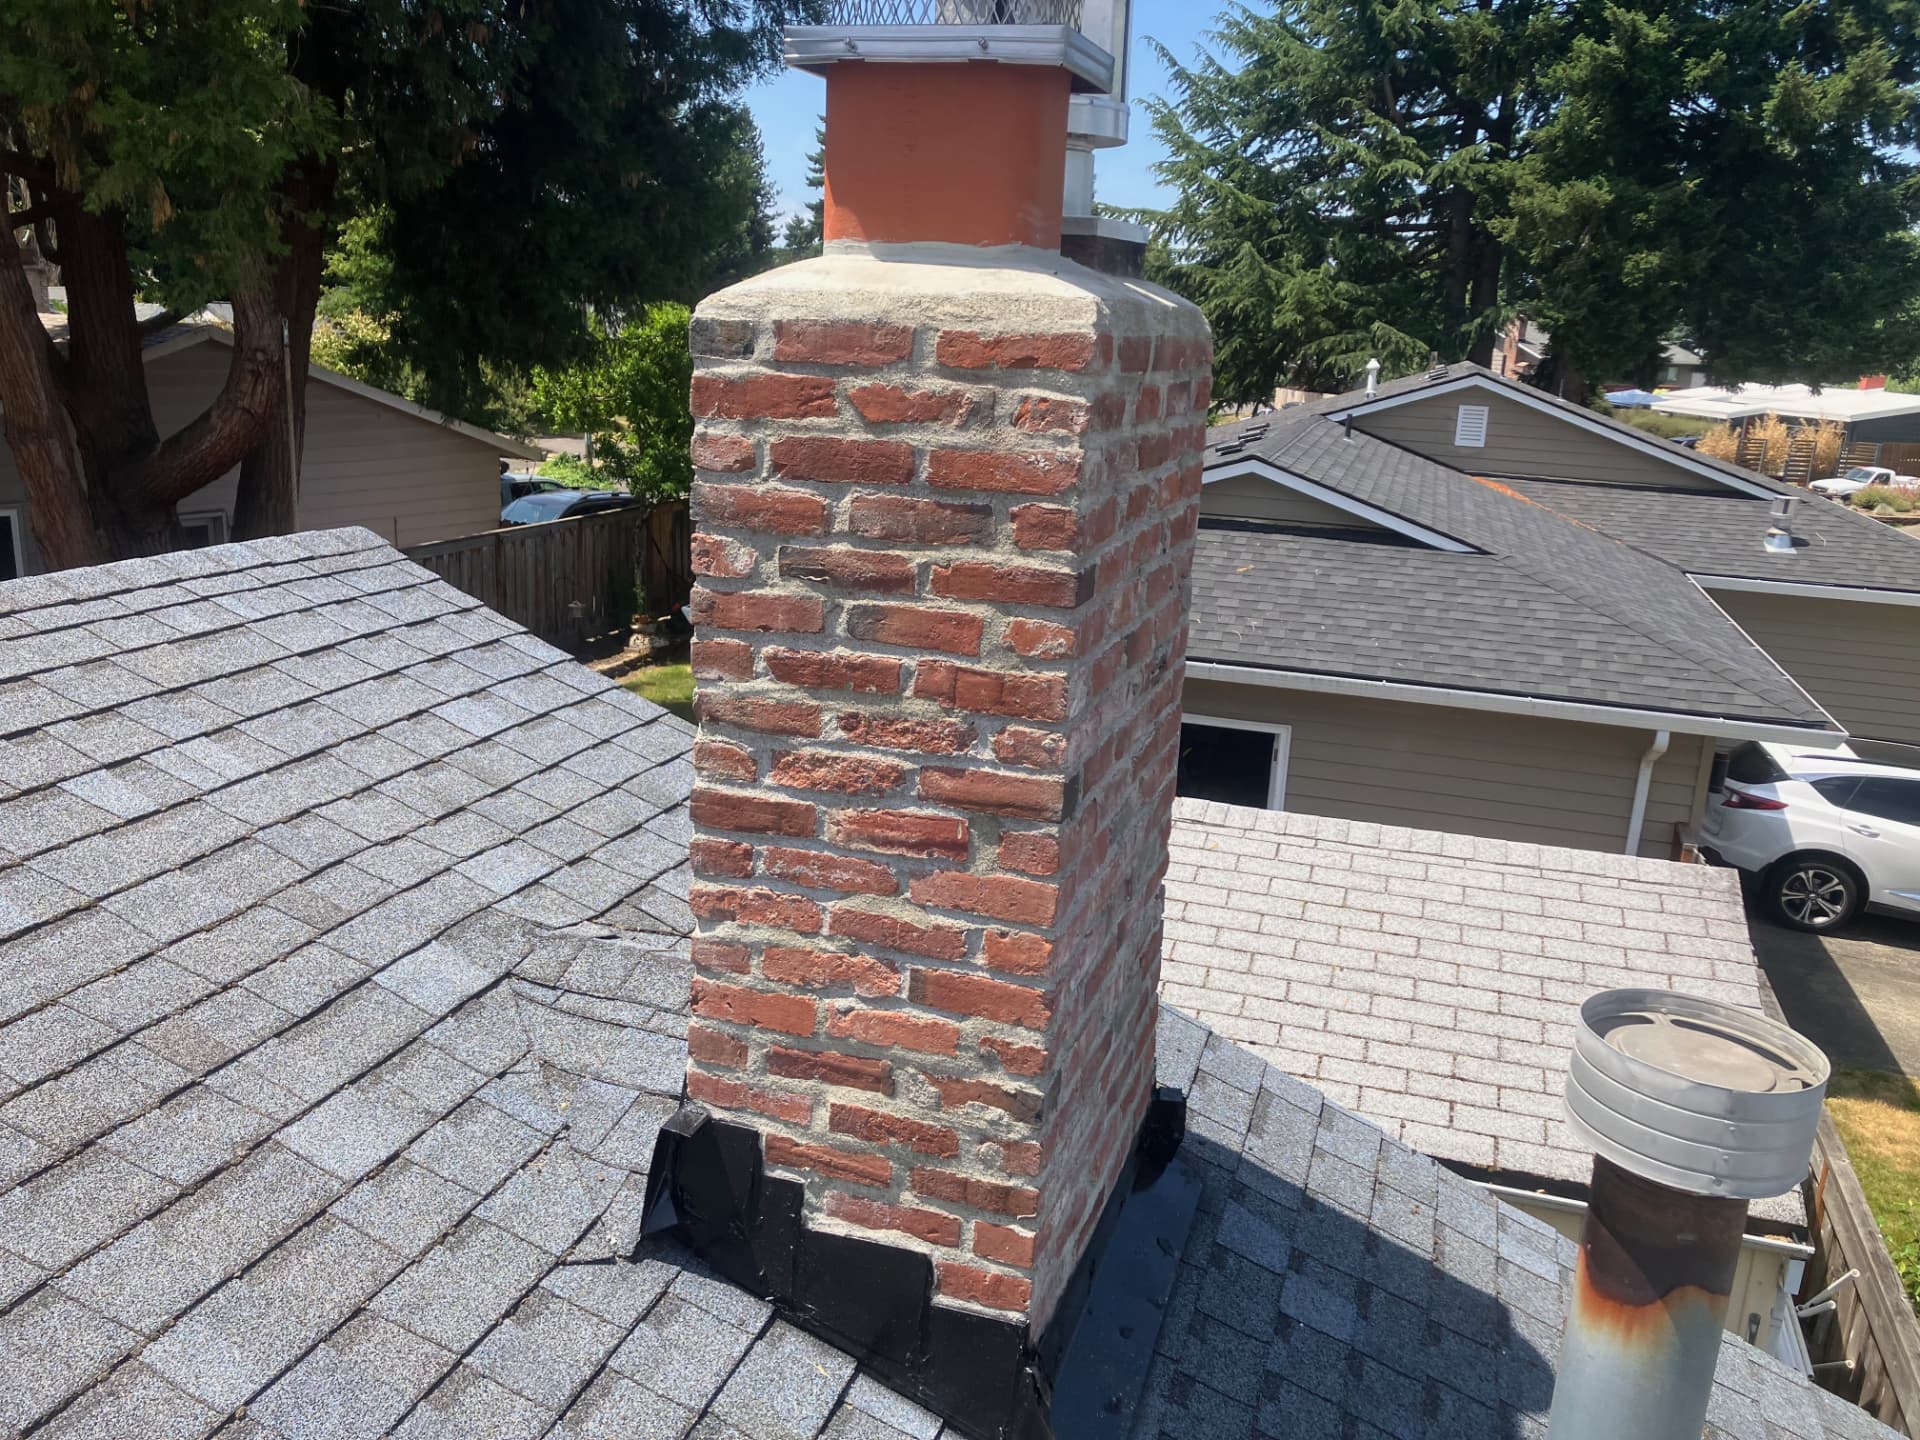
After — moss and lichen removed
After — clean brick and mortar joints
After — clean brick and base flashing
After — chimney crown and flue tile
After — crown, flue tile and cap
After — chimney from base flashing to crown

Before and After — Another Moss Removal
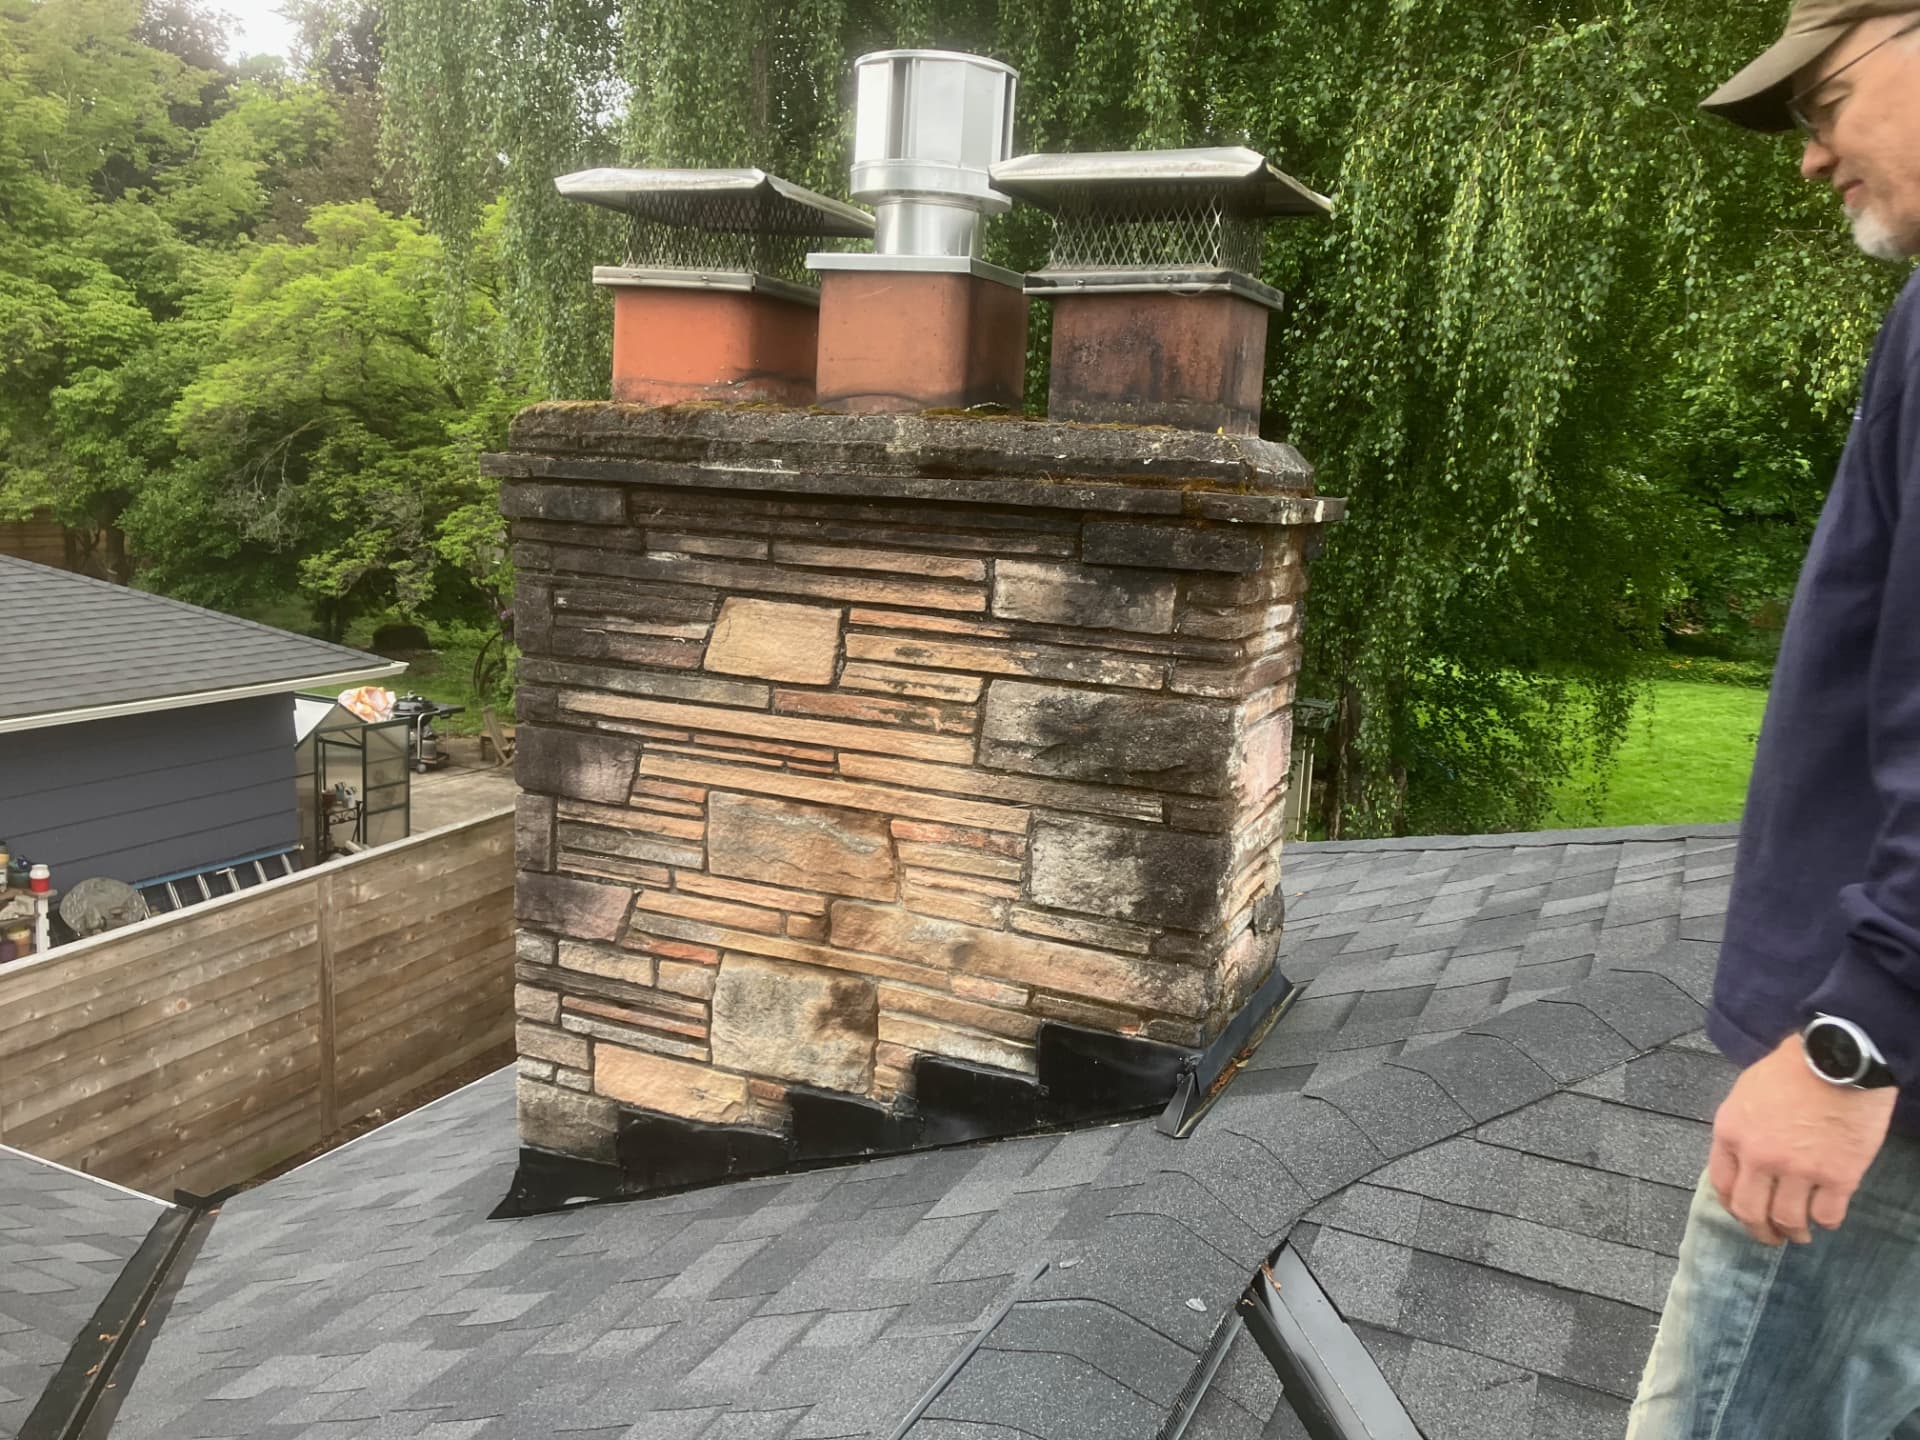
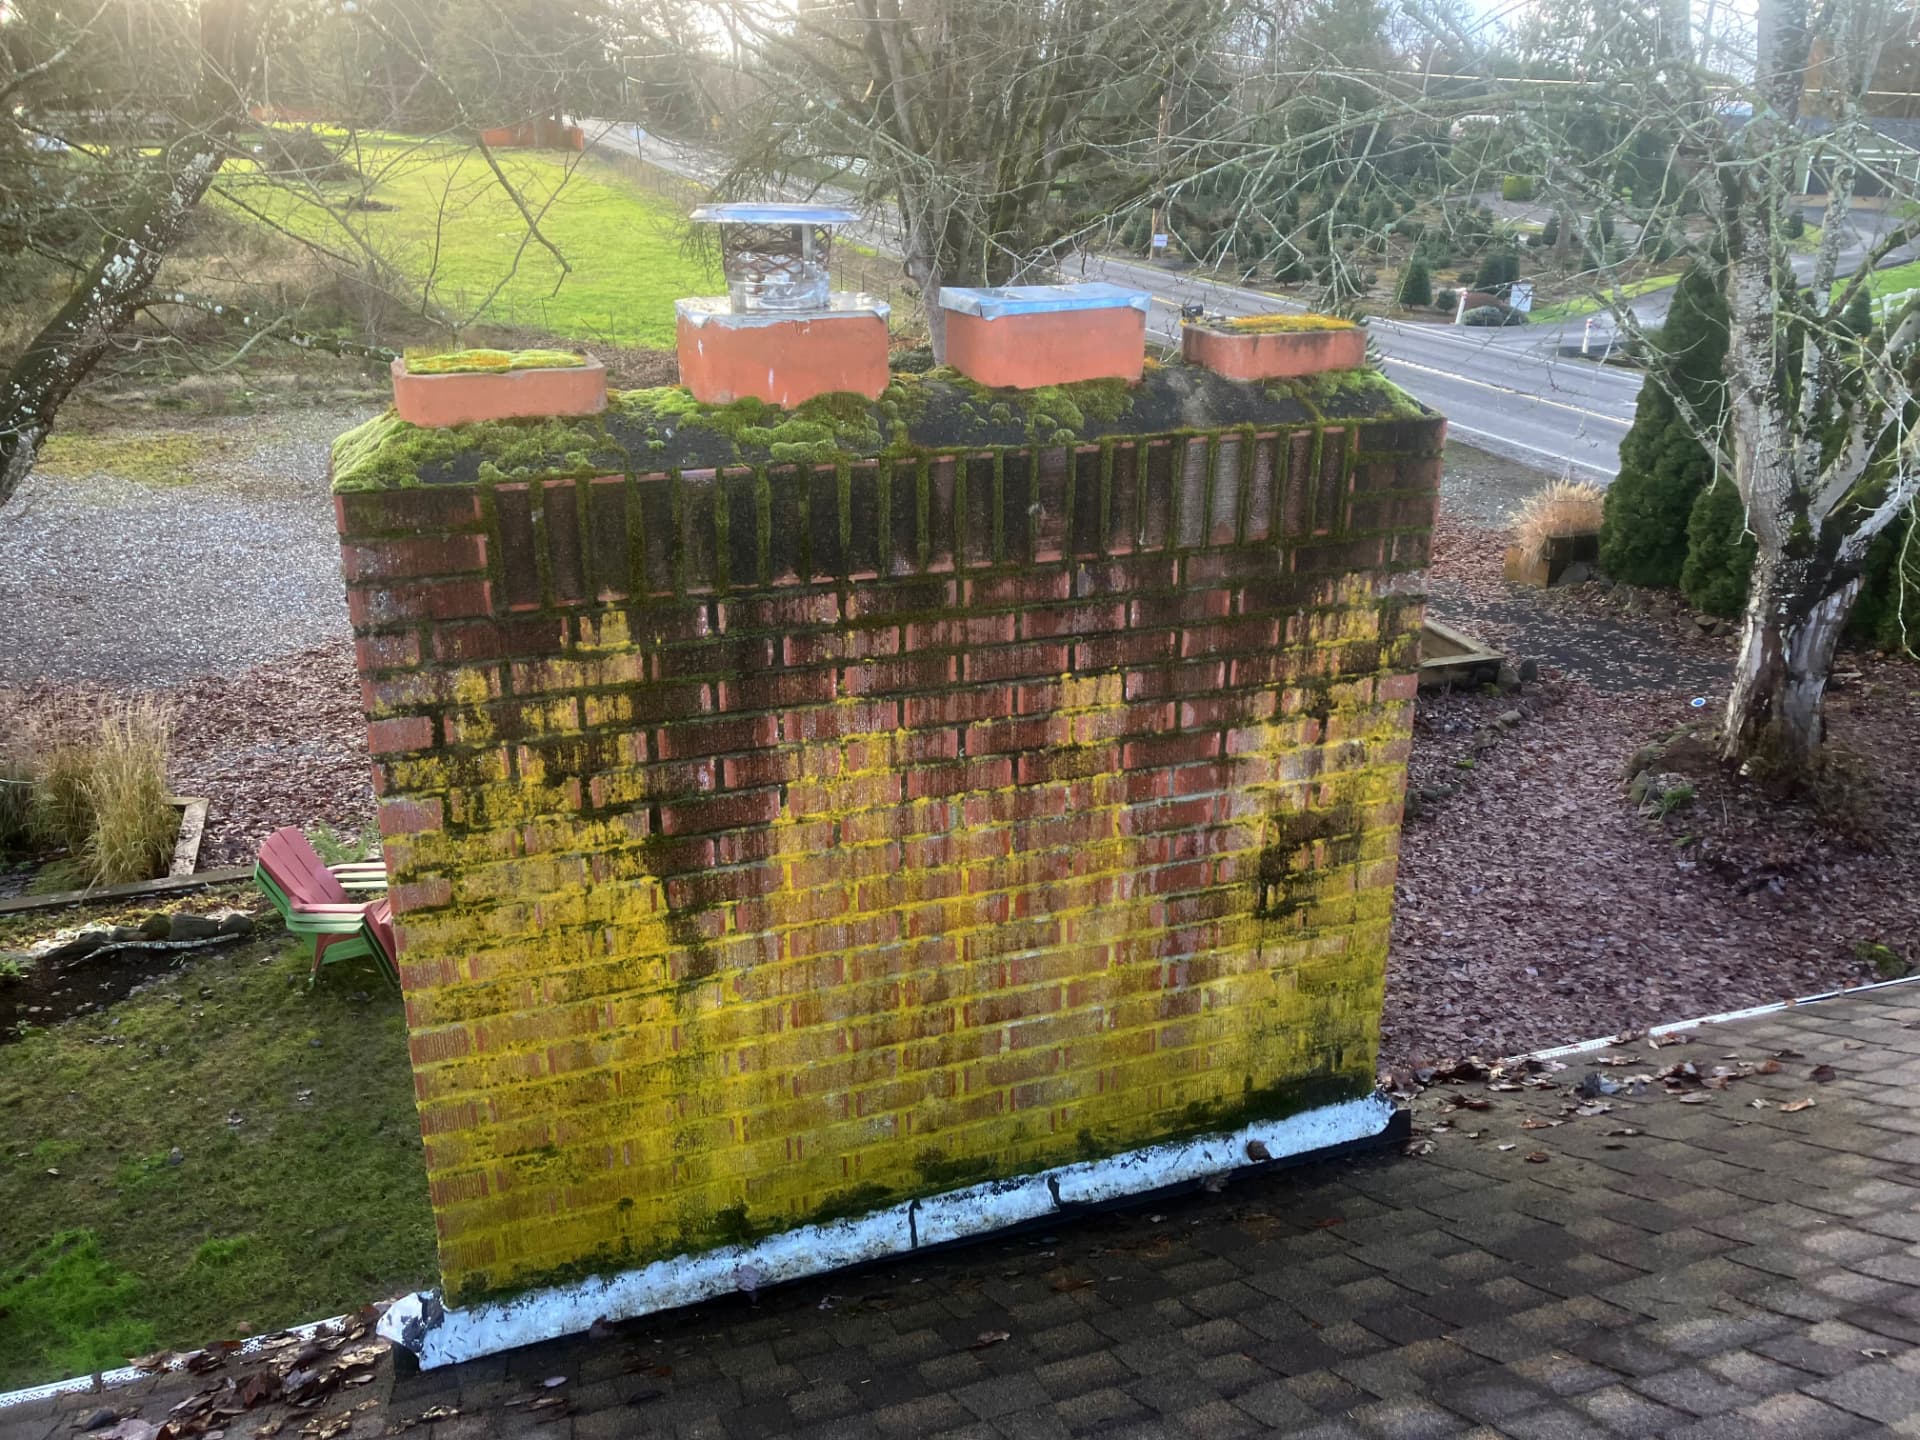
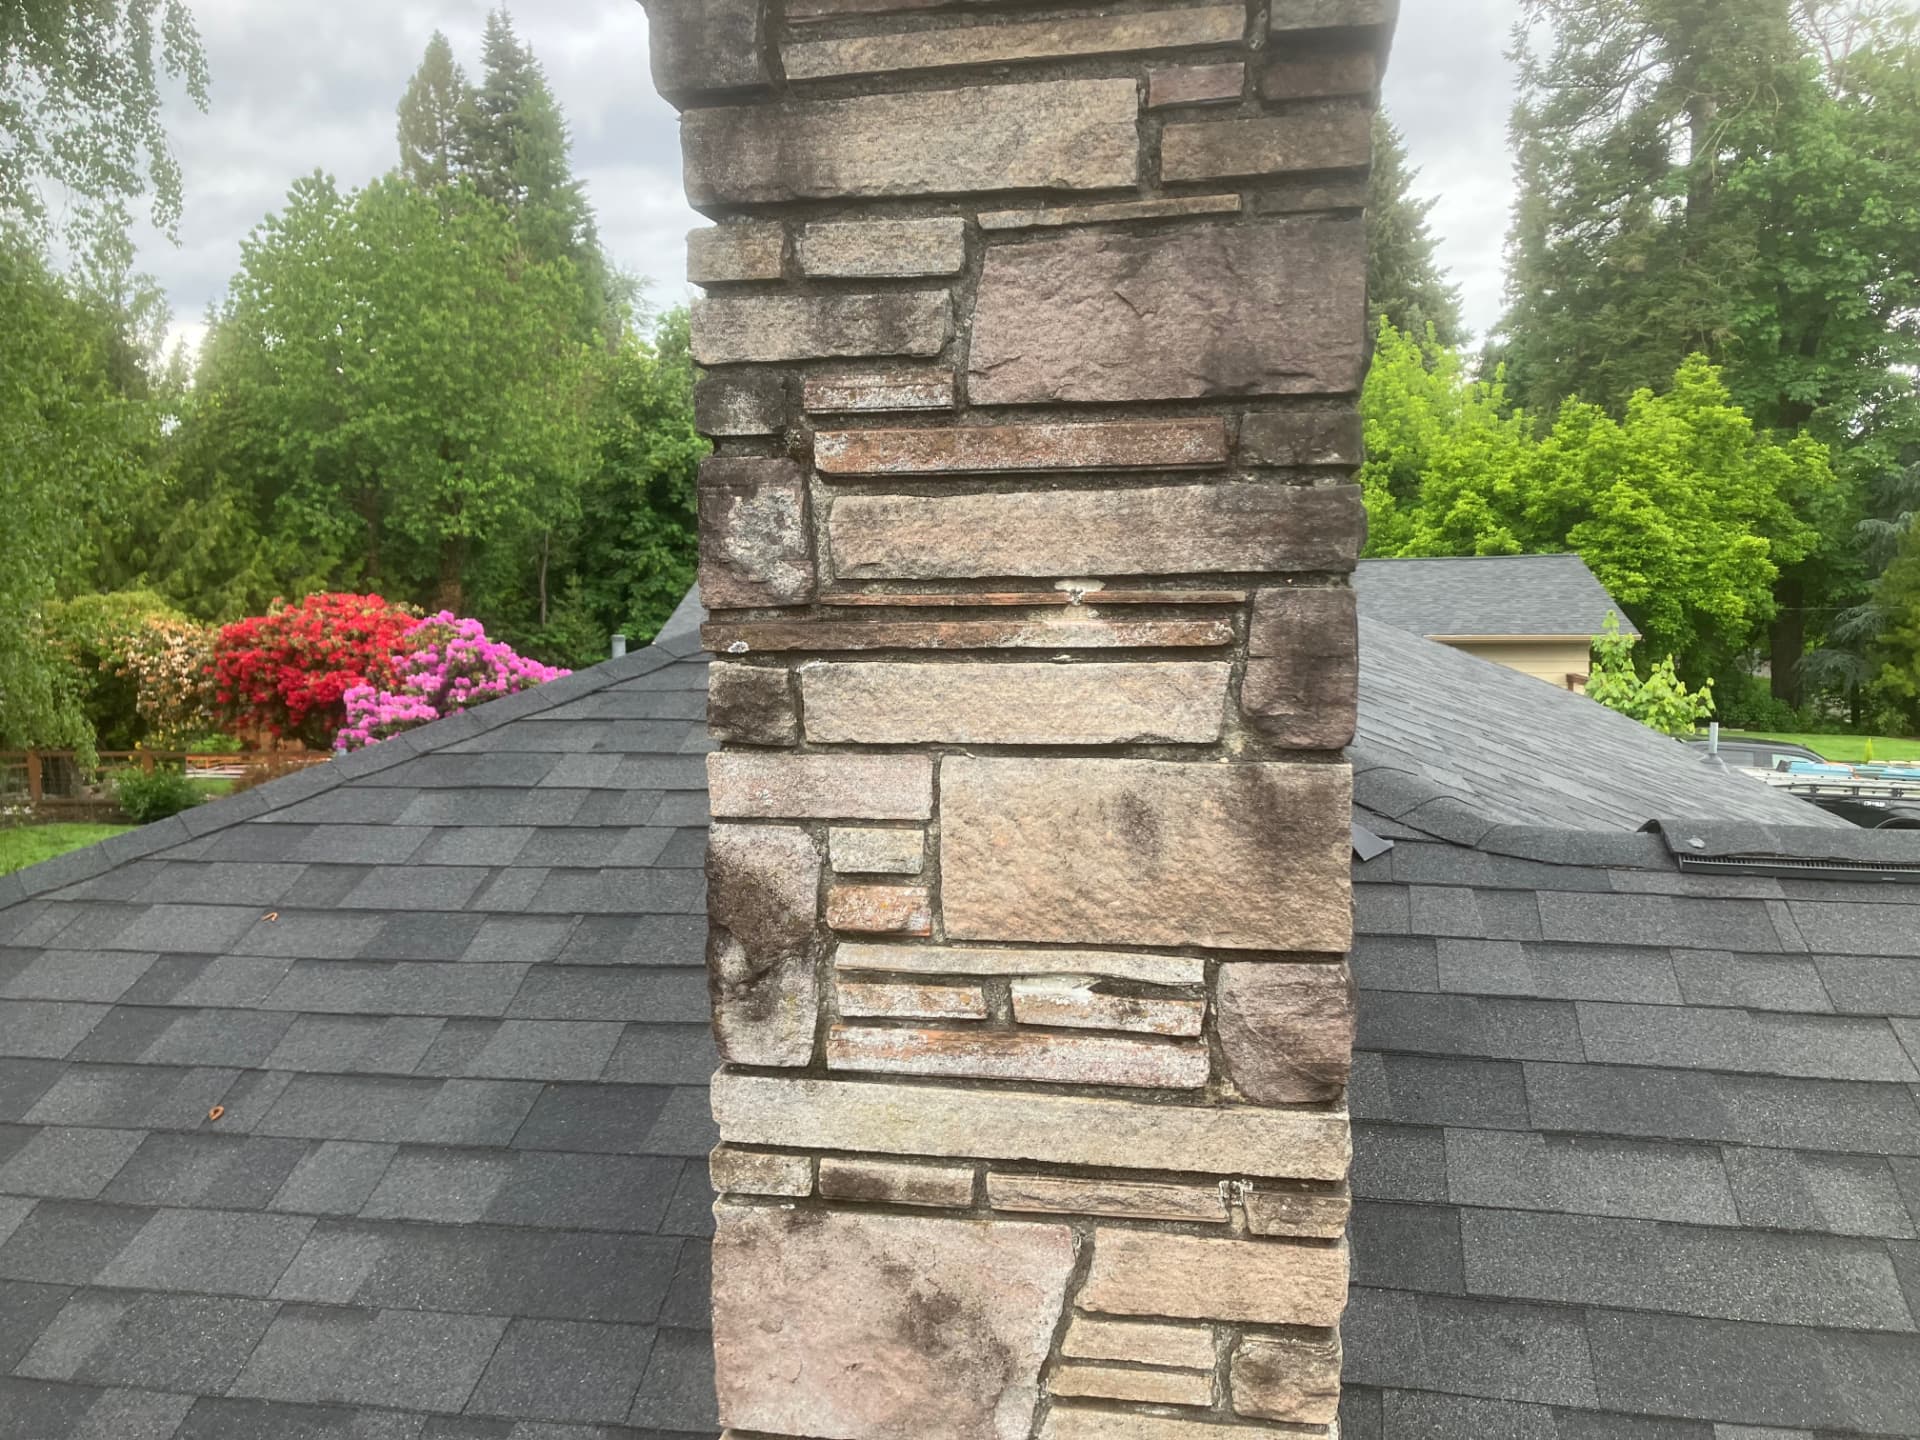
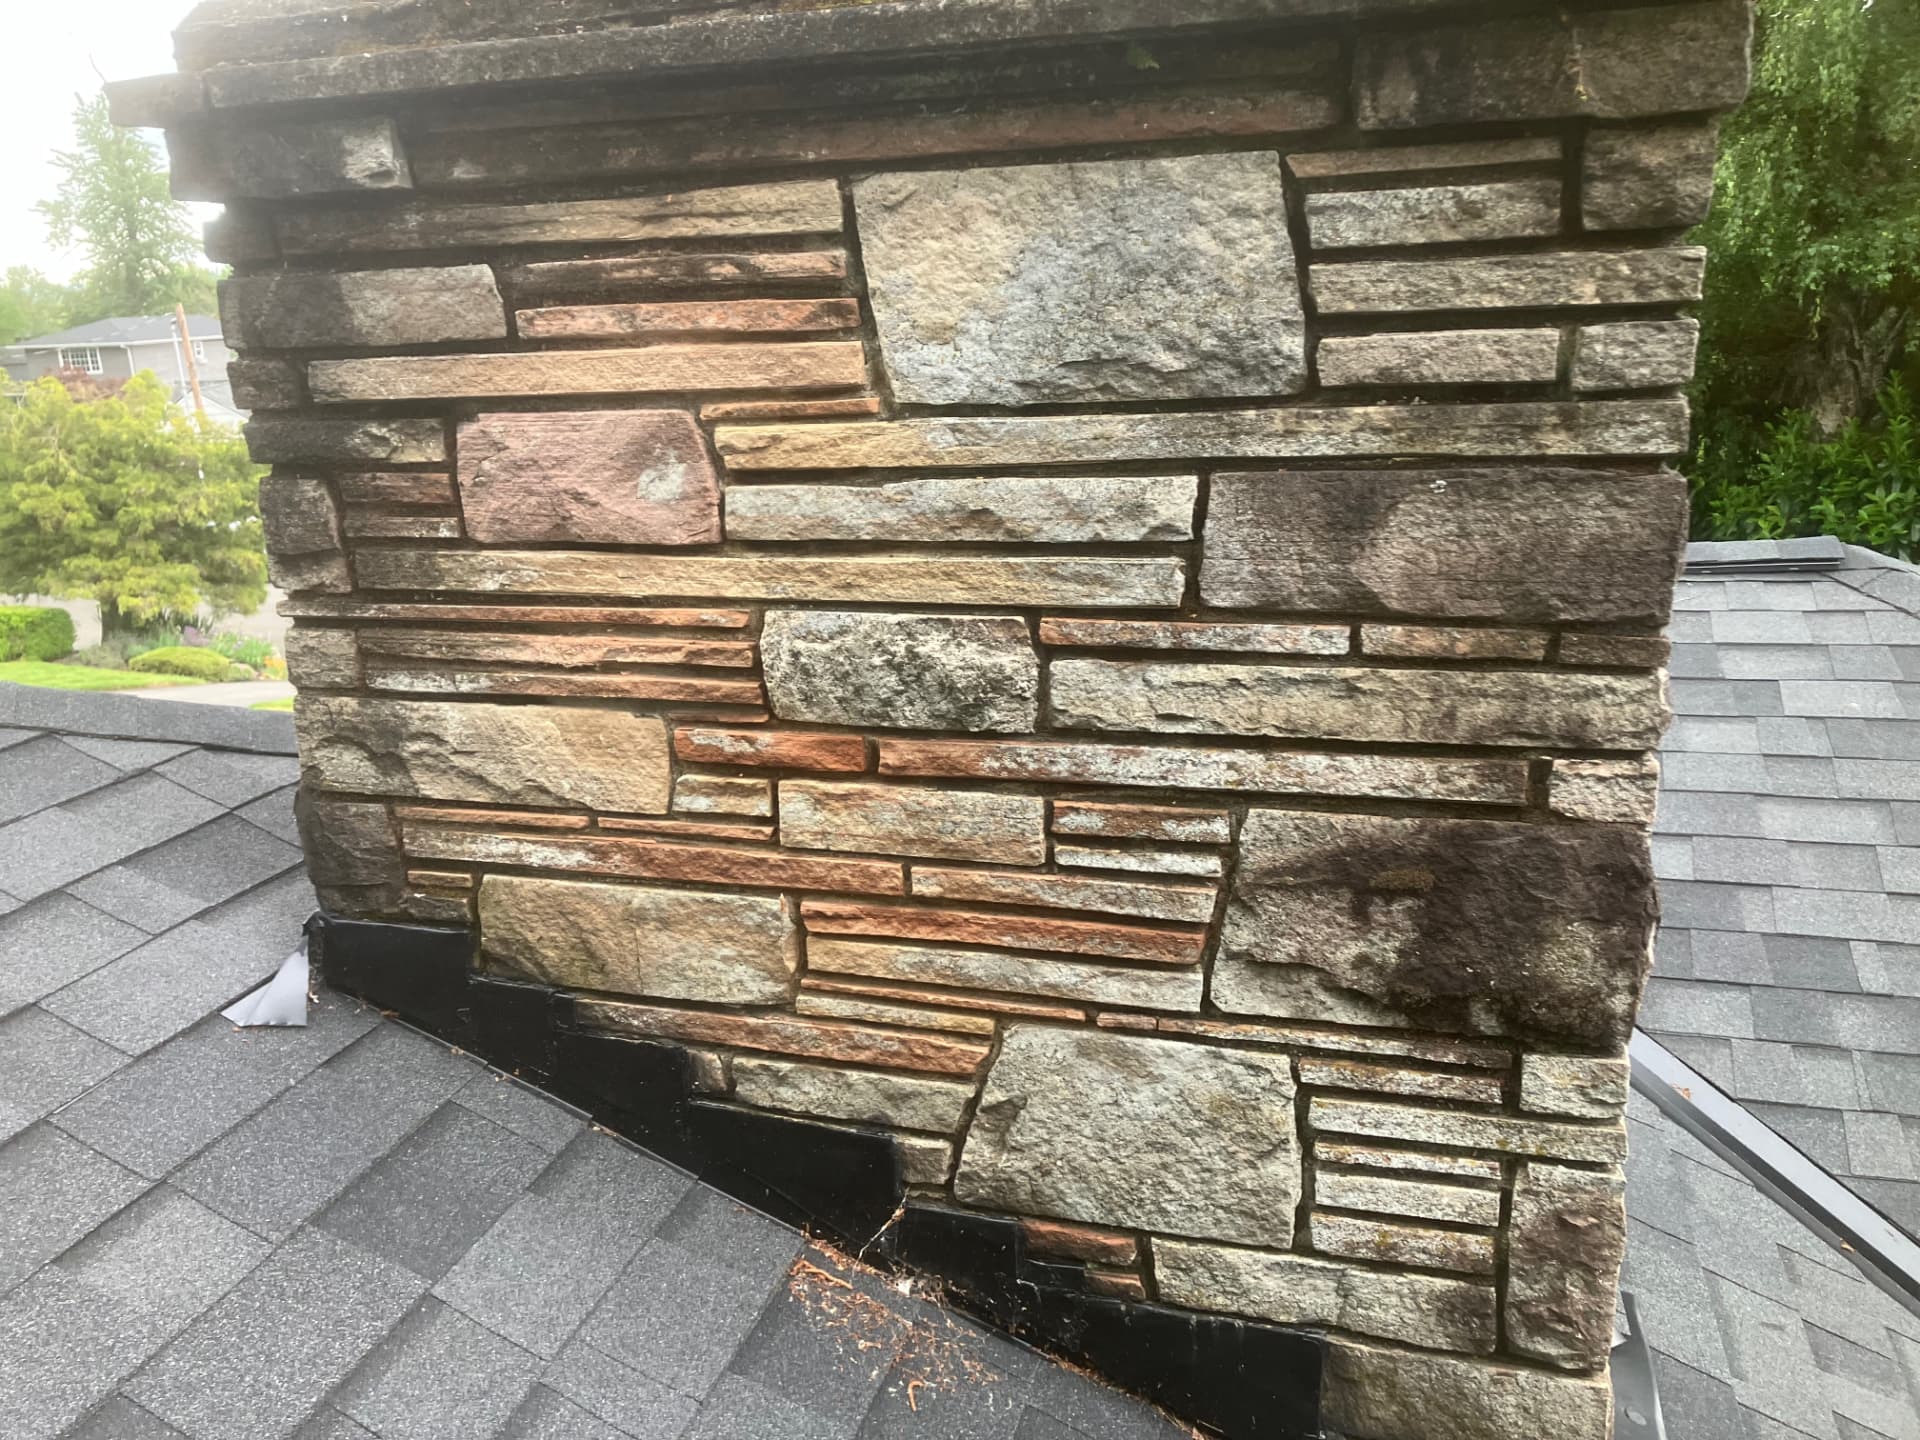
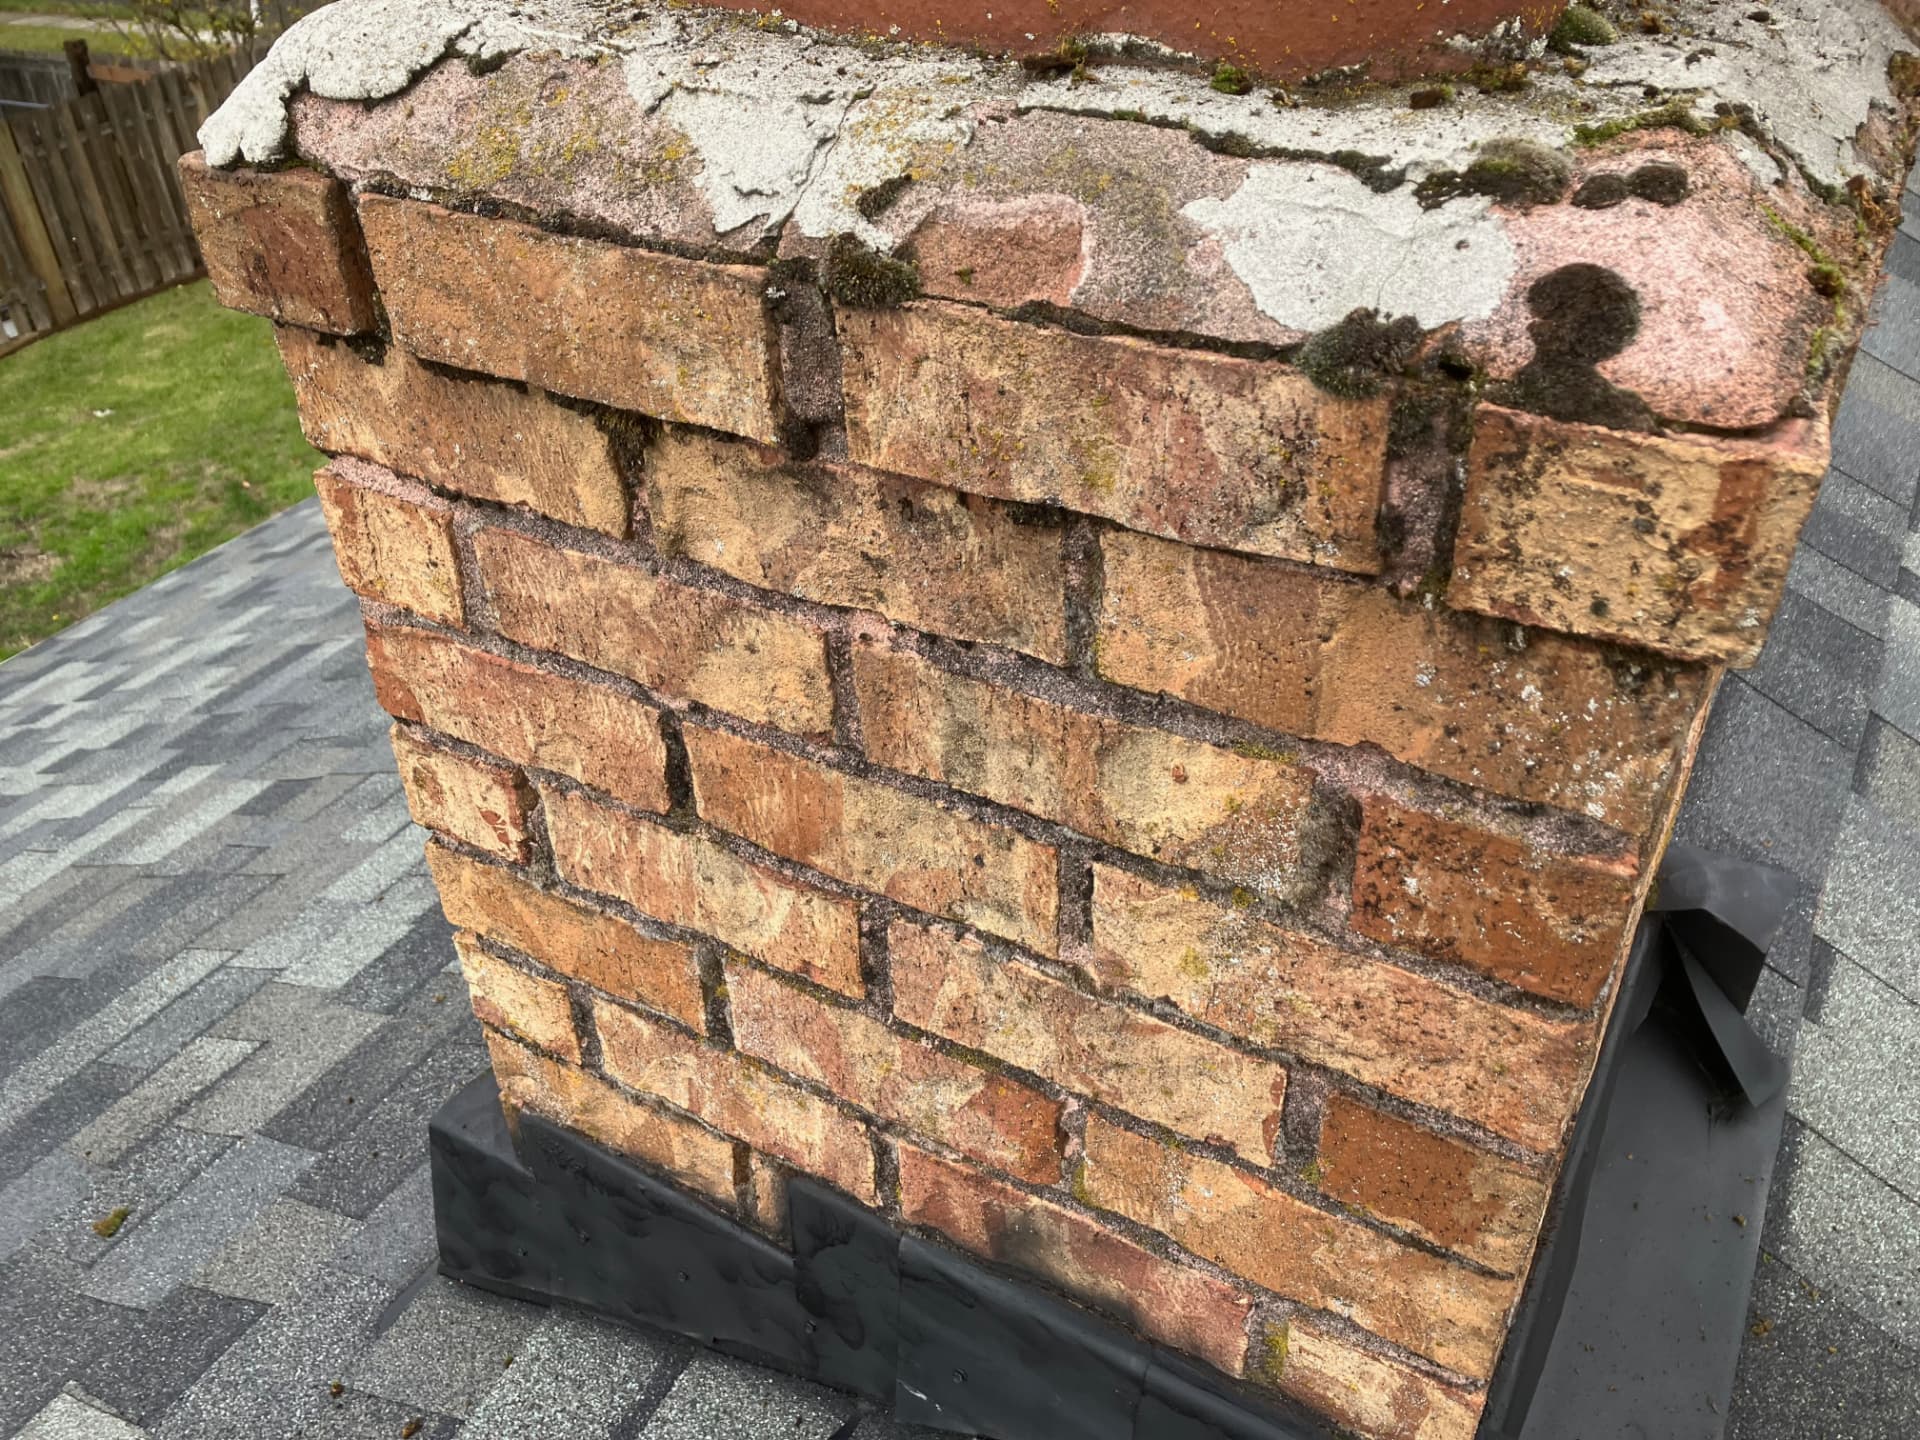
Before — moss and lichen across the chimney face
Before — moss streaking down the brickwork
Before — moss and lichen at the corner and mortar joints
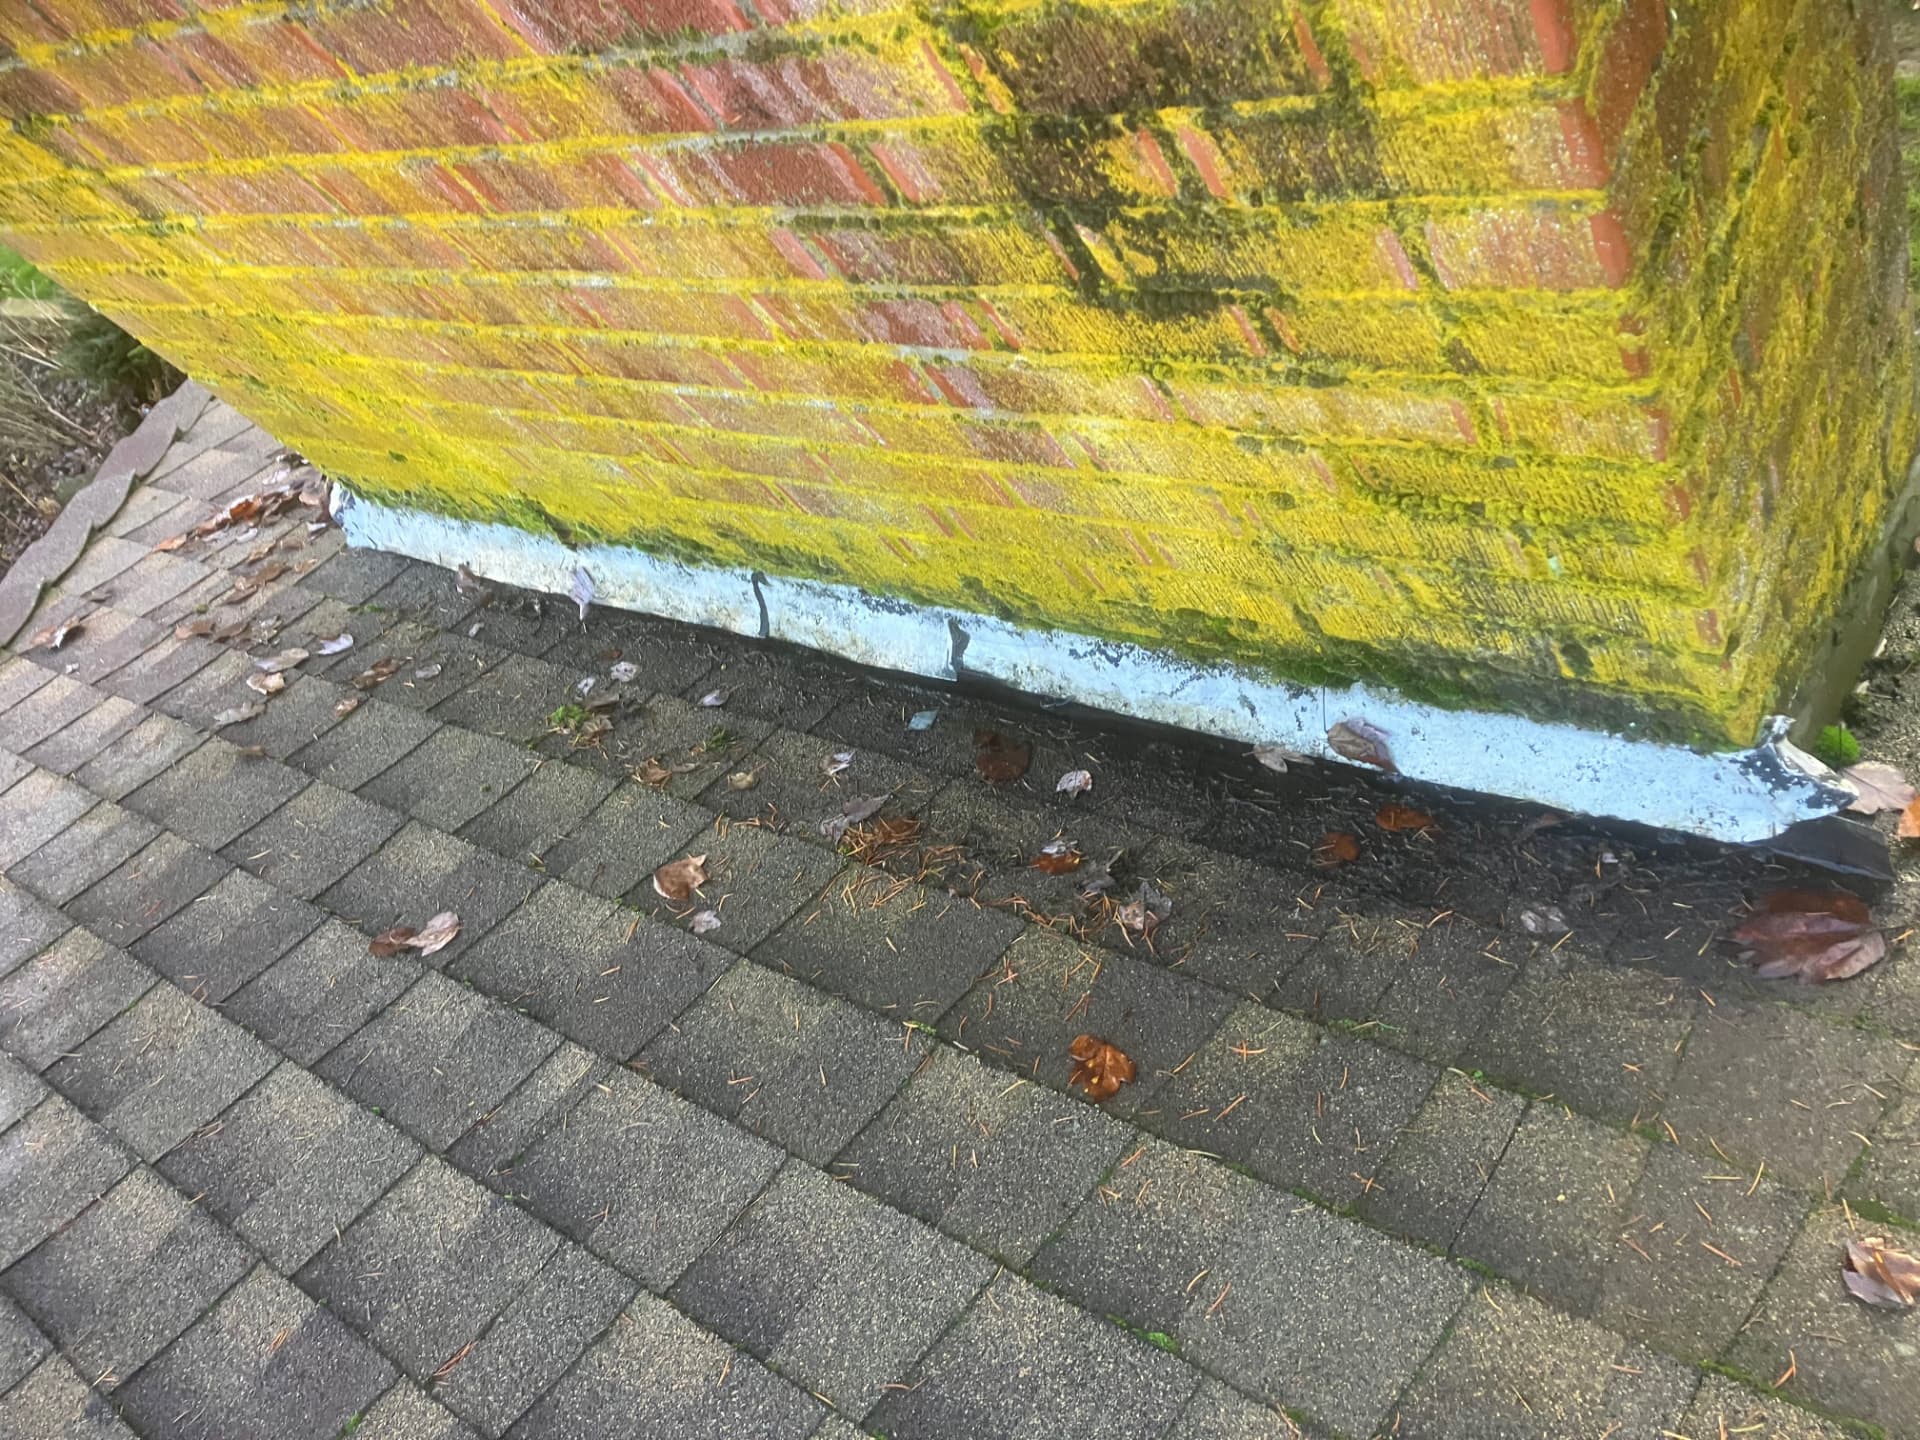
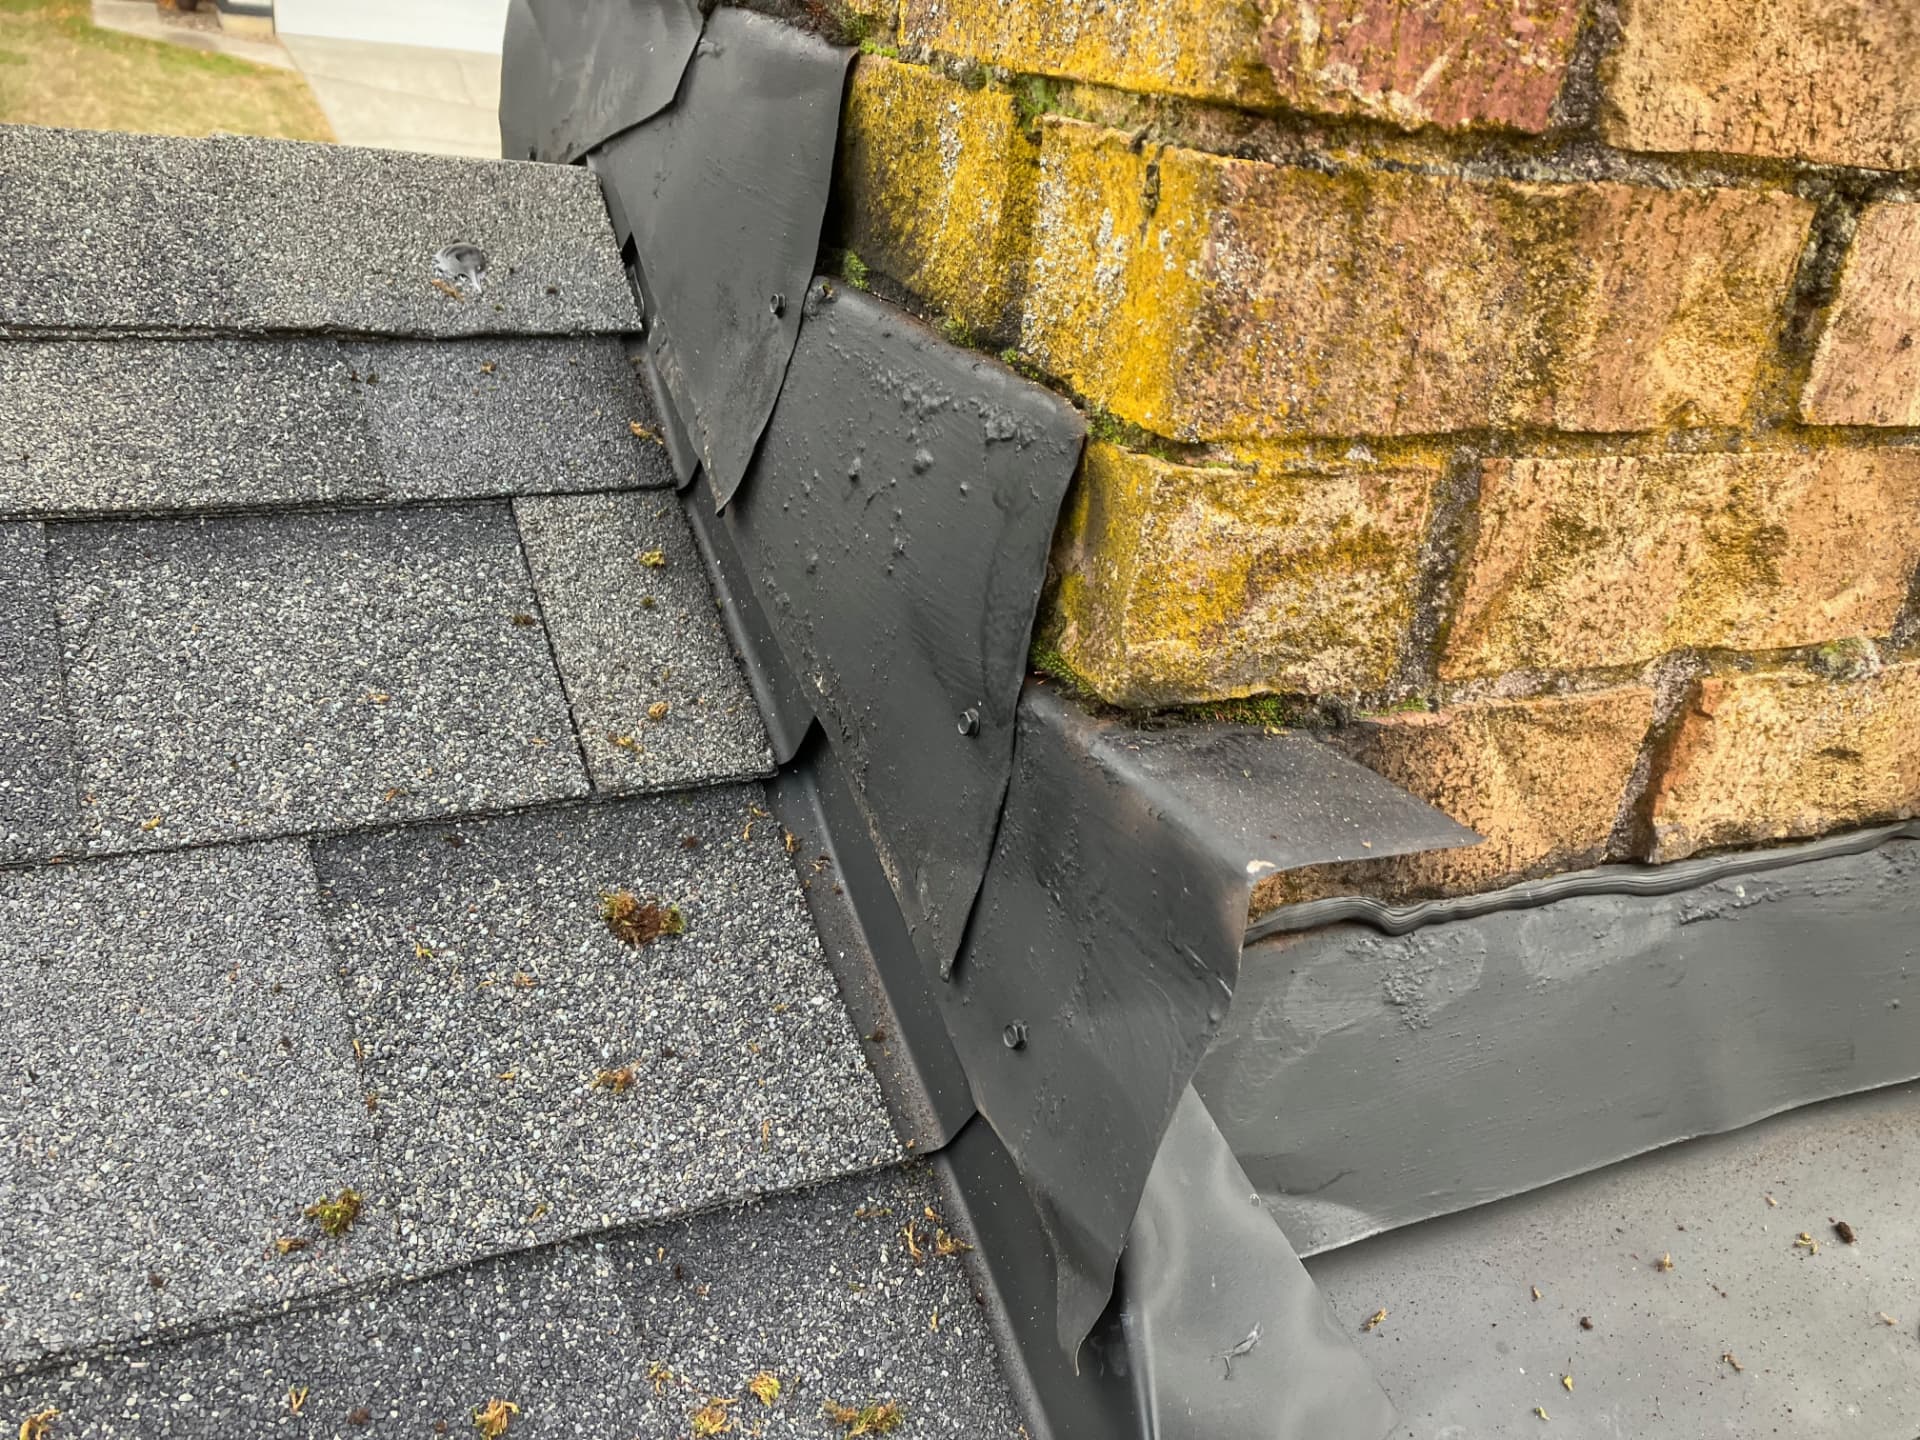
Before — moss at the chimney base and flashing
Before — moss at the base flashing, close up
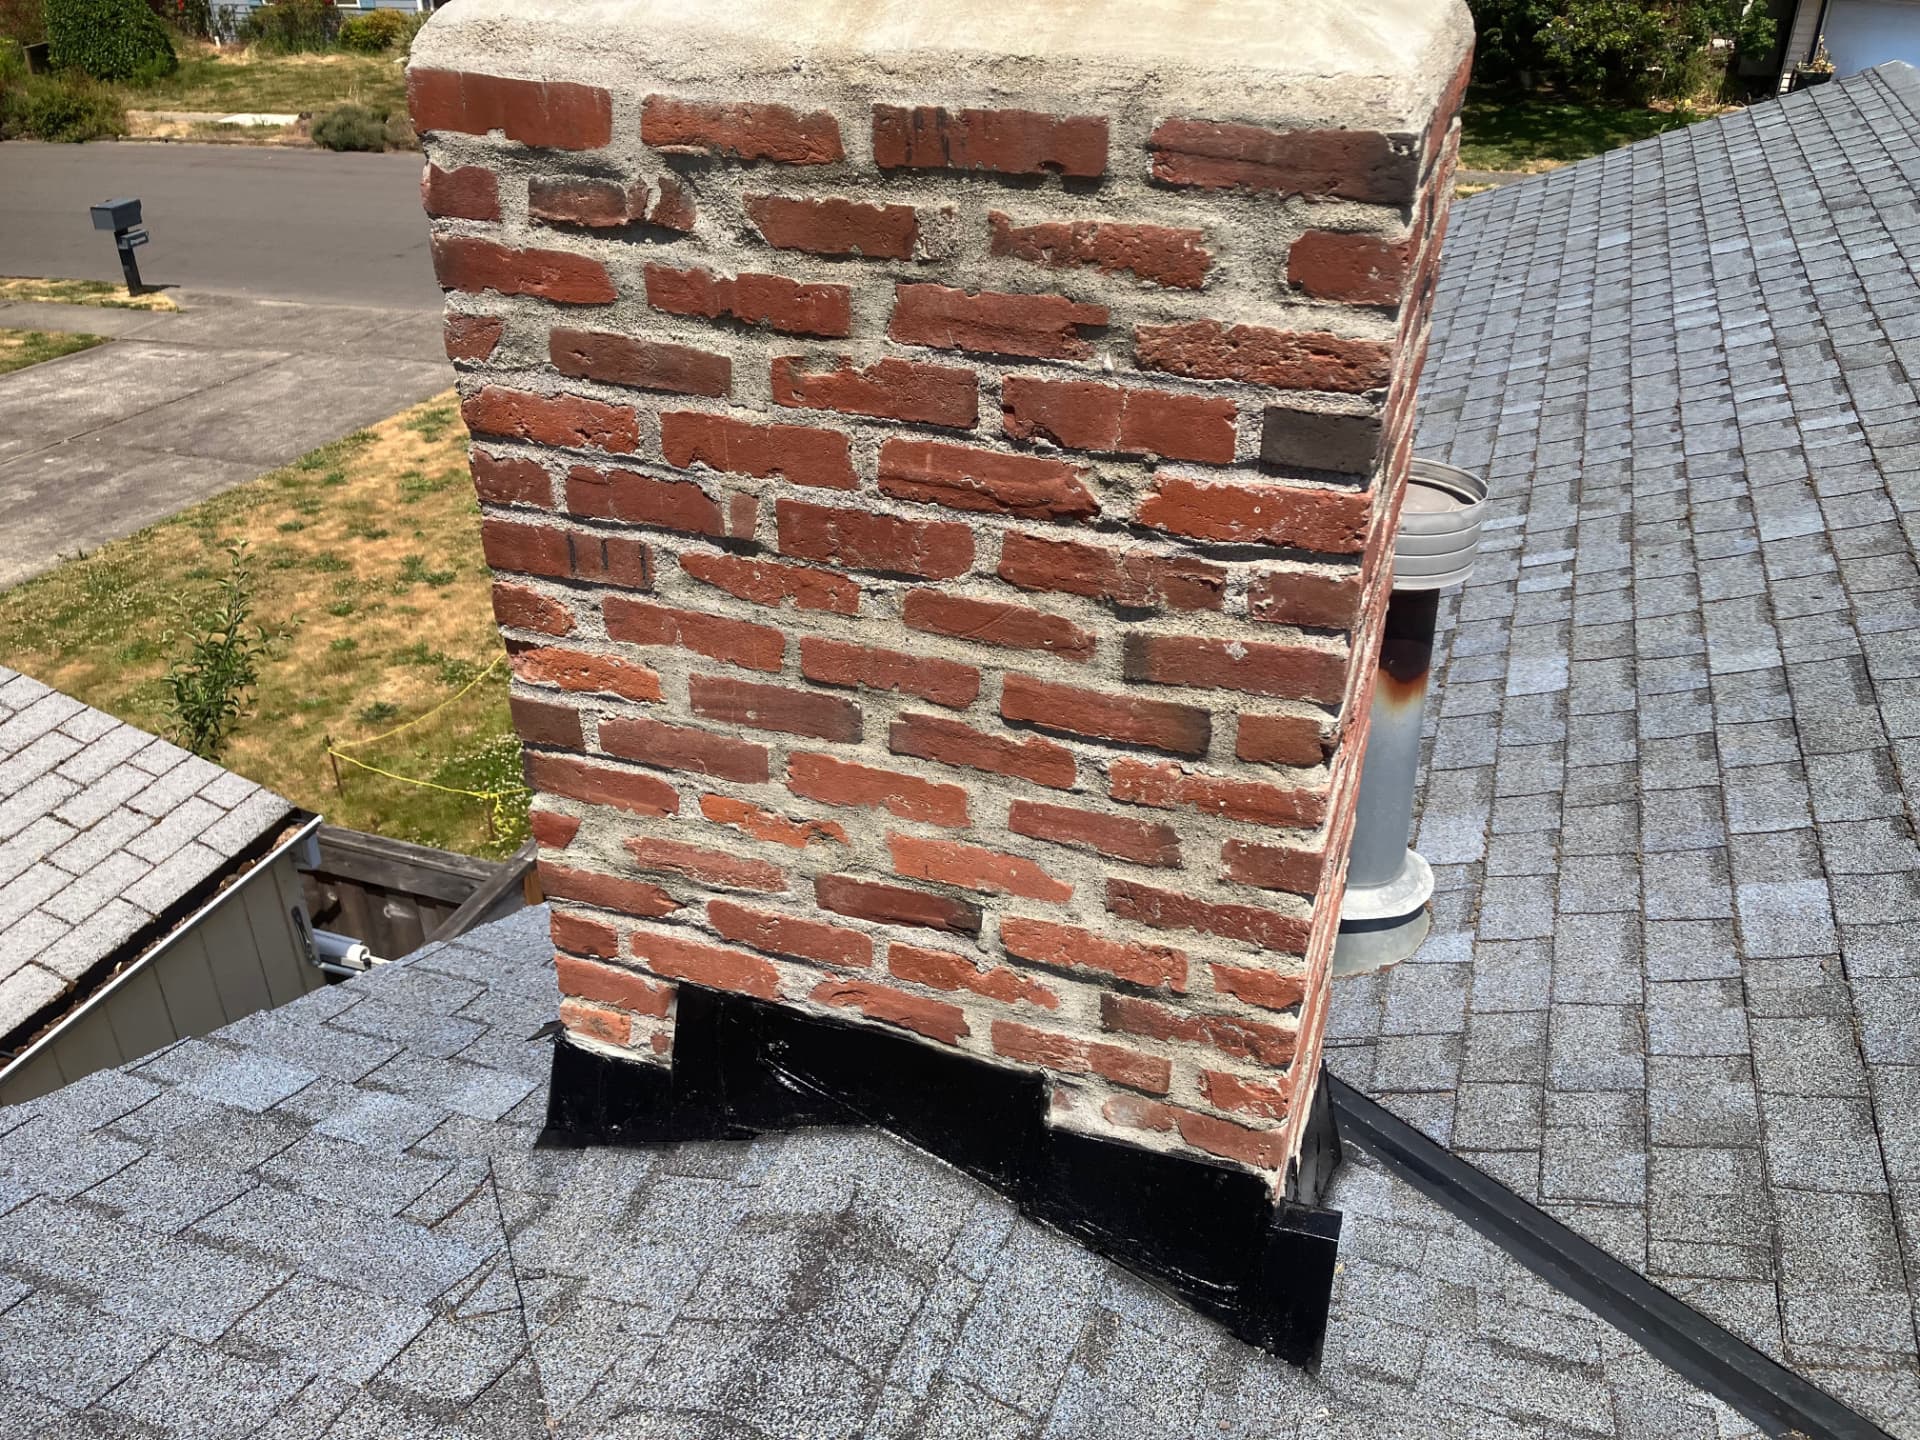
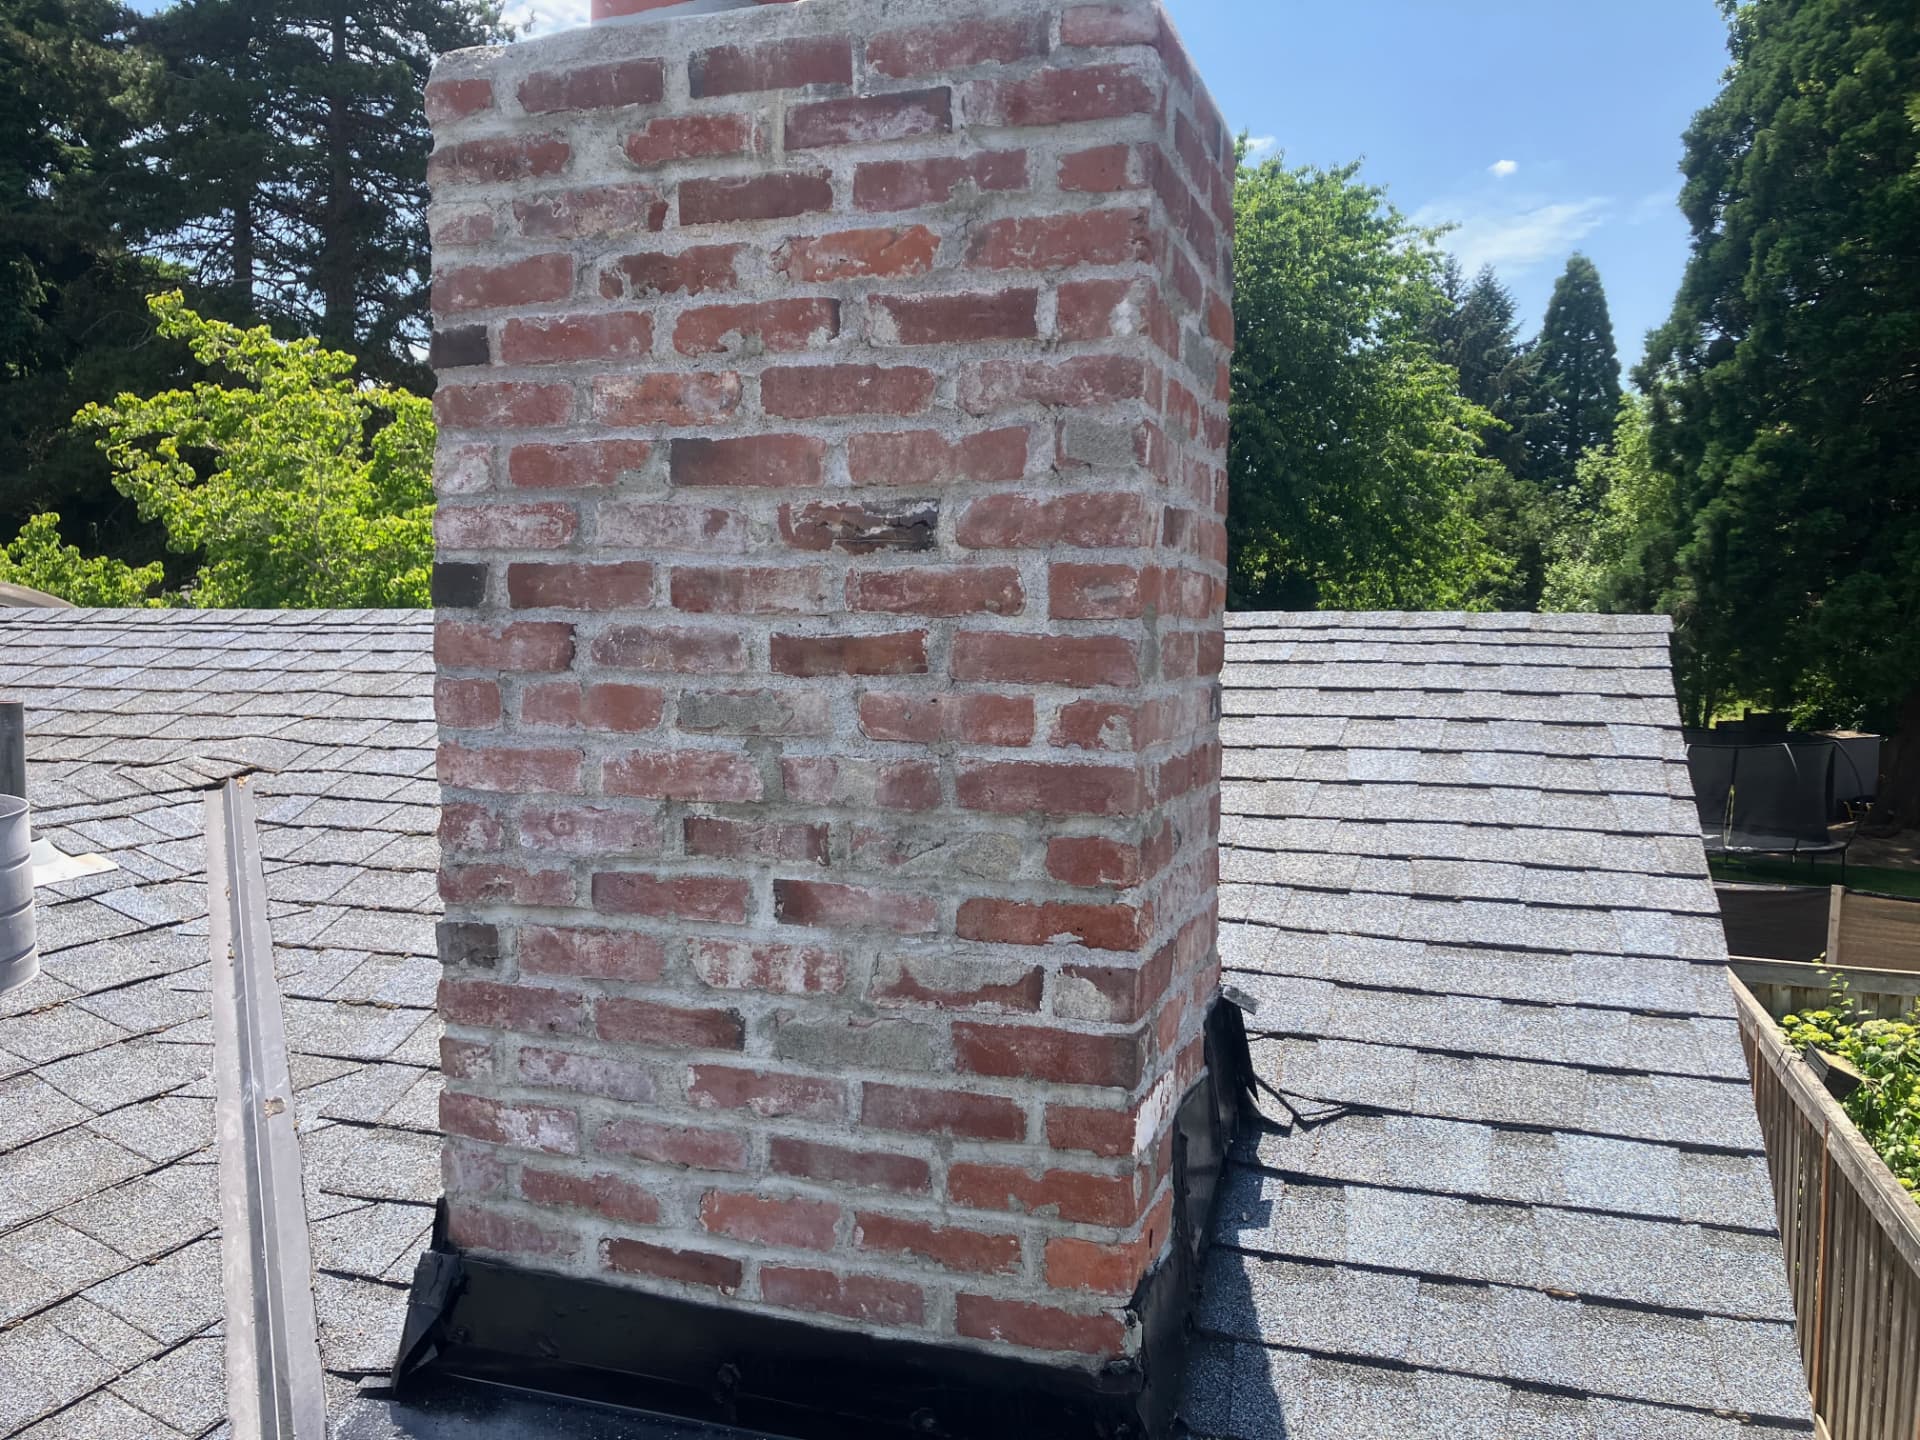
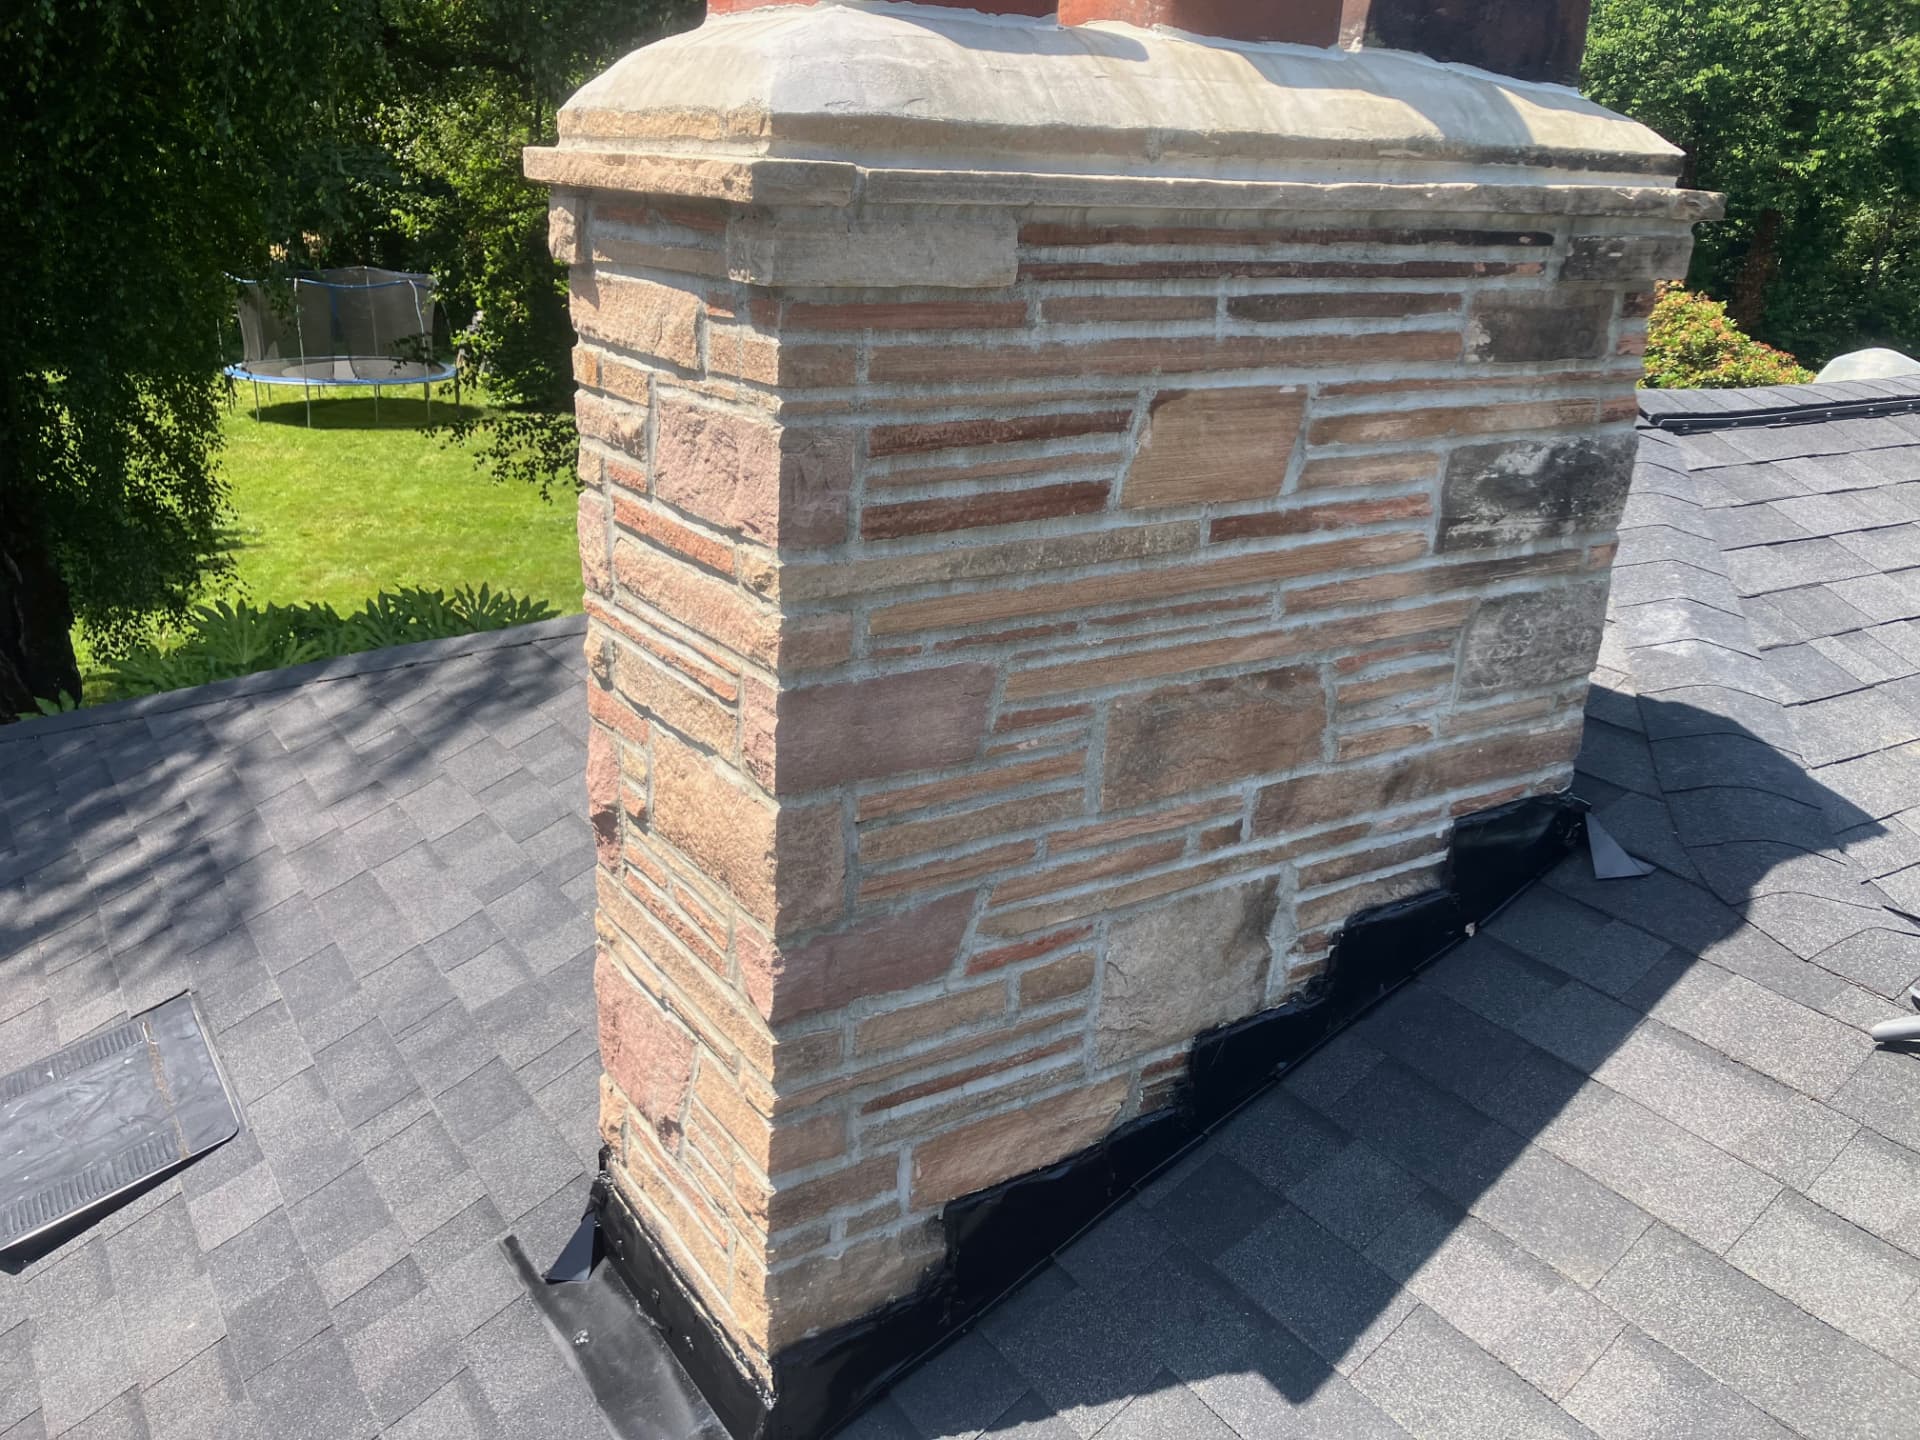
After — clean brickwork and flashing
After — clean brick from flashing to crown
After — clean brick and mortar joints

Before and After — Moss Removal from 2017
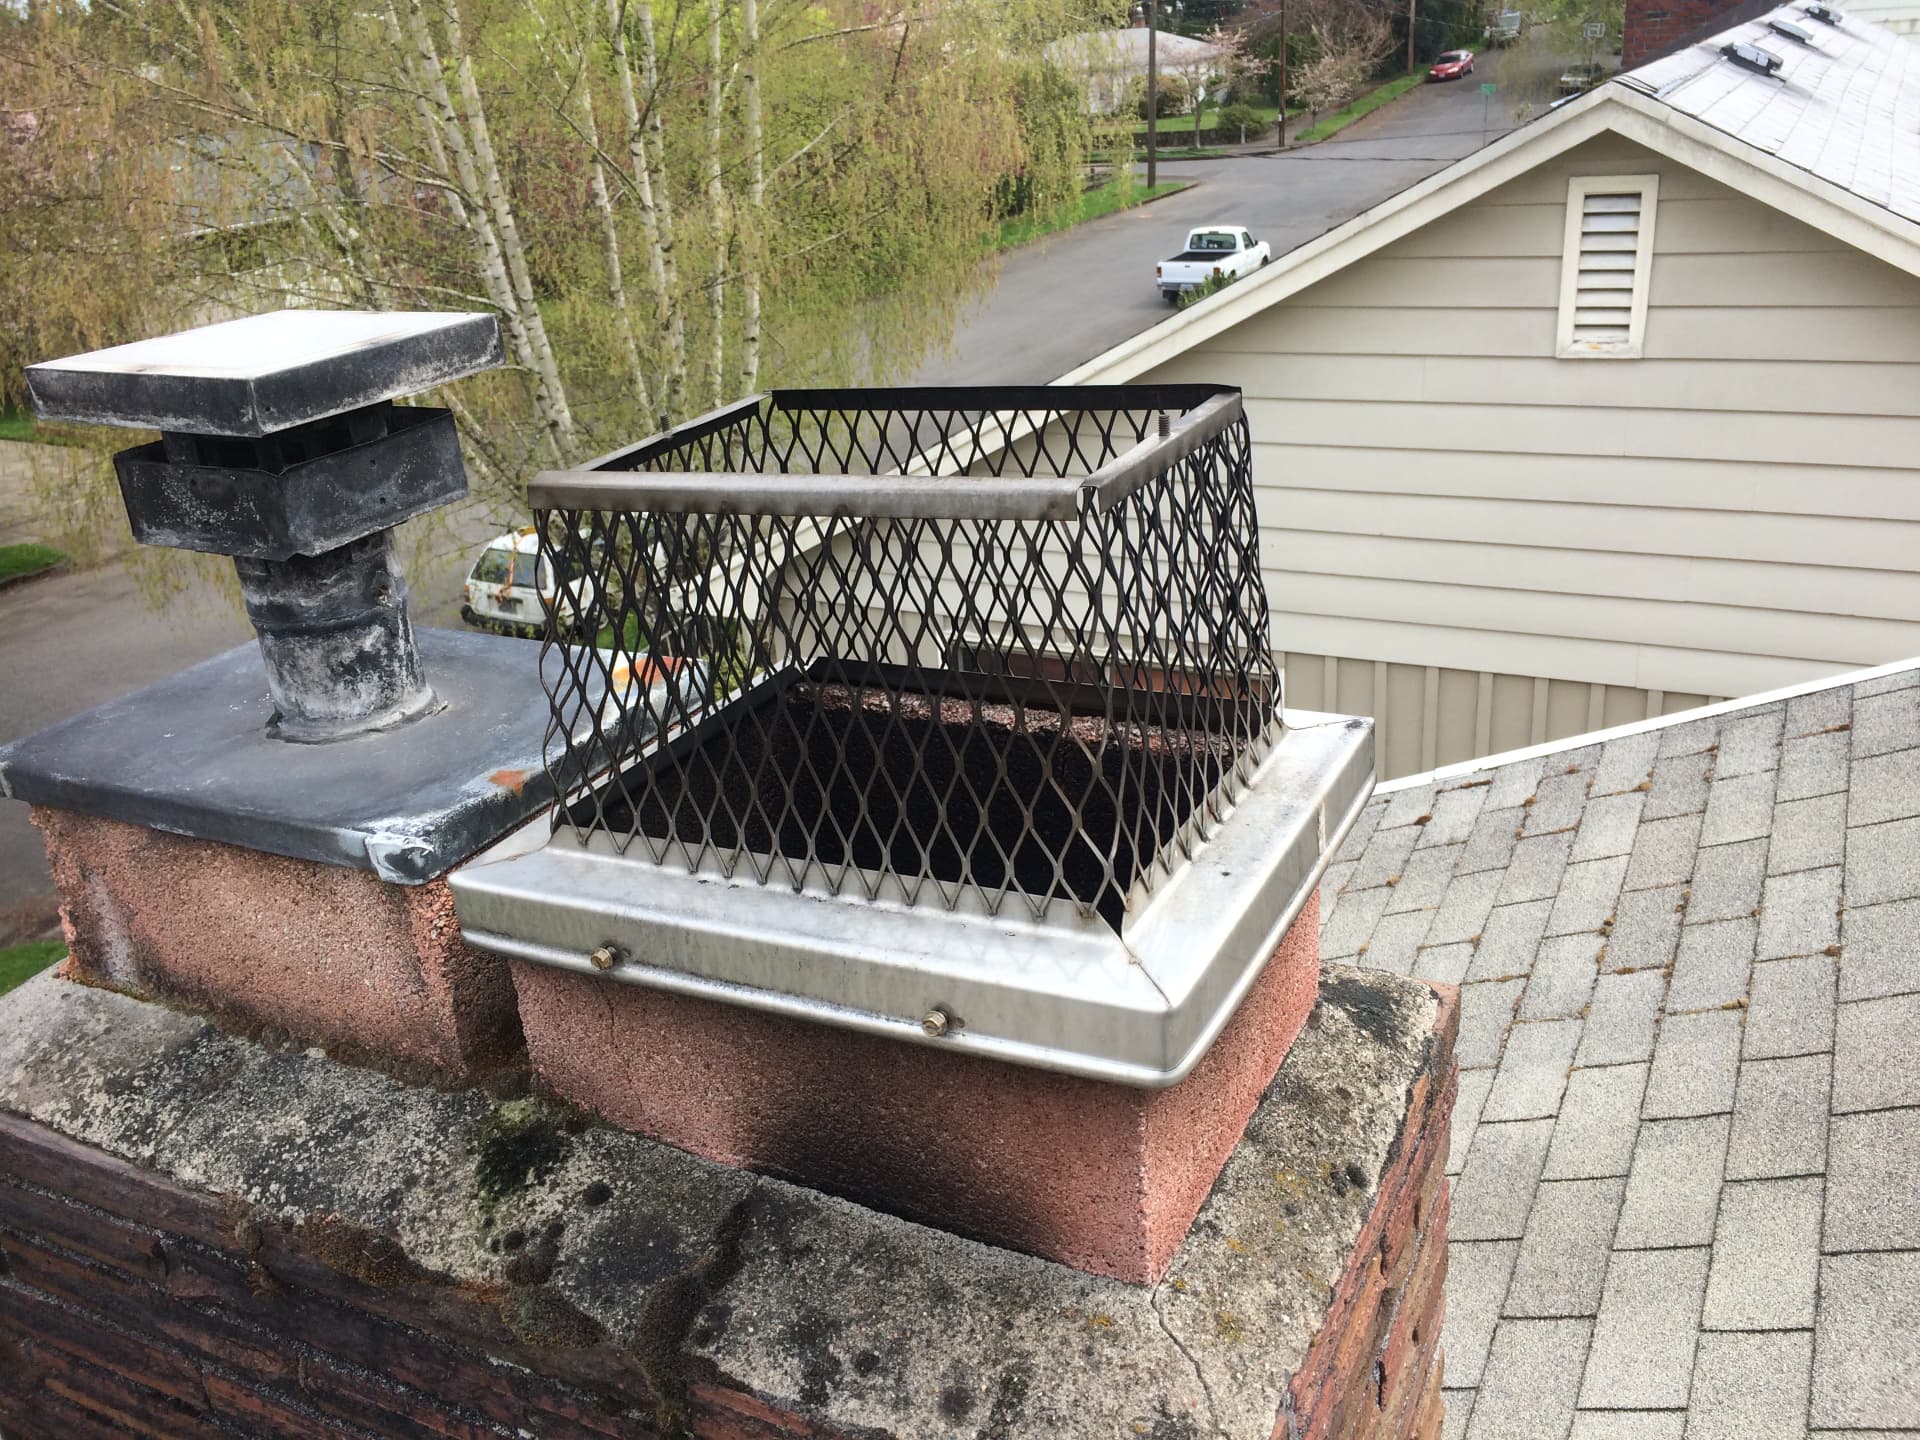
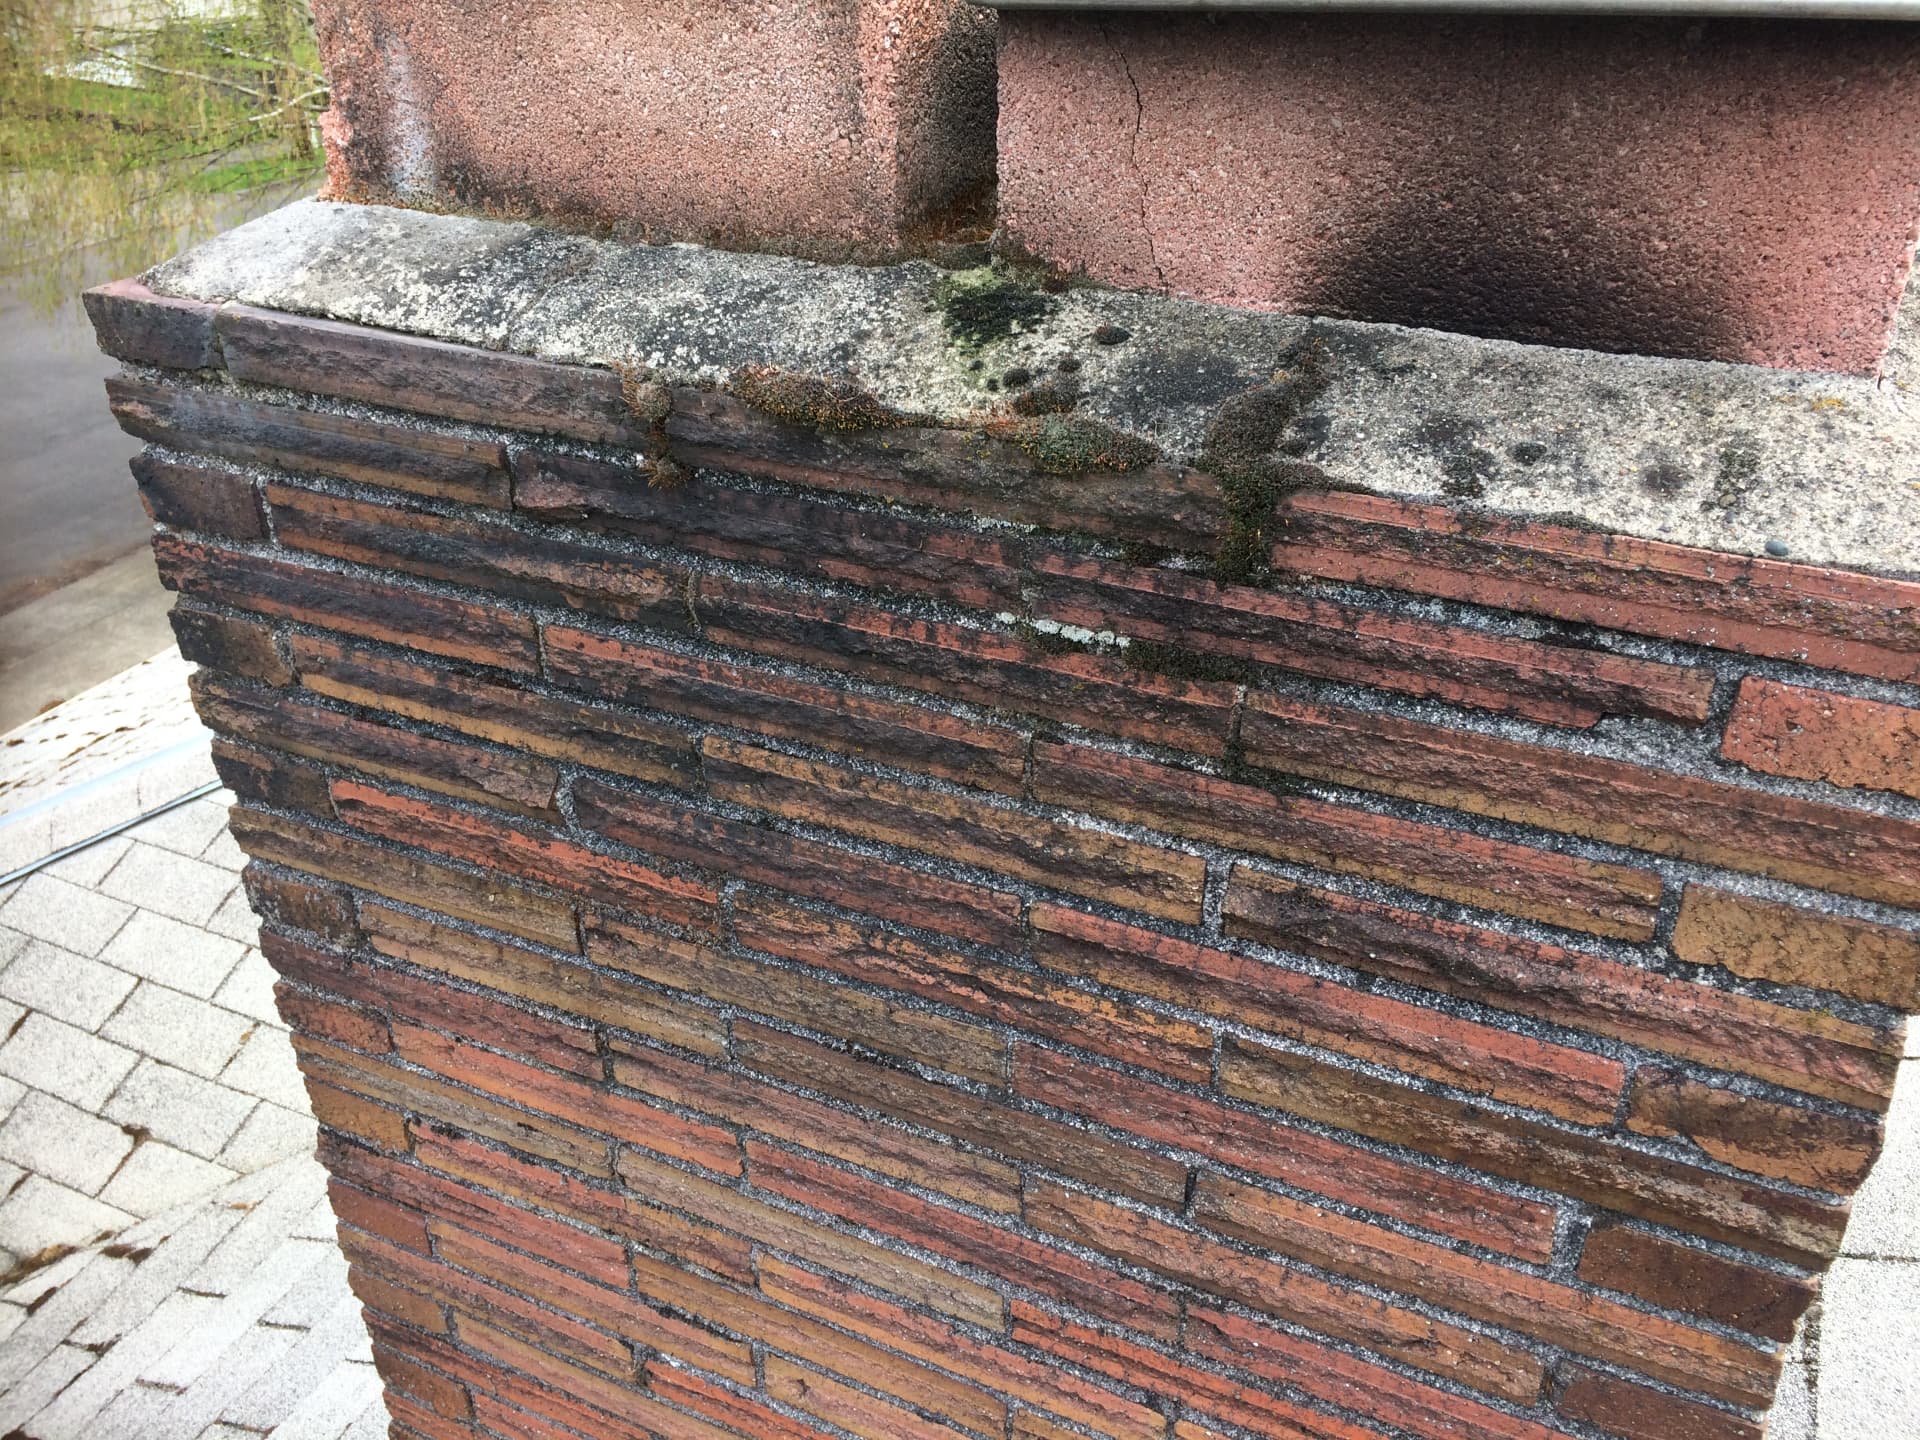
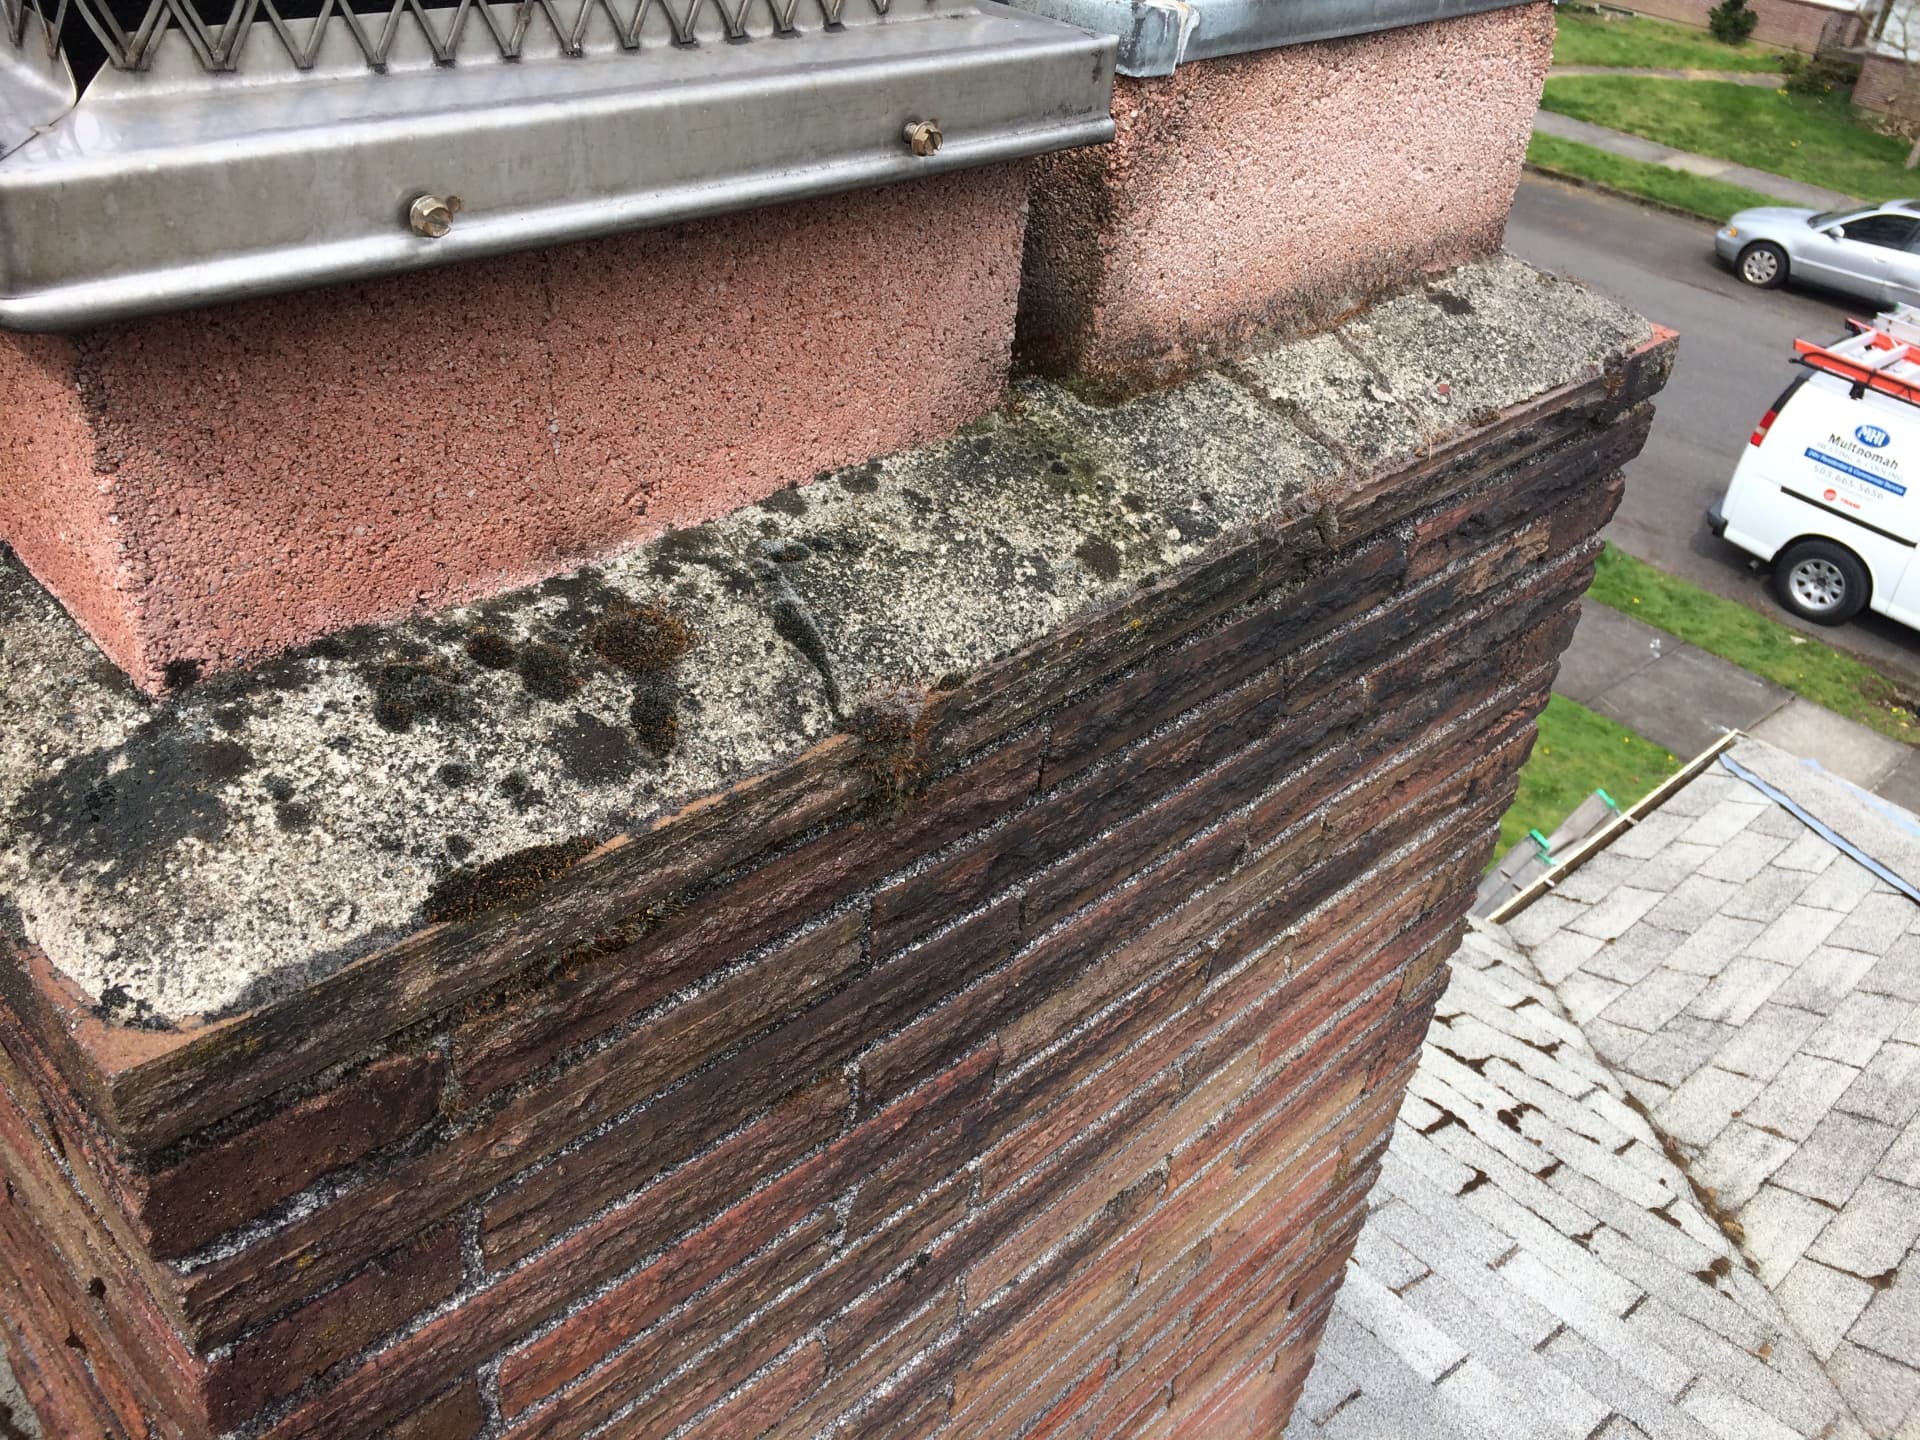
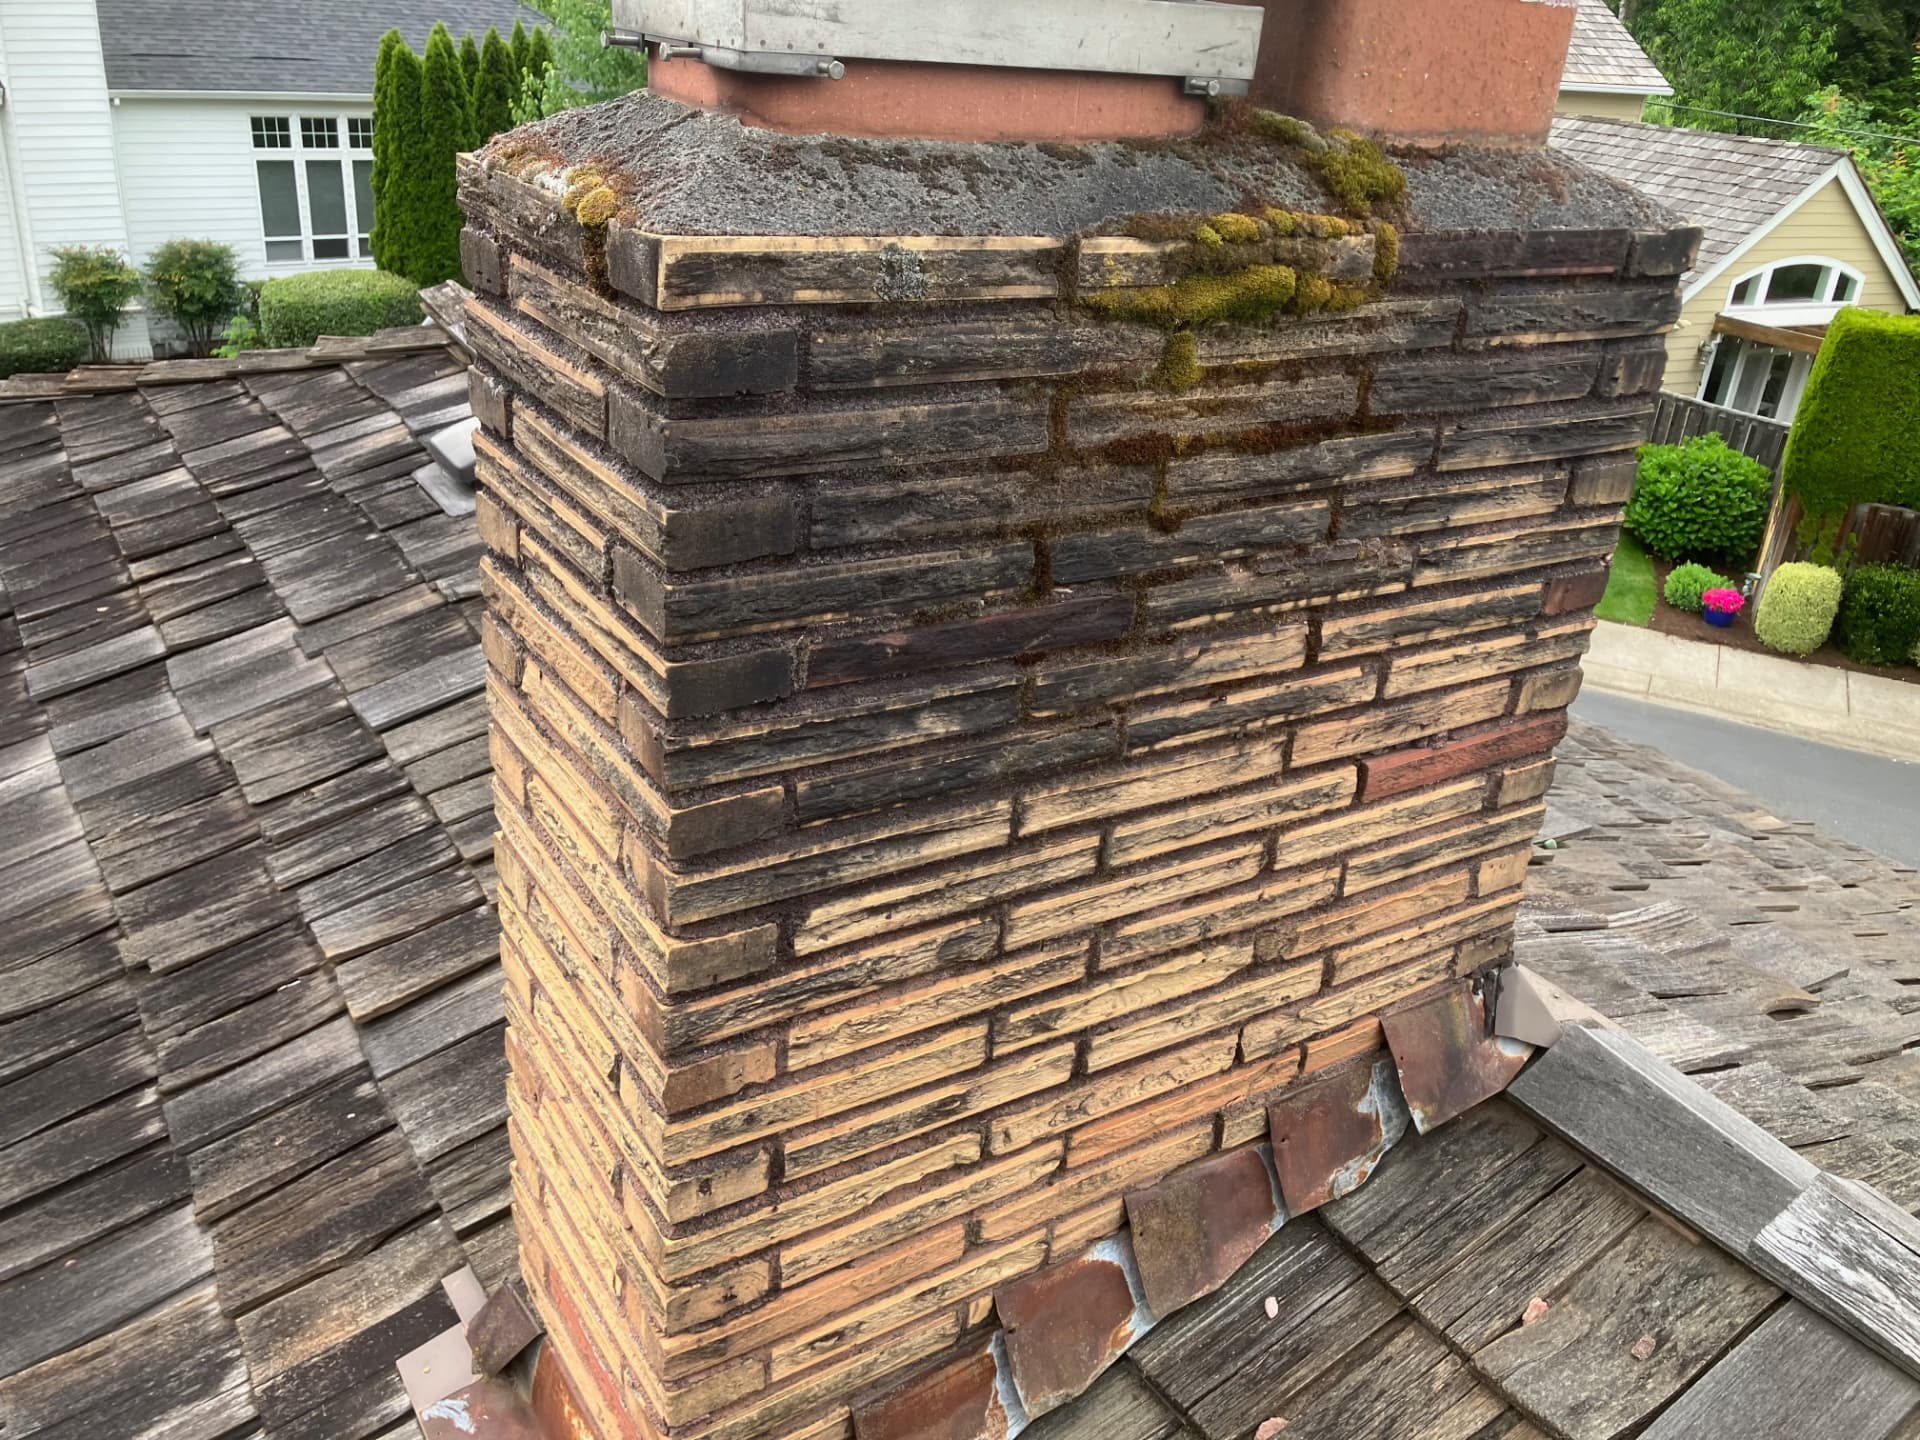
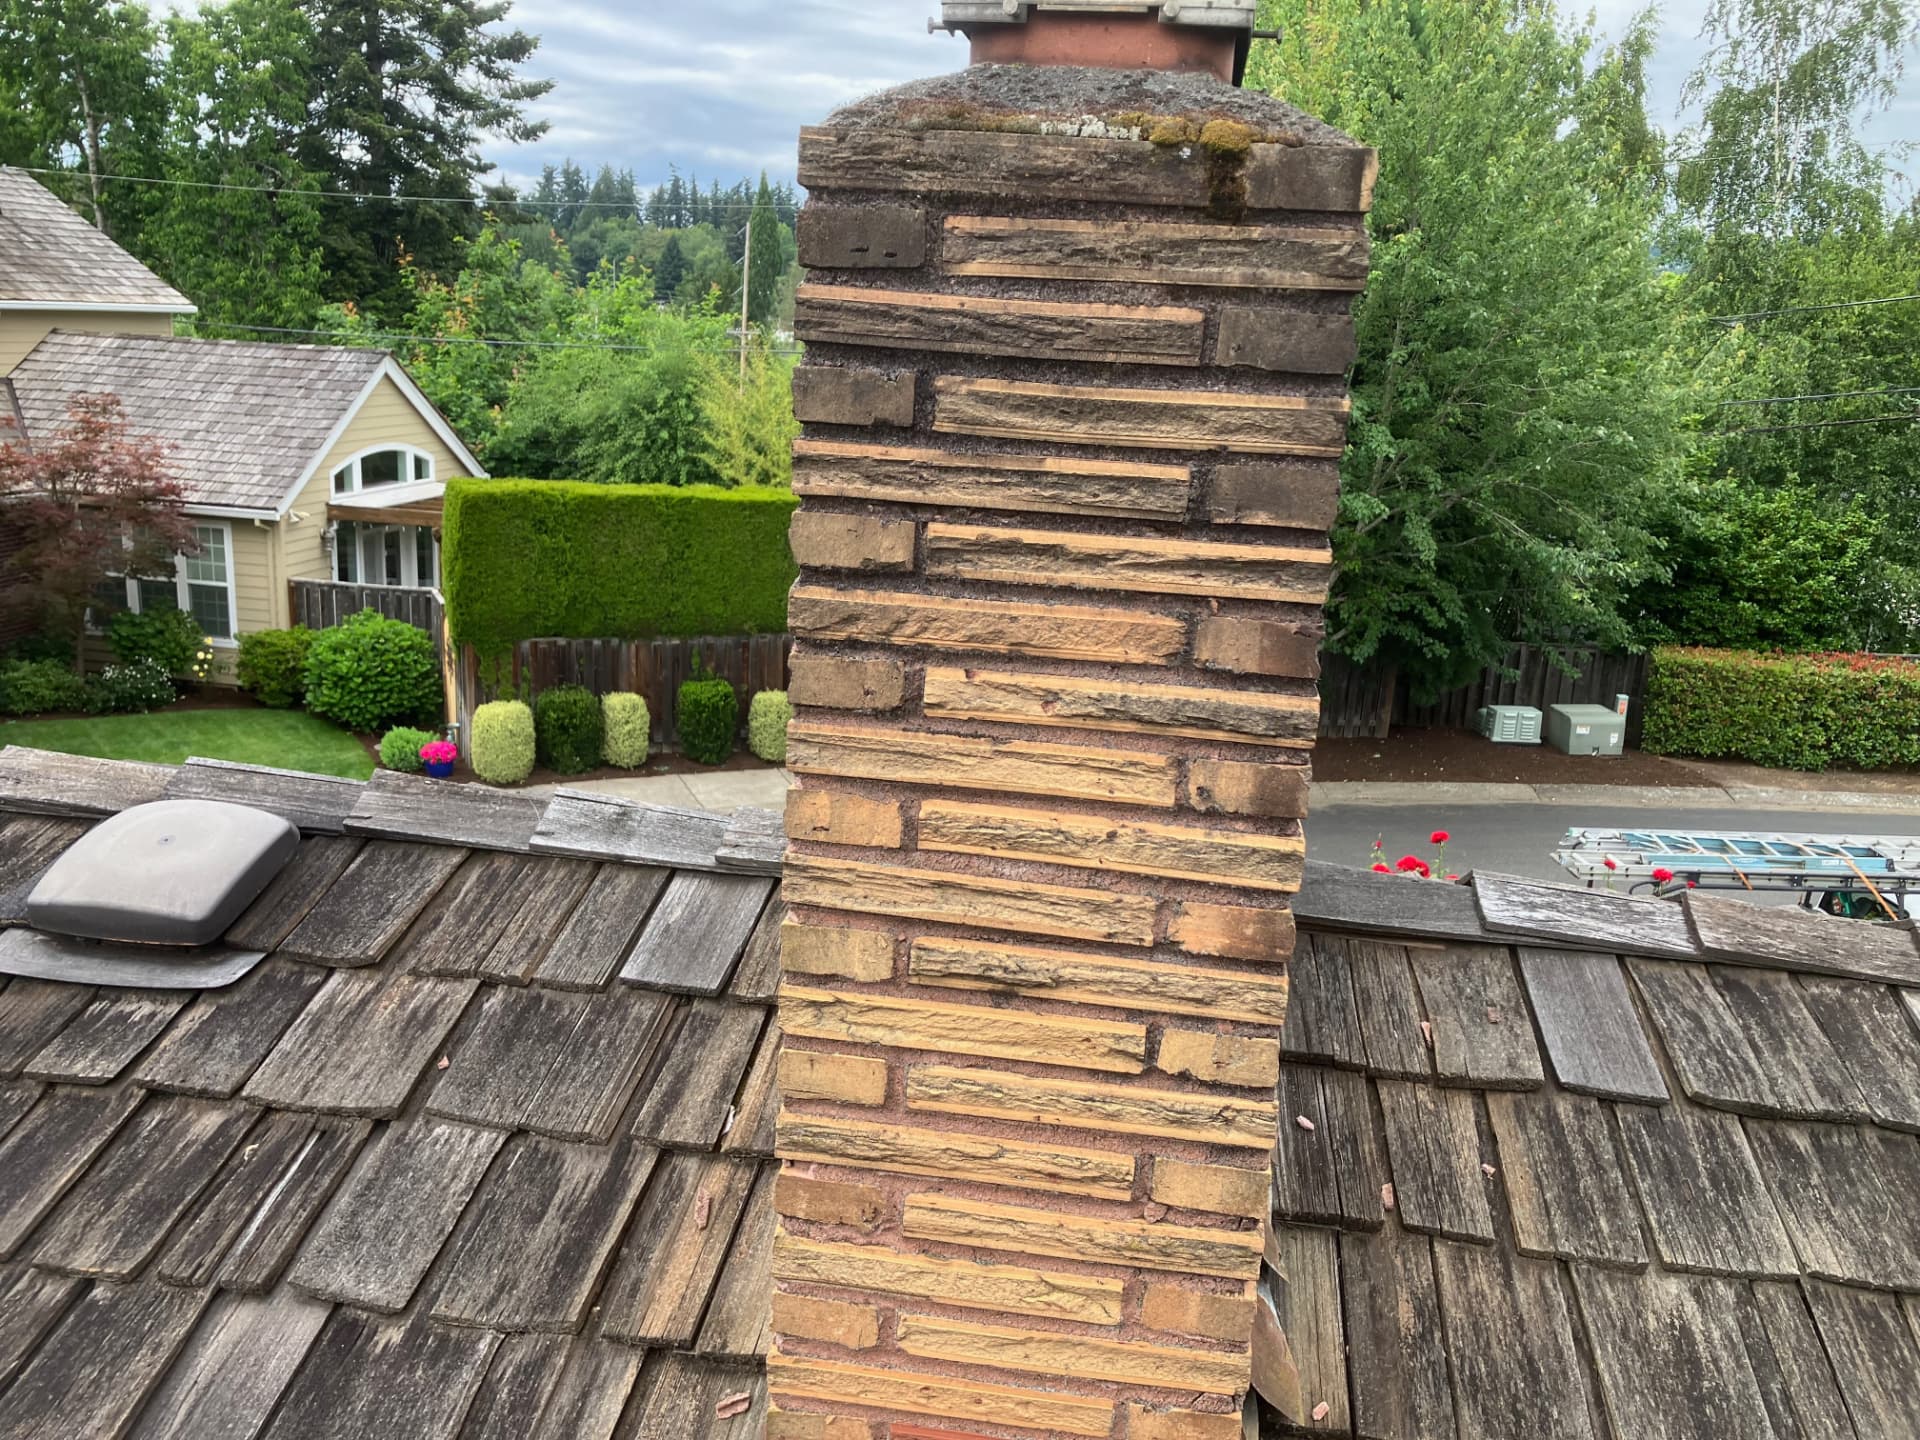
Before — moss on the crown and brick below the caps
Before — moss and lichen across the brick and ledge
Before — moss at the cap ledge, close up
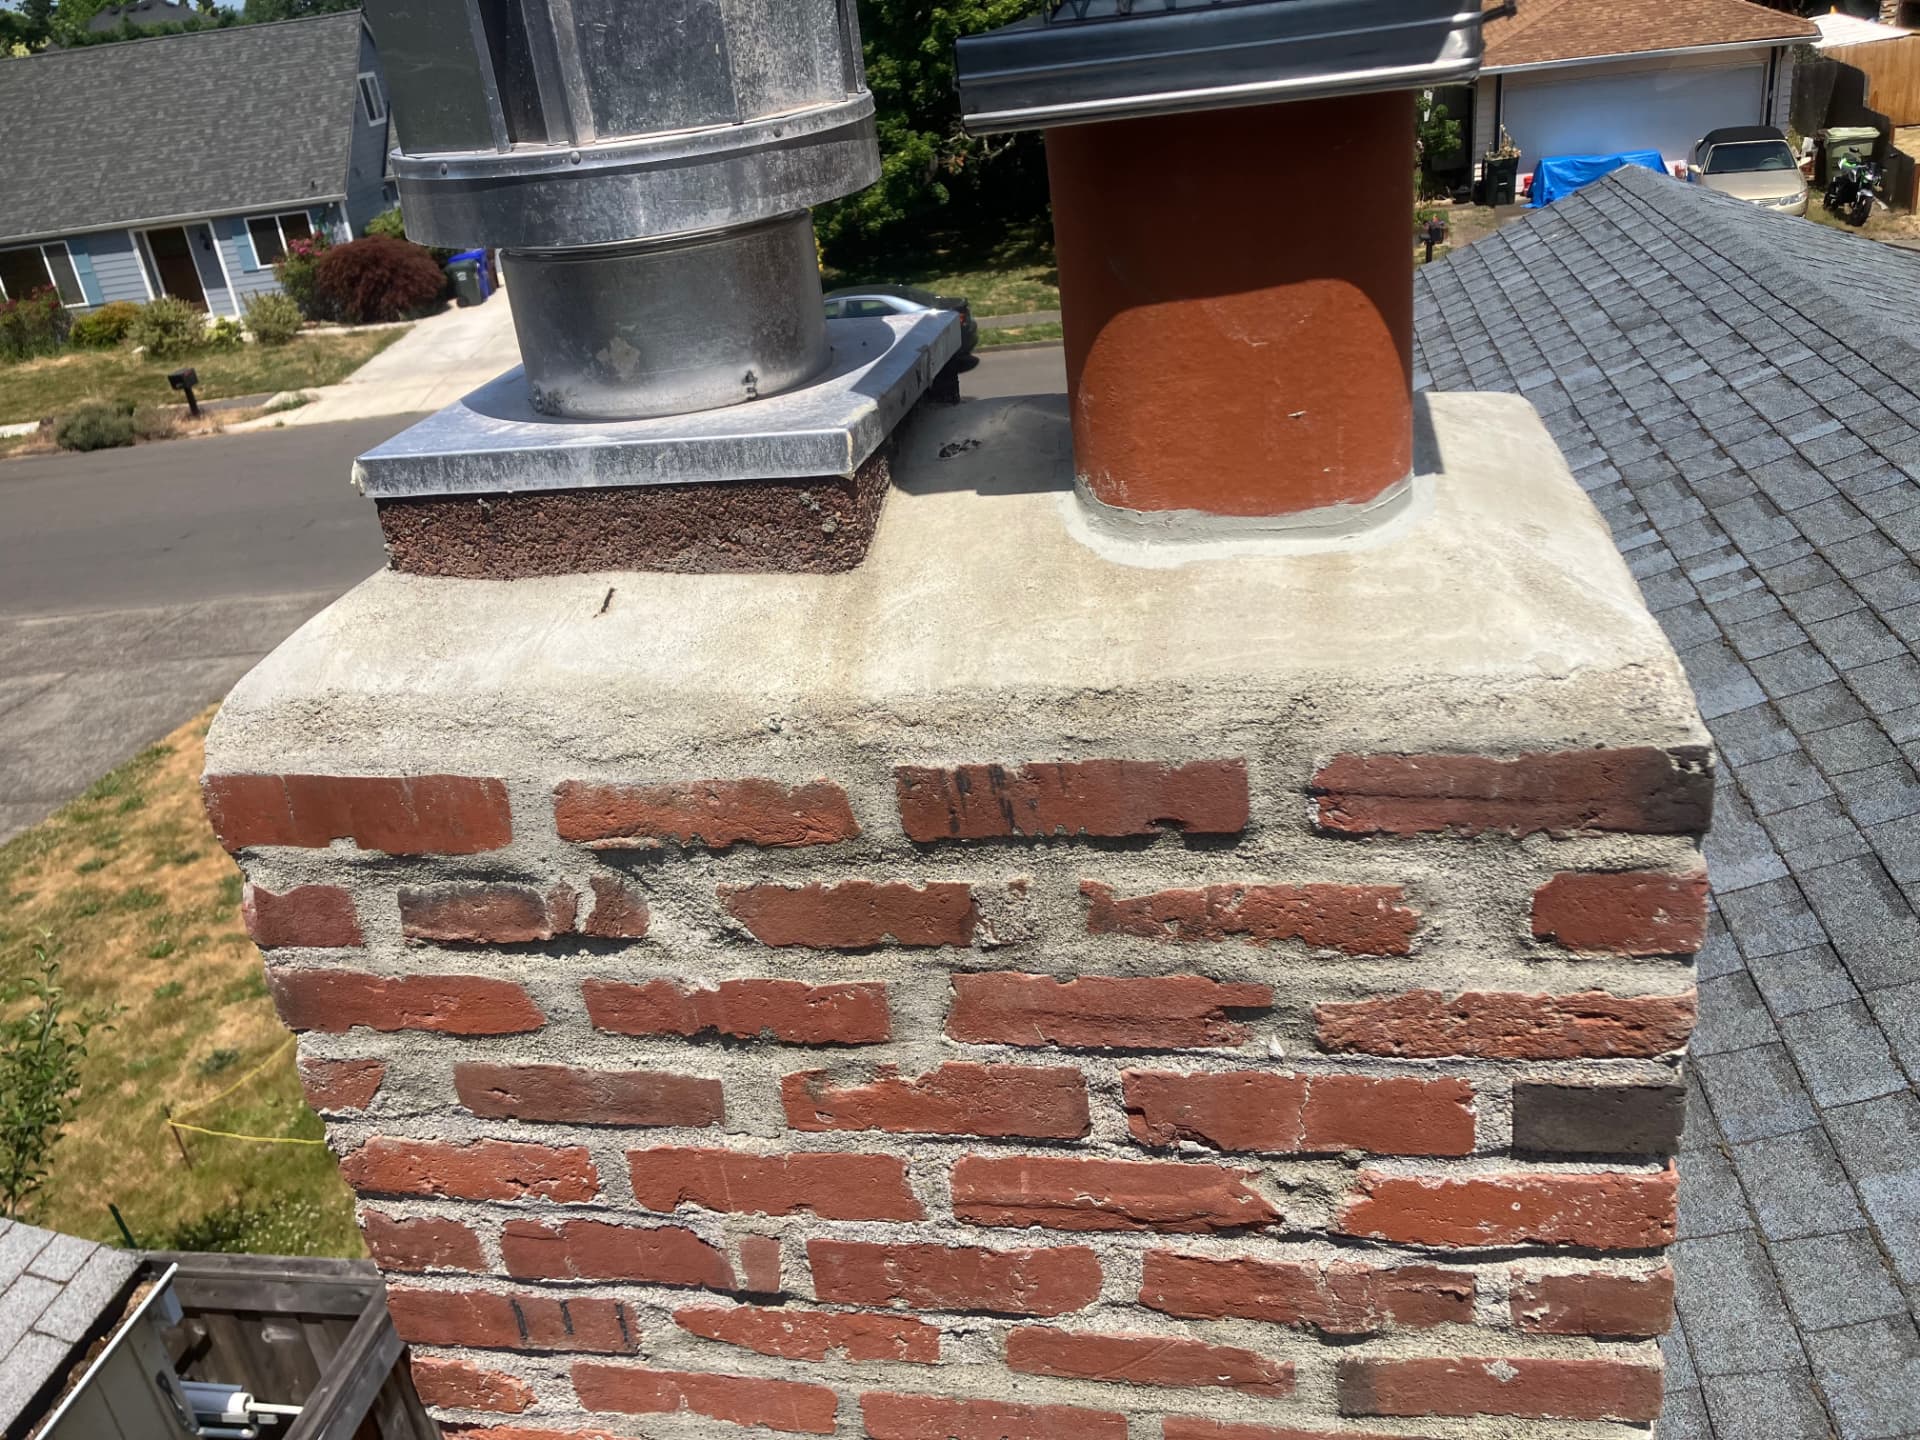
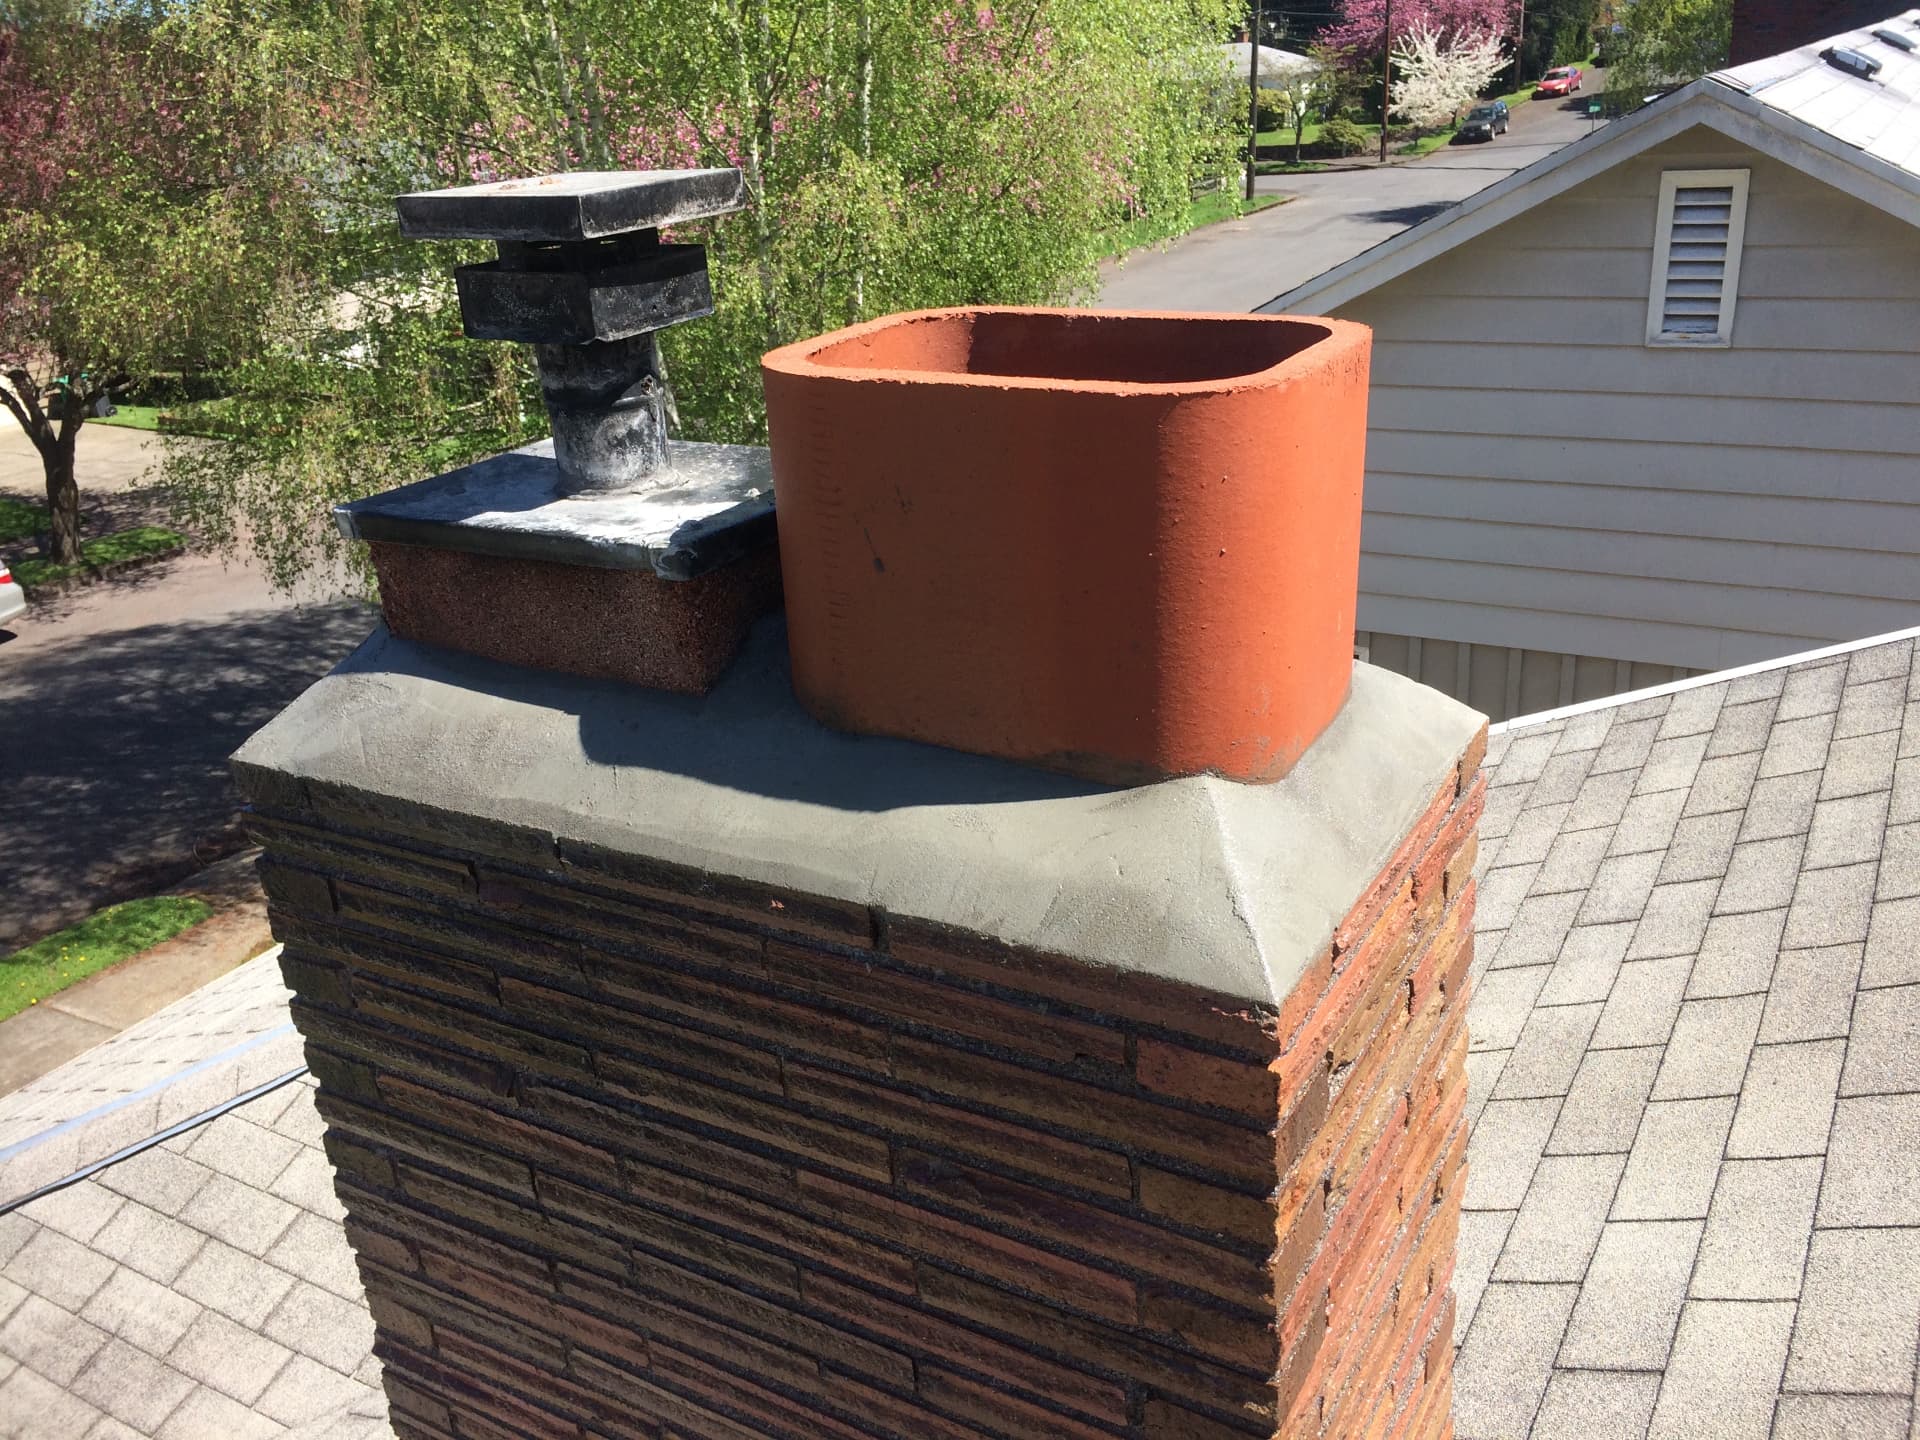
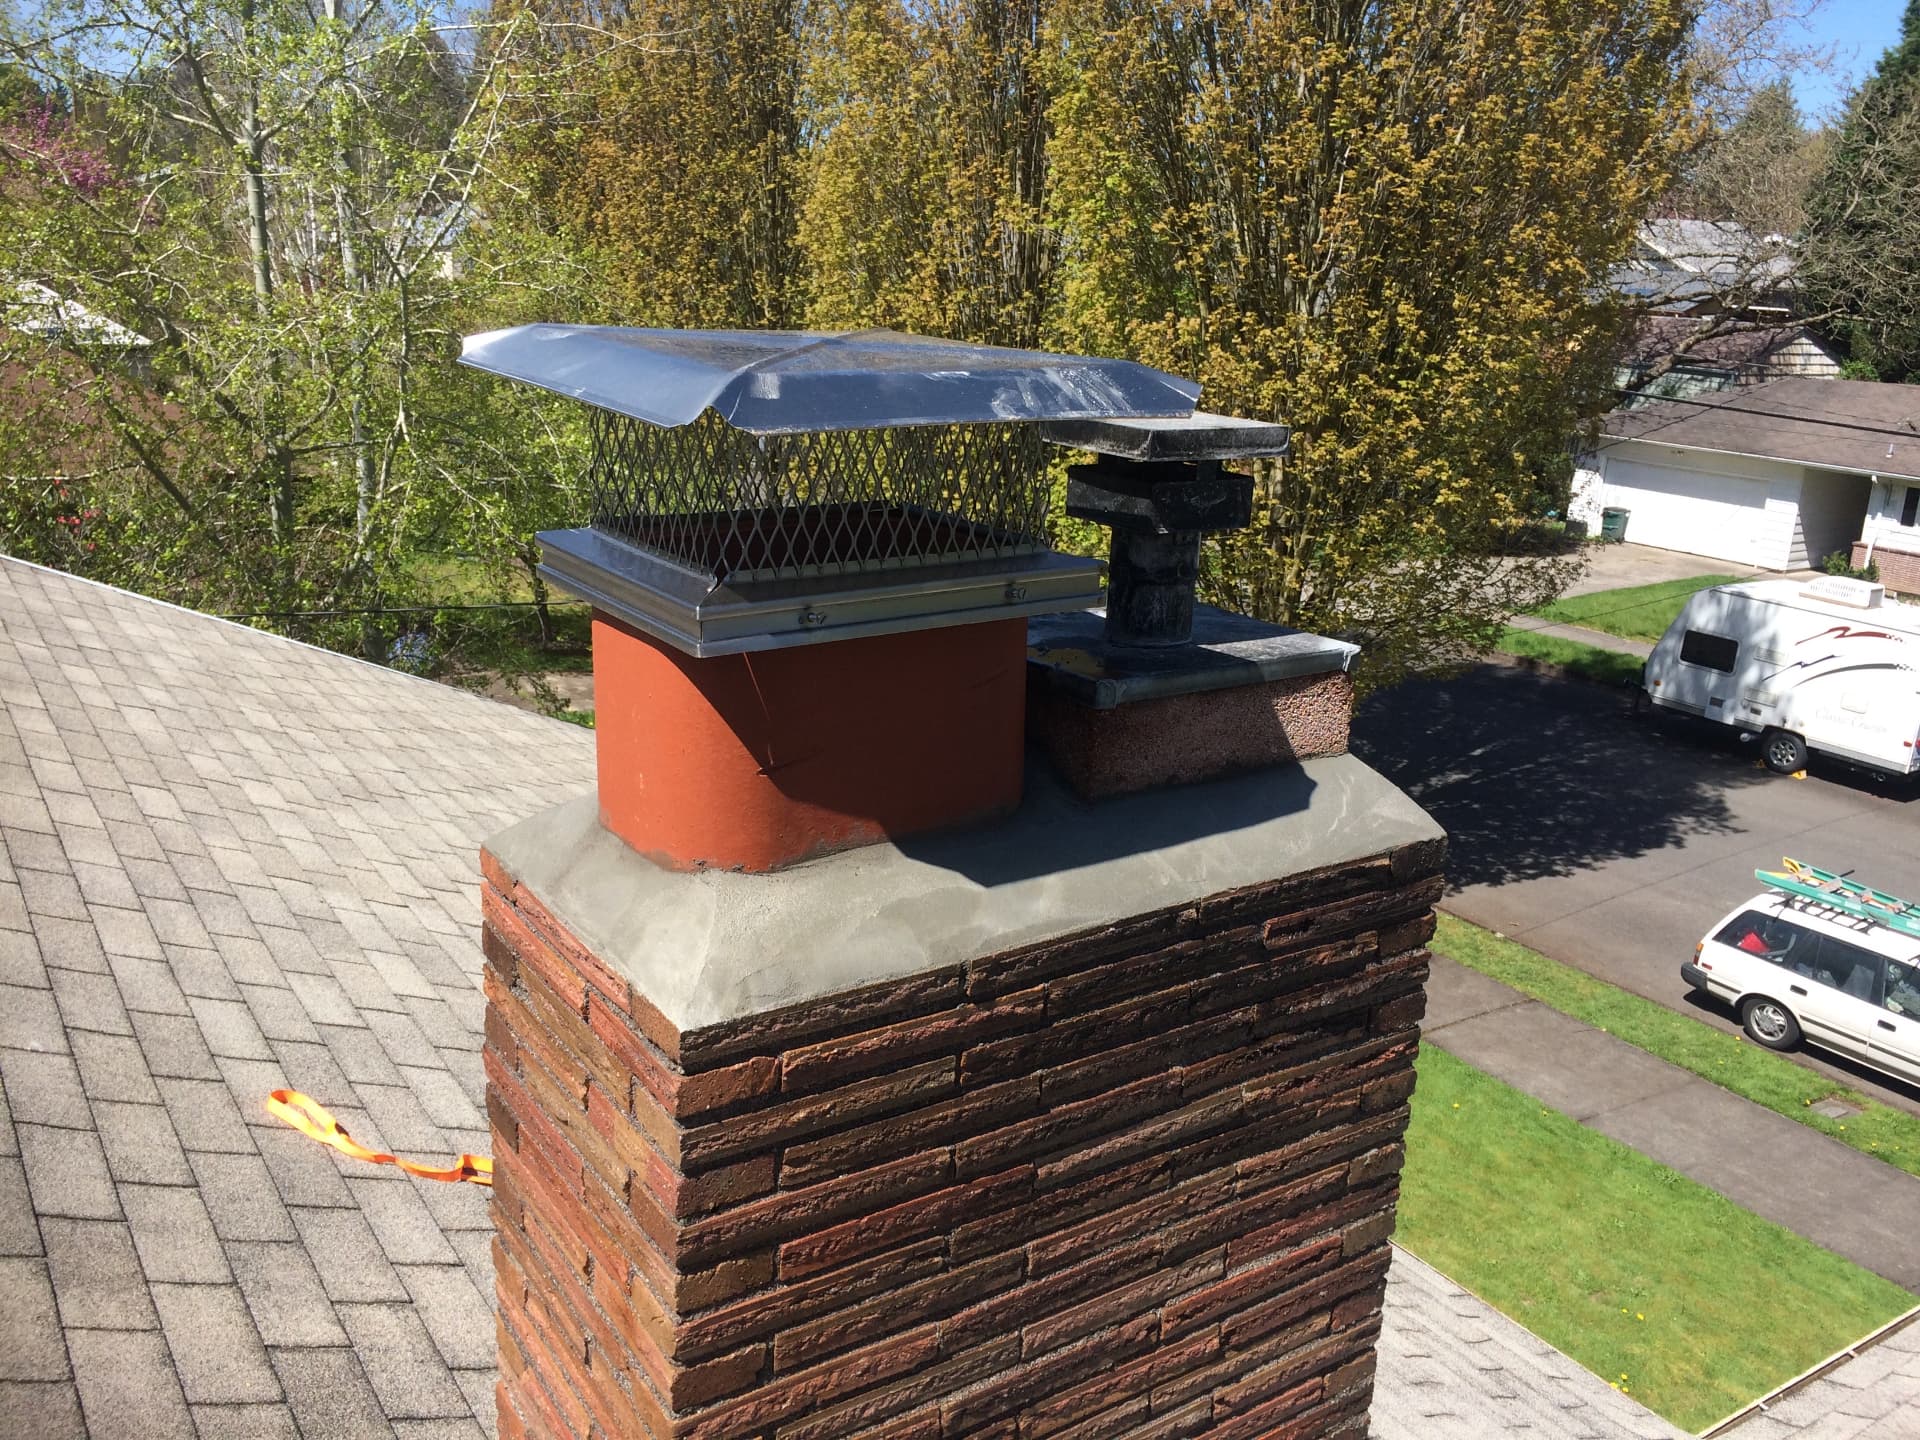
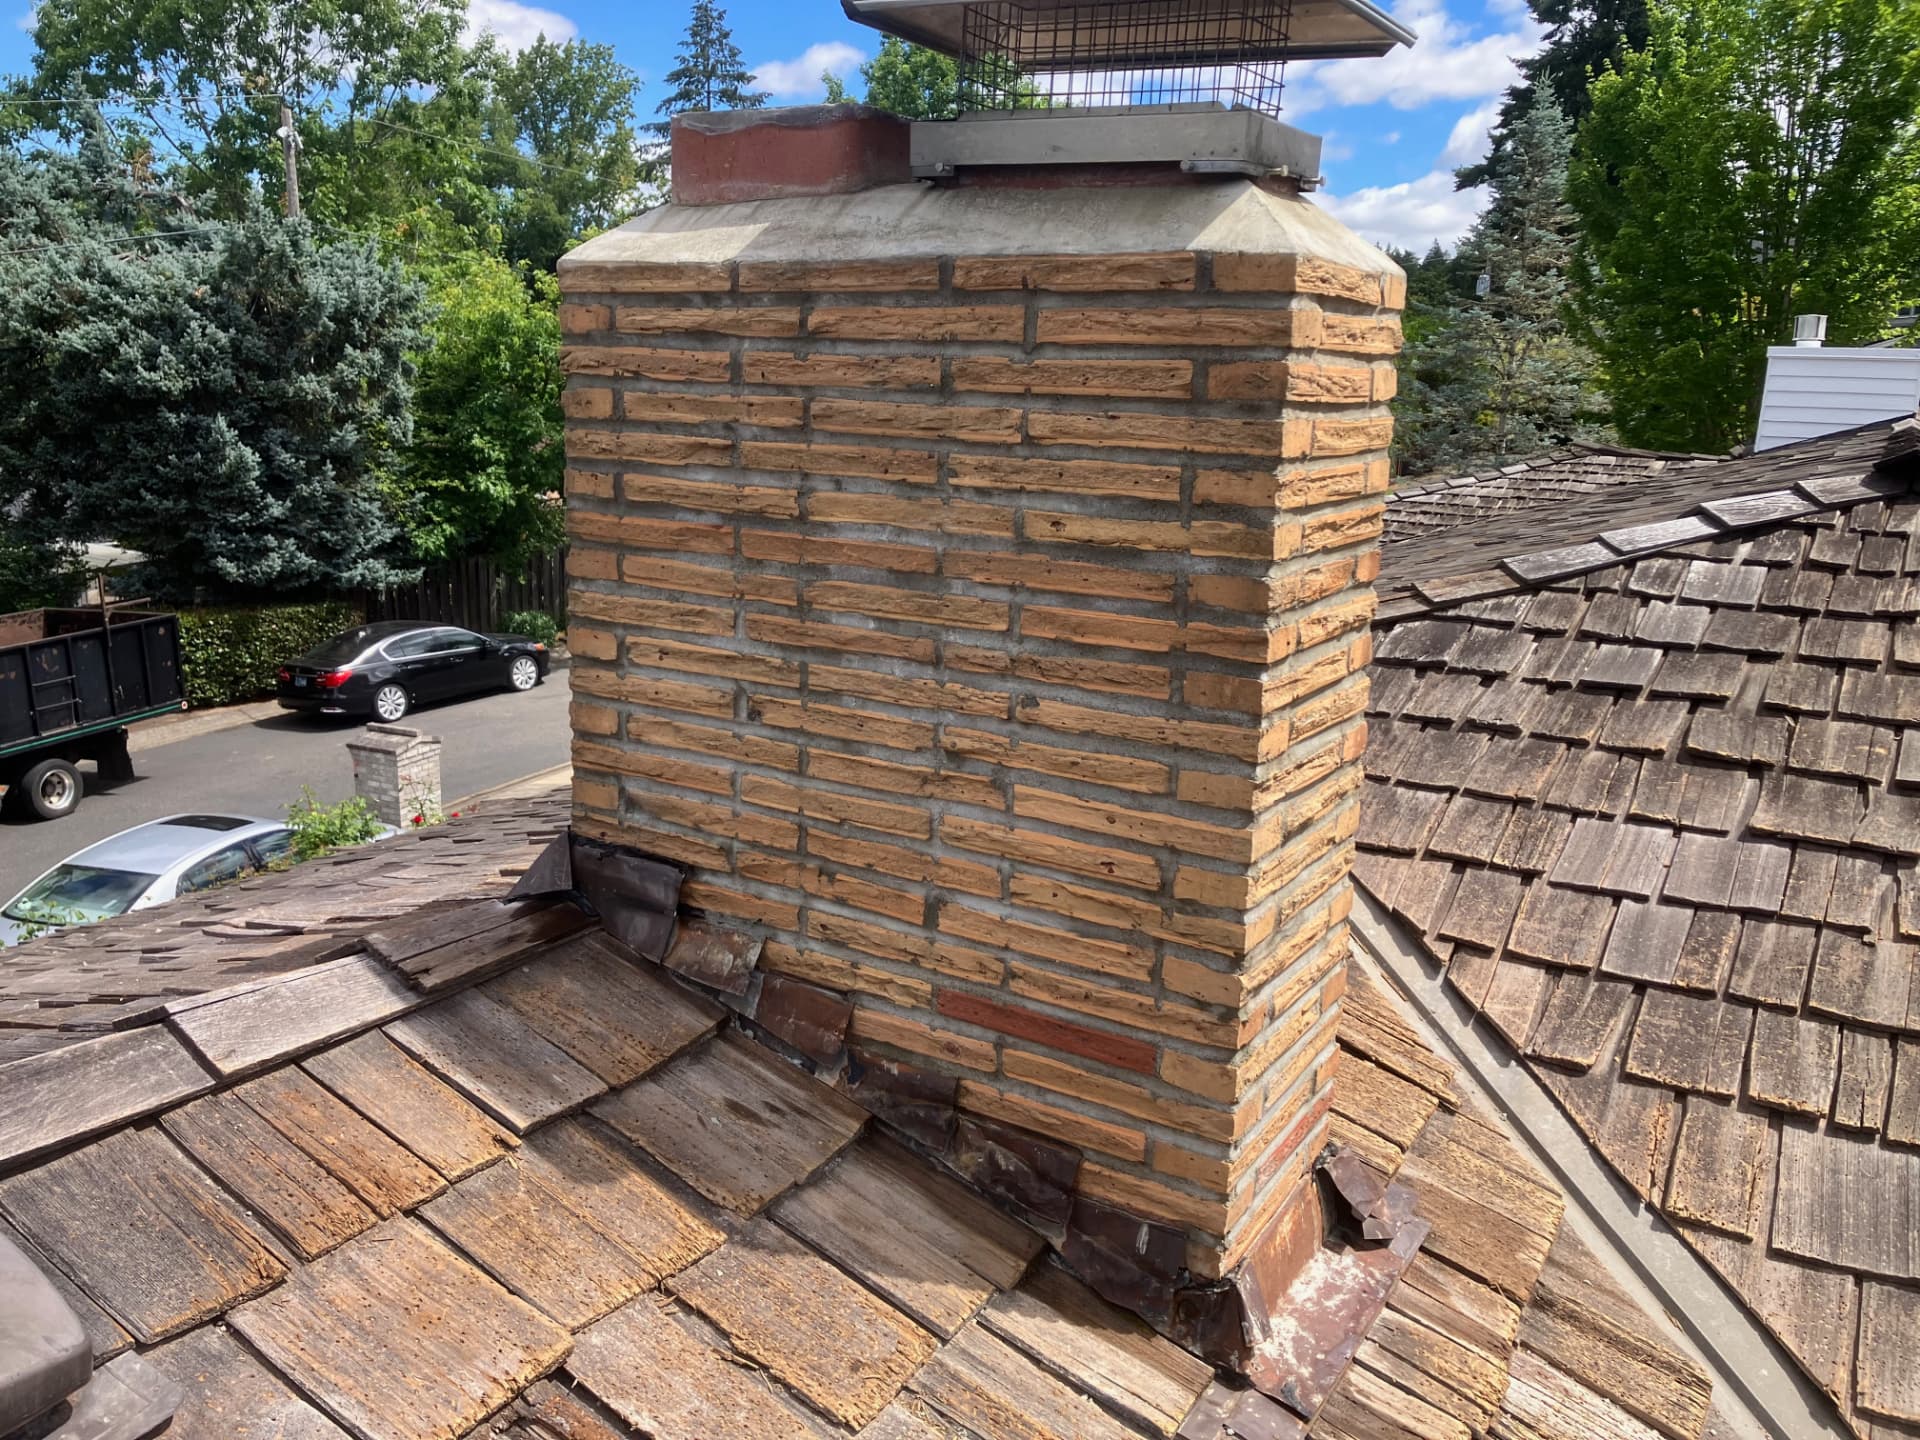
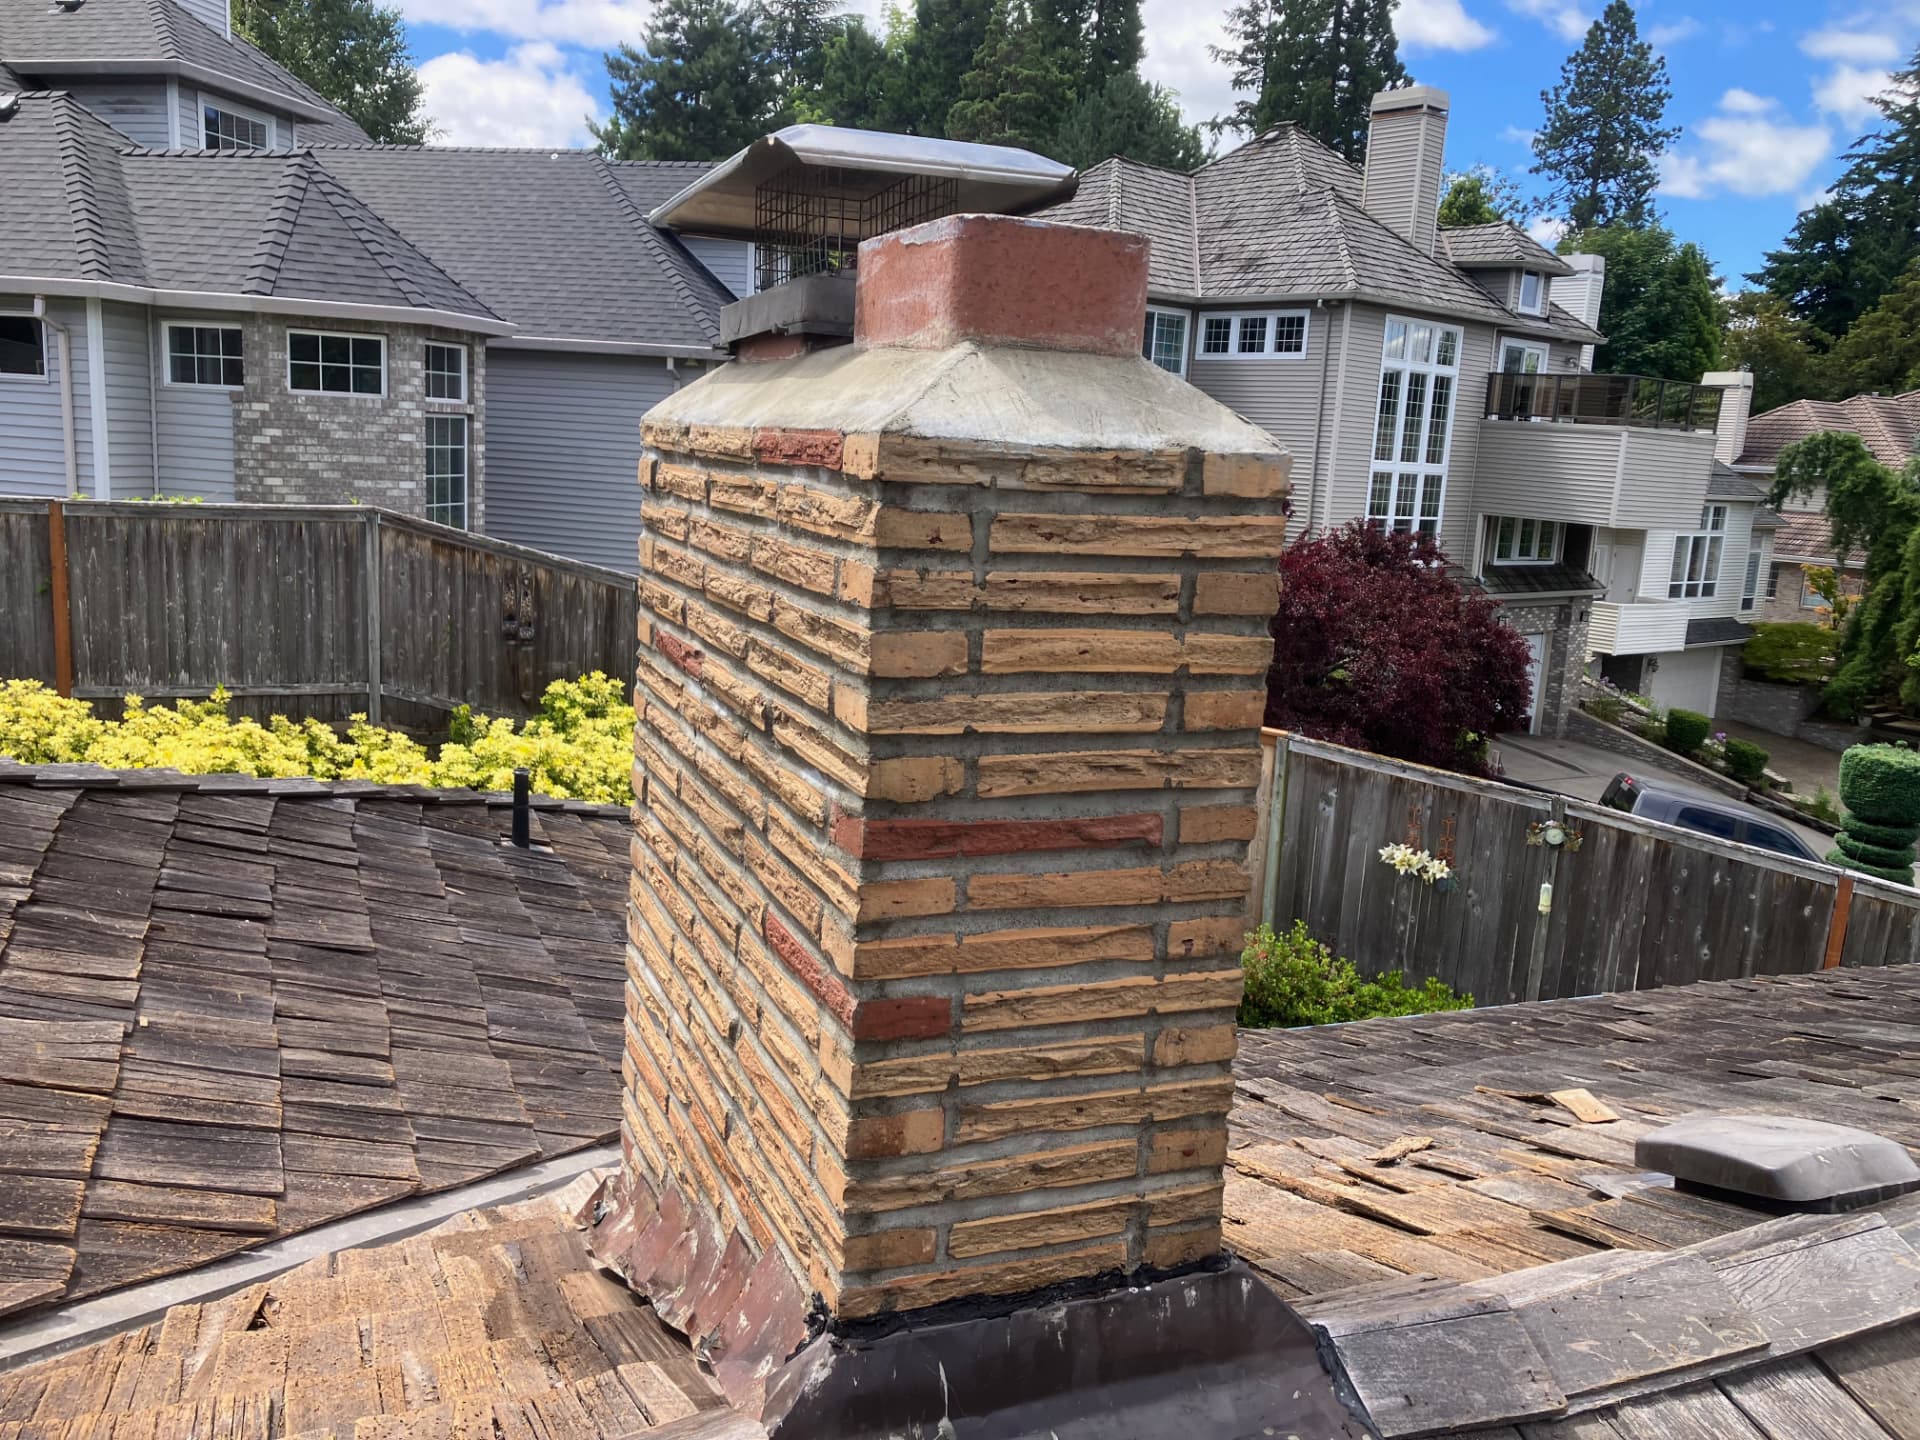
After — clean crown and fresh brick
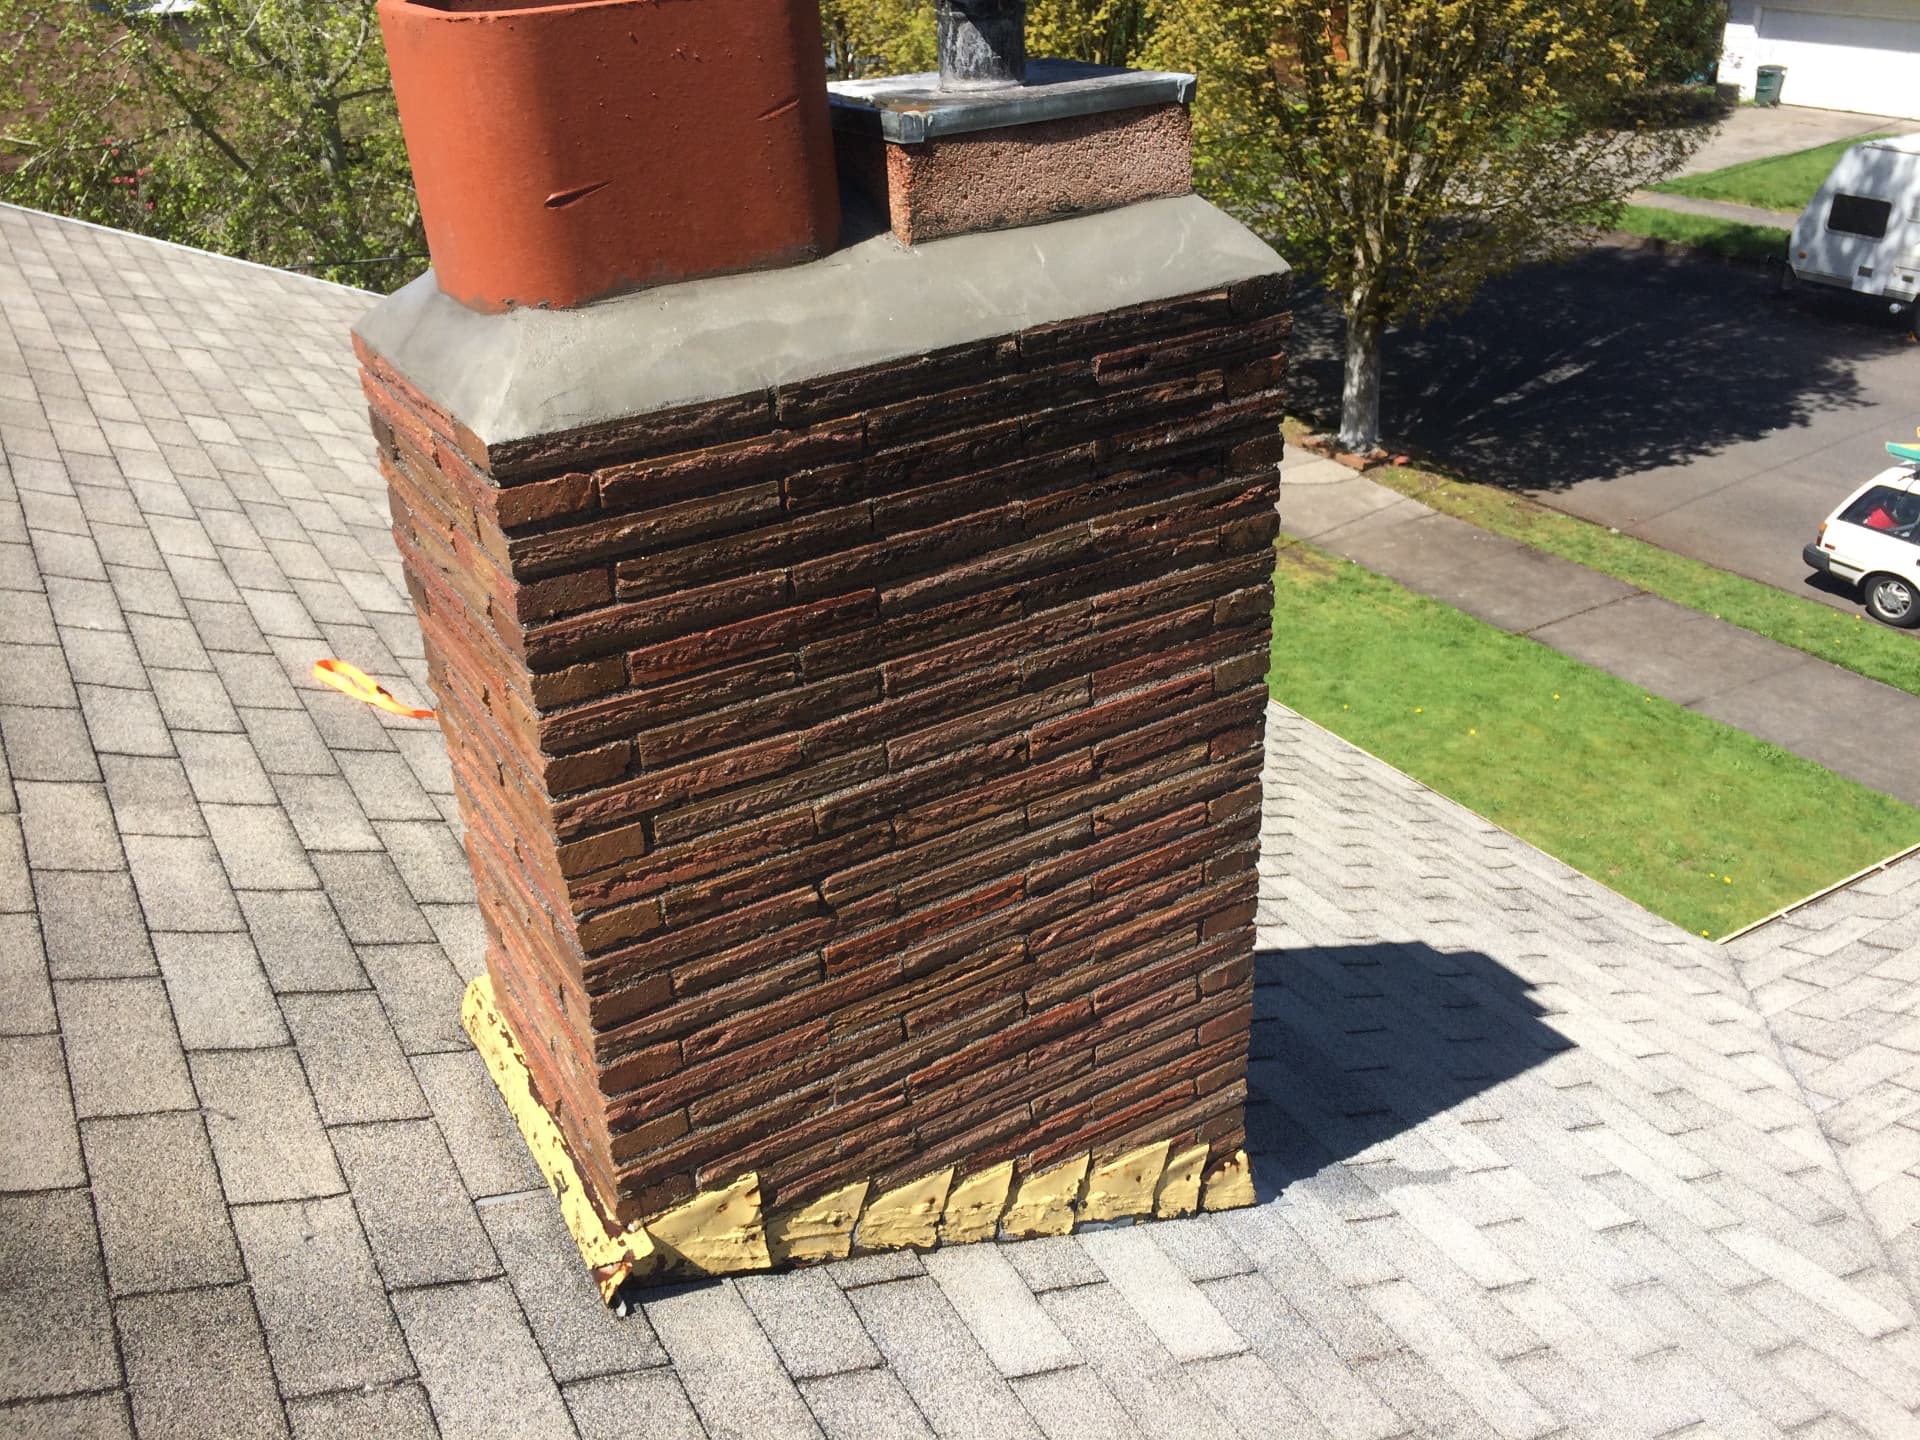
After — clean brickwork from ledge to base flashing
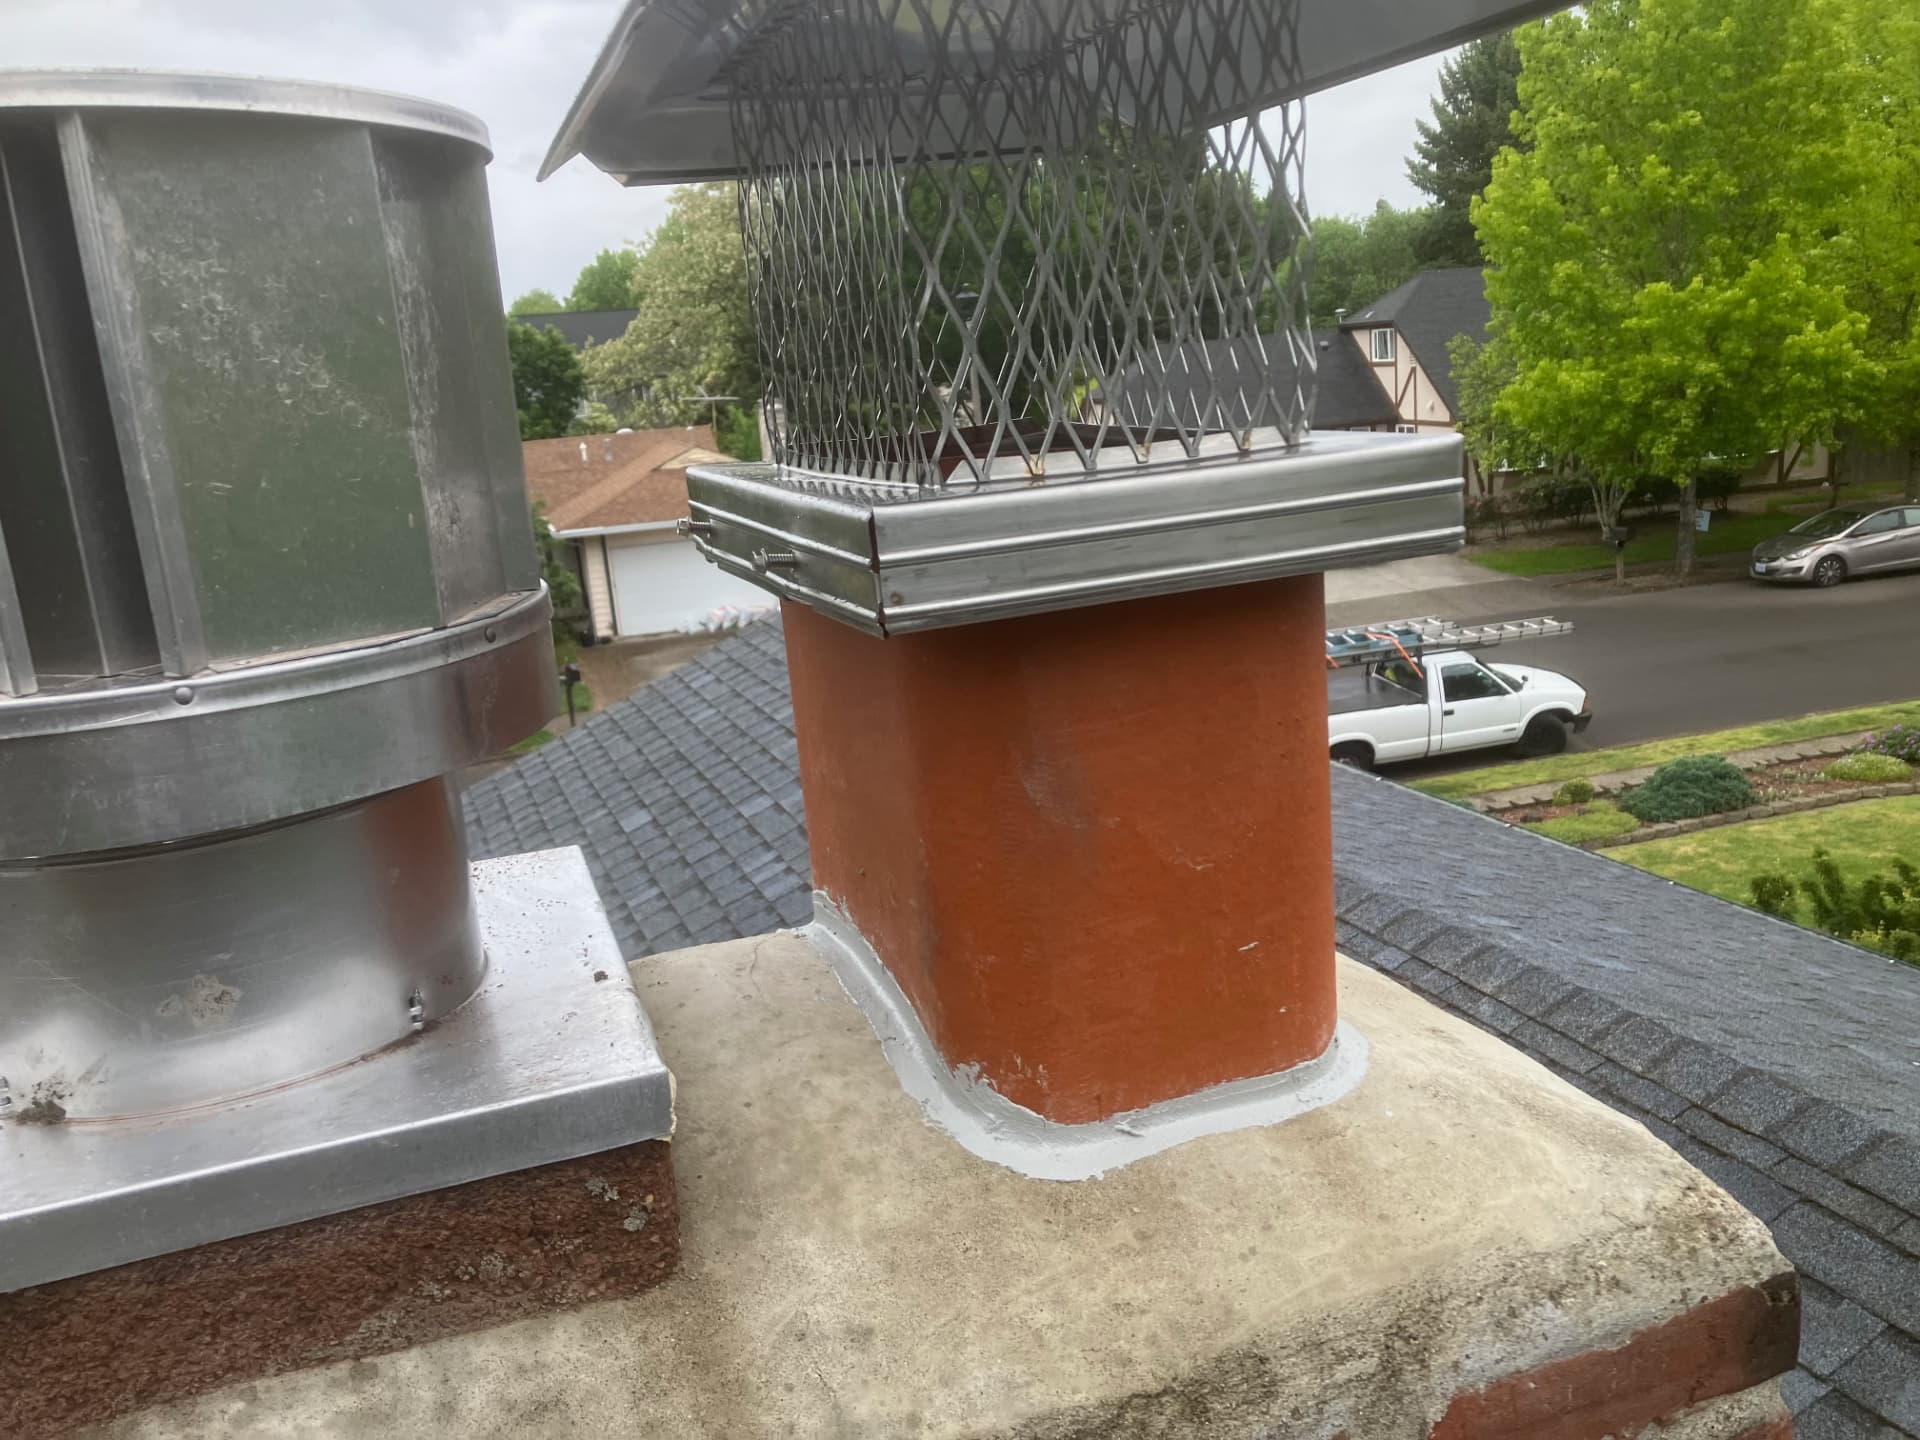
After — new mesh cap on the clean flue

Before and After — Moss Removal from 2023
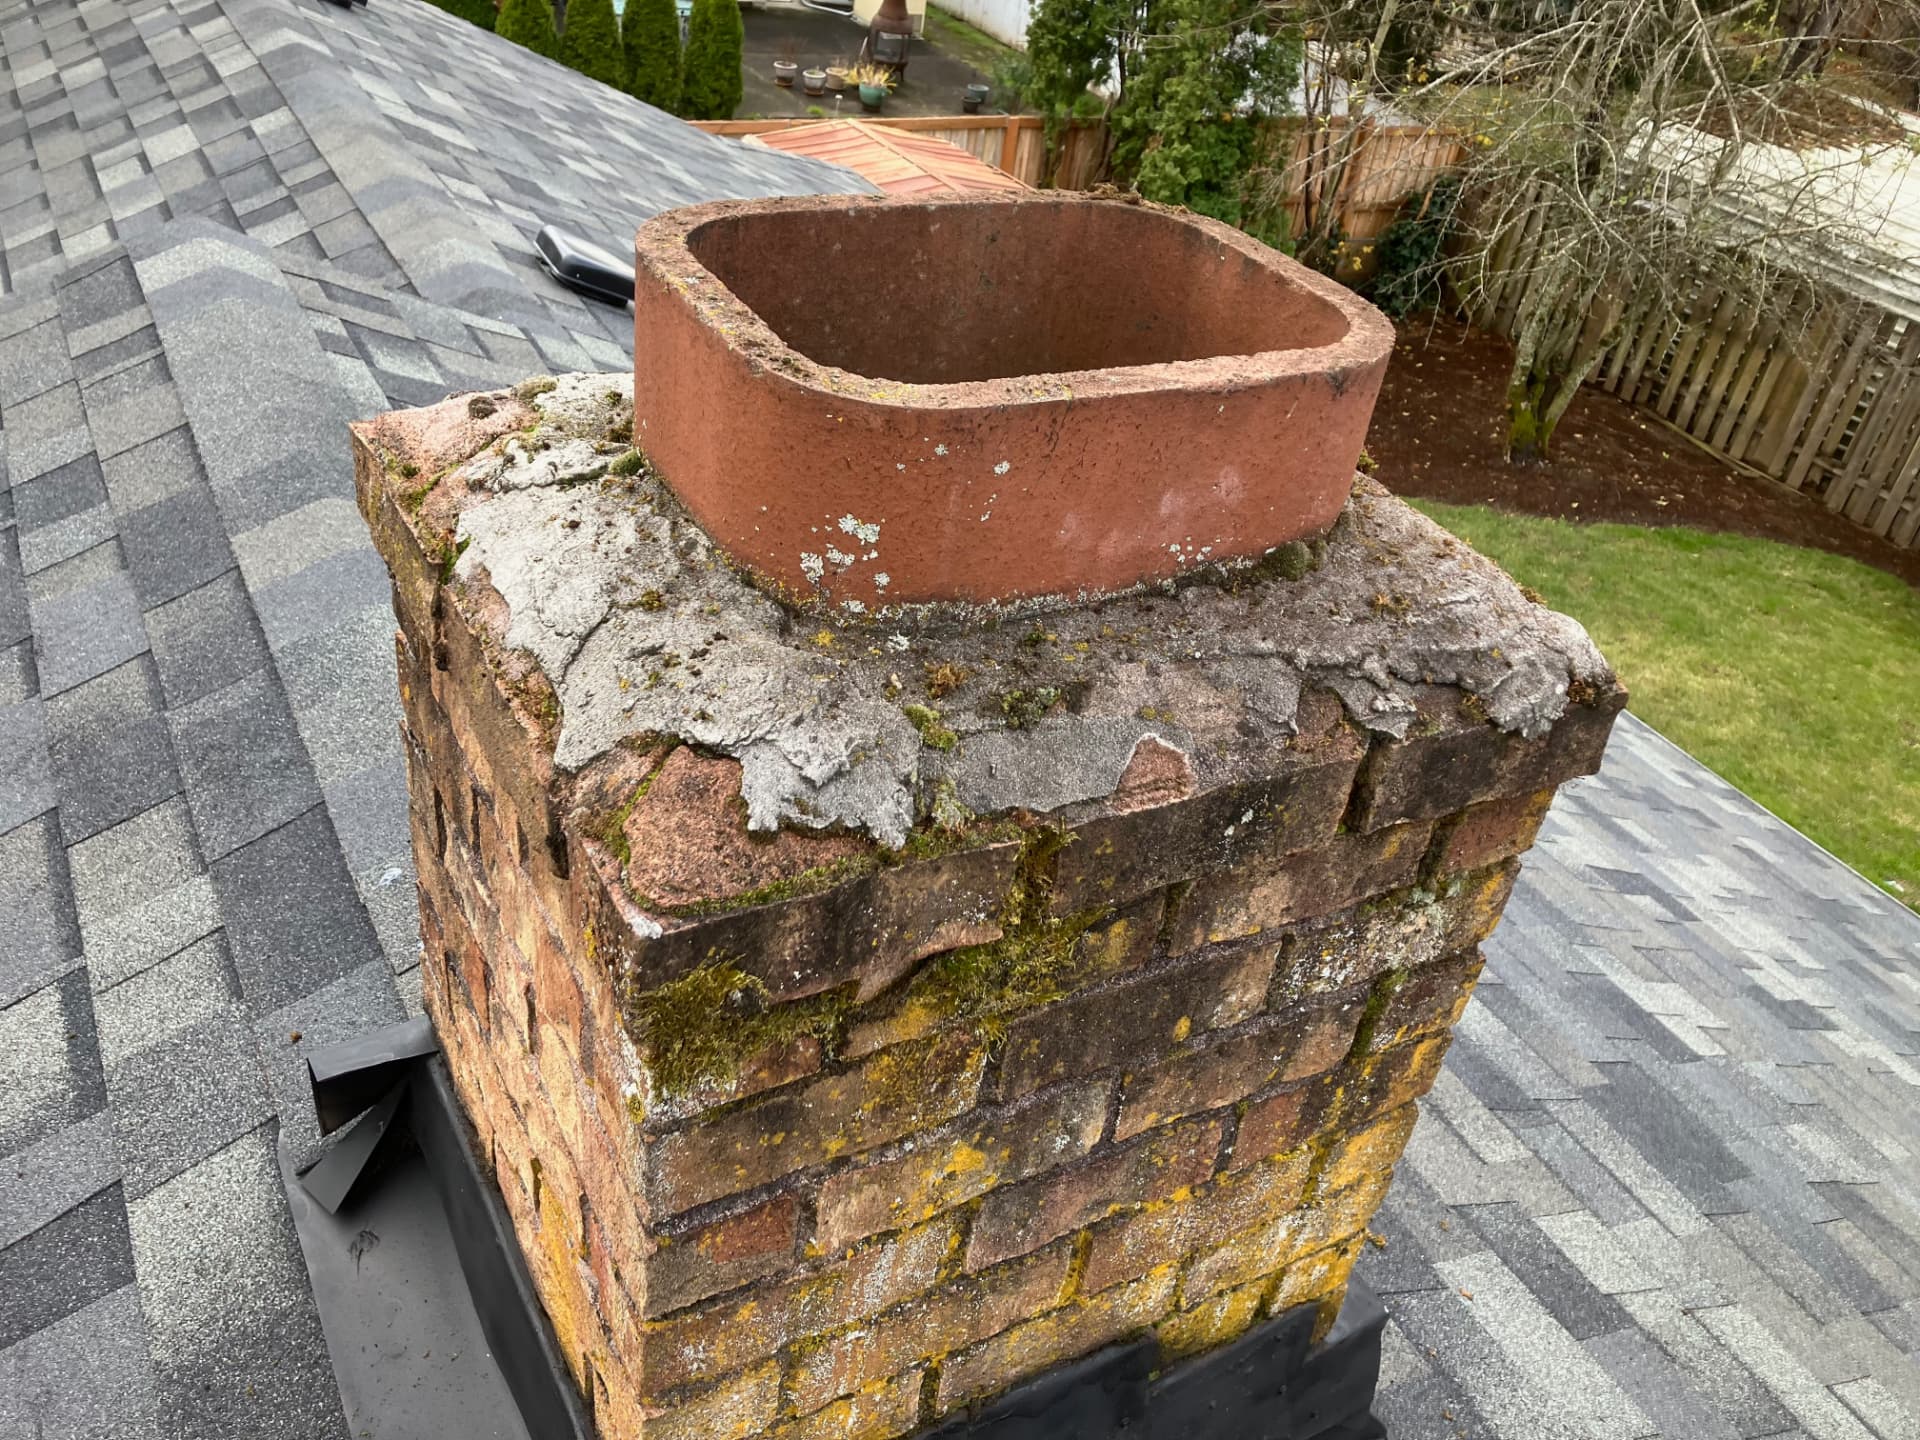
Before — moss on the crown around the open flue tile
Before — lichen and moss on the chimney corner
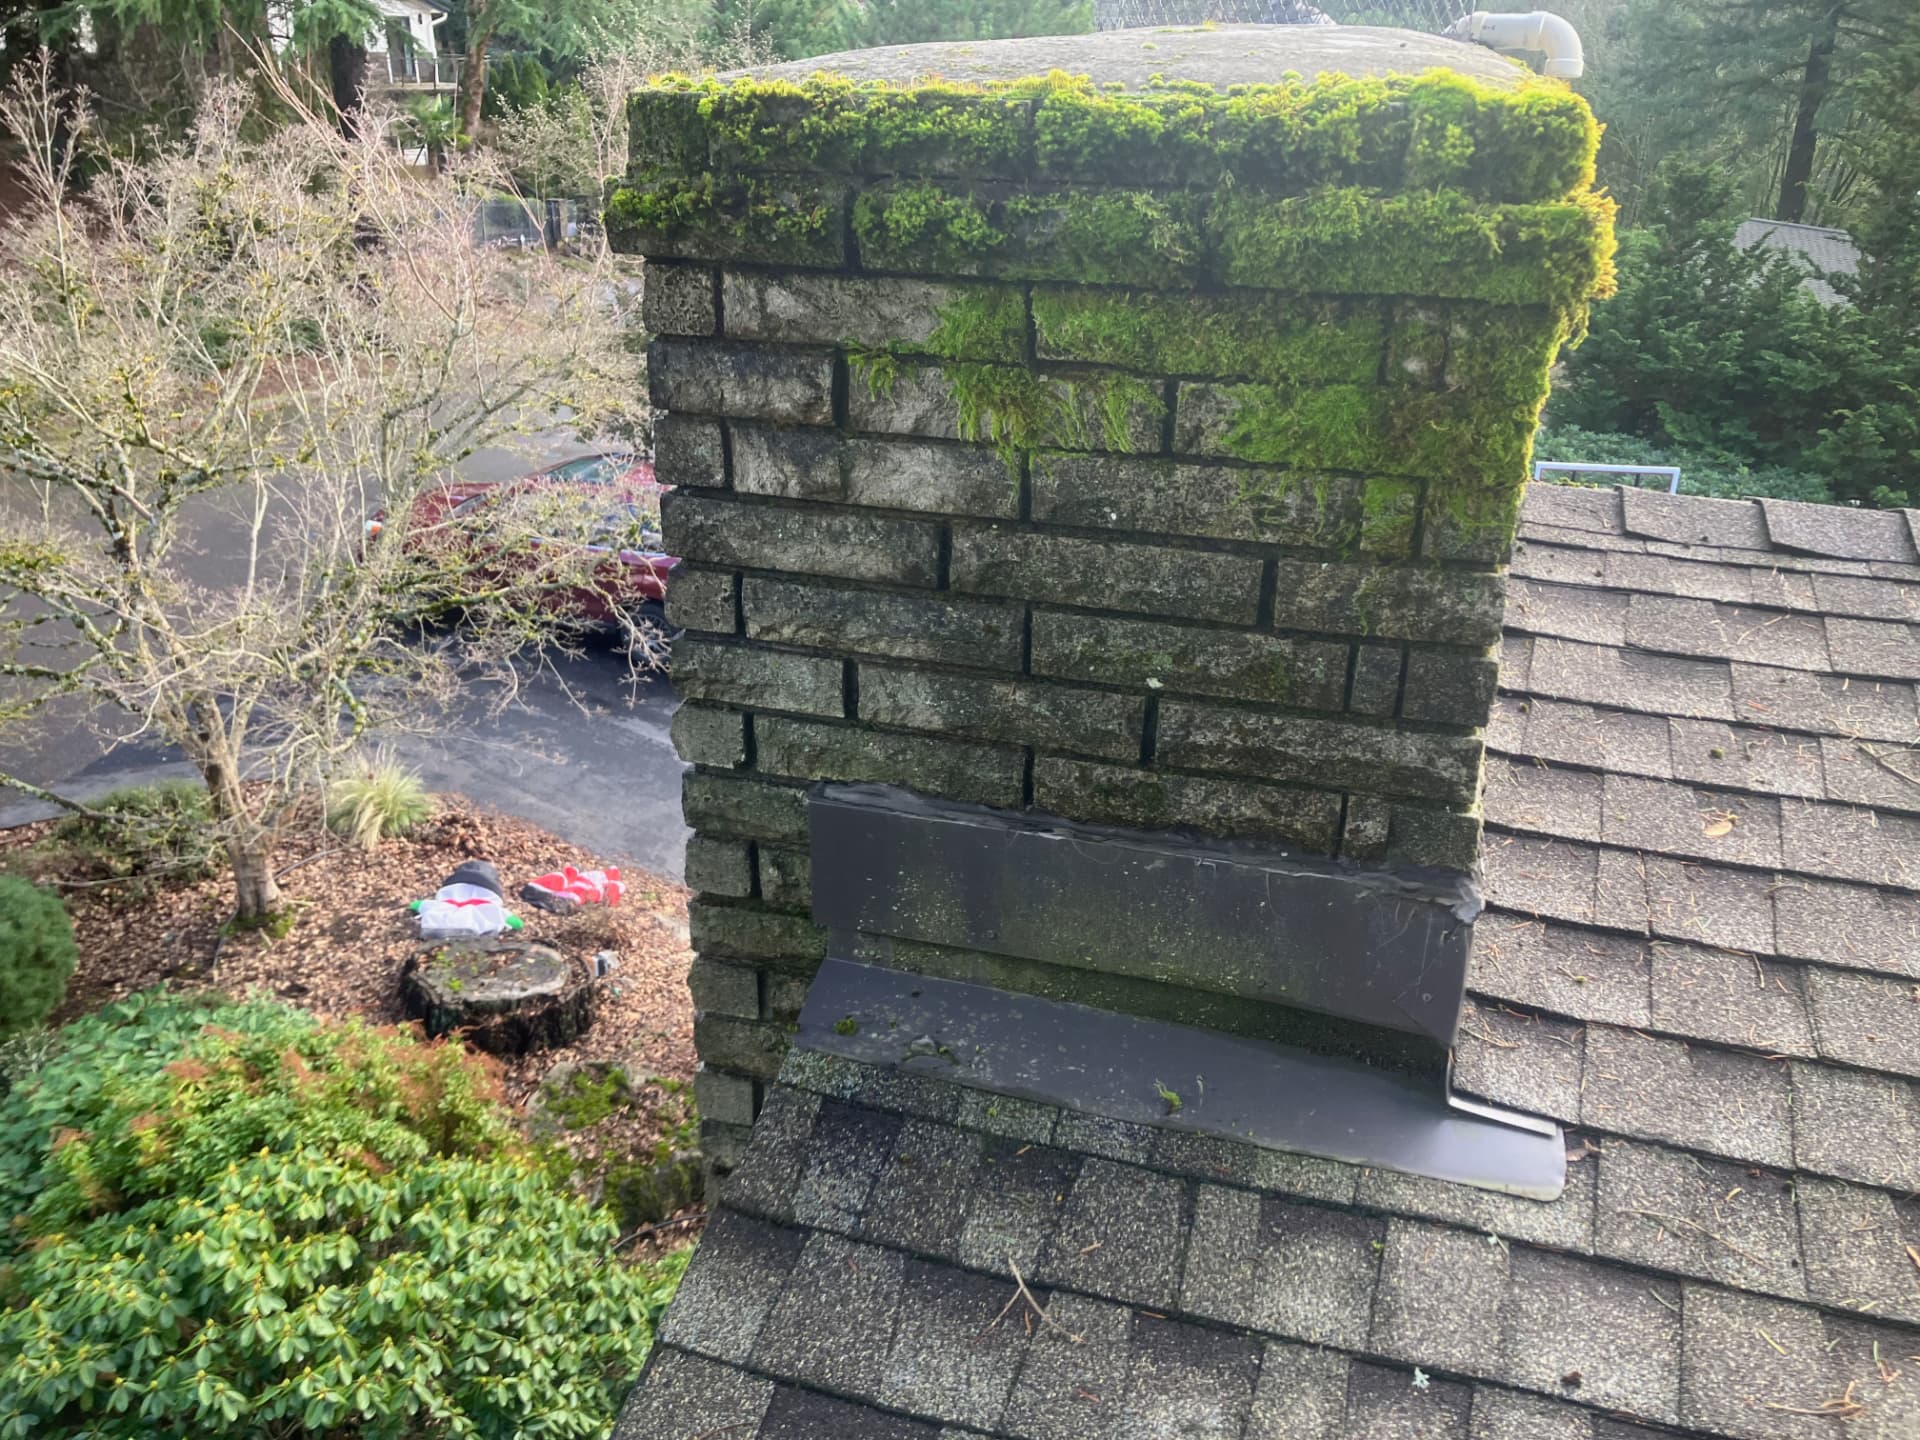
Before — moss on the brick face and mortar joints
Before — moss at the step flashing and chimney corner
Before — moss on the crown, looking down the open flue
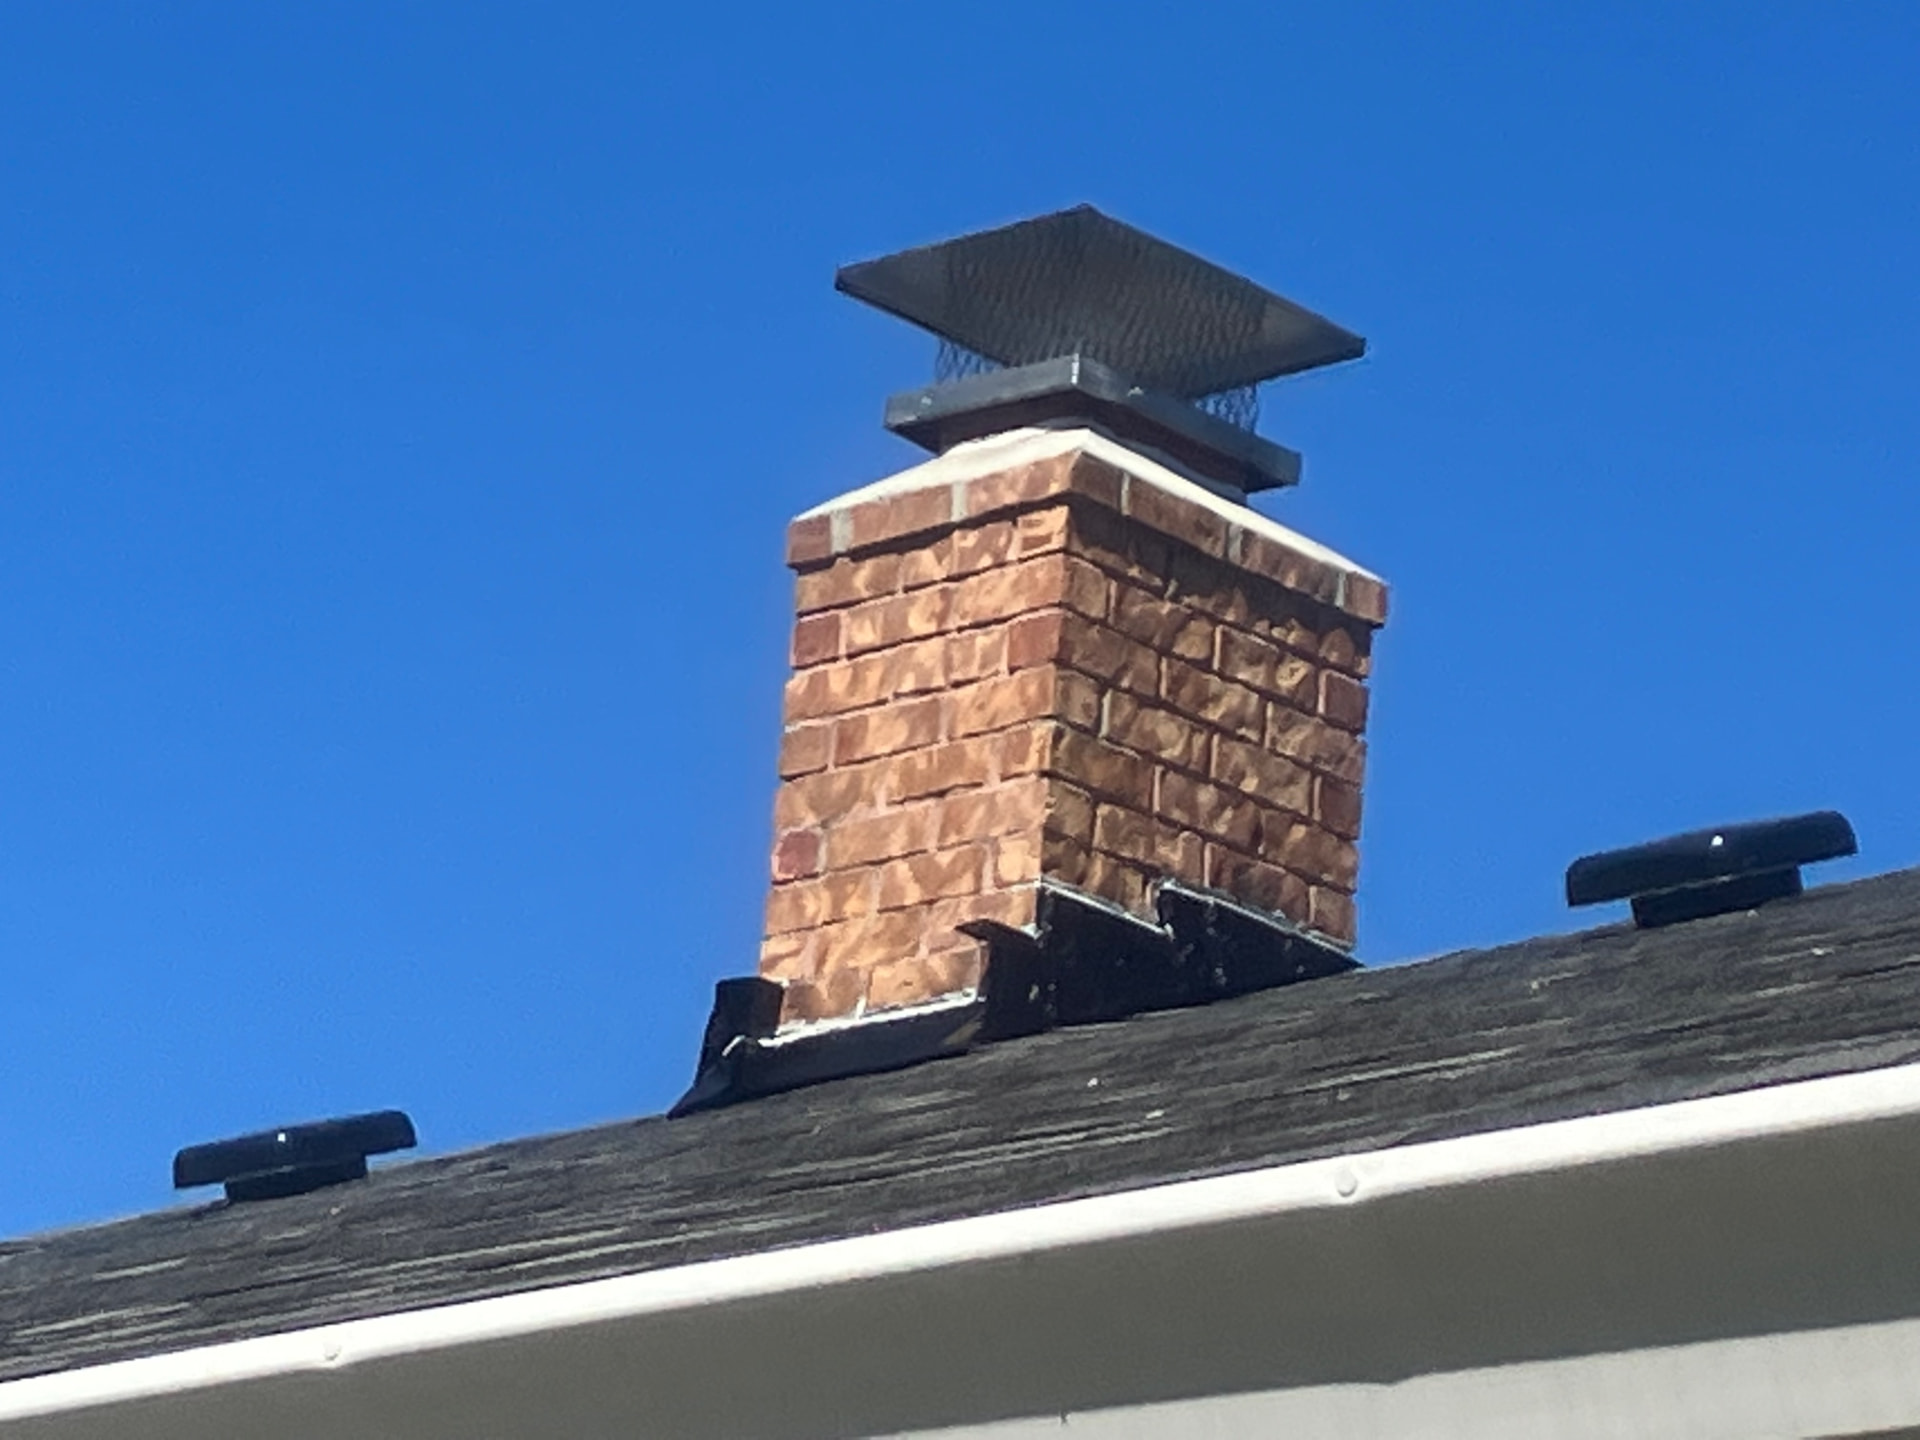
After — clean brick with the mesh cap in place

Before and After — Moss Removal from June 2026
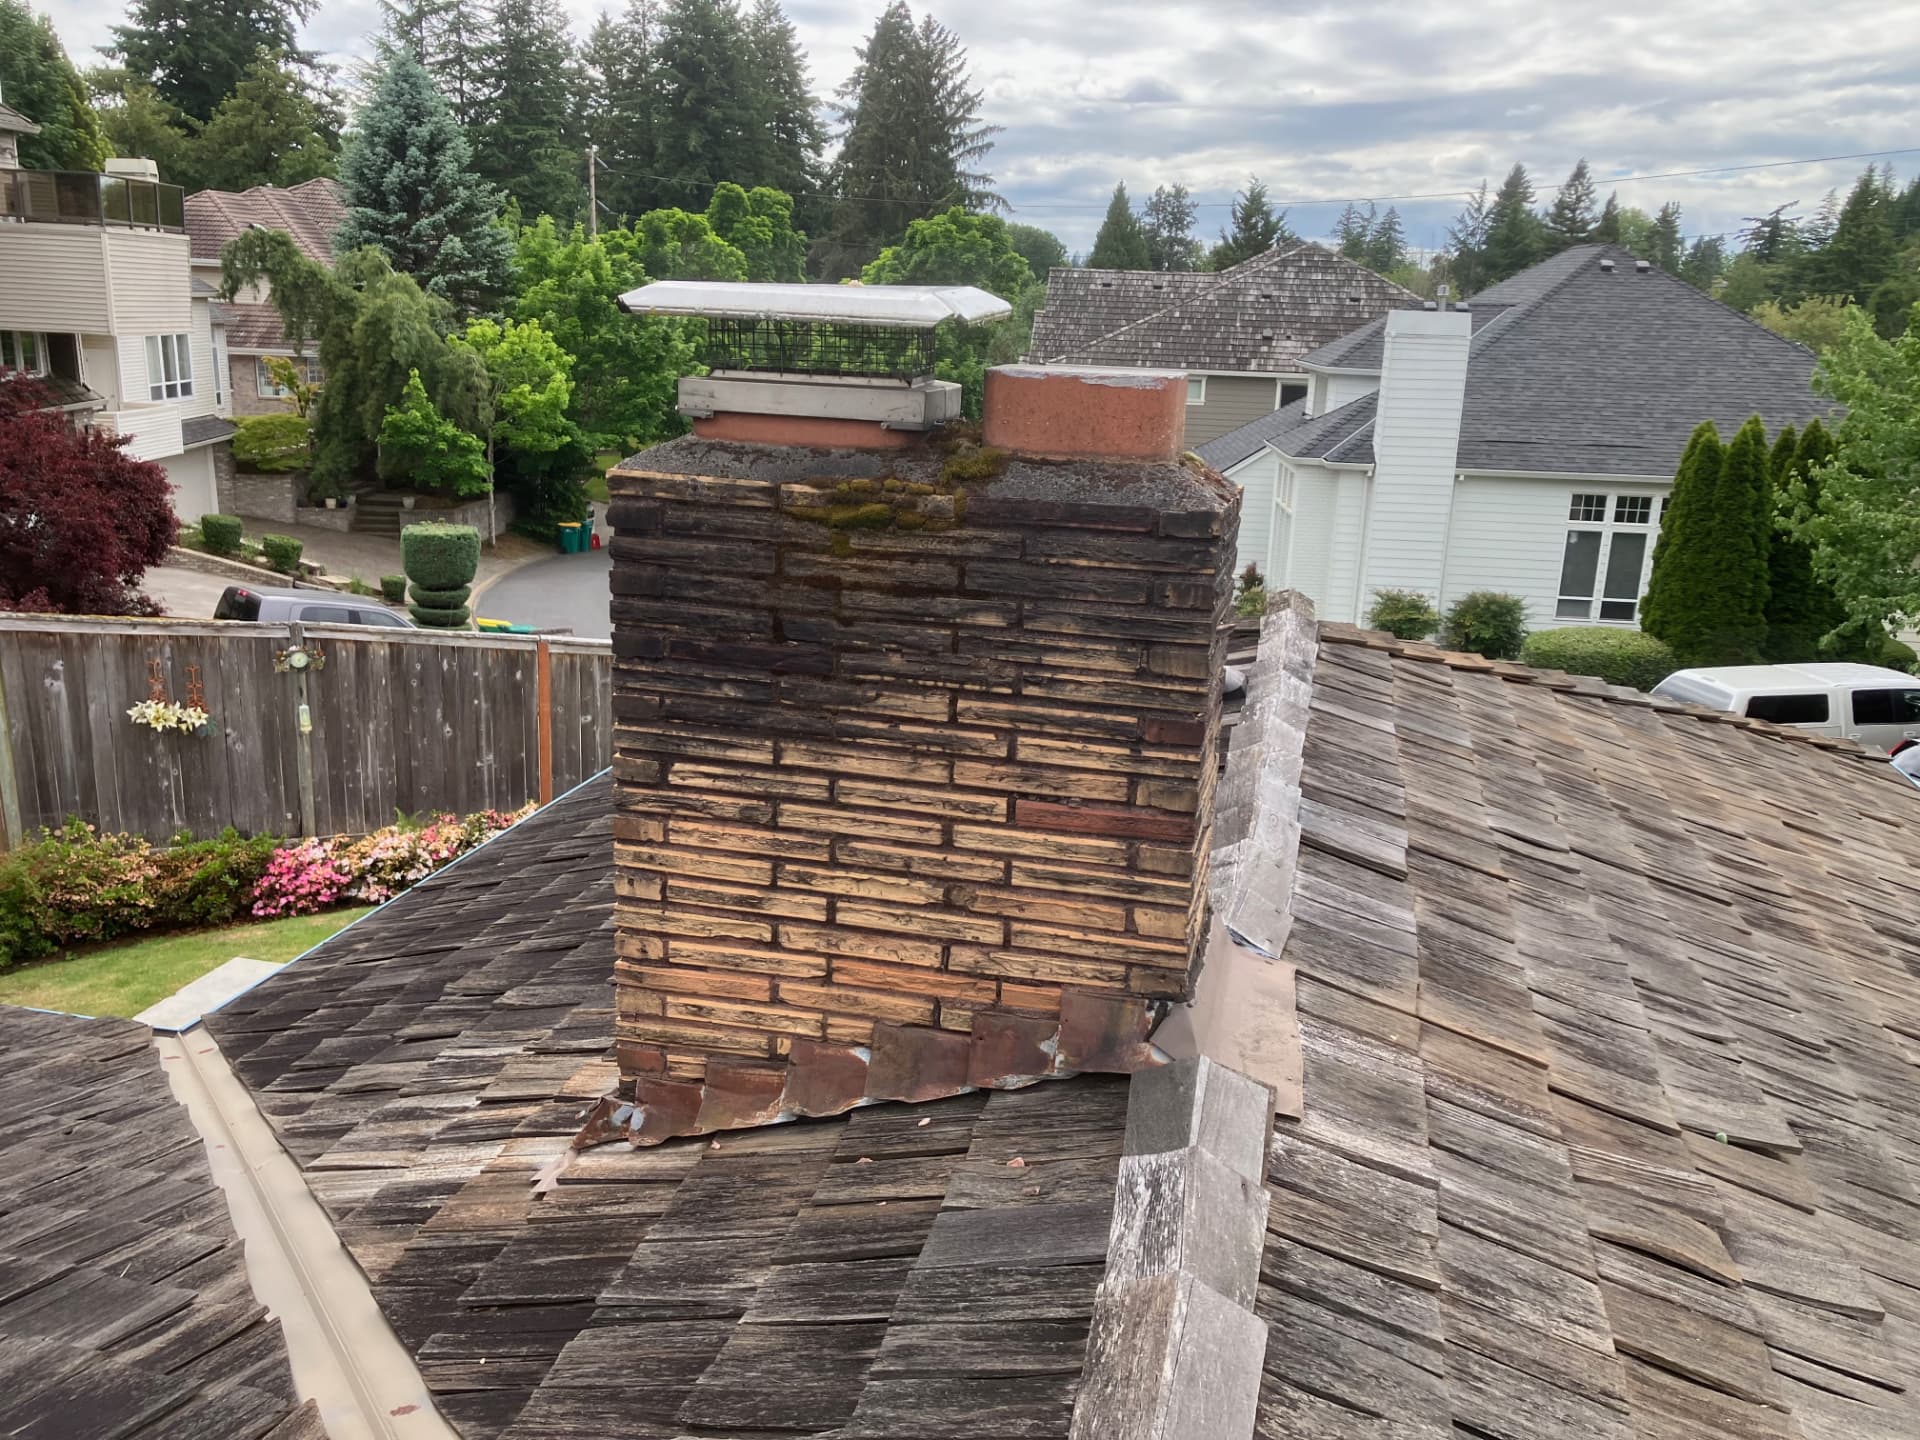
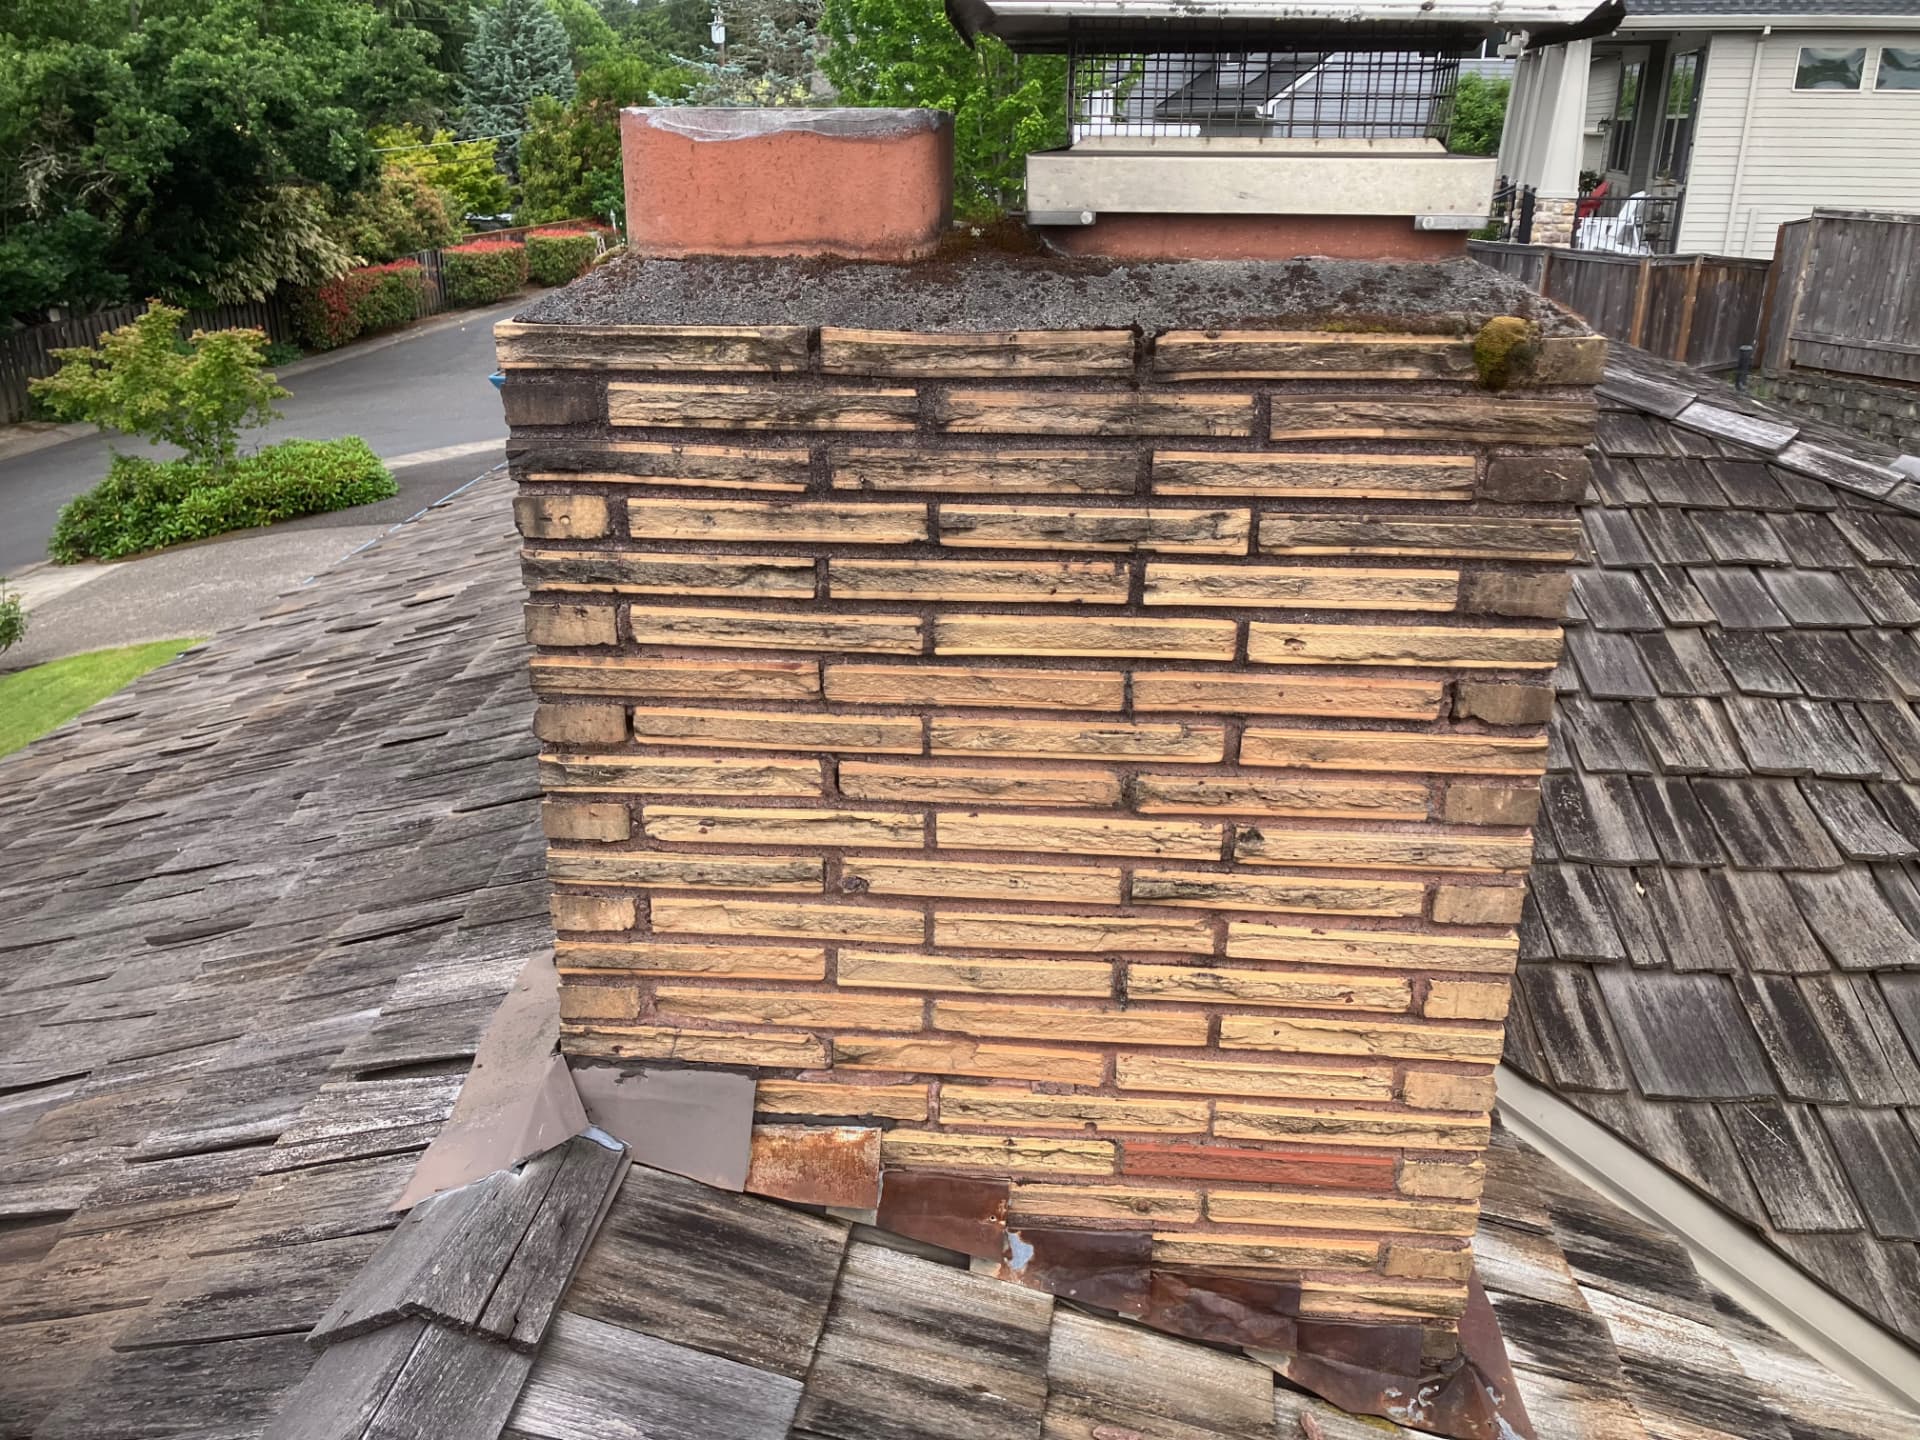
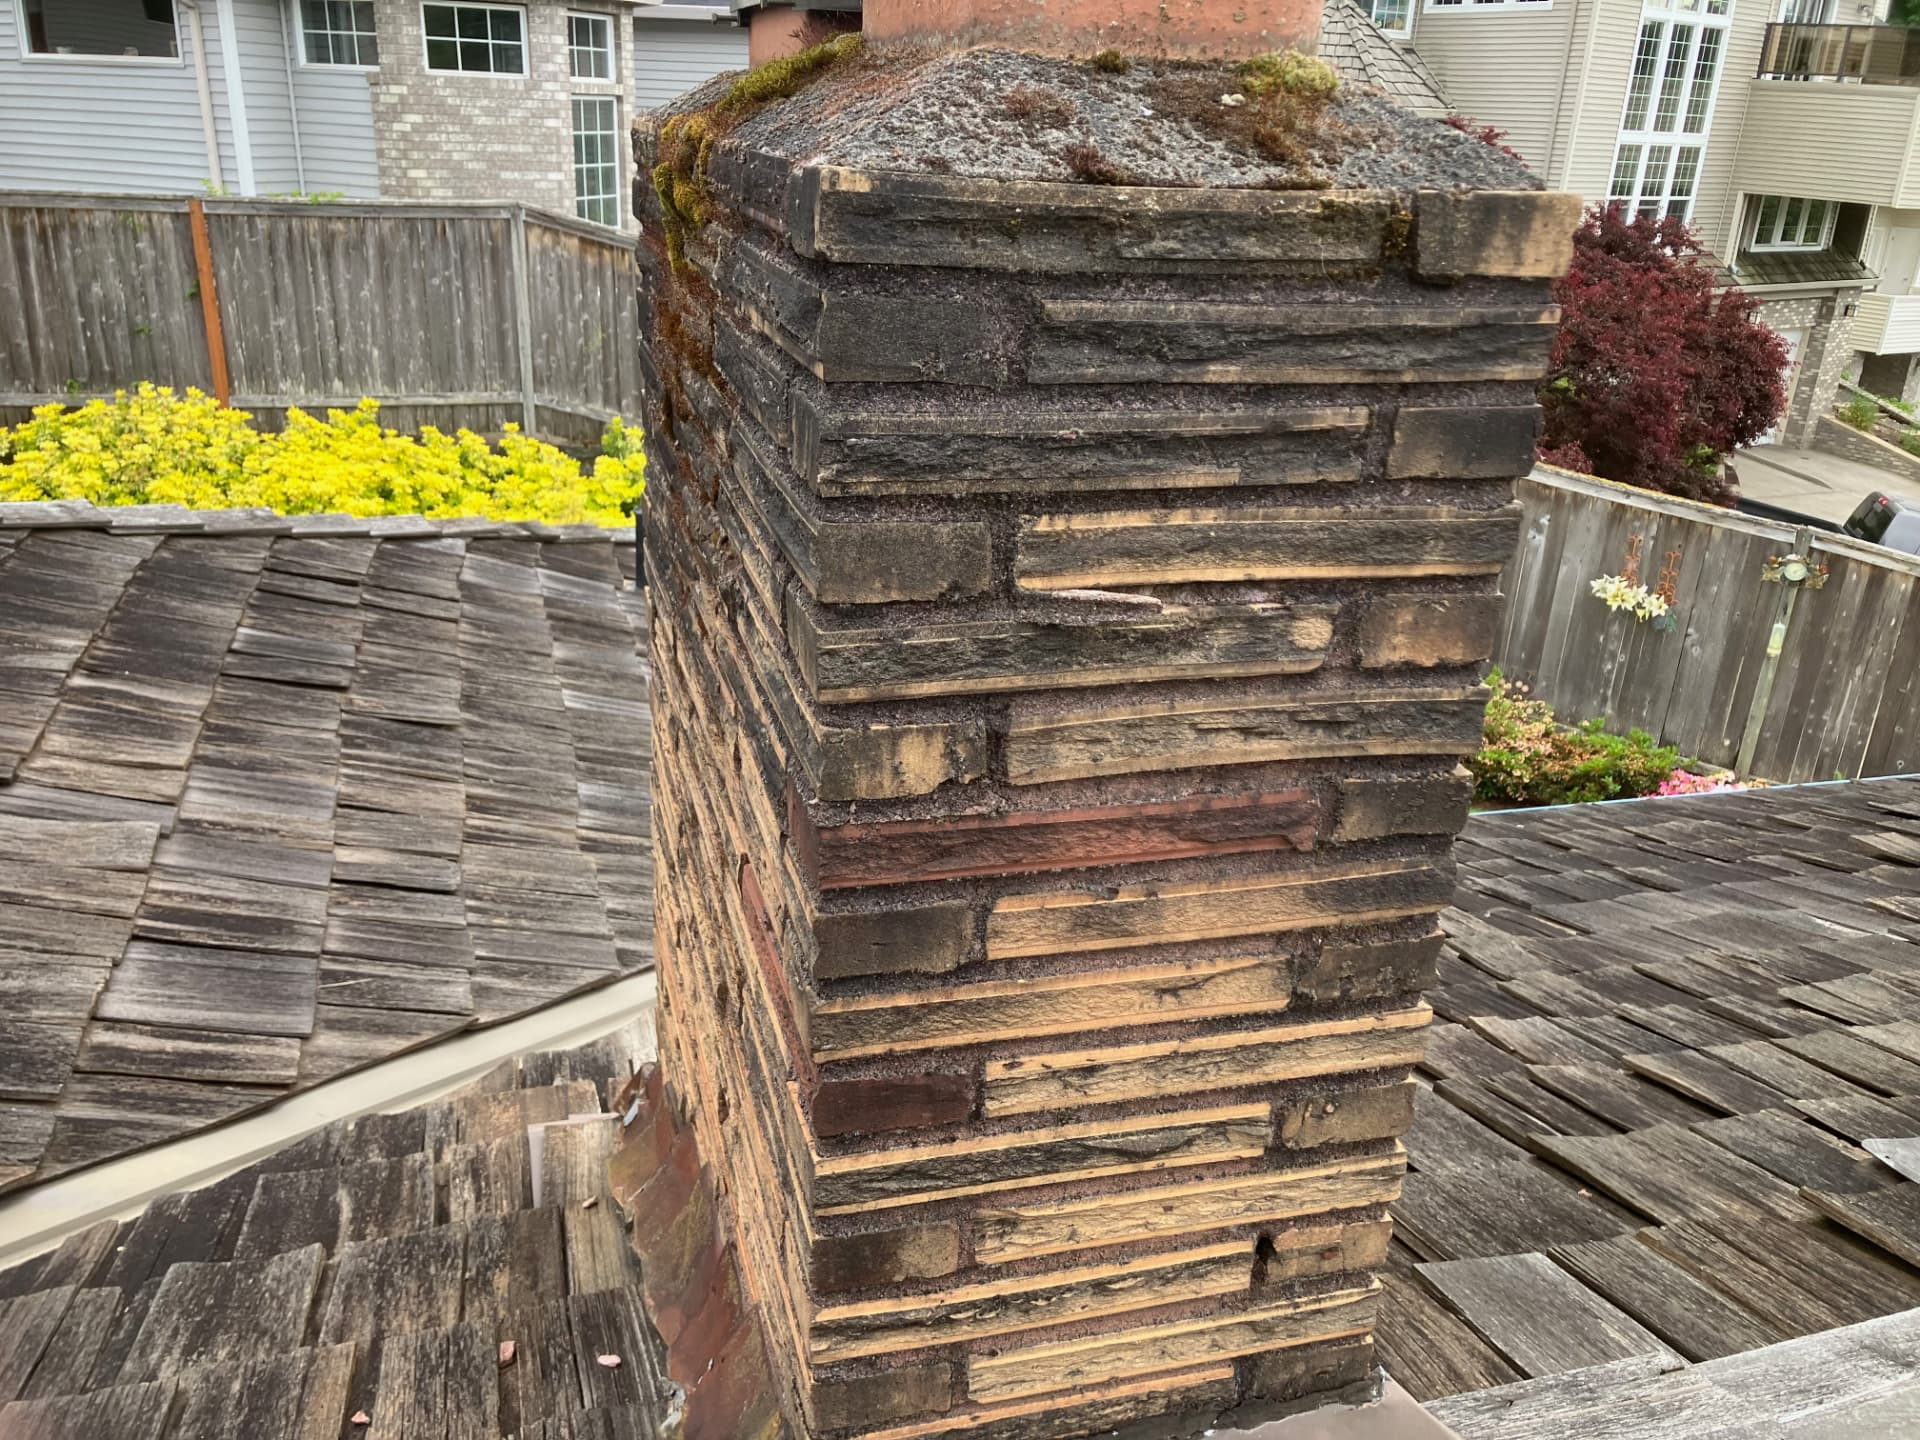
Before — moss, lichen and staining across the whole chimney
Before — moss clumps on the crown and upper brick
Before — moss and lichen along the concrete cap
Before — dark staining, moss and lichen on the brick face
Before — moss, lichen and grime on weathered brick
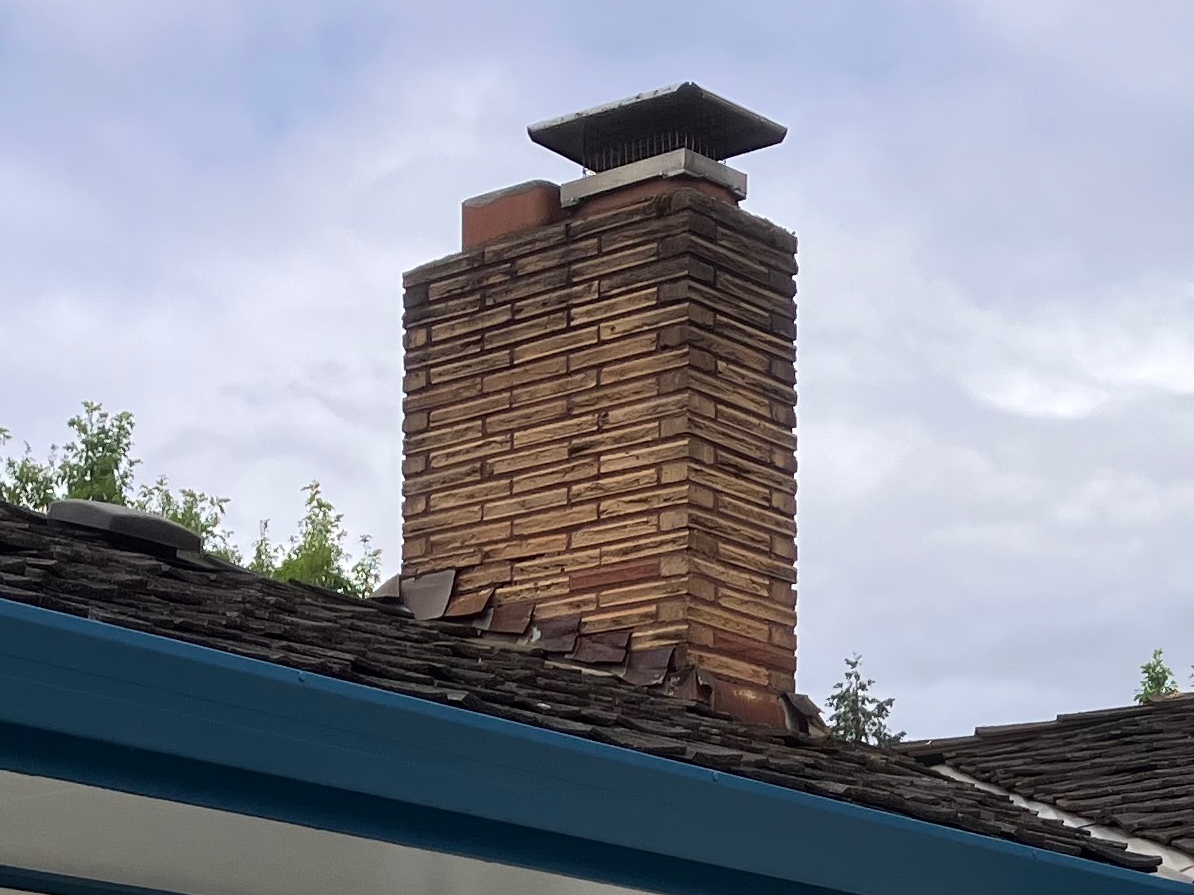
Before — soot and lichen seen from below
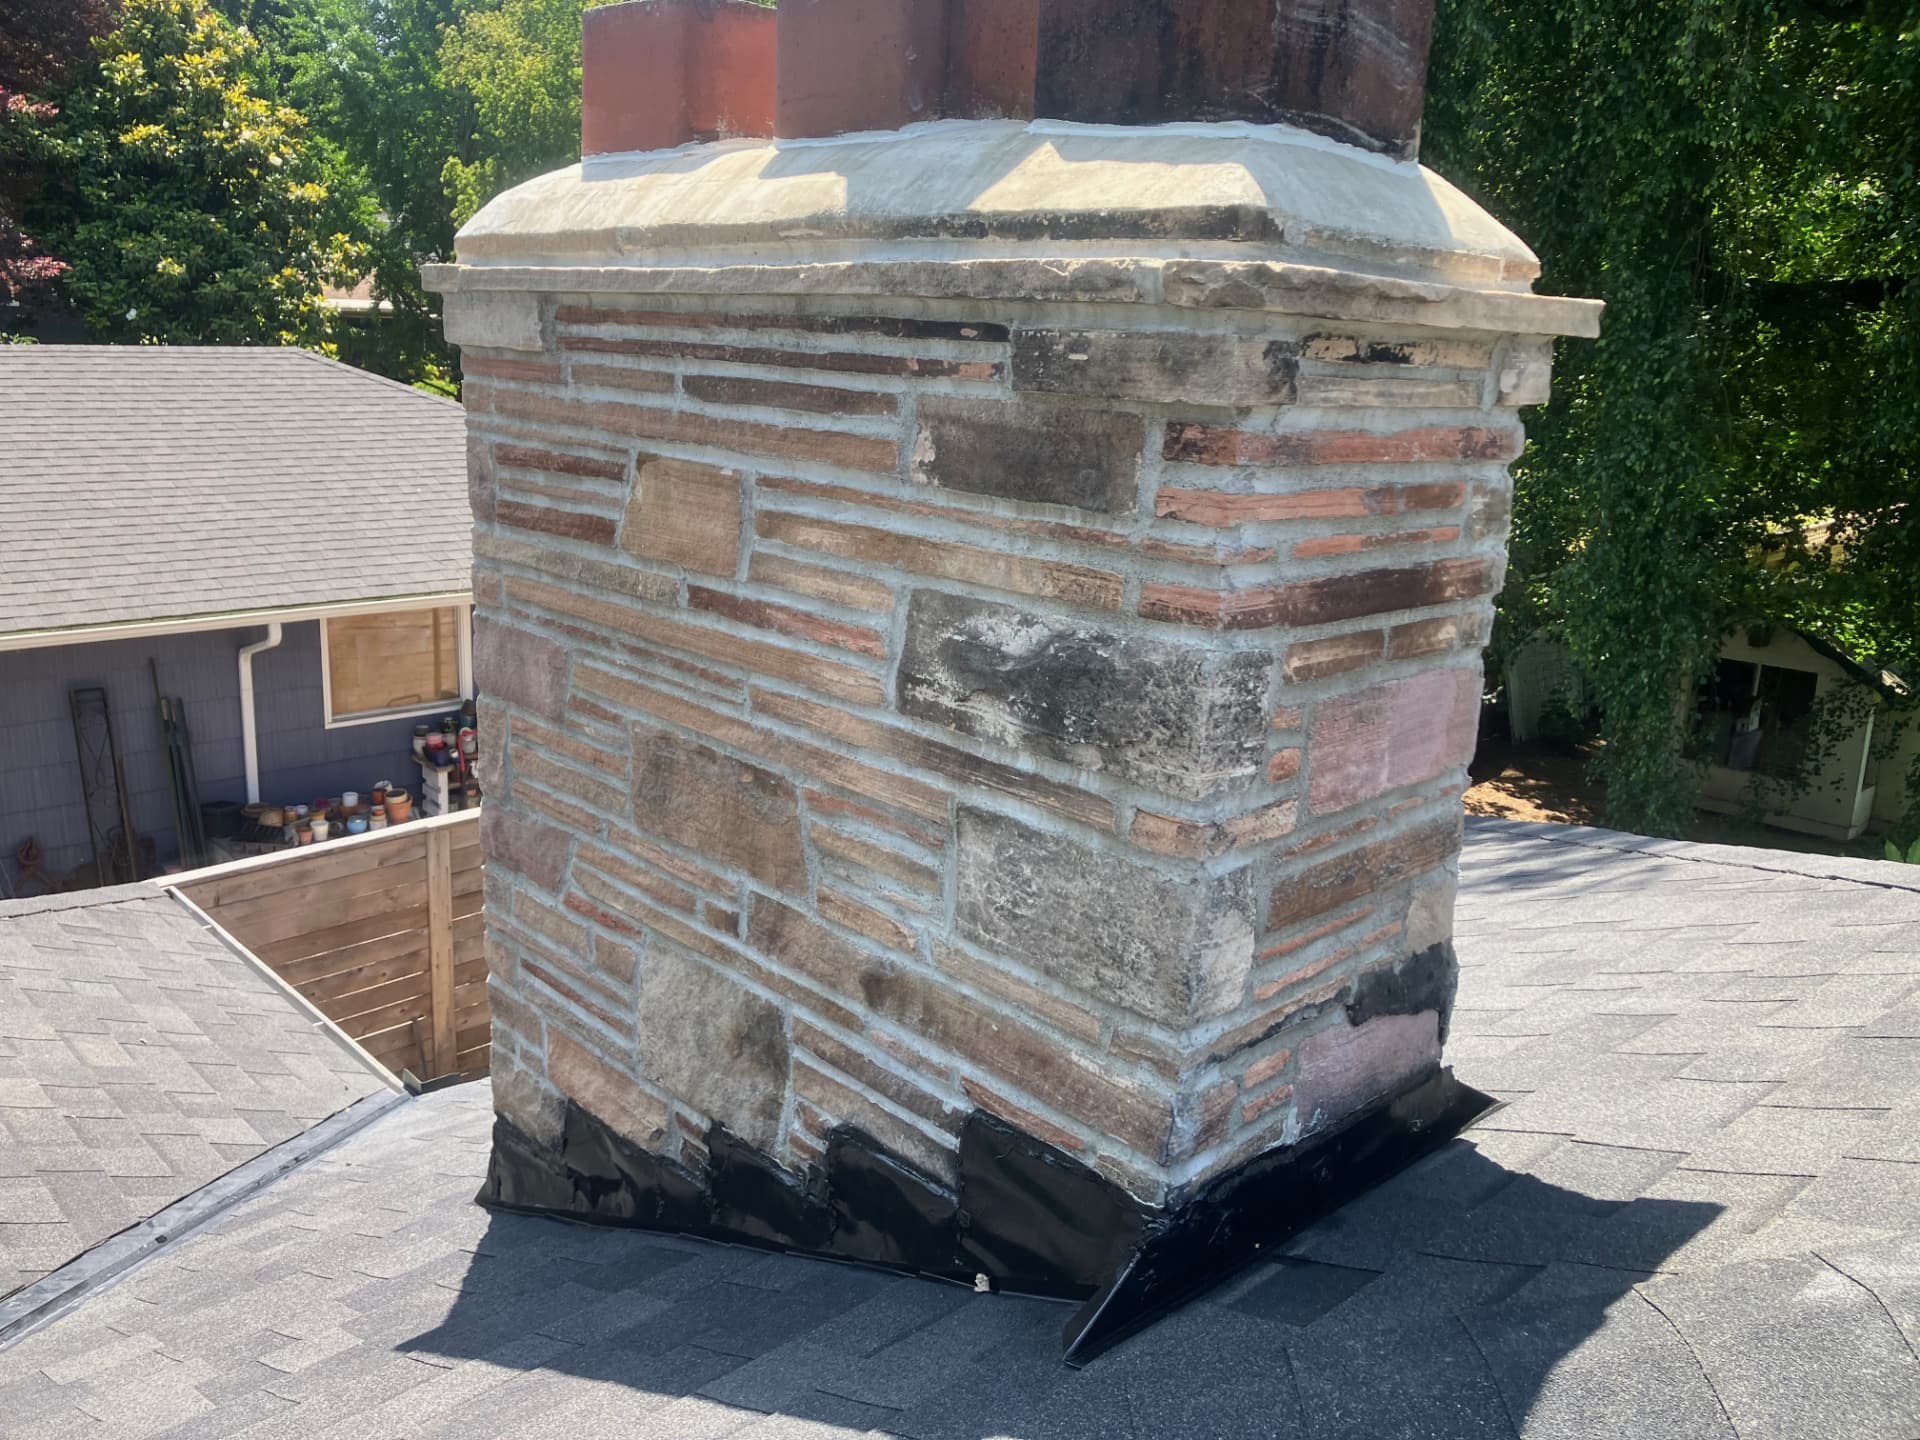
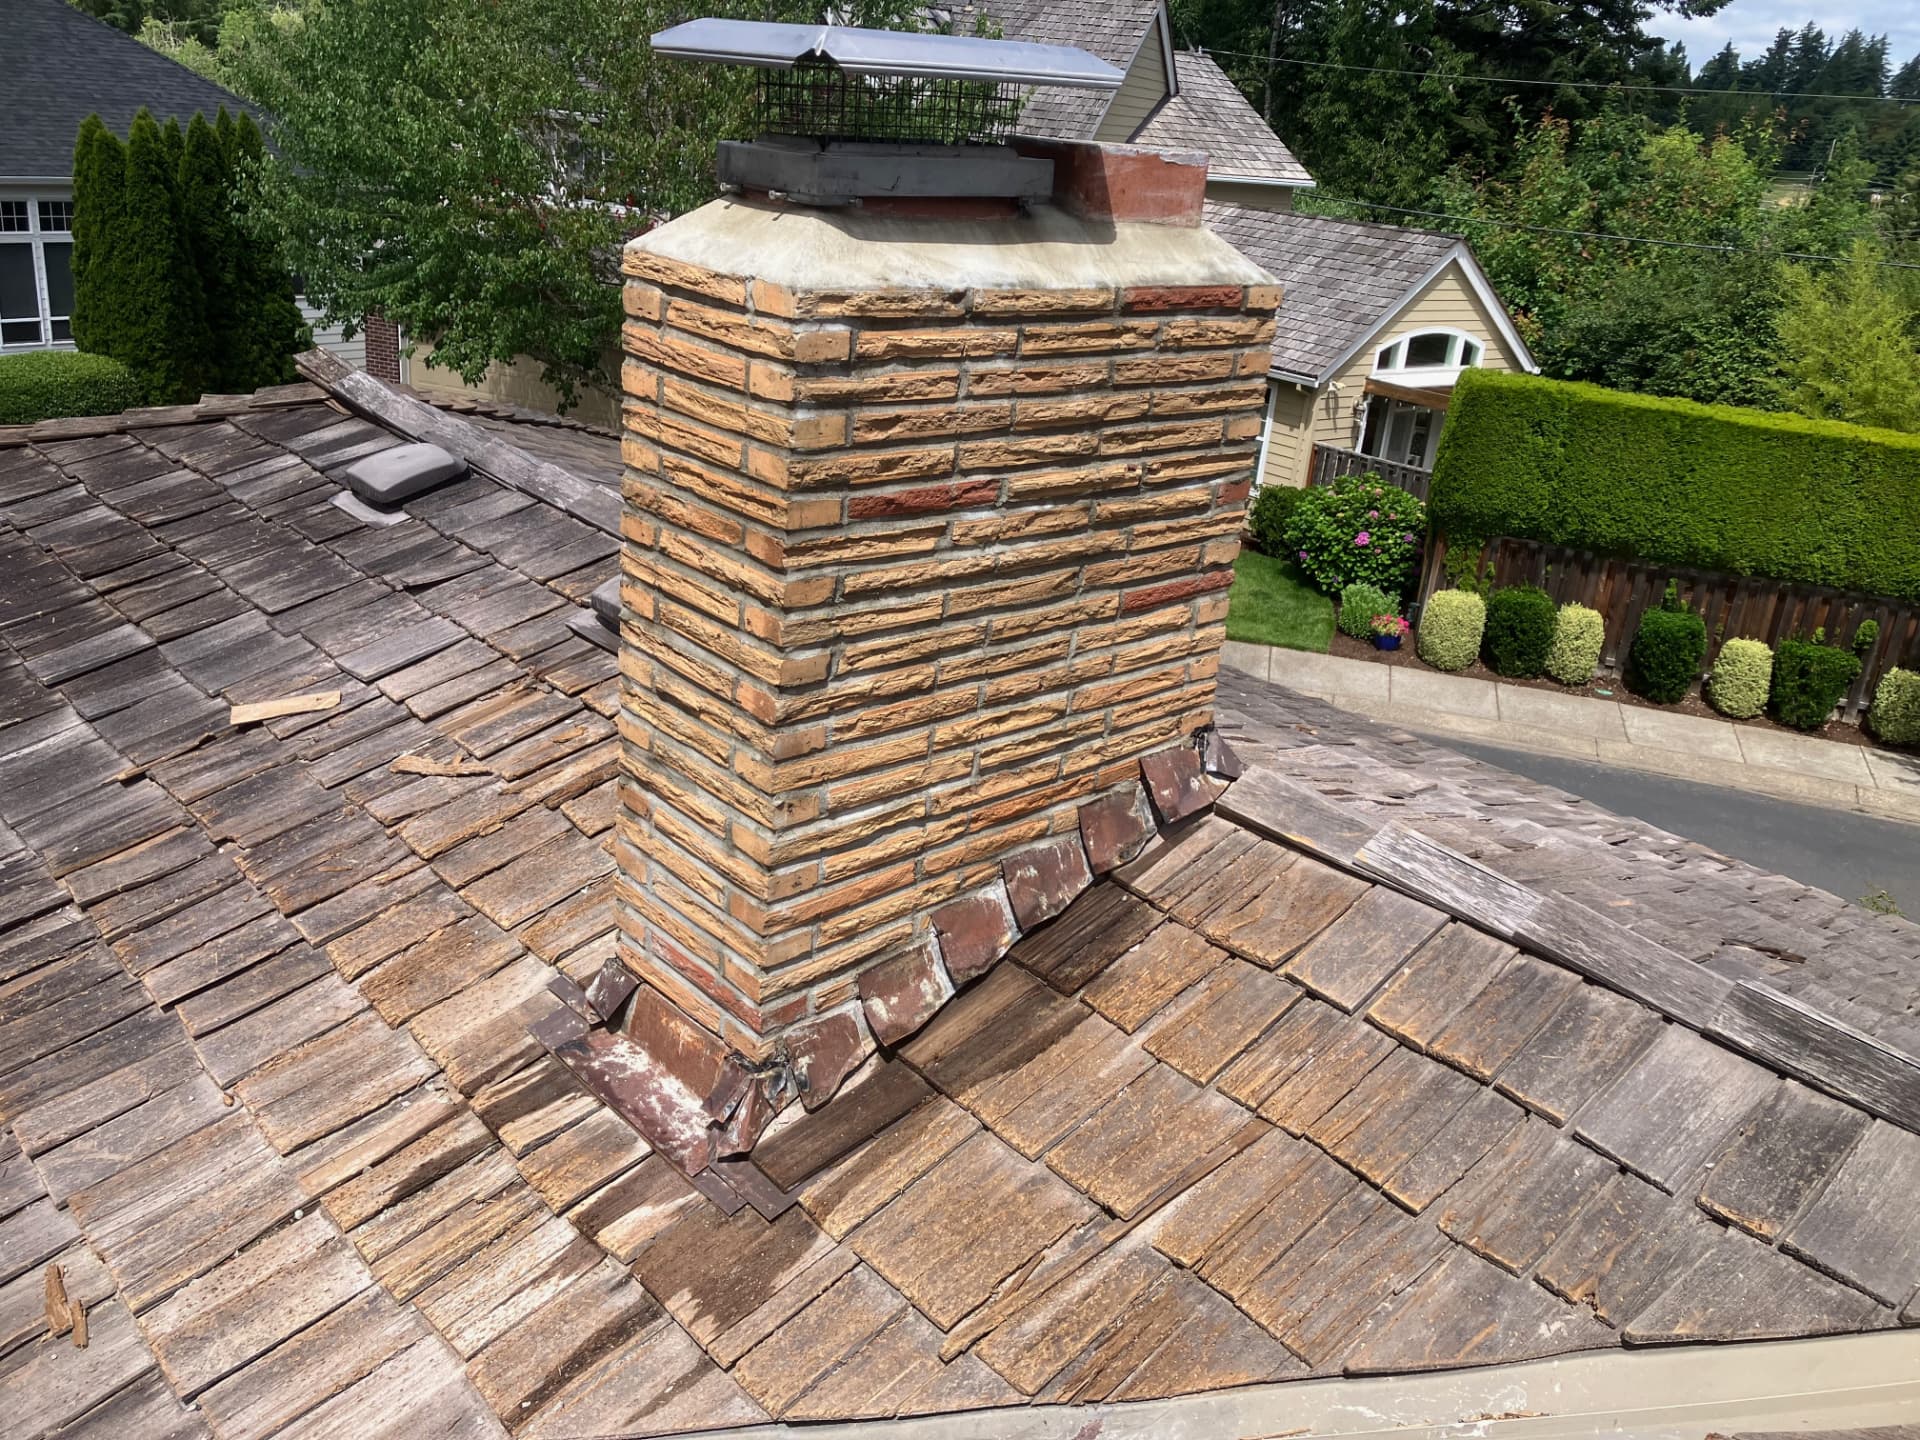
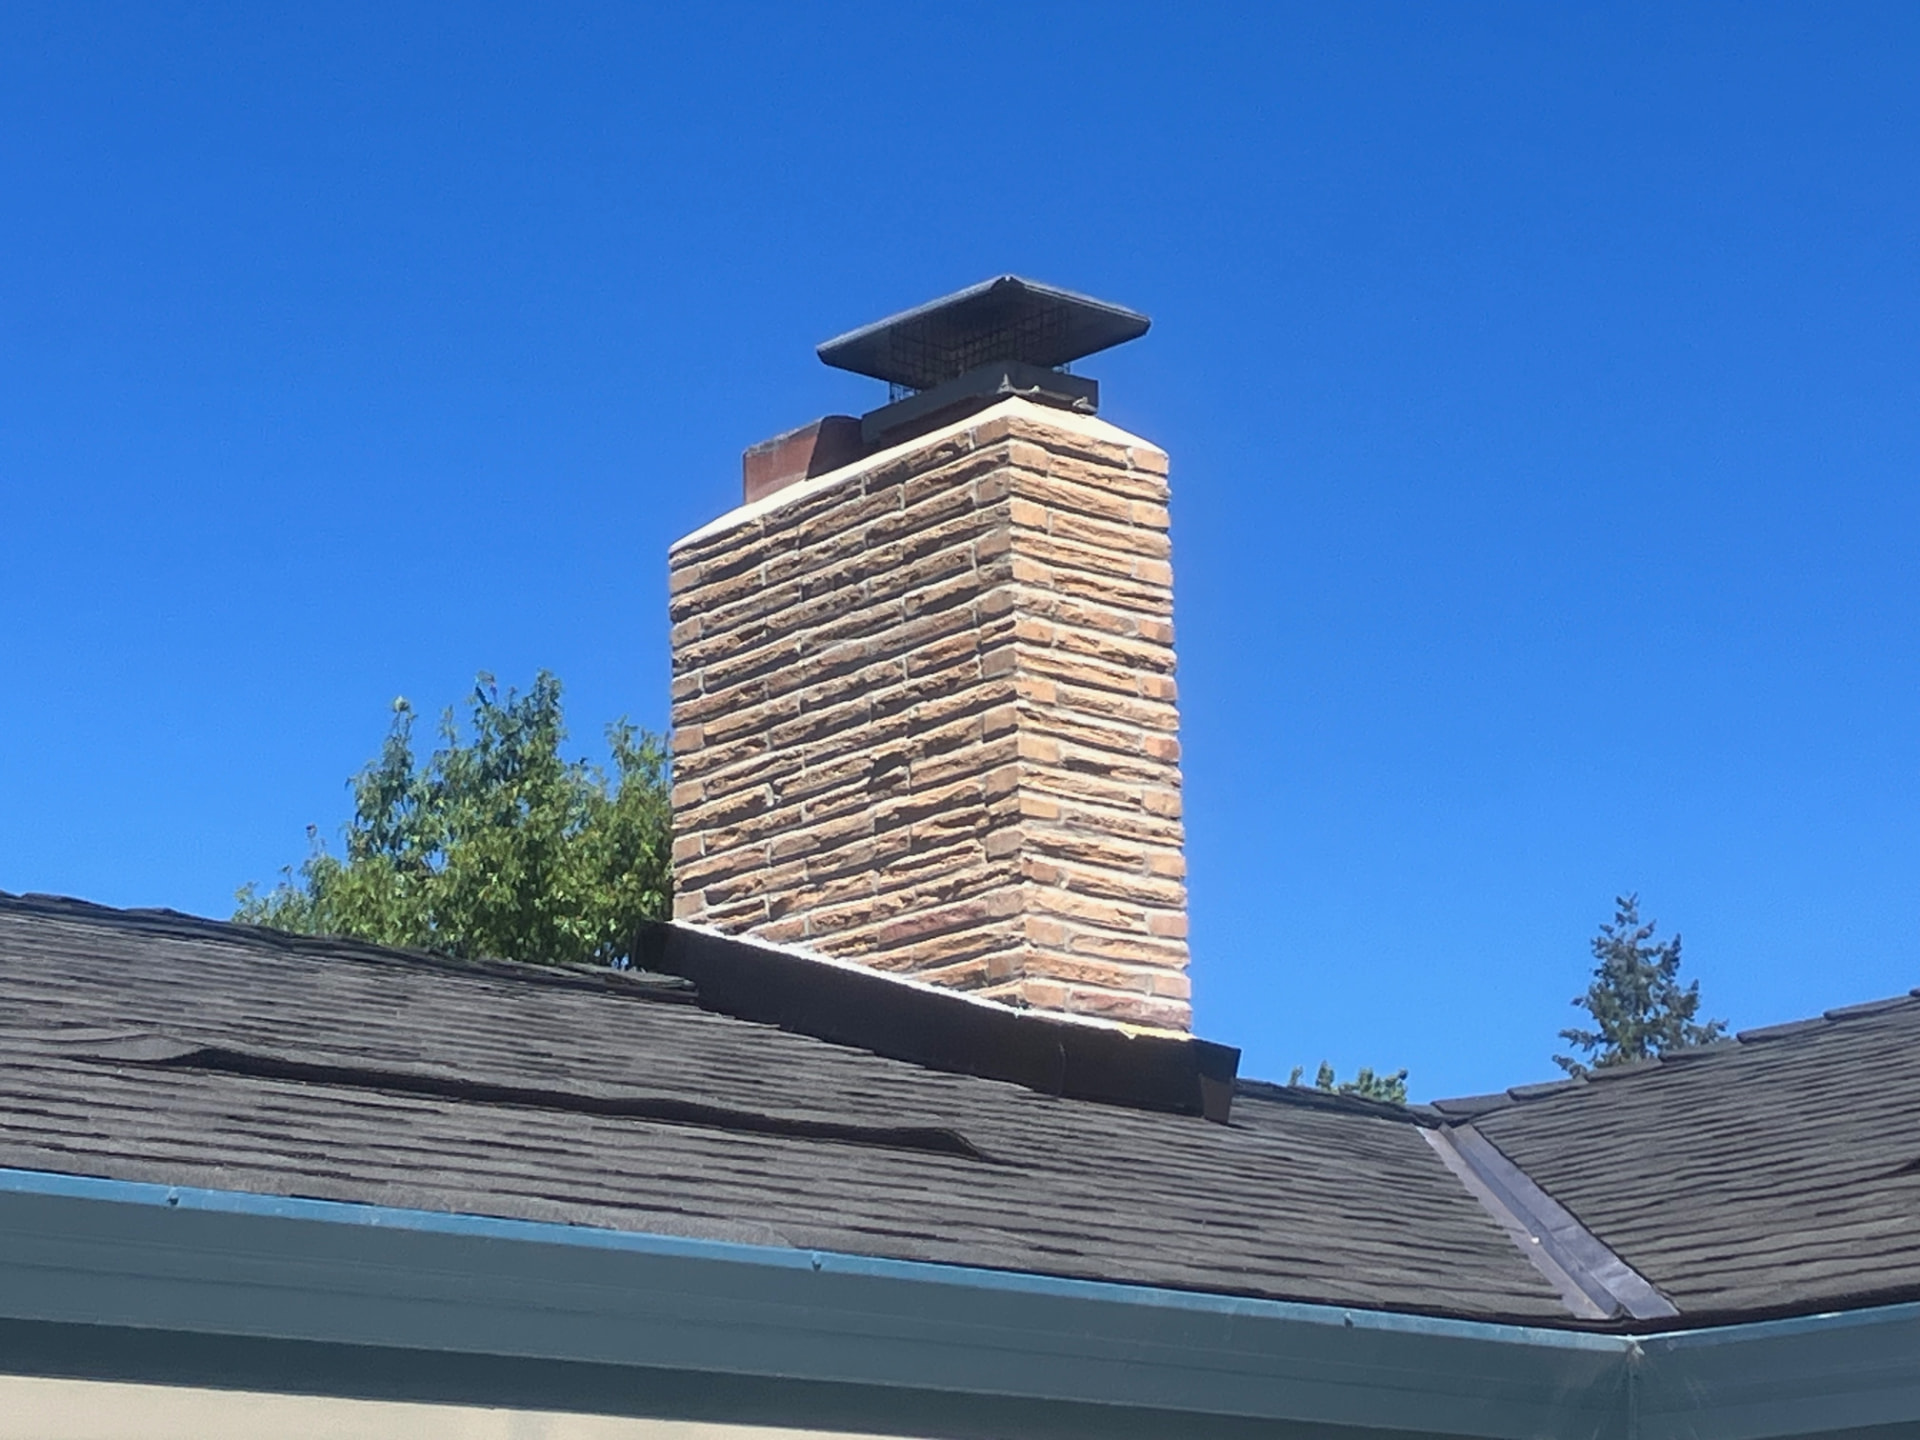
After — cleaned chimney with a fresh mortar crown
After — cleaned chimney and repaired crown
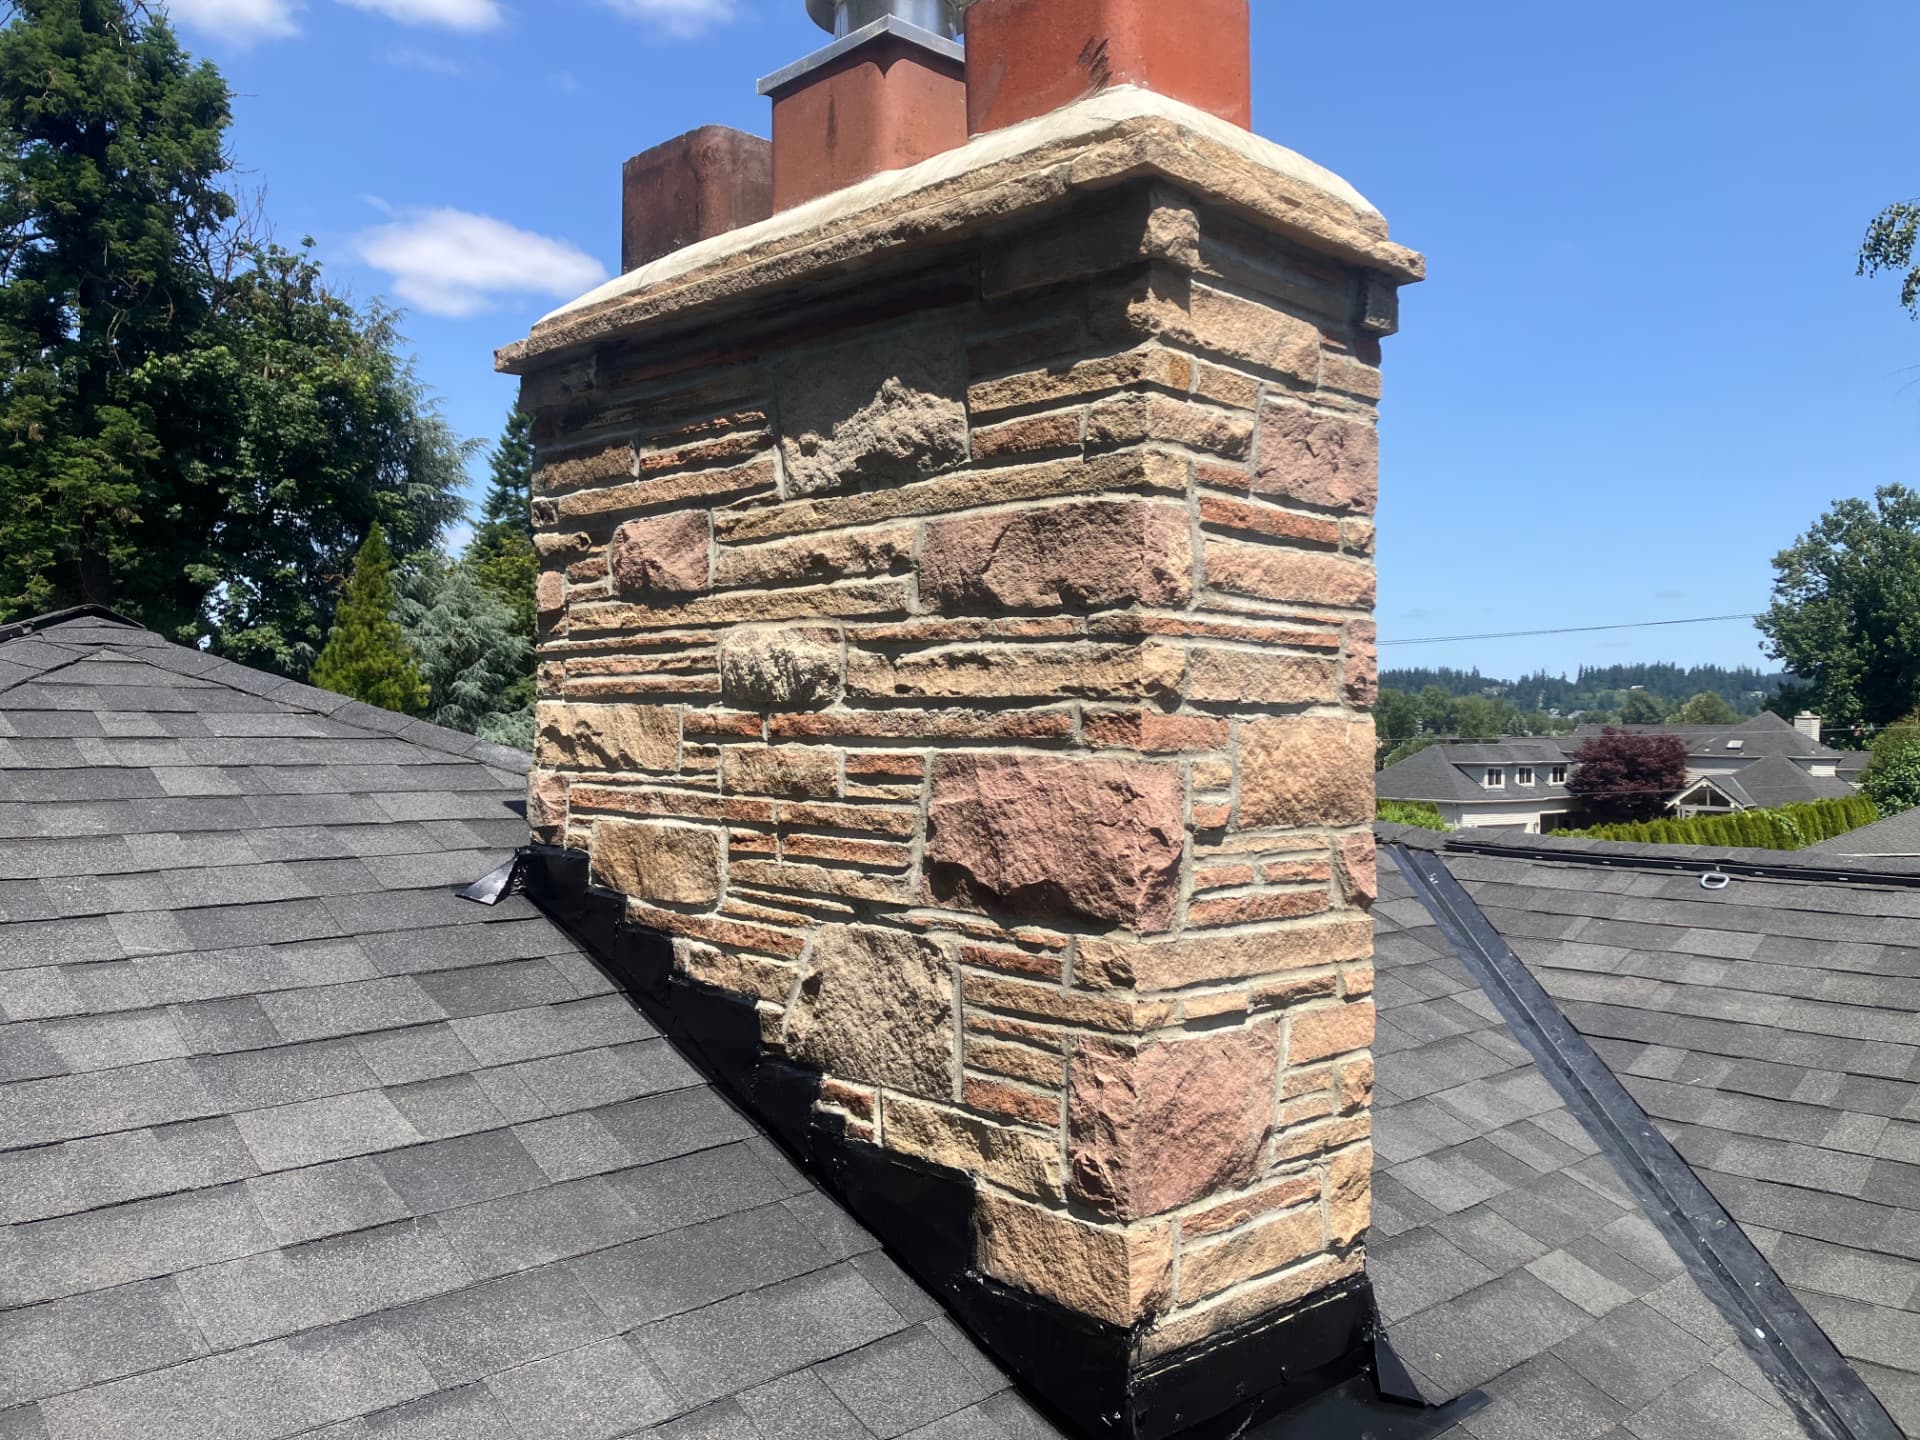
After — clean brick at the roofline
After — clean brick against the sky

IMPORTANT

I e-mail bids only to give you all the information you need to make an informed decision for the work. If you contact me for a bid, please give me a correct e-mail address. Also, I may need to contact you via phone prior to e-mailing you the bid if there is work that needs to be done in addition to what you originally called for due to structural, code, or safety reasons, or if I need any further information not provided during your first call to schedule me to come out to do the bid.

Metro Chimney reserves the right to walk away from a job even if there is signed bid before the work is initiated if we sense there will a problem or ongoing issue between us and the customer. This is the Oregon CCB’s position. The customer can call another contractor or chimney company.

Attention: Due to the nature of how mixing mortar or corn mix with mortar is how you use it, and it cures by expelling that water, it takes 48 days for crown and mortar mix to kick out enough water in the curing process before it is not effected by at any point the temperature going below 32 degrees Fahrenheit (0 degrees celcius). If the temperature goes below that at any time during that 48 day curing period the water in the mortar/crown mix will freeze, expand and crack the same mortar or crown mix necessitating us to come out to repair it in the warmer Spring and Summer months. Also due to the fact that Flue Tiles and Flashing requires mortar or crown mix too, we only do mortar, crown, moss removal and waterproofing work during the non raining warmer parts of Spring and Summer months and we make sure to have all repair work requiring mortar or crown mix to end by the end of August. Moss removal and Water proofing also requires the work to be done in the non raining warmer parts of Spring and Summer months as well. There will be no exception to this rule.

CALL FOR A FOR A BID ON REMOVING MOSS FROM YOUR CHIMNEY TODAY

503-954-0726

Talk with Clayton

(503) 954-0726

Call now