Understanding Mortar Deterioration: Causes and Solutions Mortar degradation can be attributed to several factors, including exposure to the elements, the presence of moss, and sulfur emissions originating from oil furnaces.
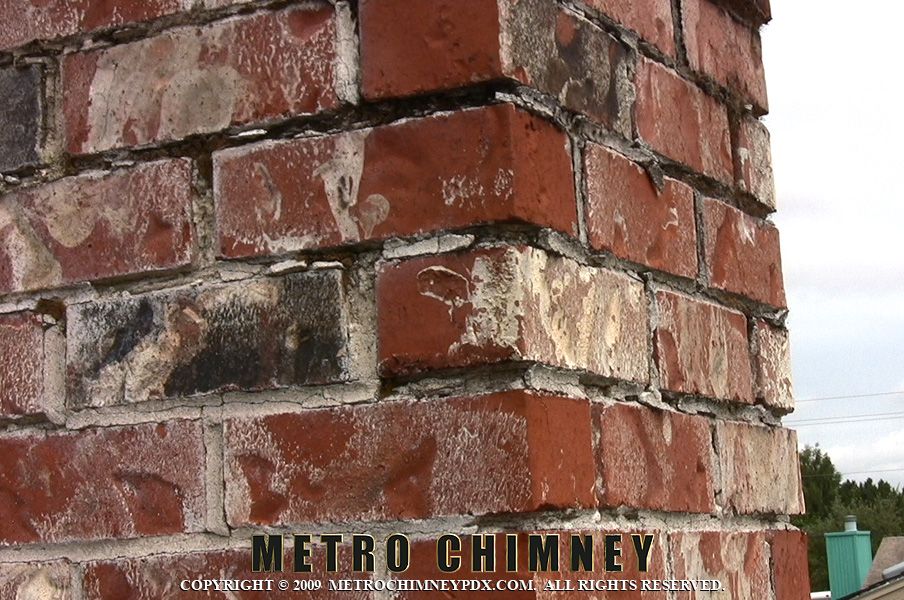
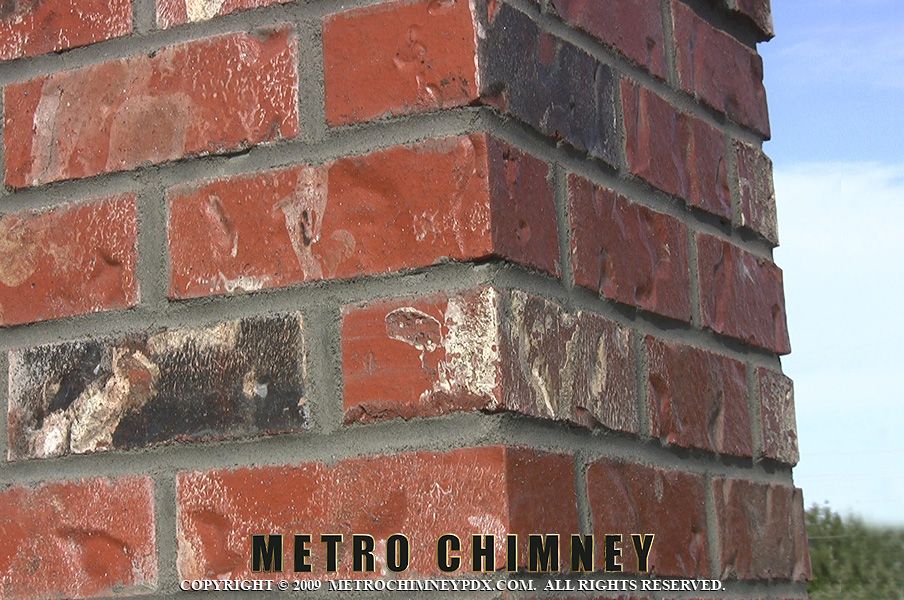
Tuck Pointing: Restoring and Beautifying Your Chimney
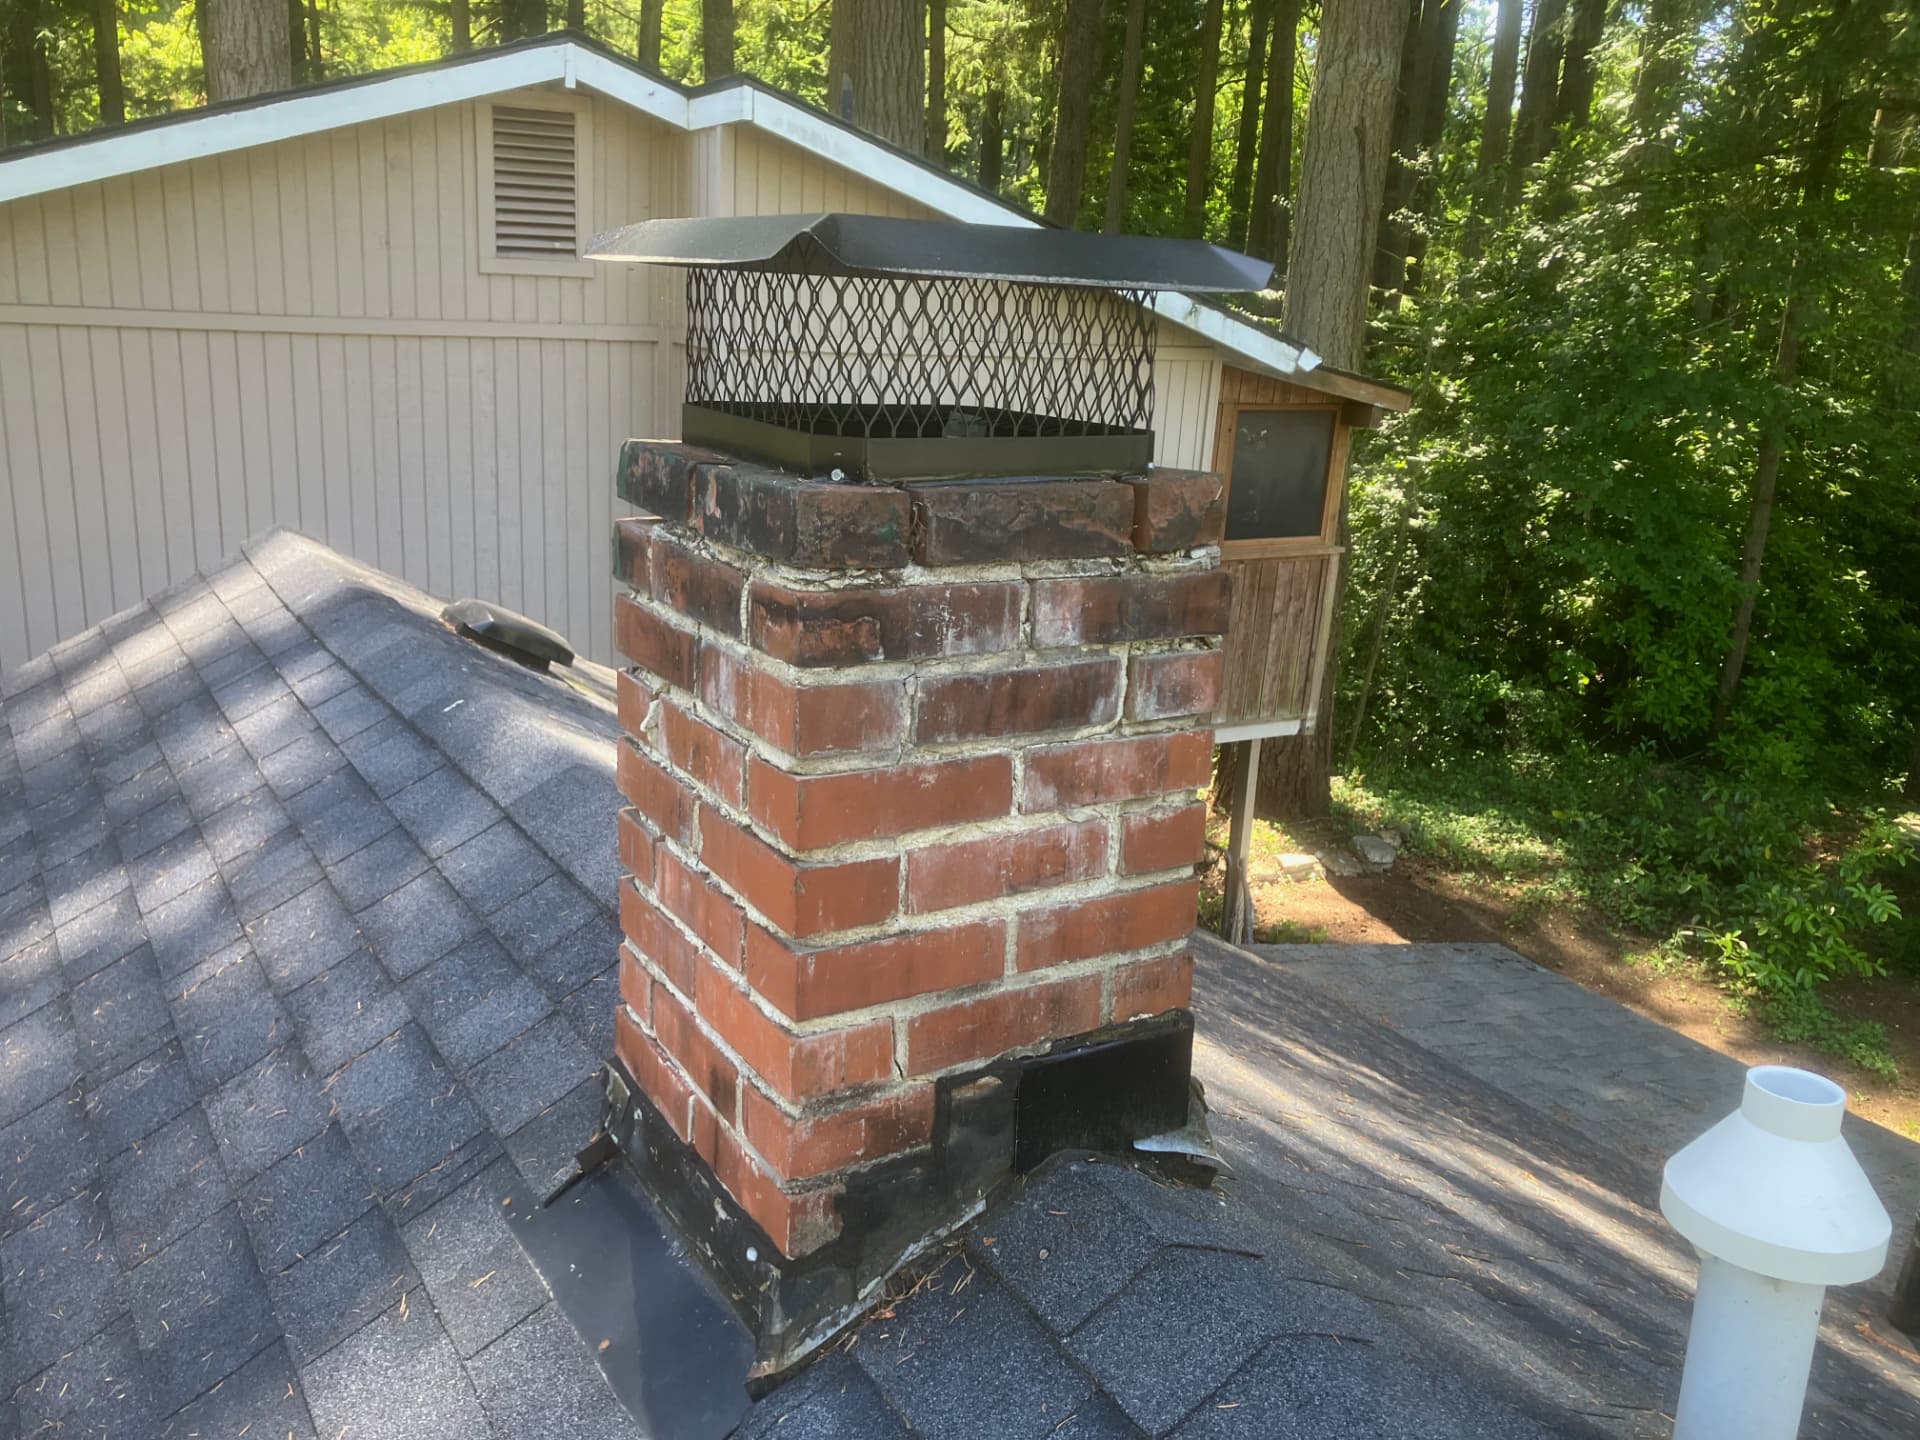
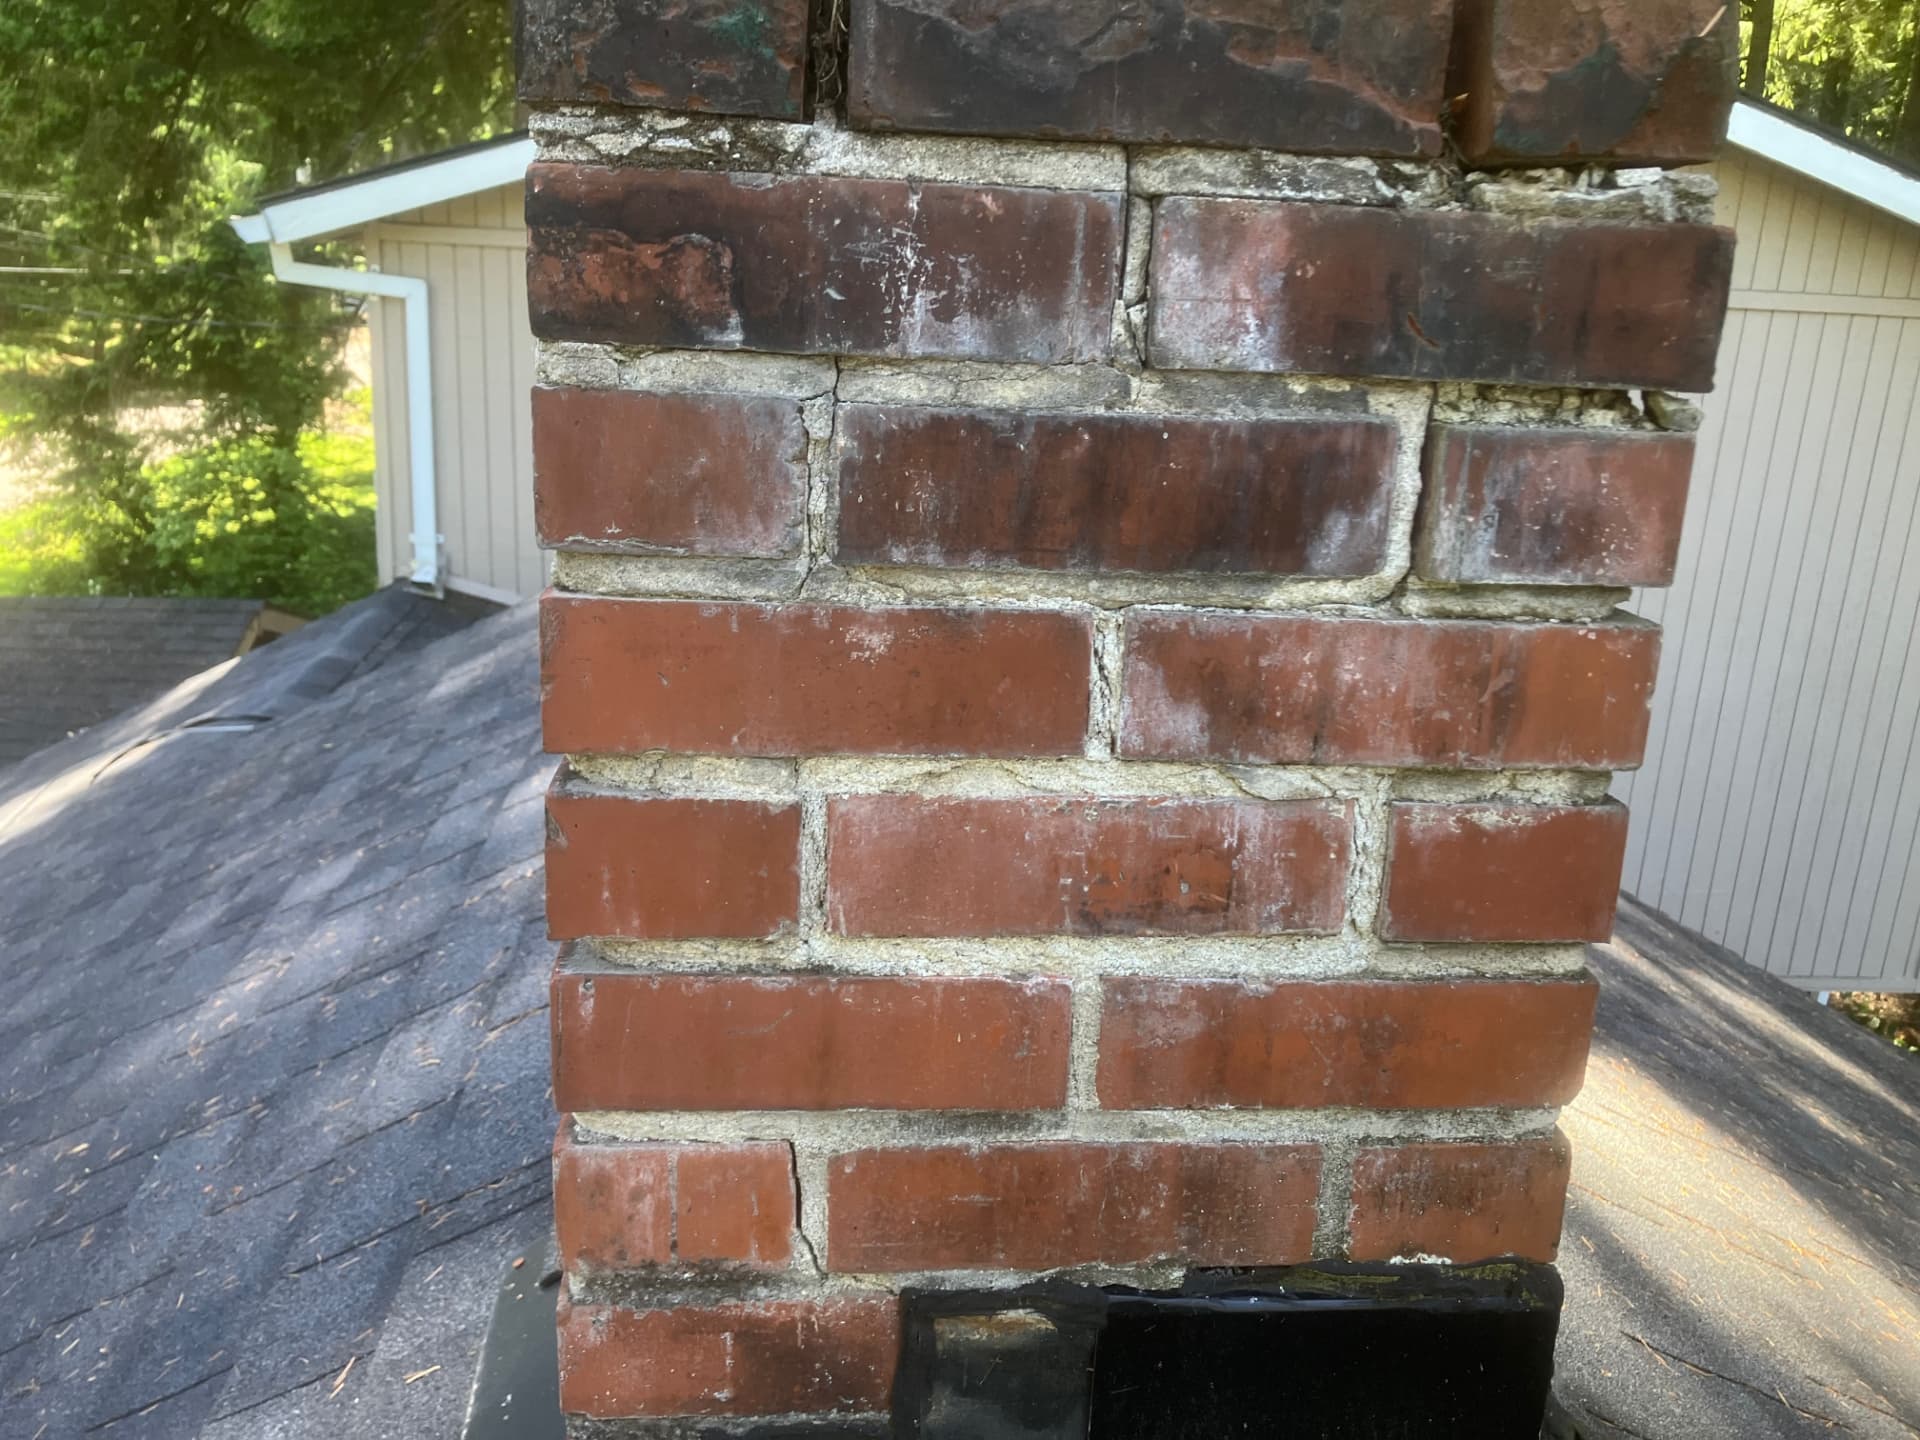
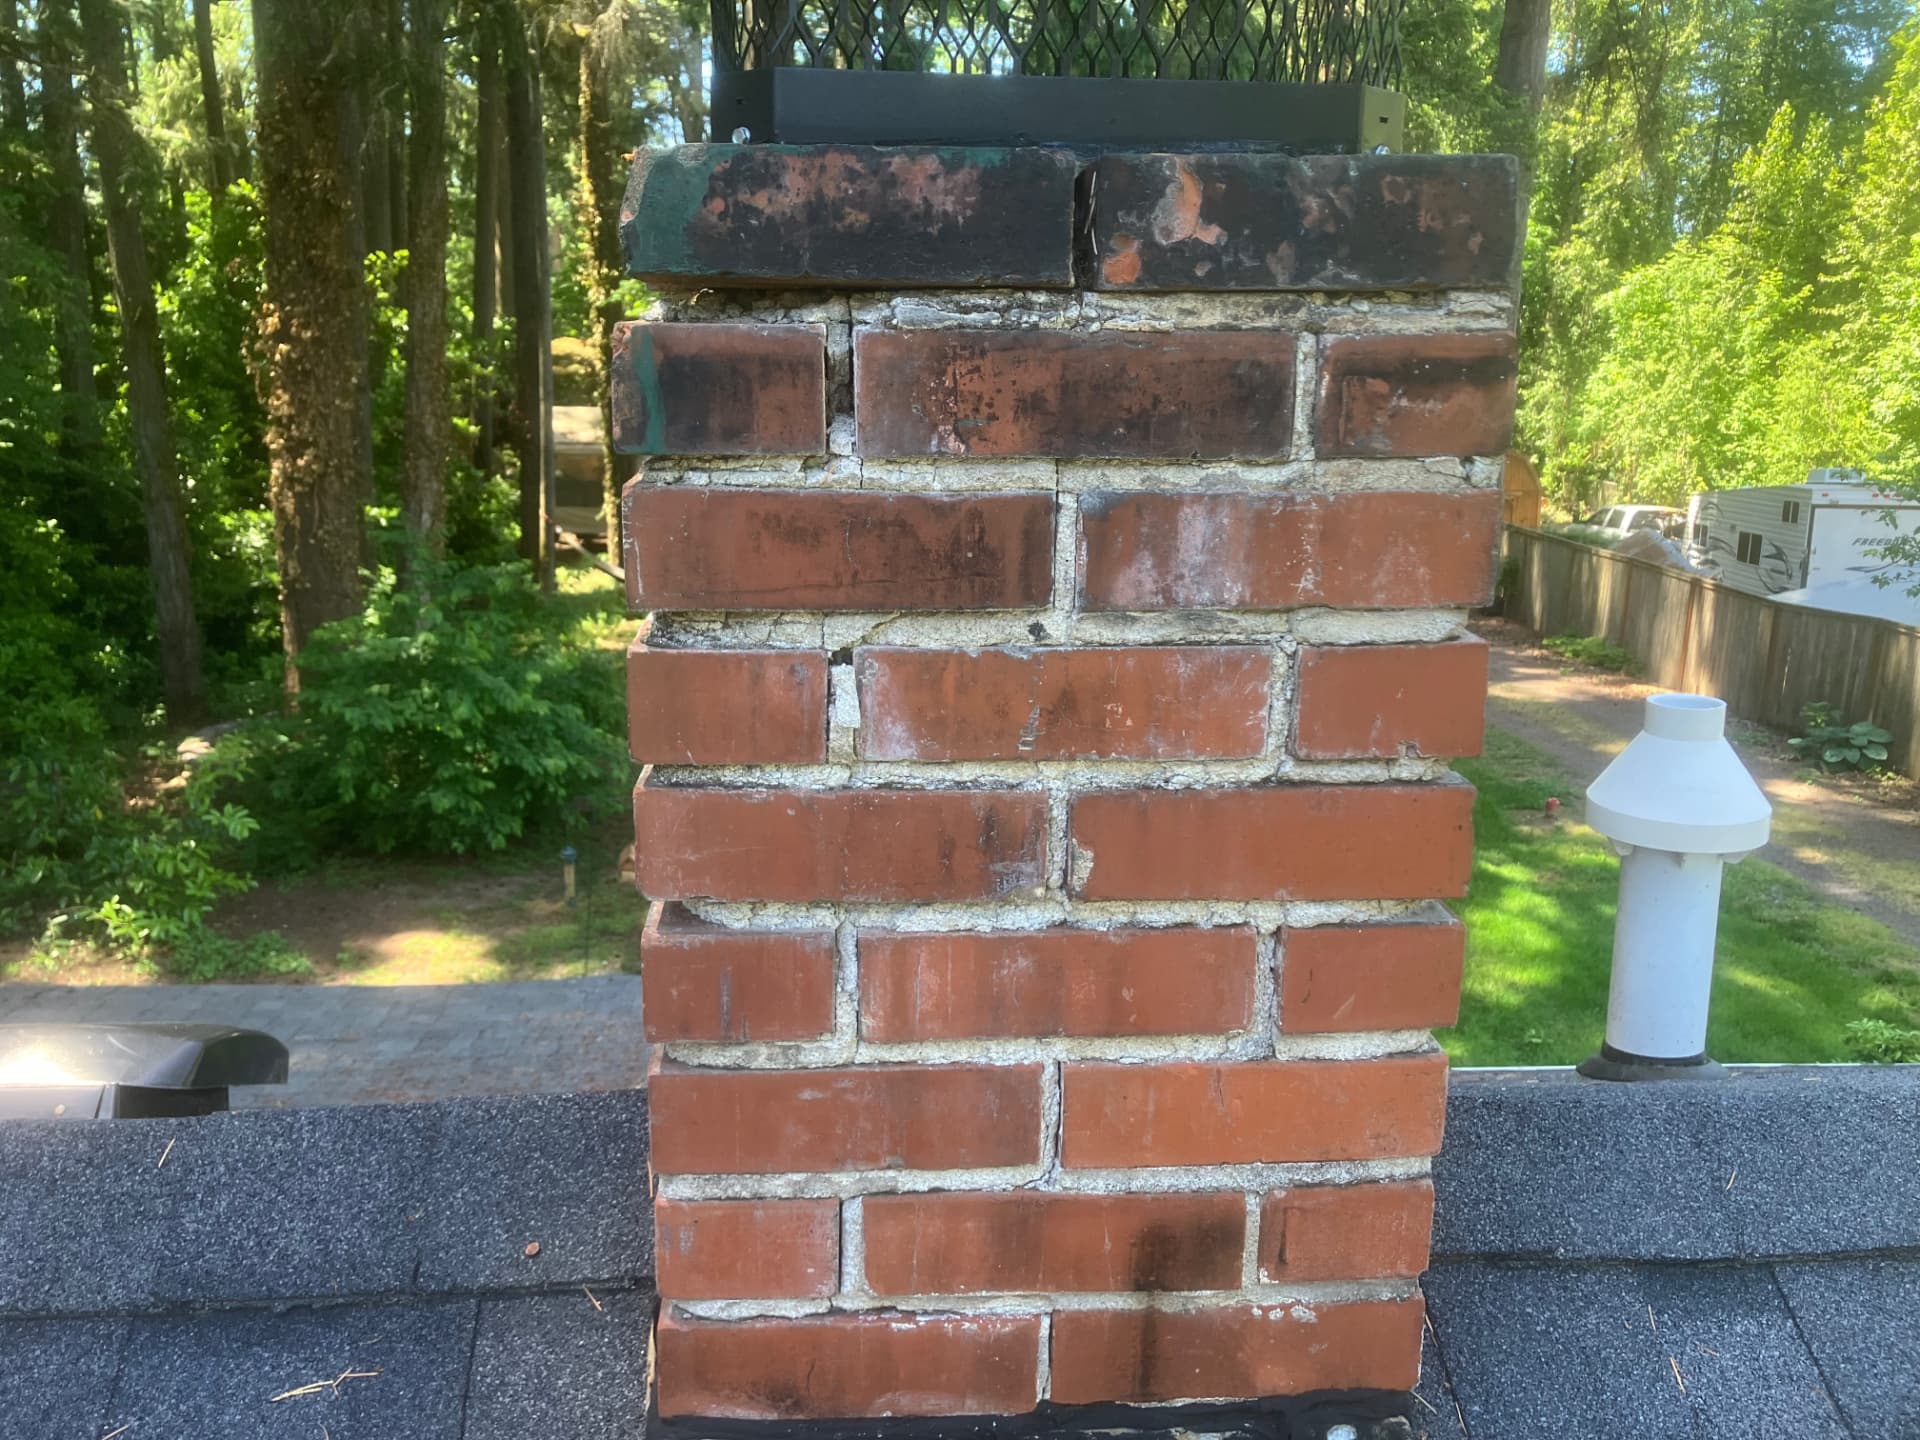
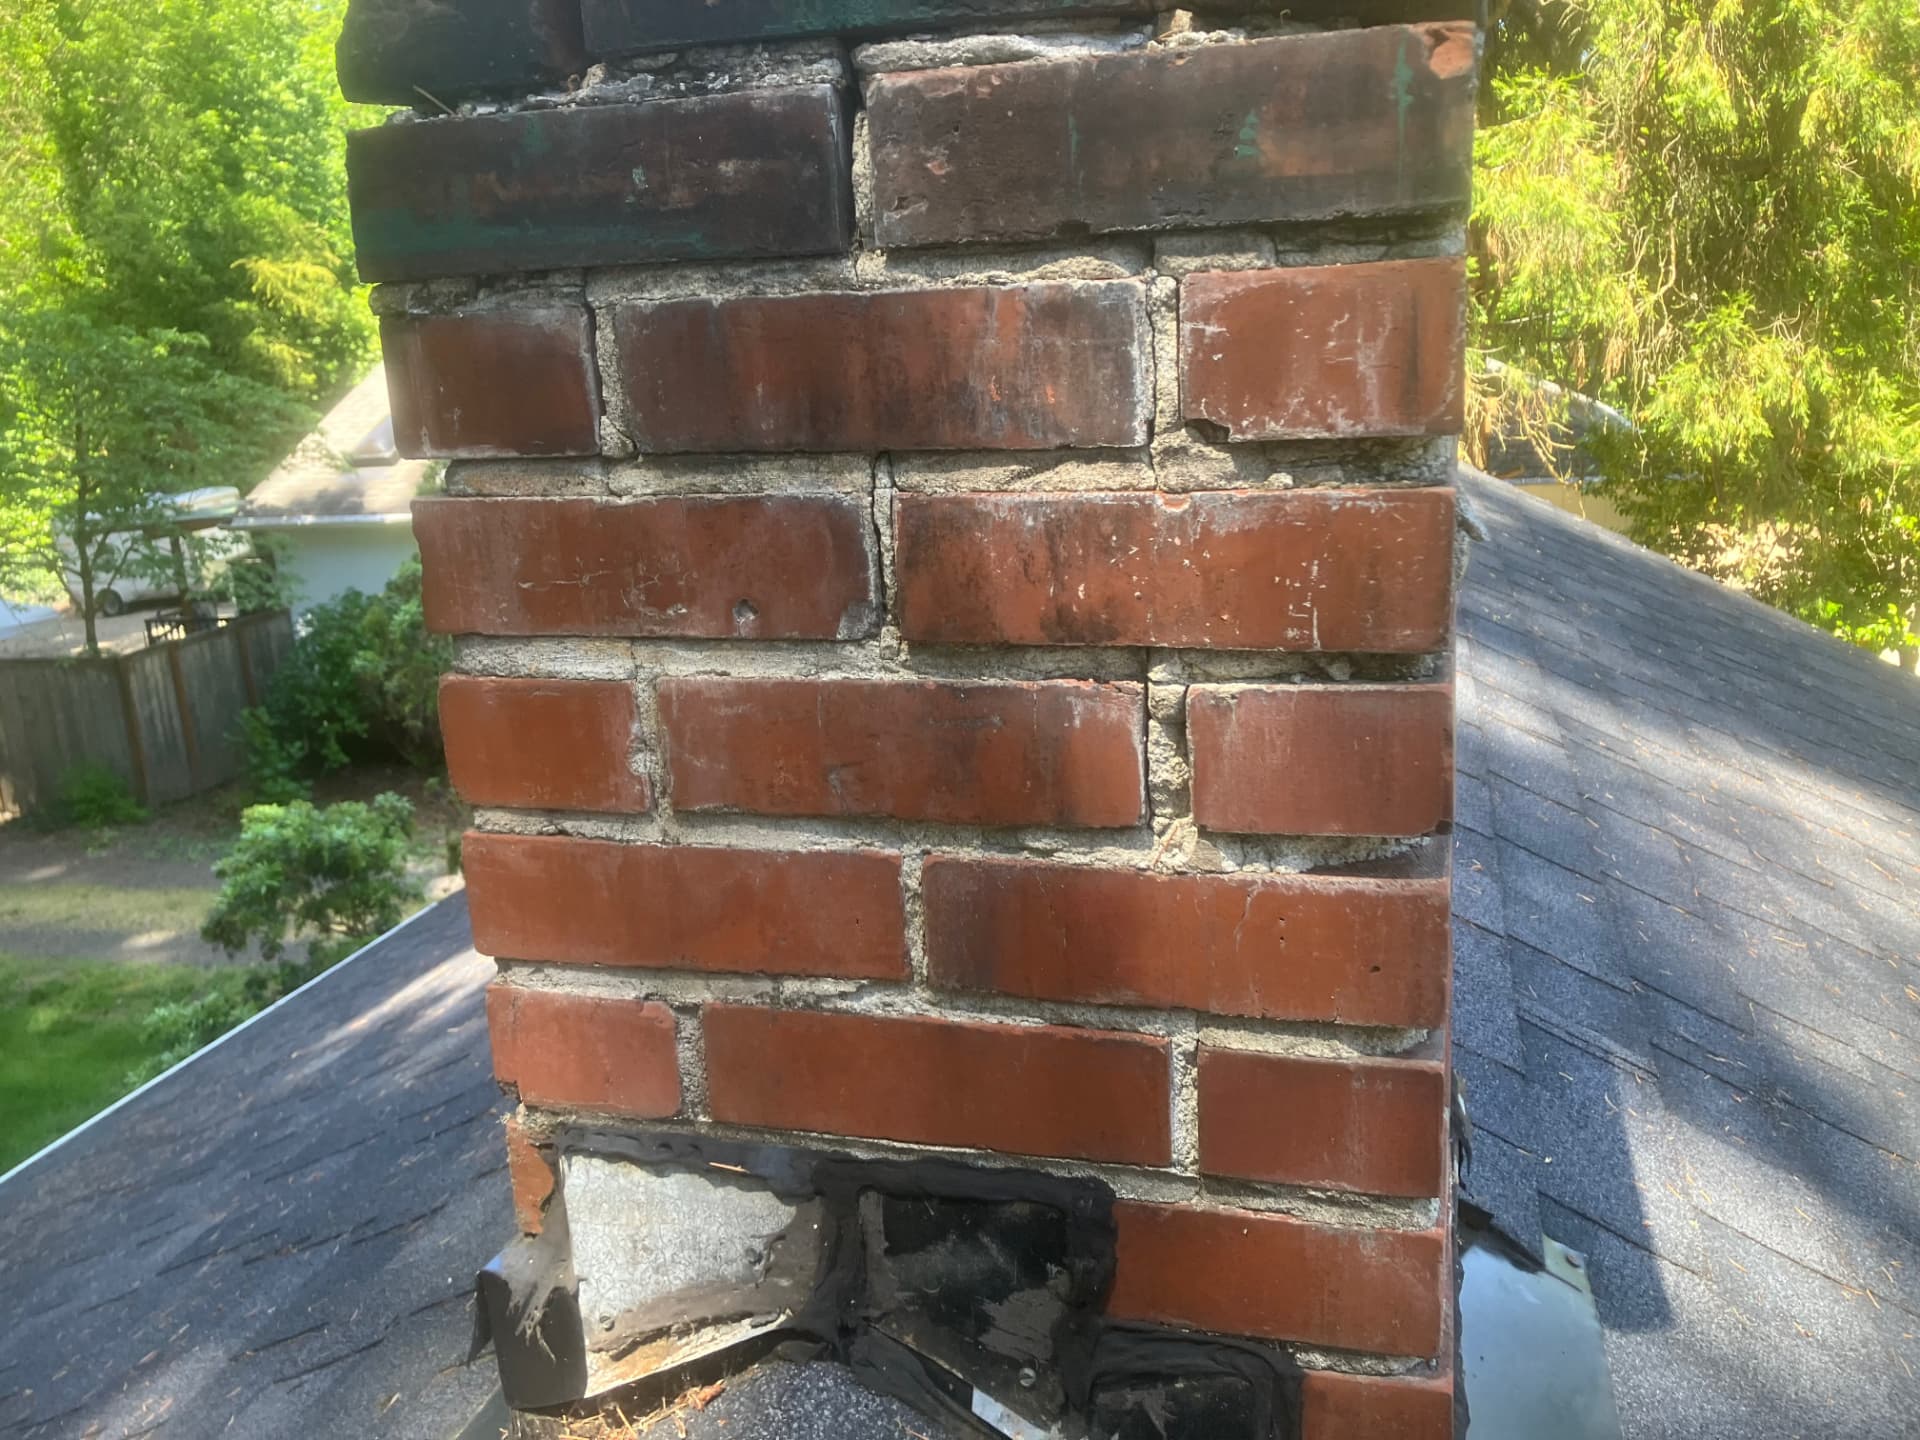
When mortar deterioration extends less than ½ an inch from the outer surface of the chimney inward, it can typically be addressed through a process known as Tuck Pointing. This method involves the meticulous removal of deteriorating mortar and its replacement with a new mortar blend. The new mortar is specifically formulated with a bonding agent, ensuring a secure attachment to the existing solid mortar within the bricks.
Tuck pointing serves a dual purpose – not only does it enhance the structural integrity of a deteriorating chimney, but it also rejuvenates its appearance. Below, you’ll find striking before-and-after images showcasing the transformation achieved through tuck pointing on the same chimney.
PICTURE OF A DEGRADED CHIMNEY BEFORE TUCK POINTING
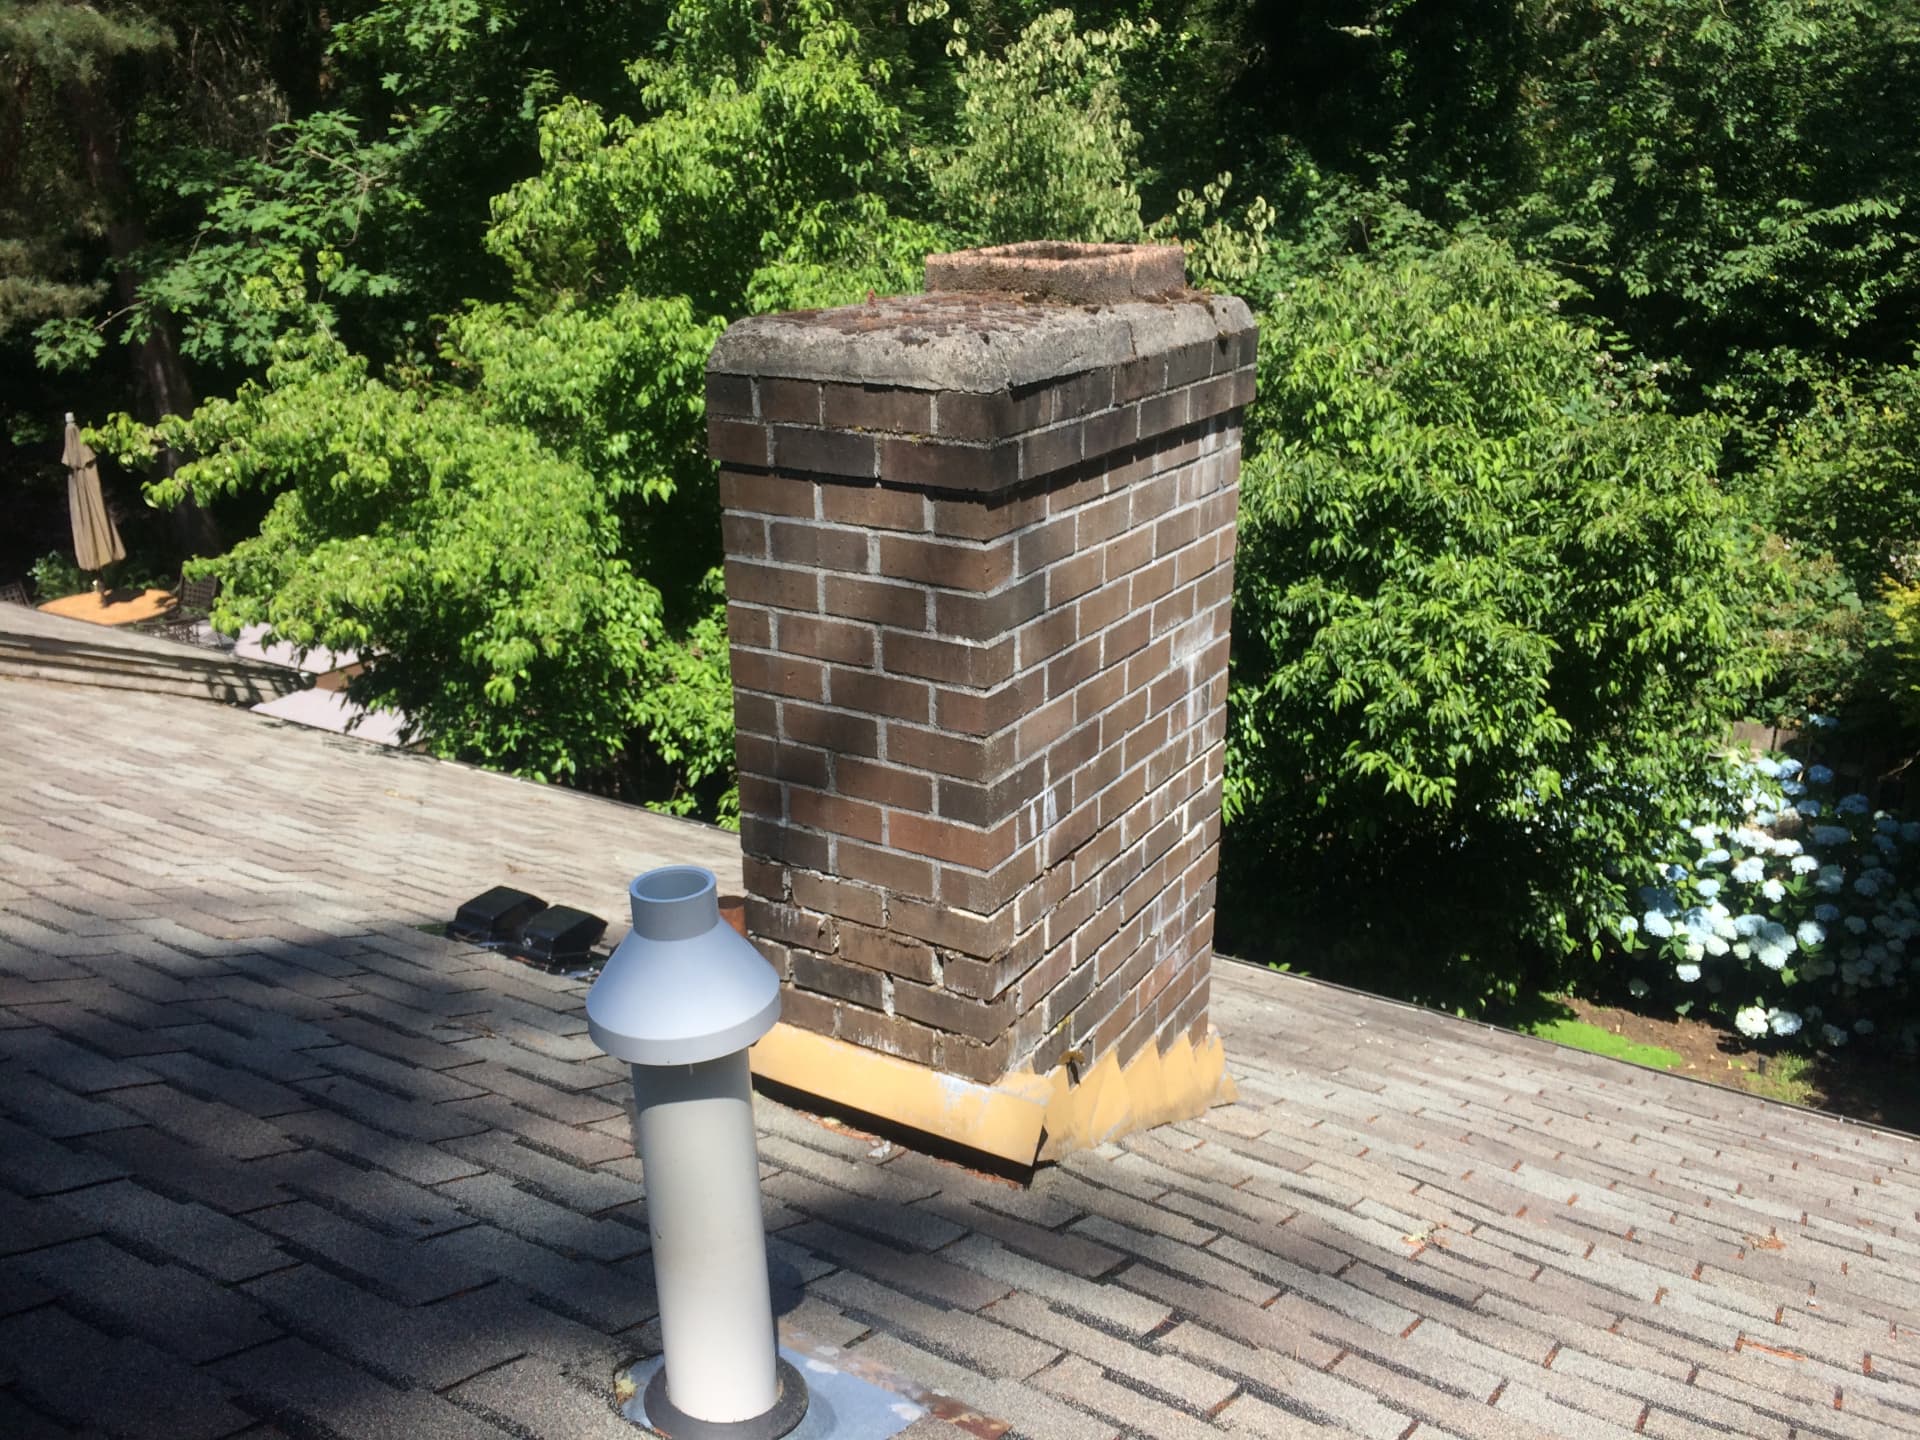
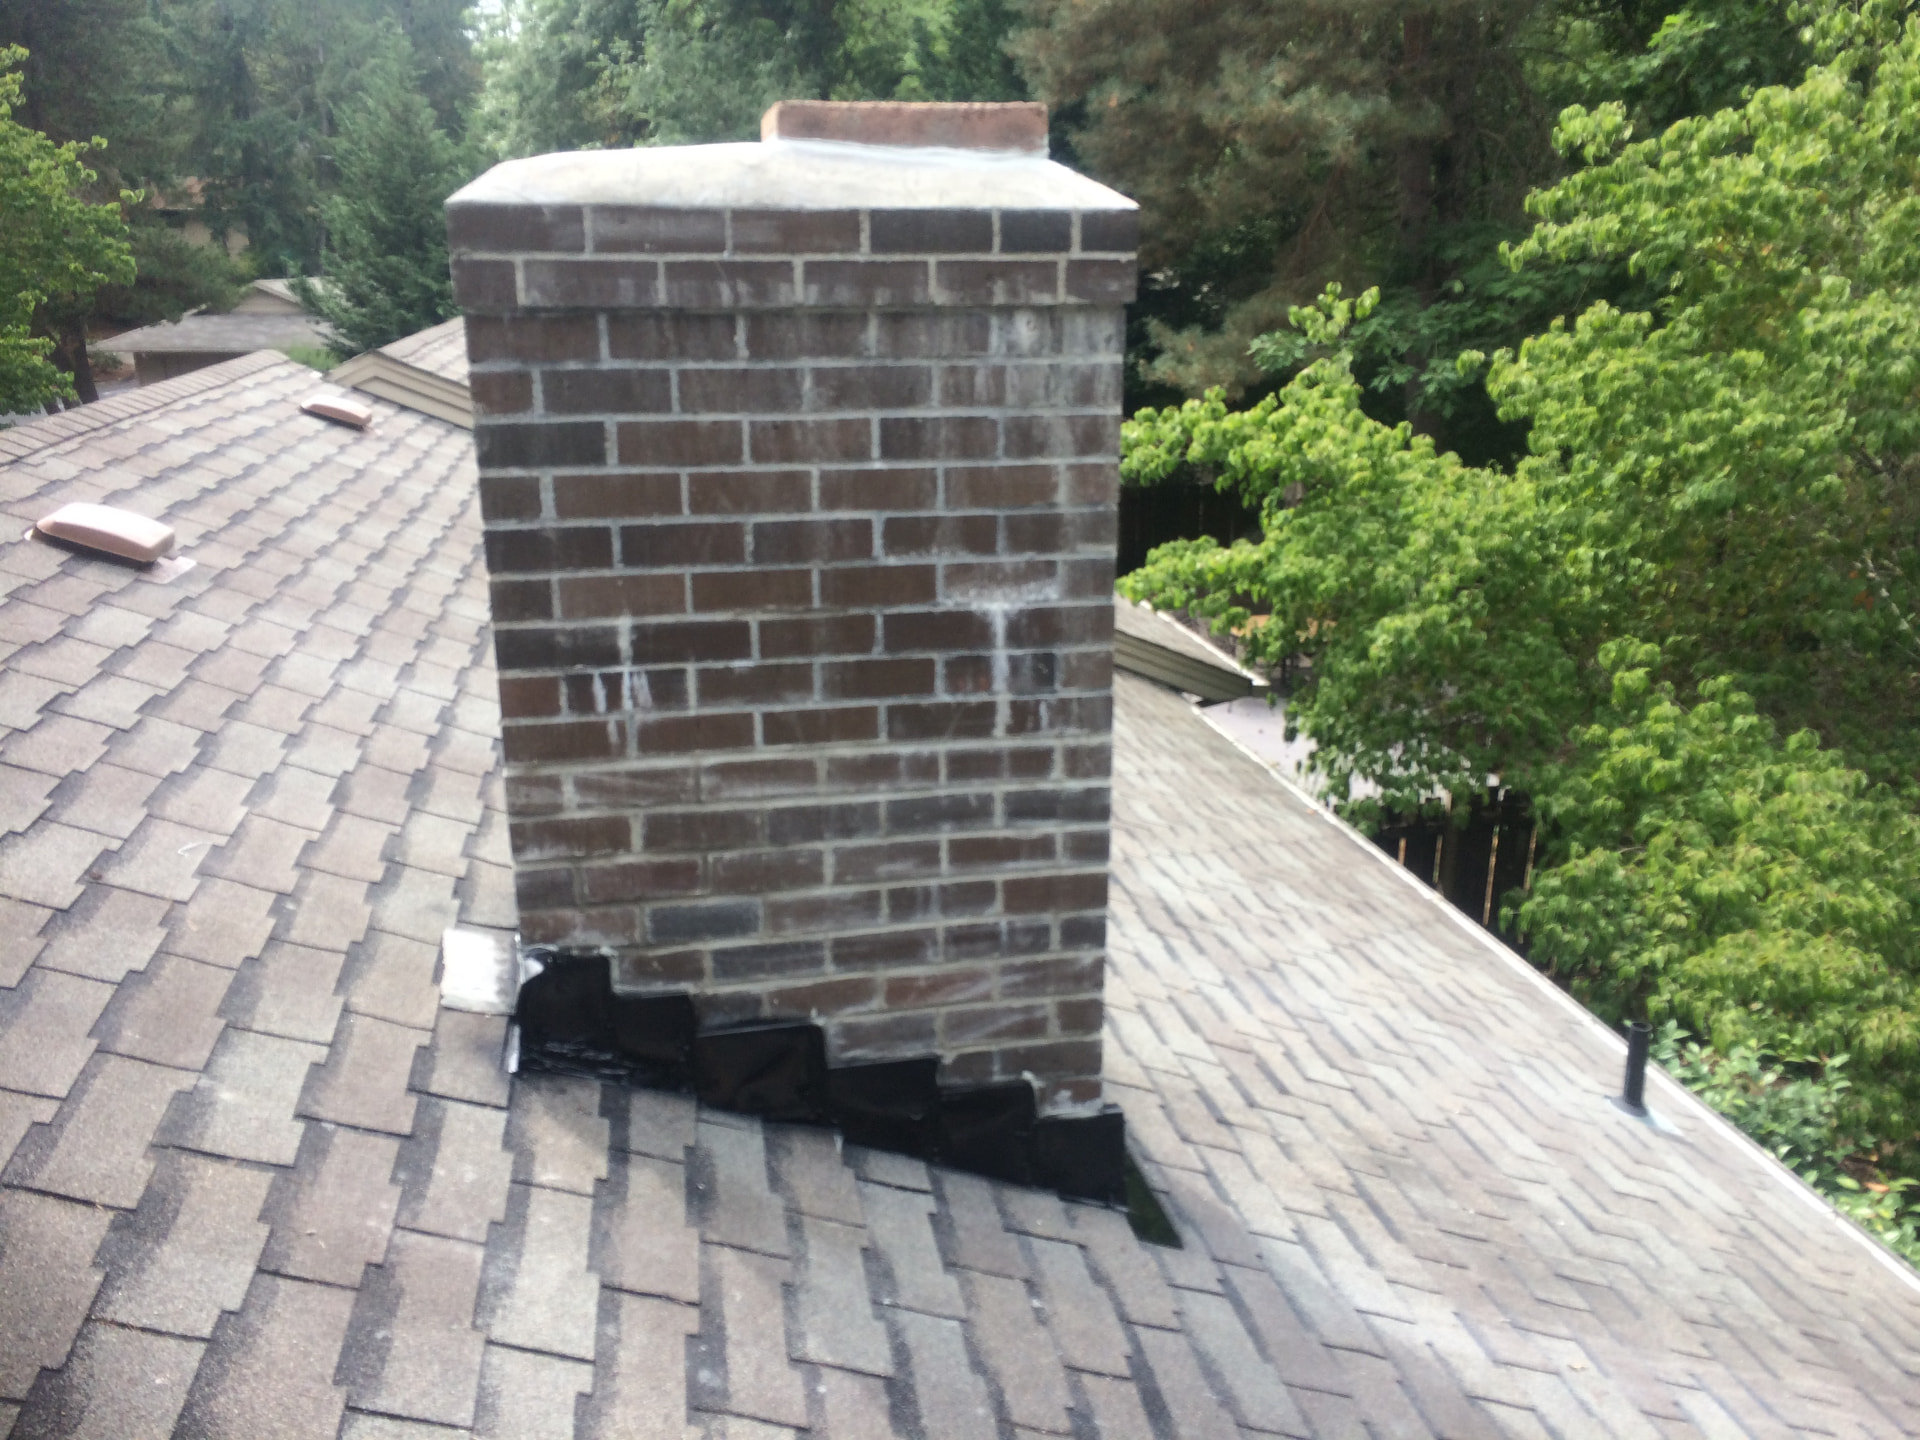
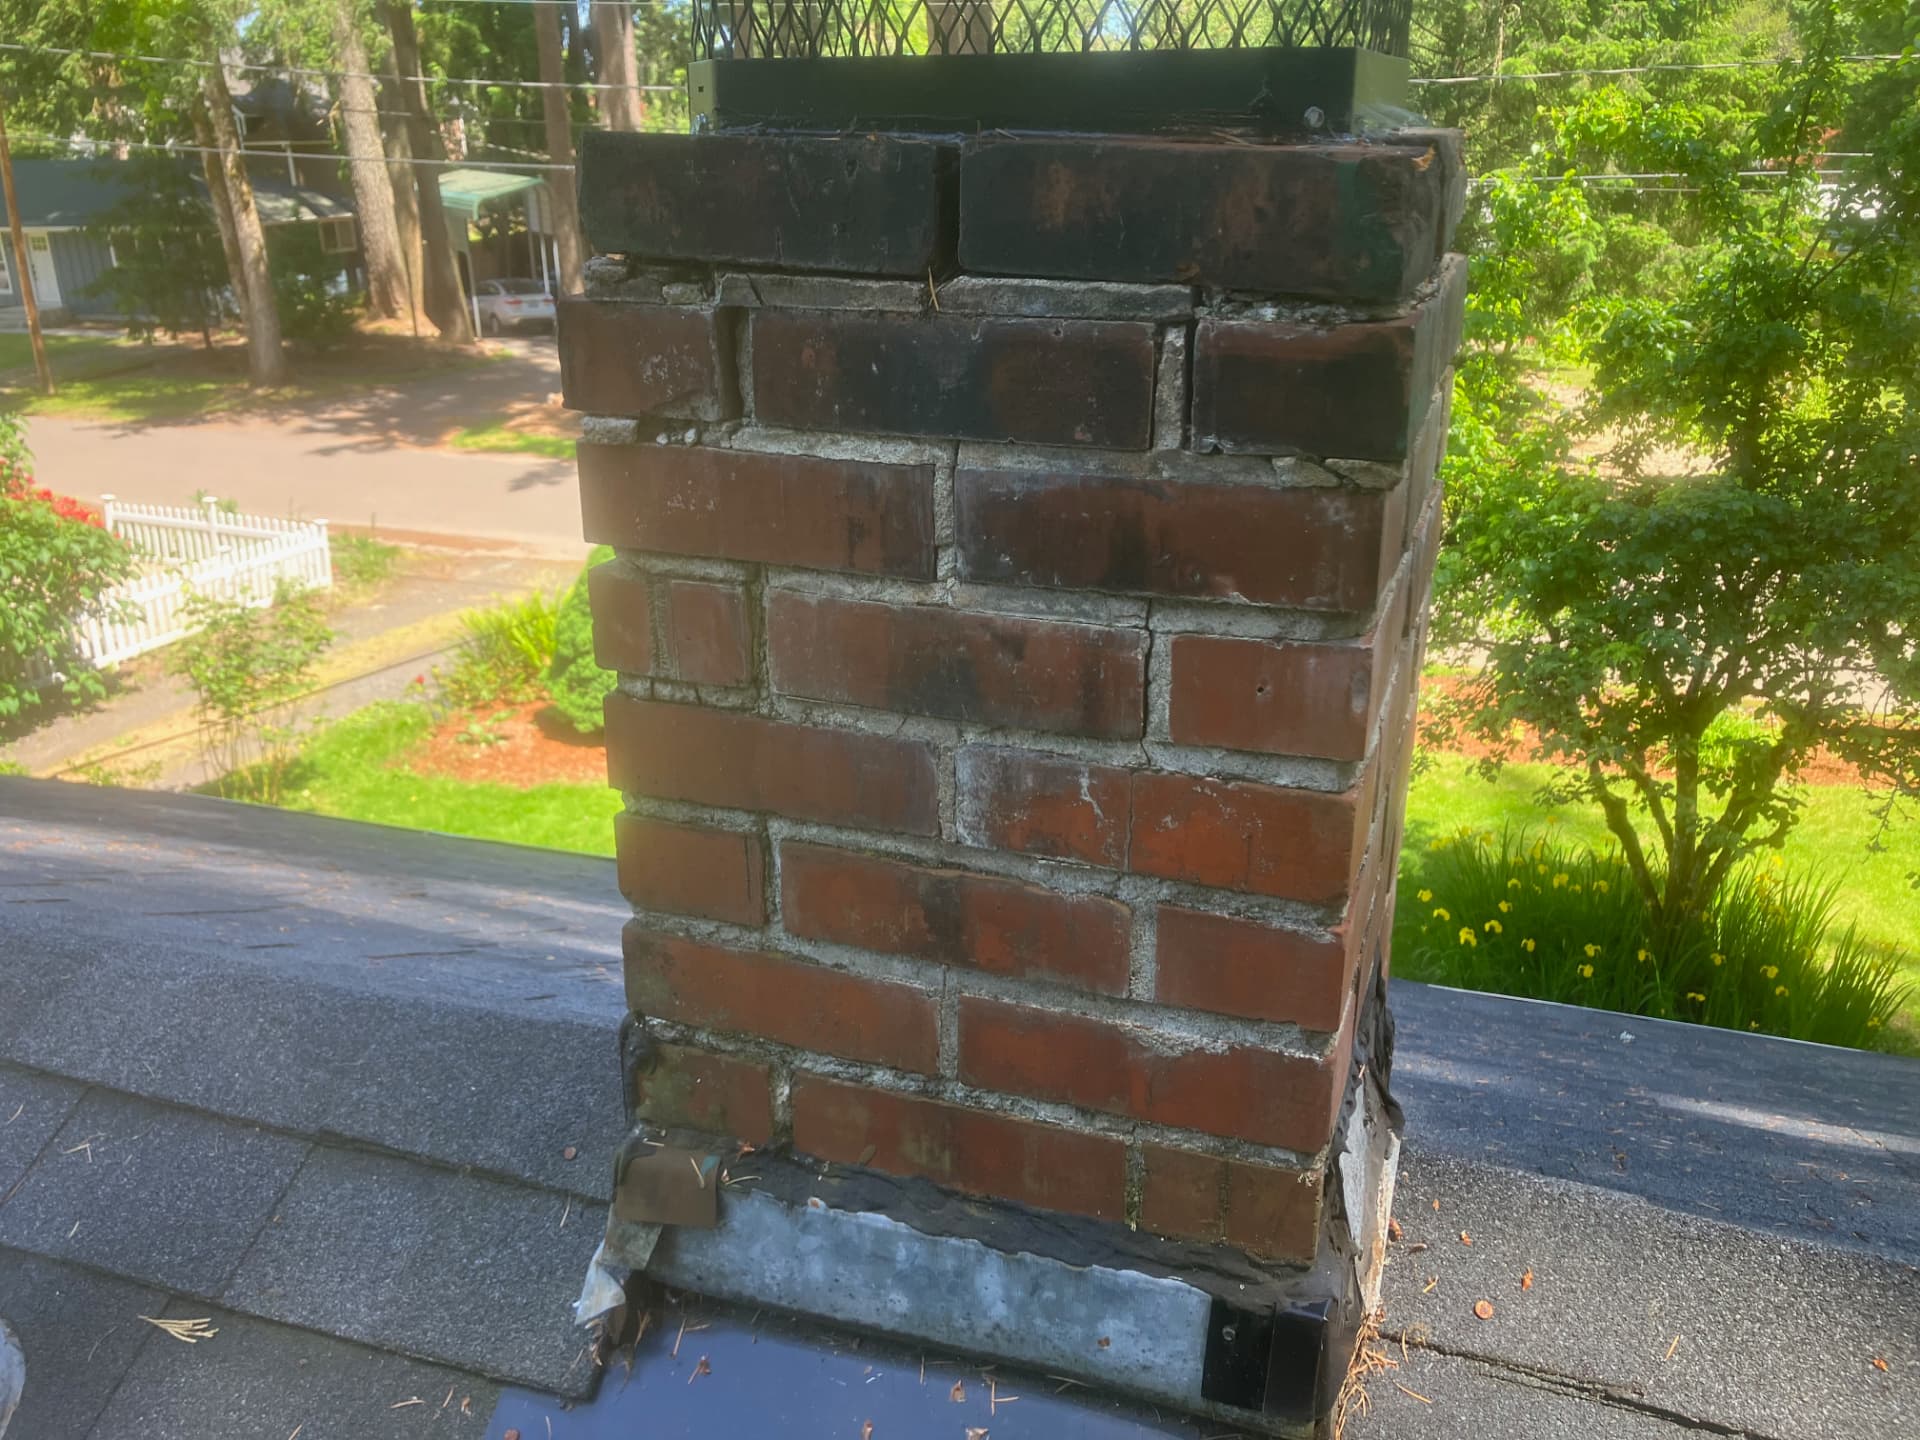
Before and After — Tuck Pointing from May 2025
A May 2025 job showing eroded, receding mortar joints and soot-stained top courses before the work, and the same chimney repointed with fresh mortar and sealed base flashing.
Before
After
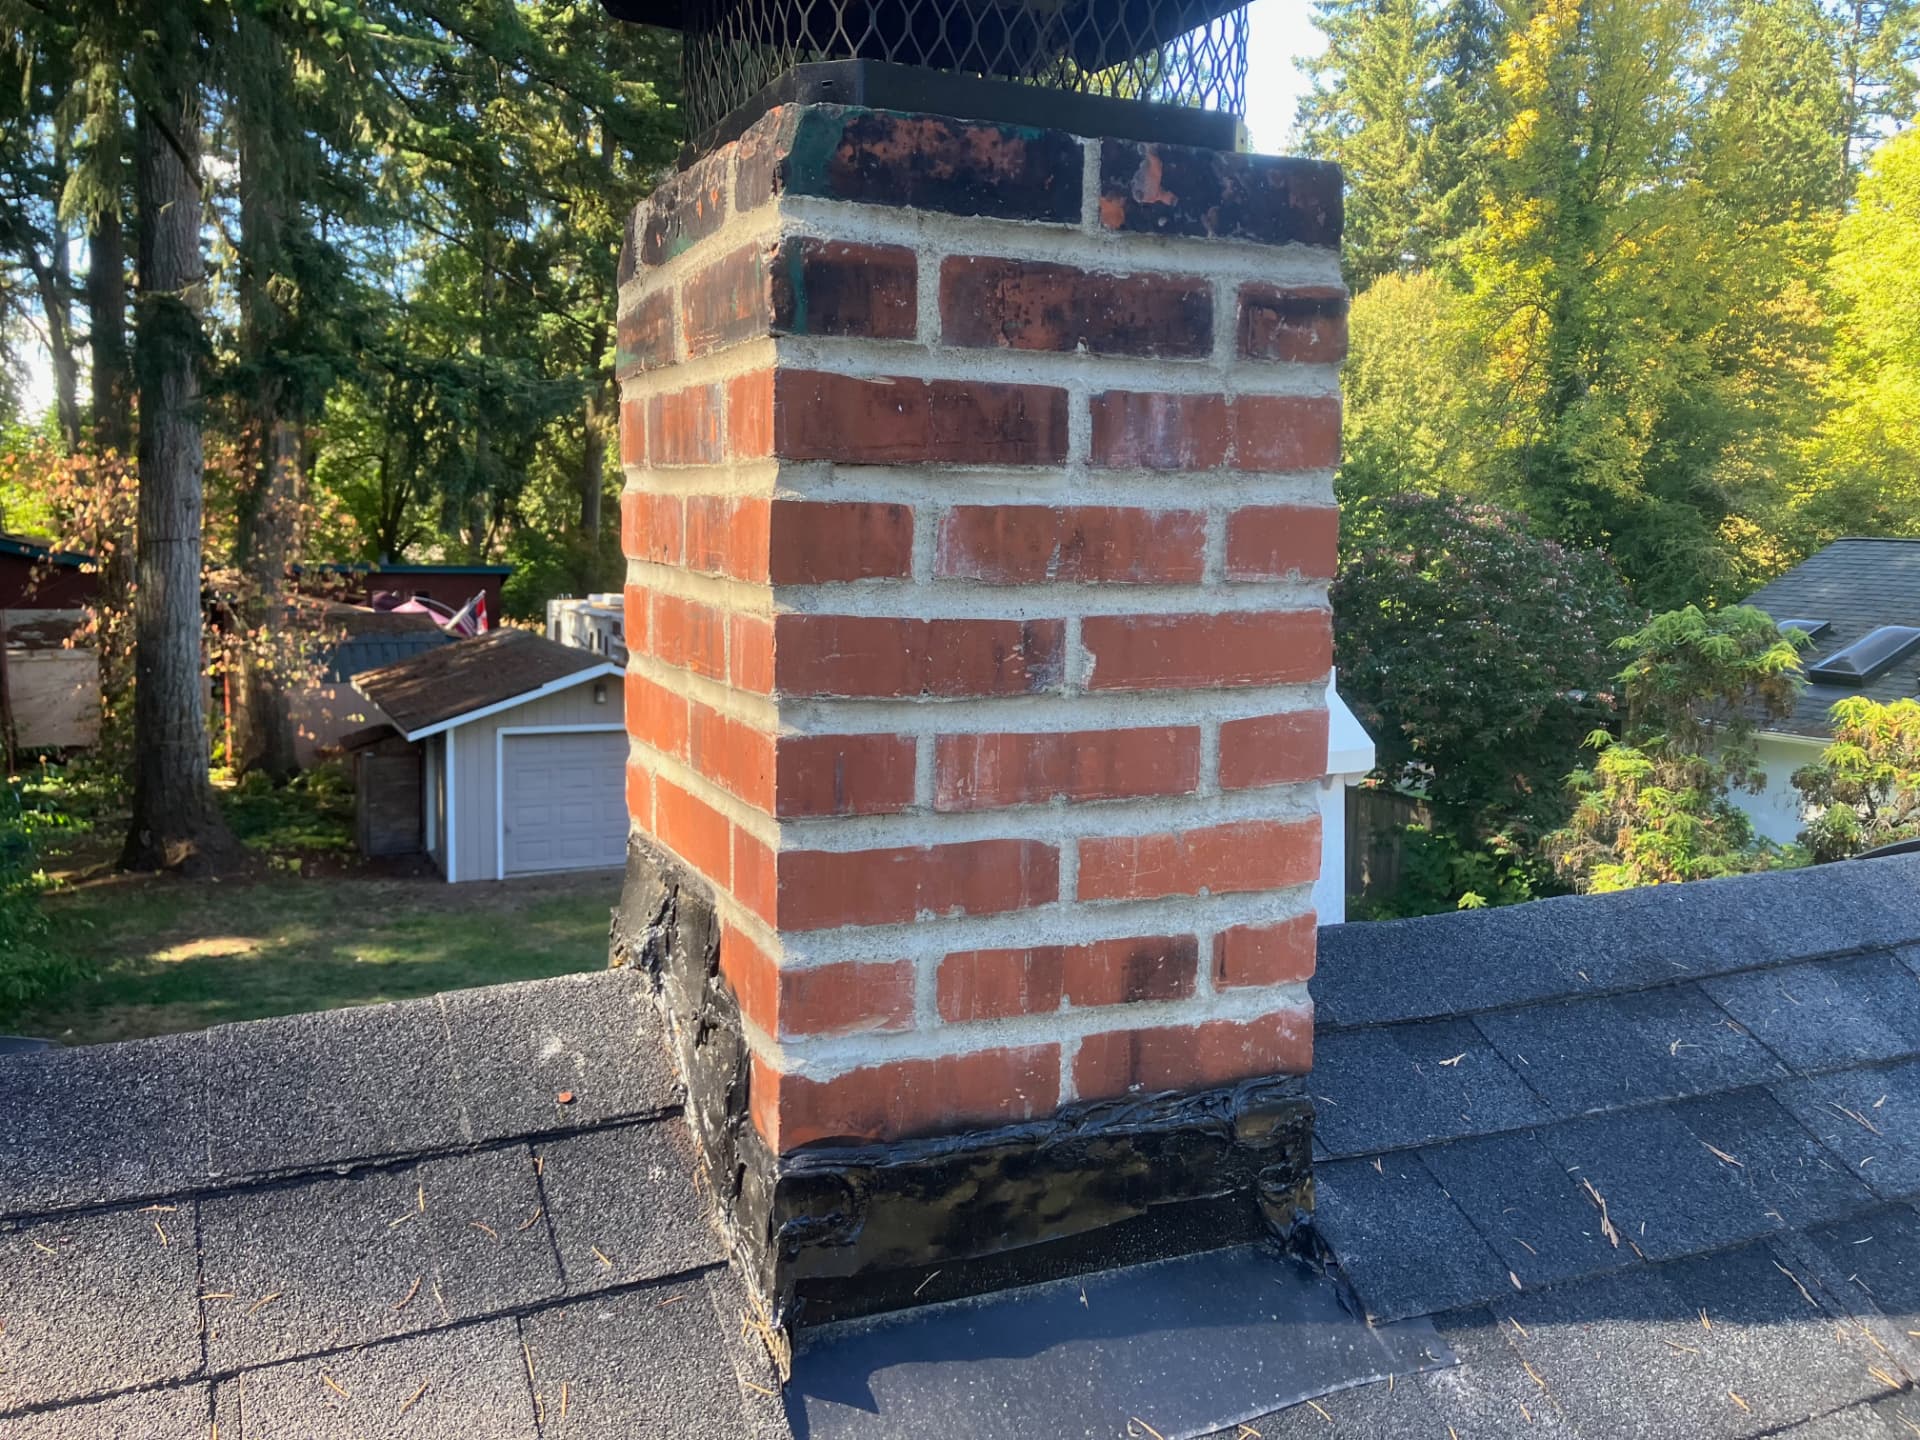
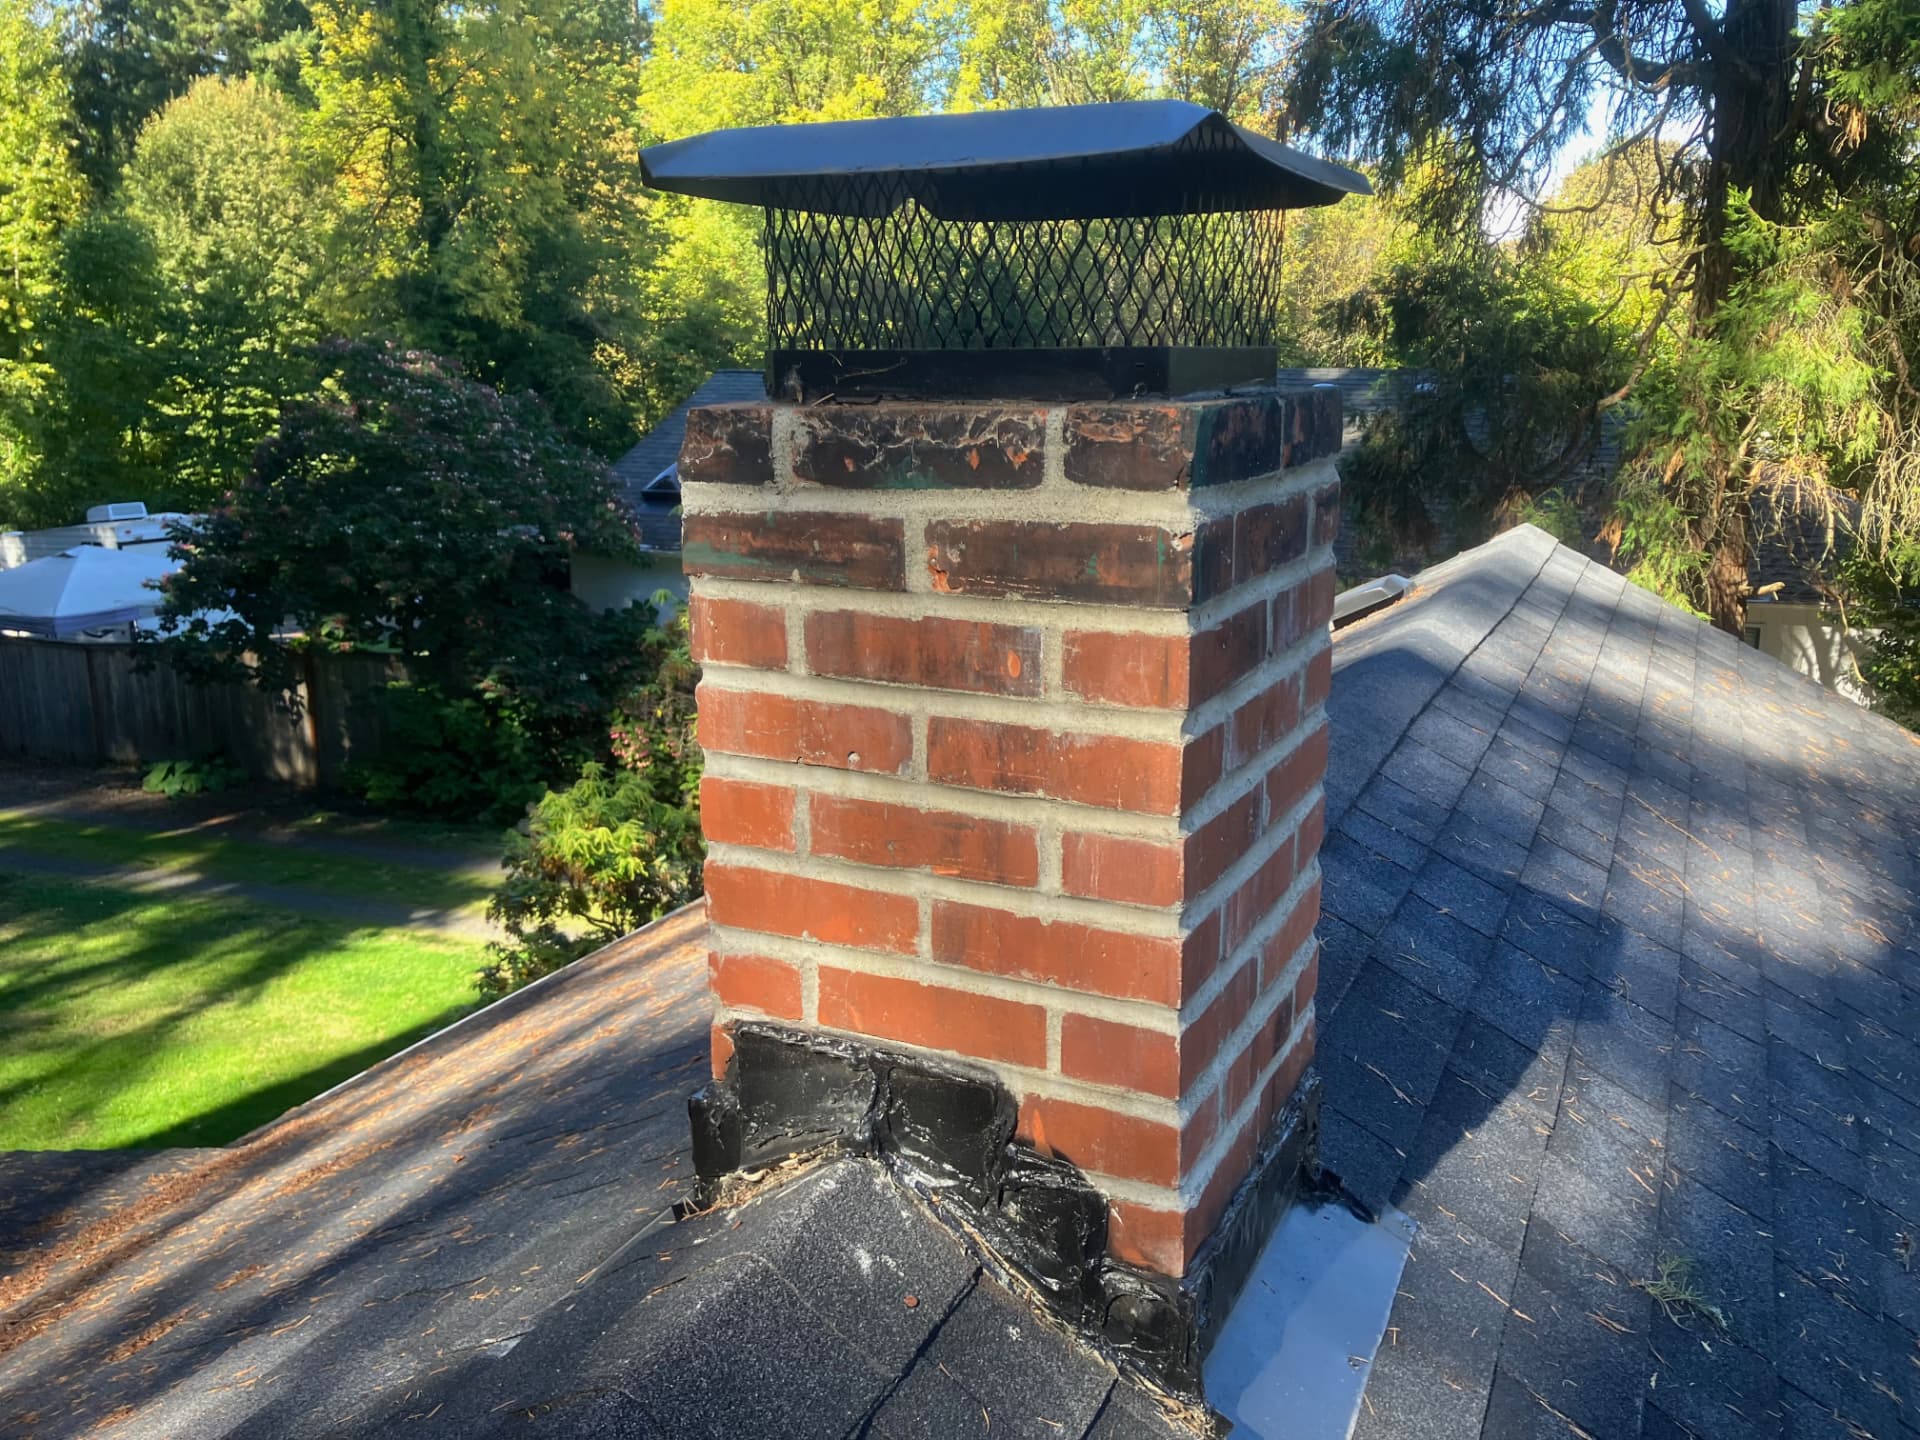
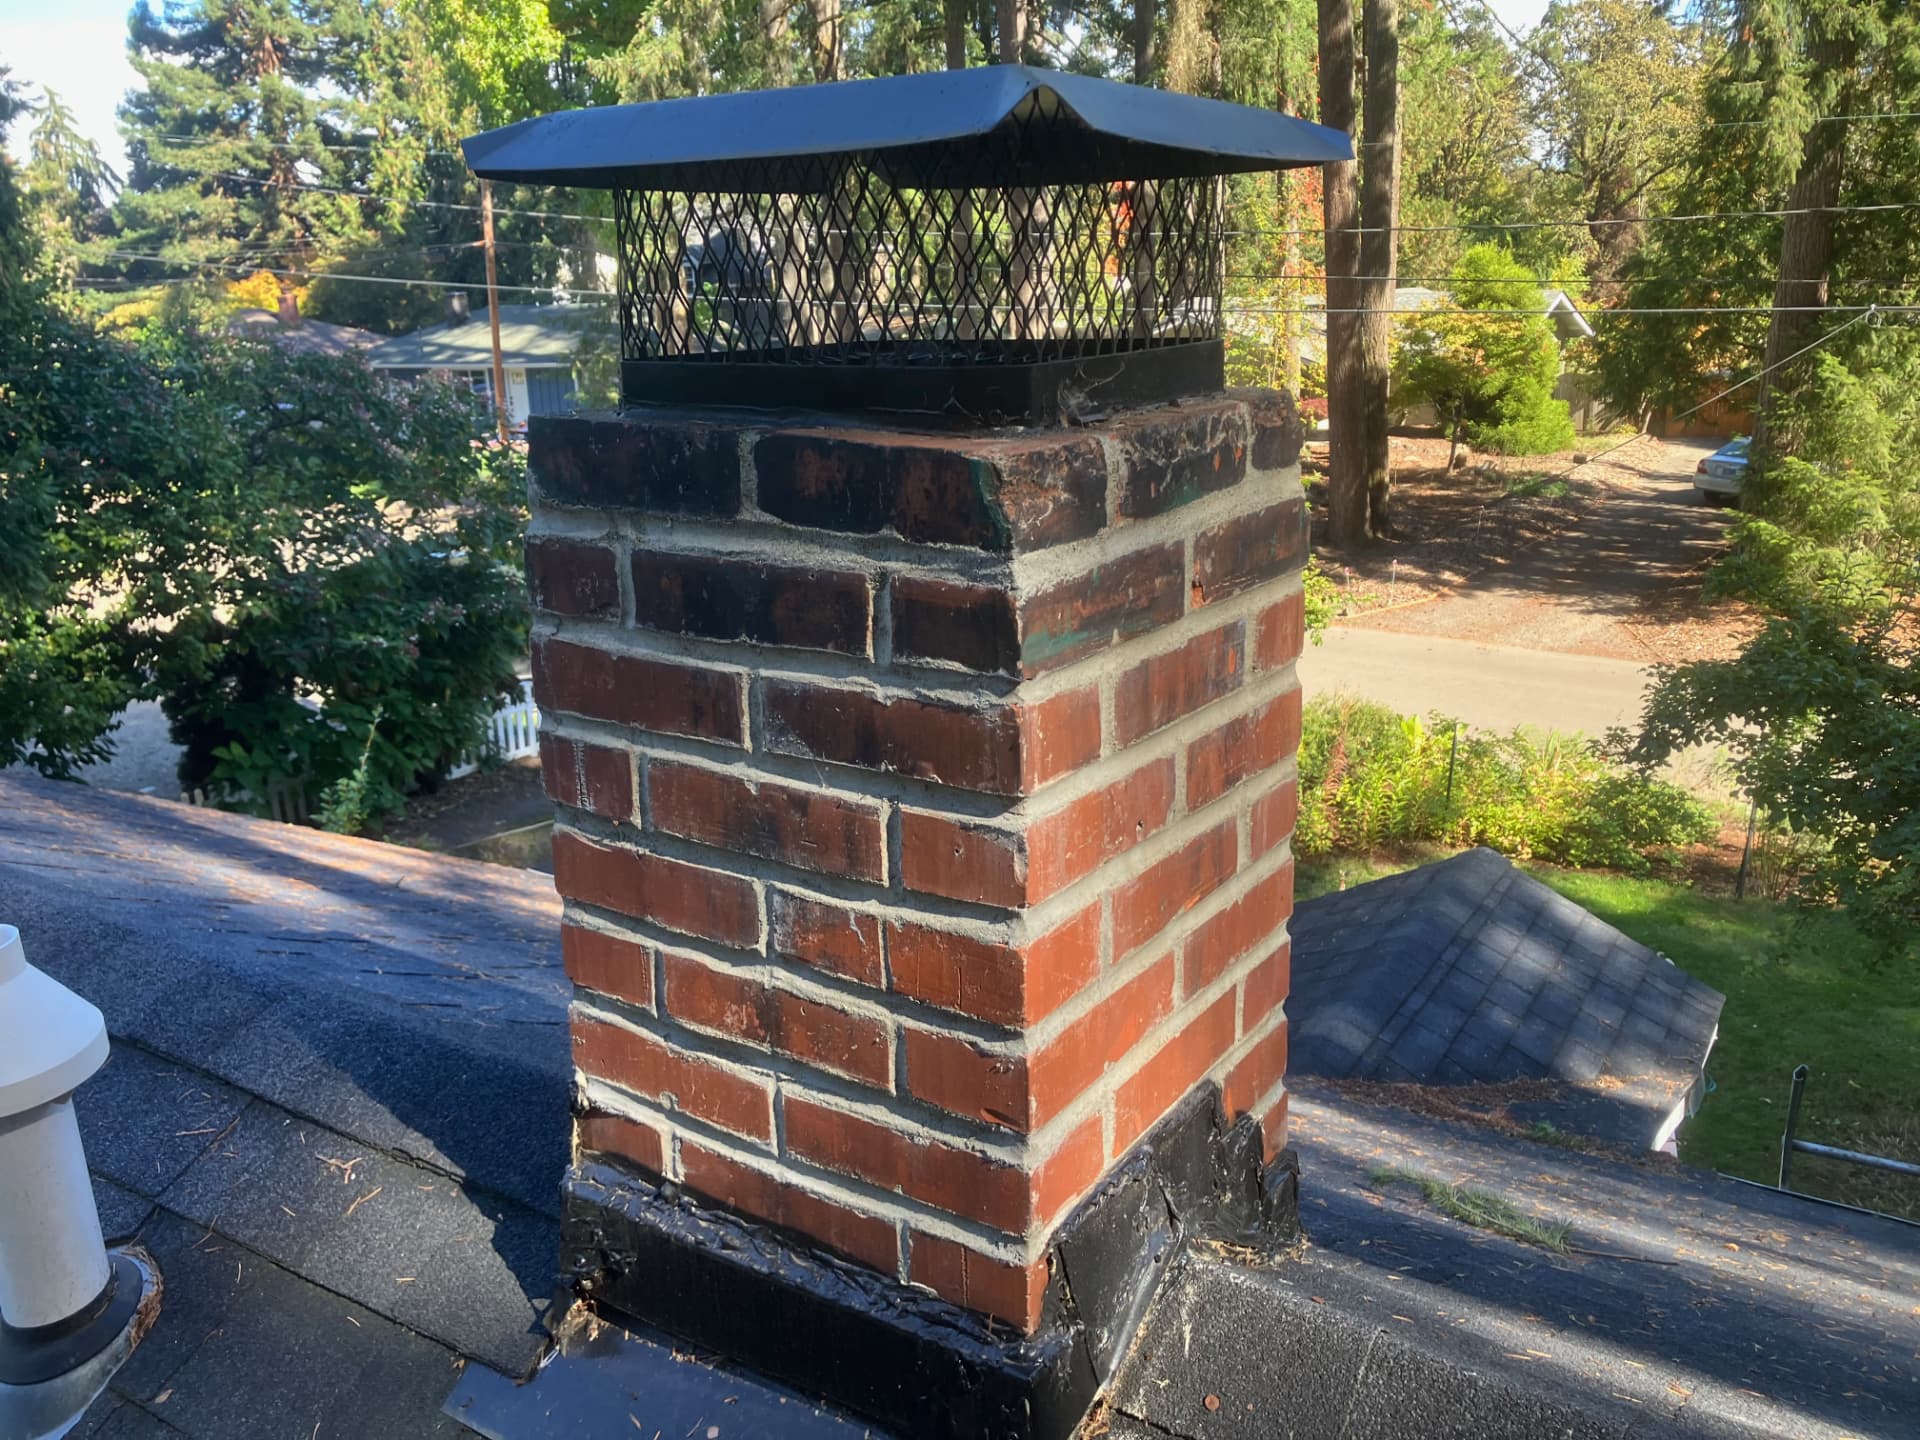
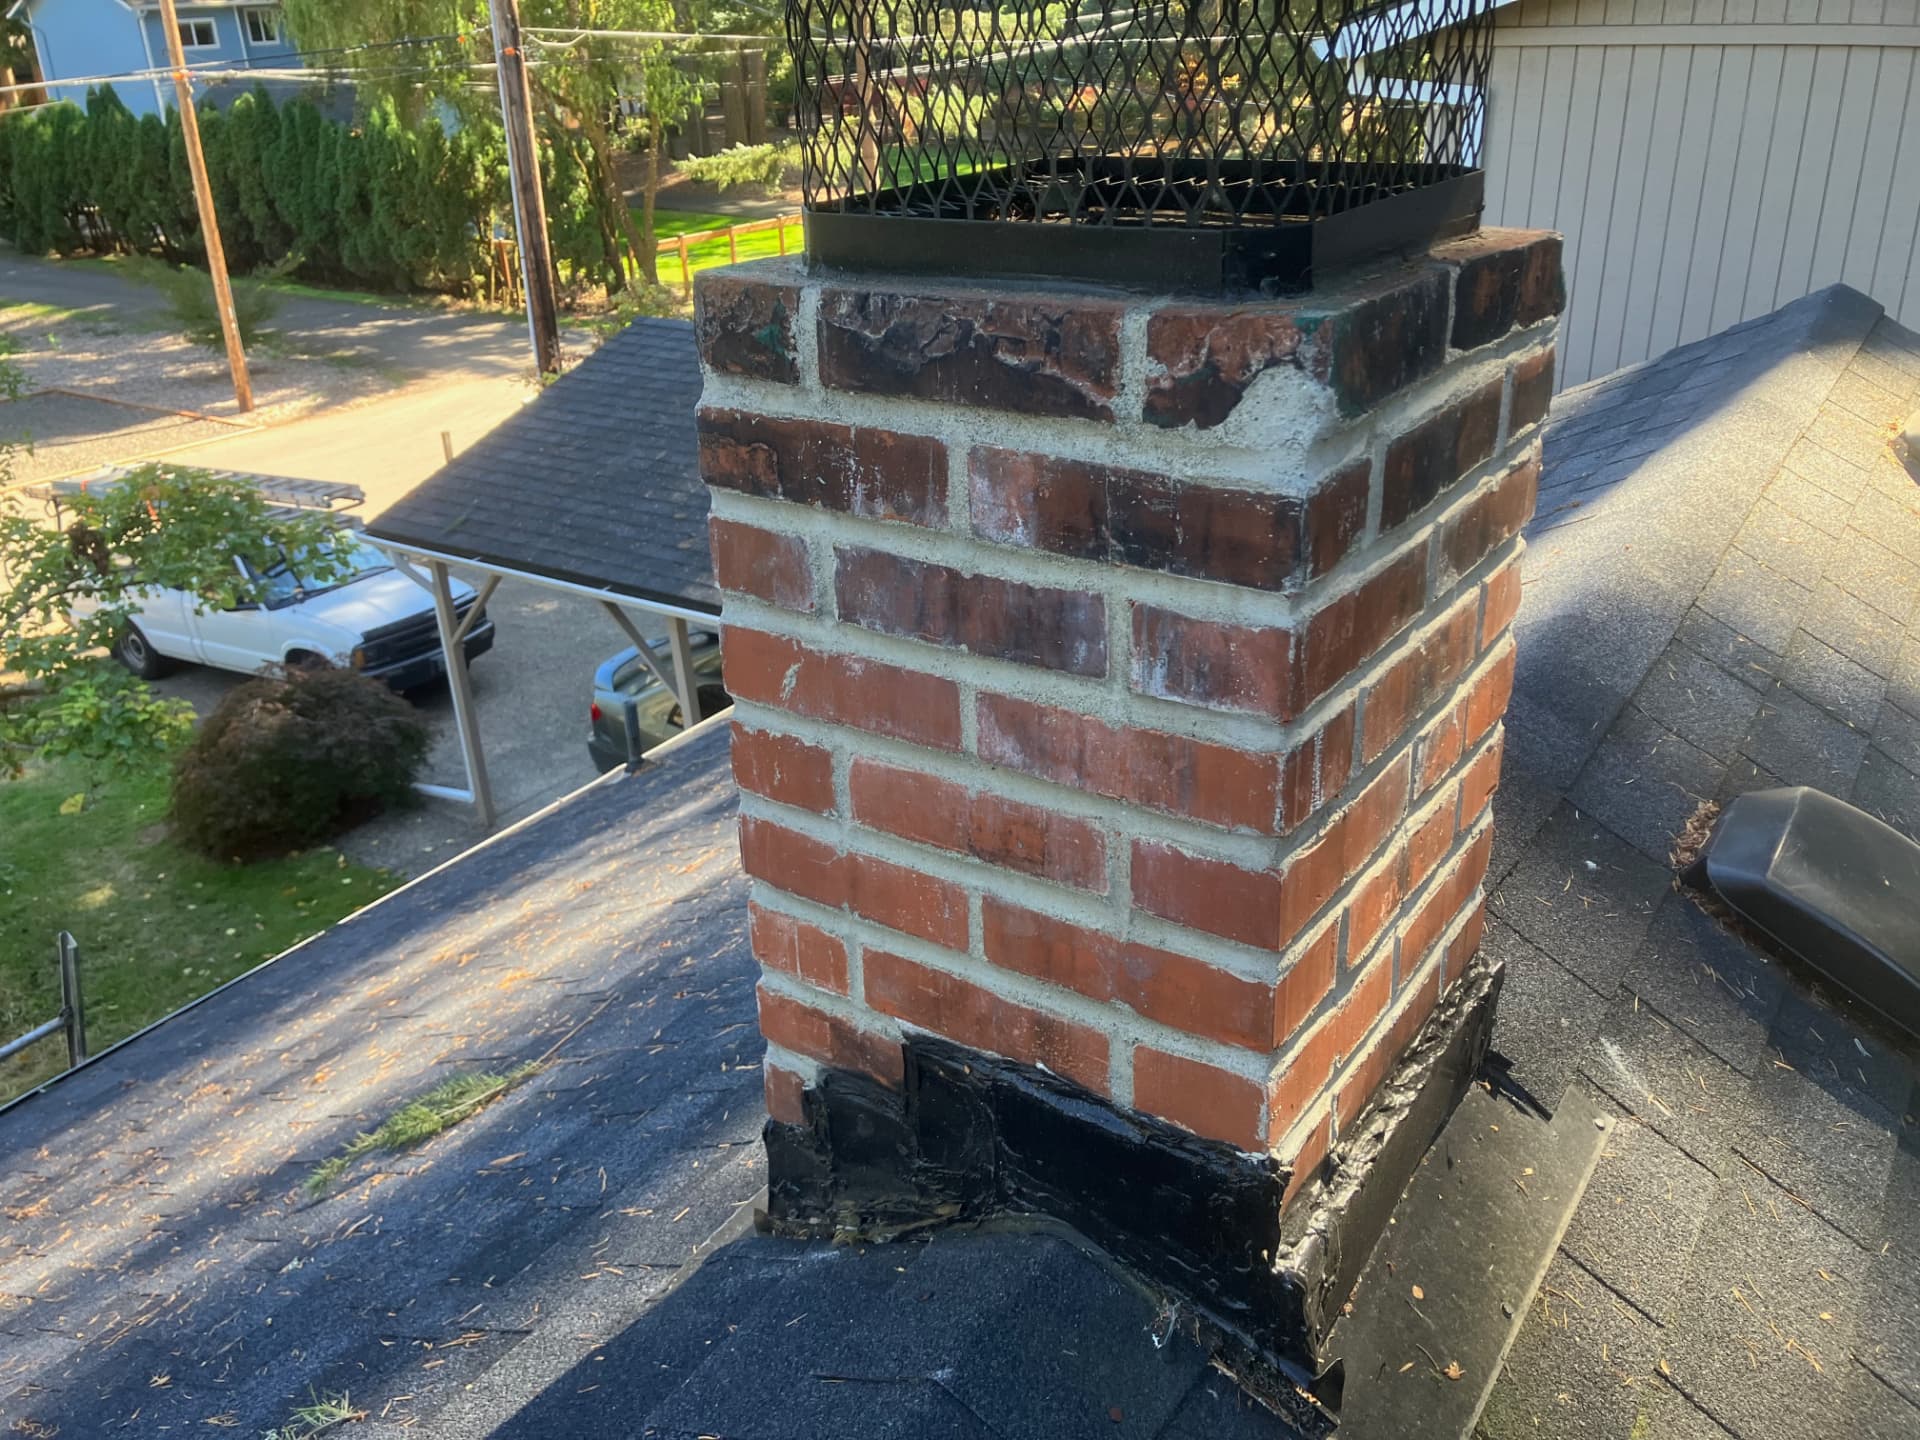
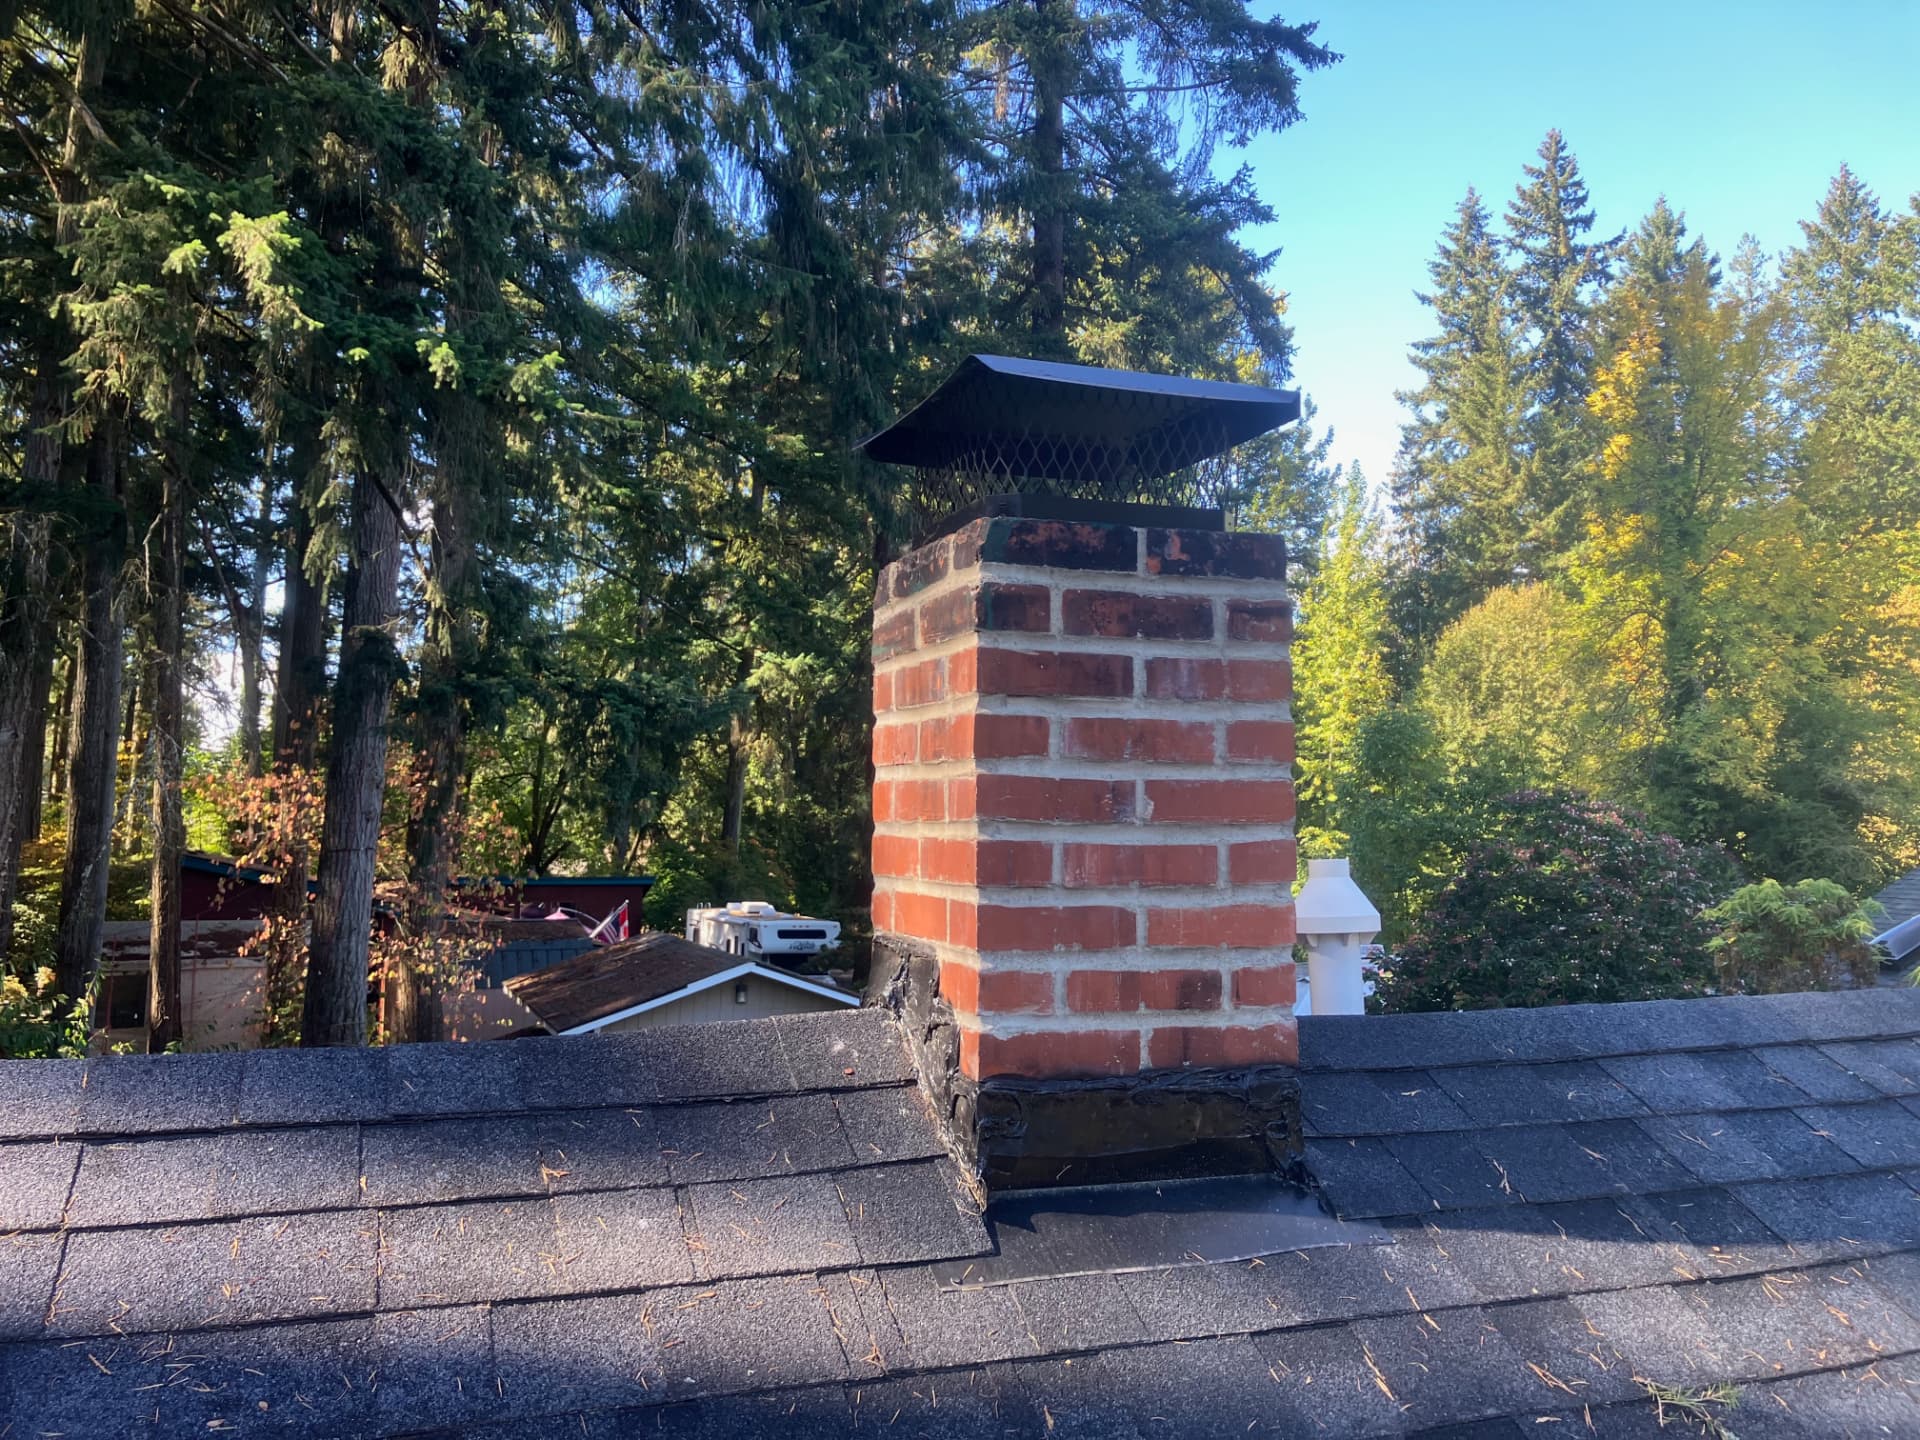
Before and After — Tuck Pointing from June 2023
A June 2023 job showing badly deteriorated mortar joints before tuck pointing, and the same chimney repointed with new mortar and new clay flue tiles.
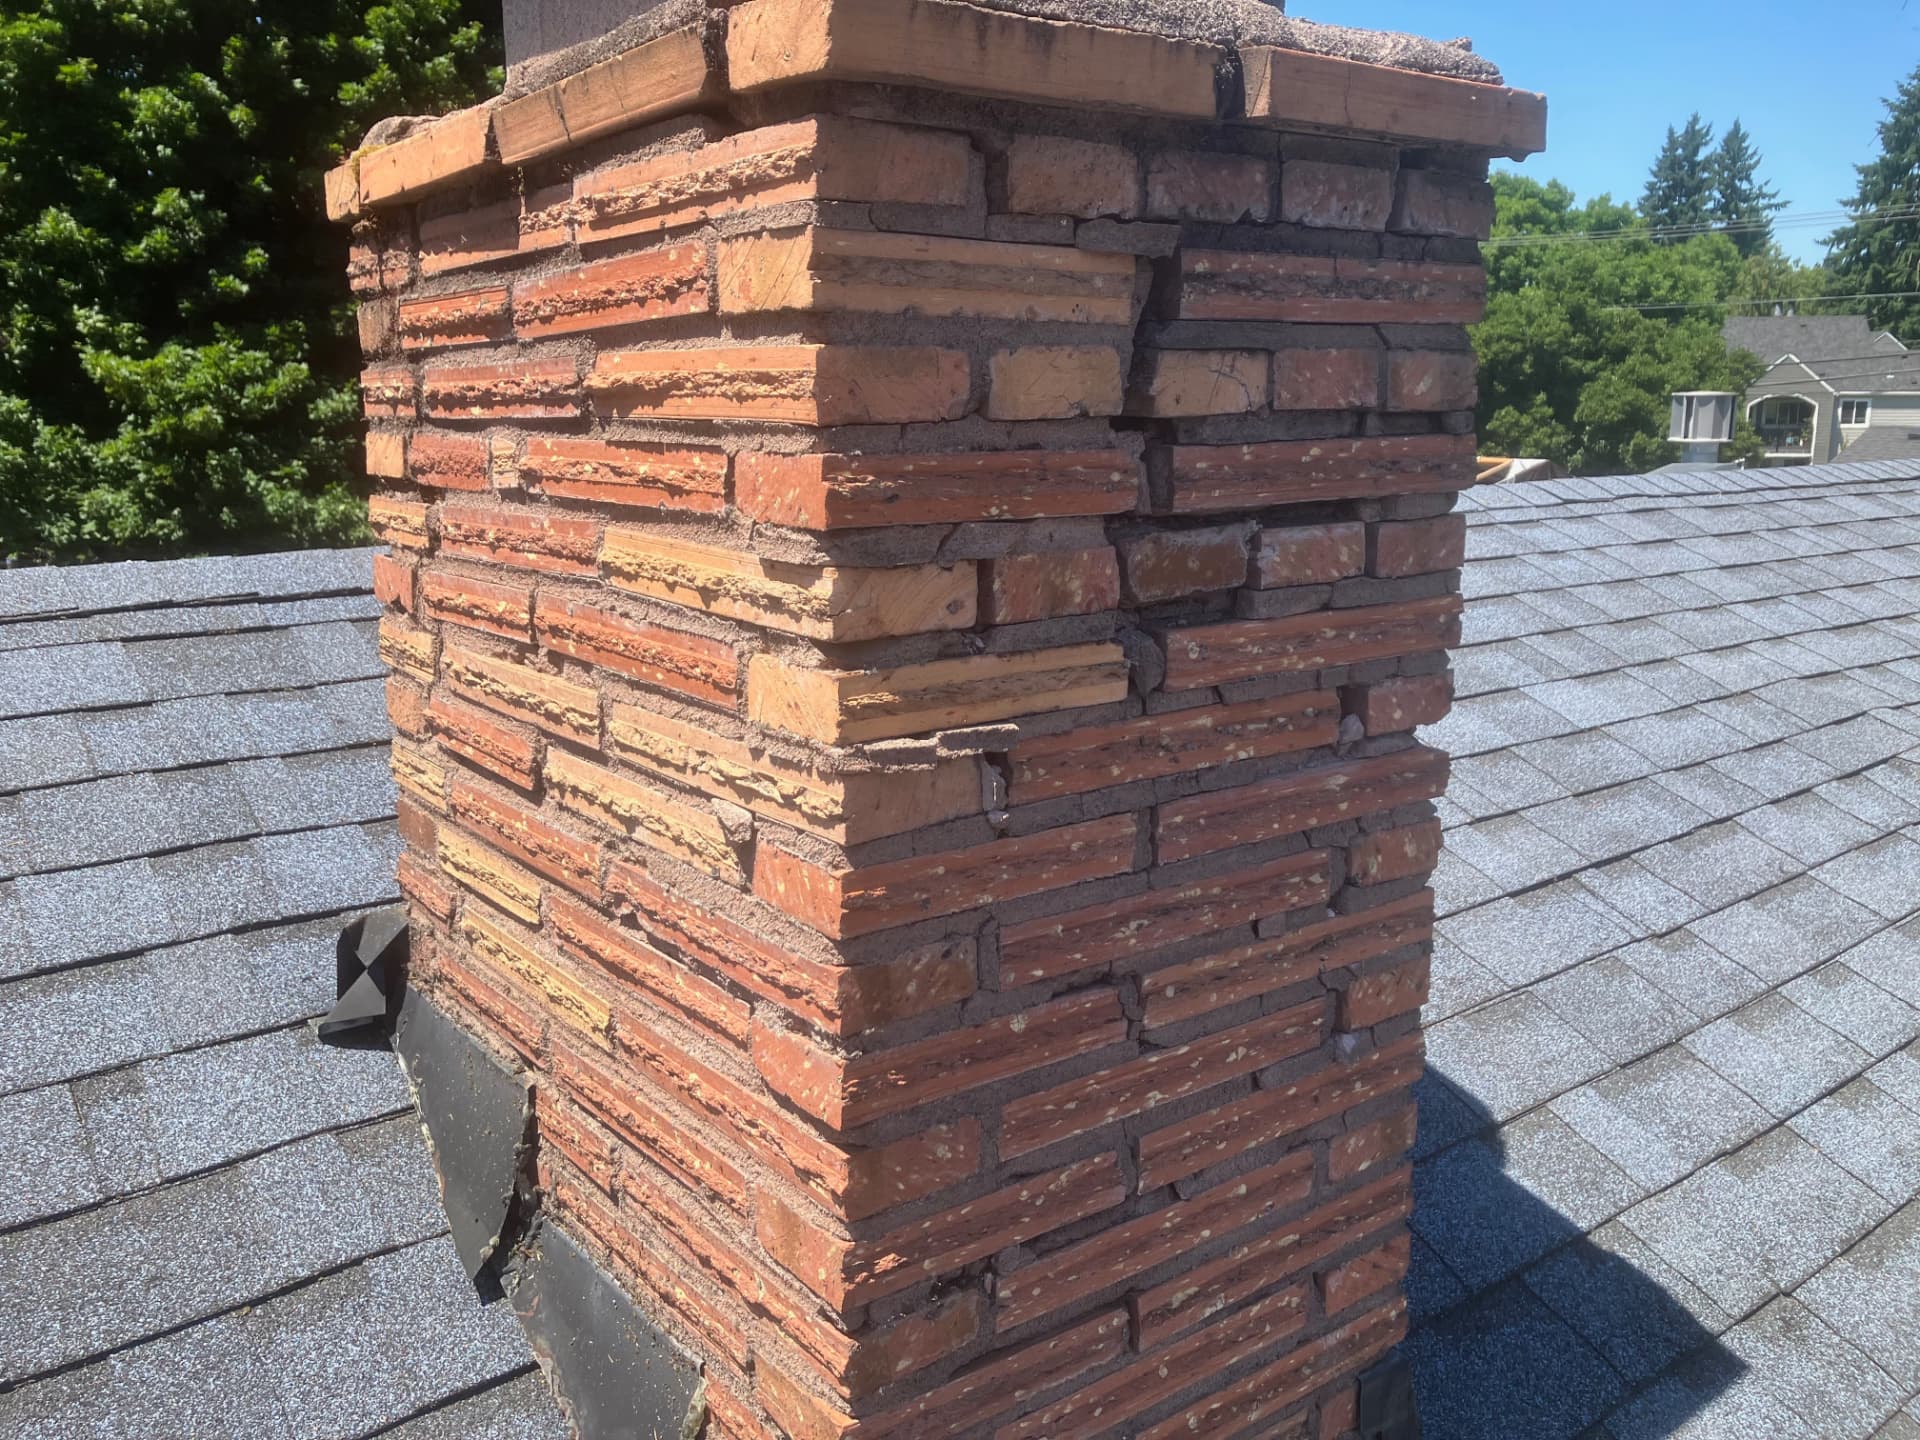
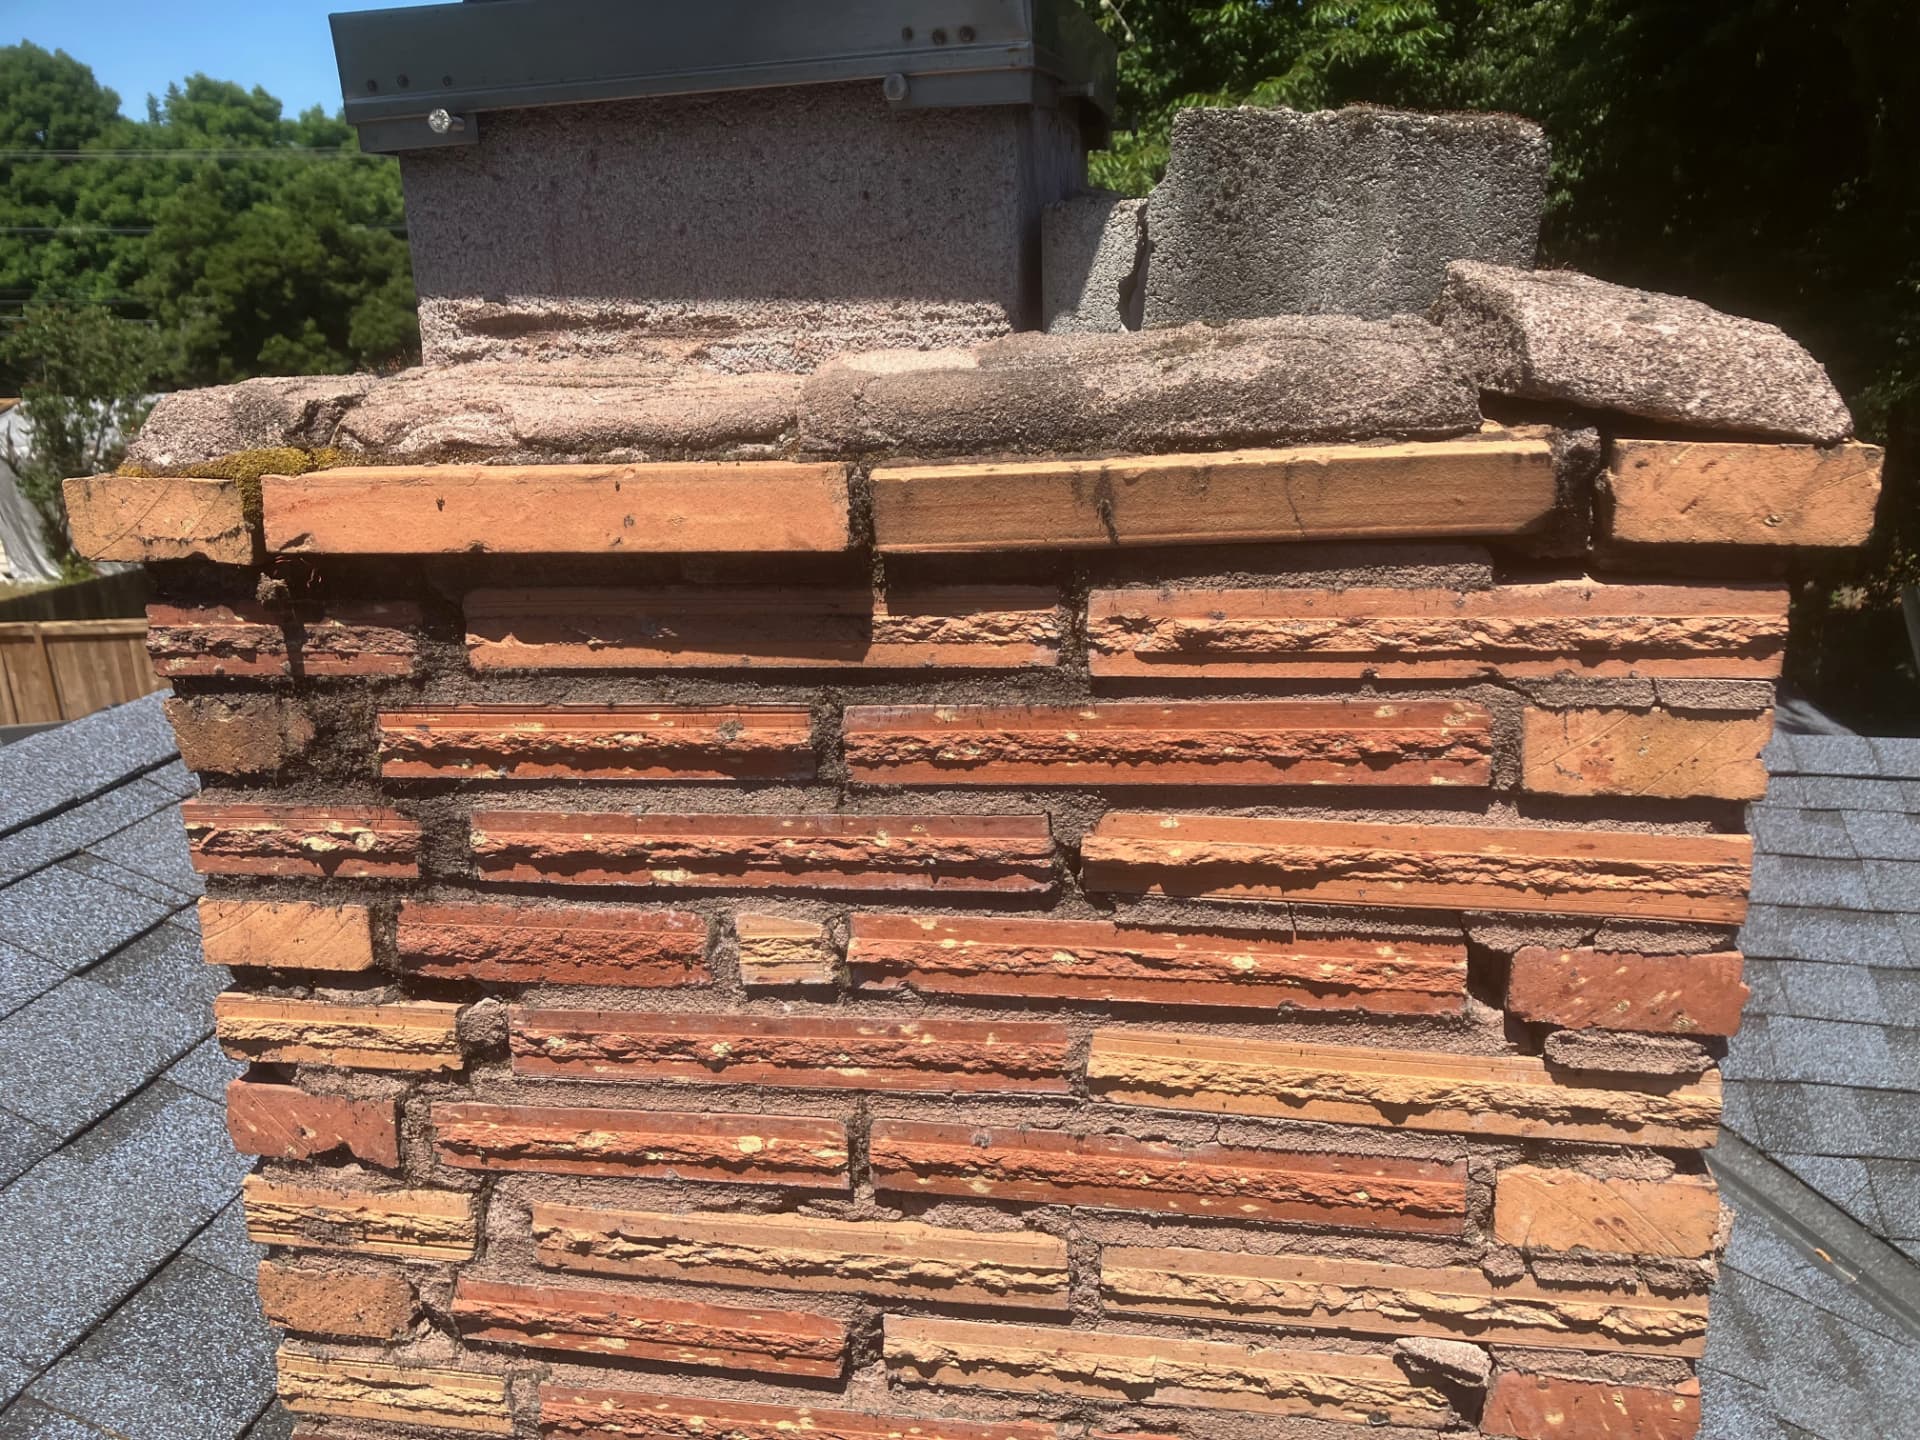
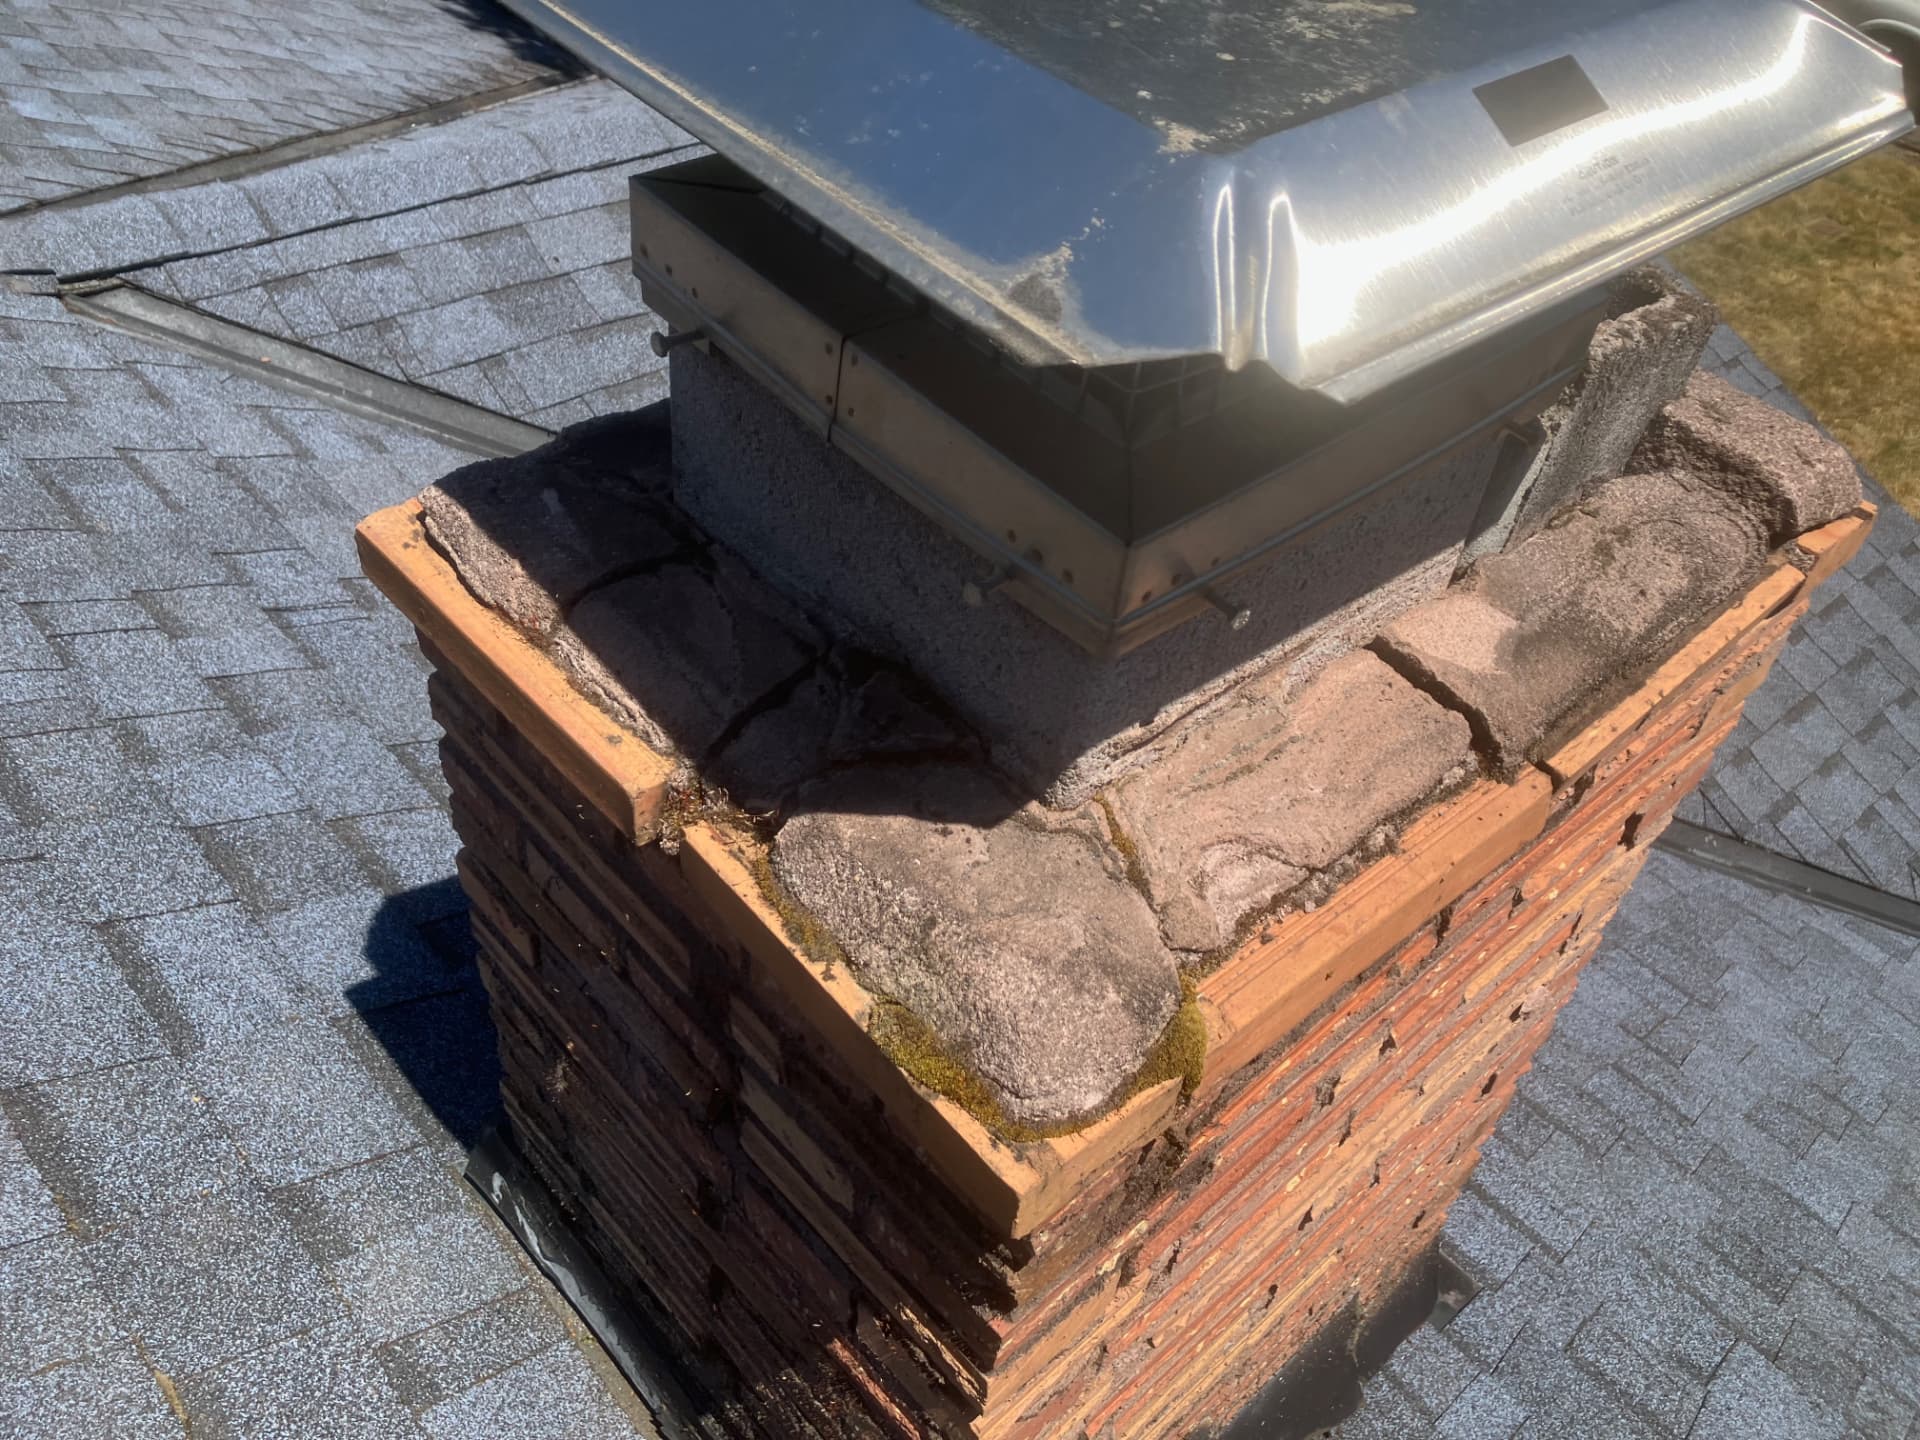
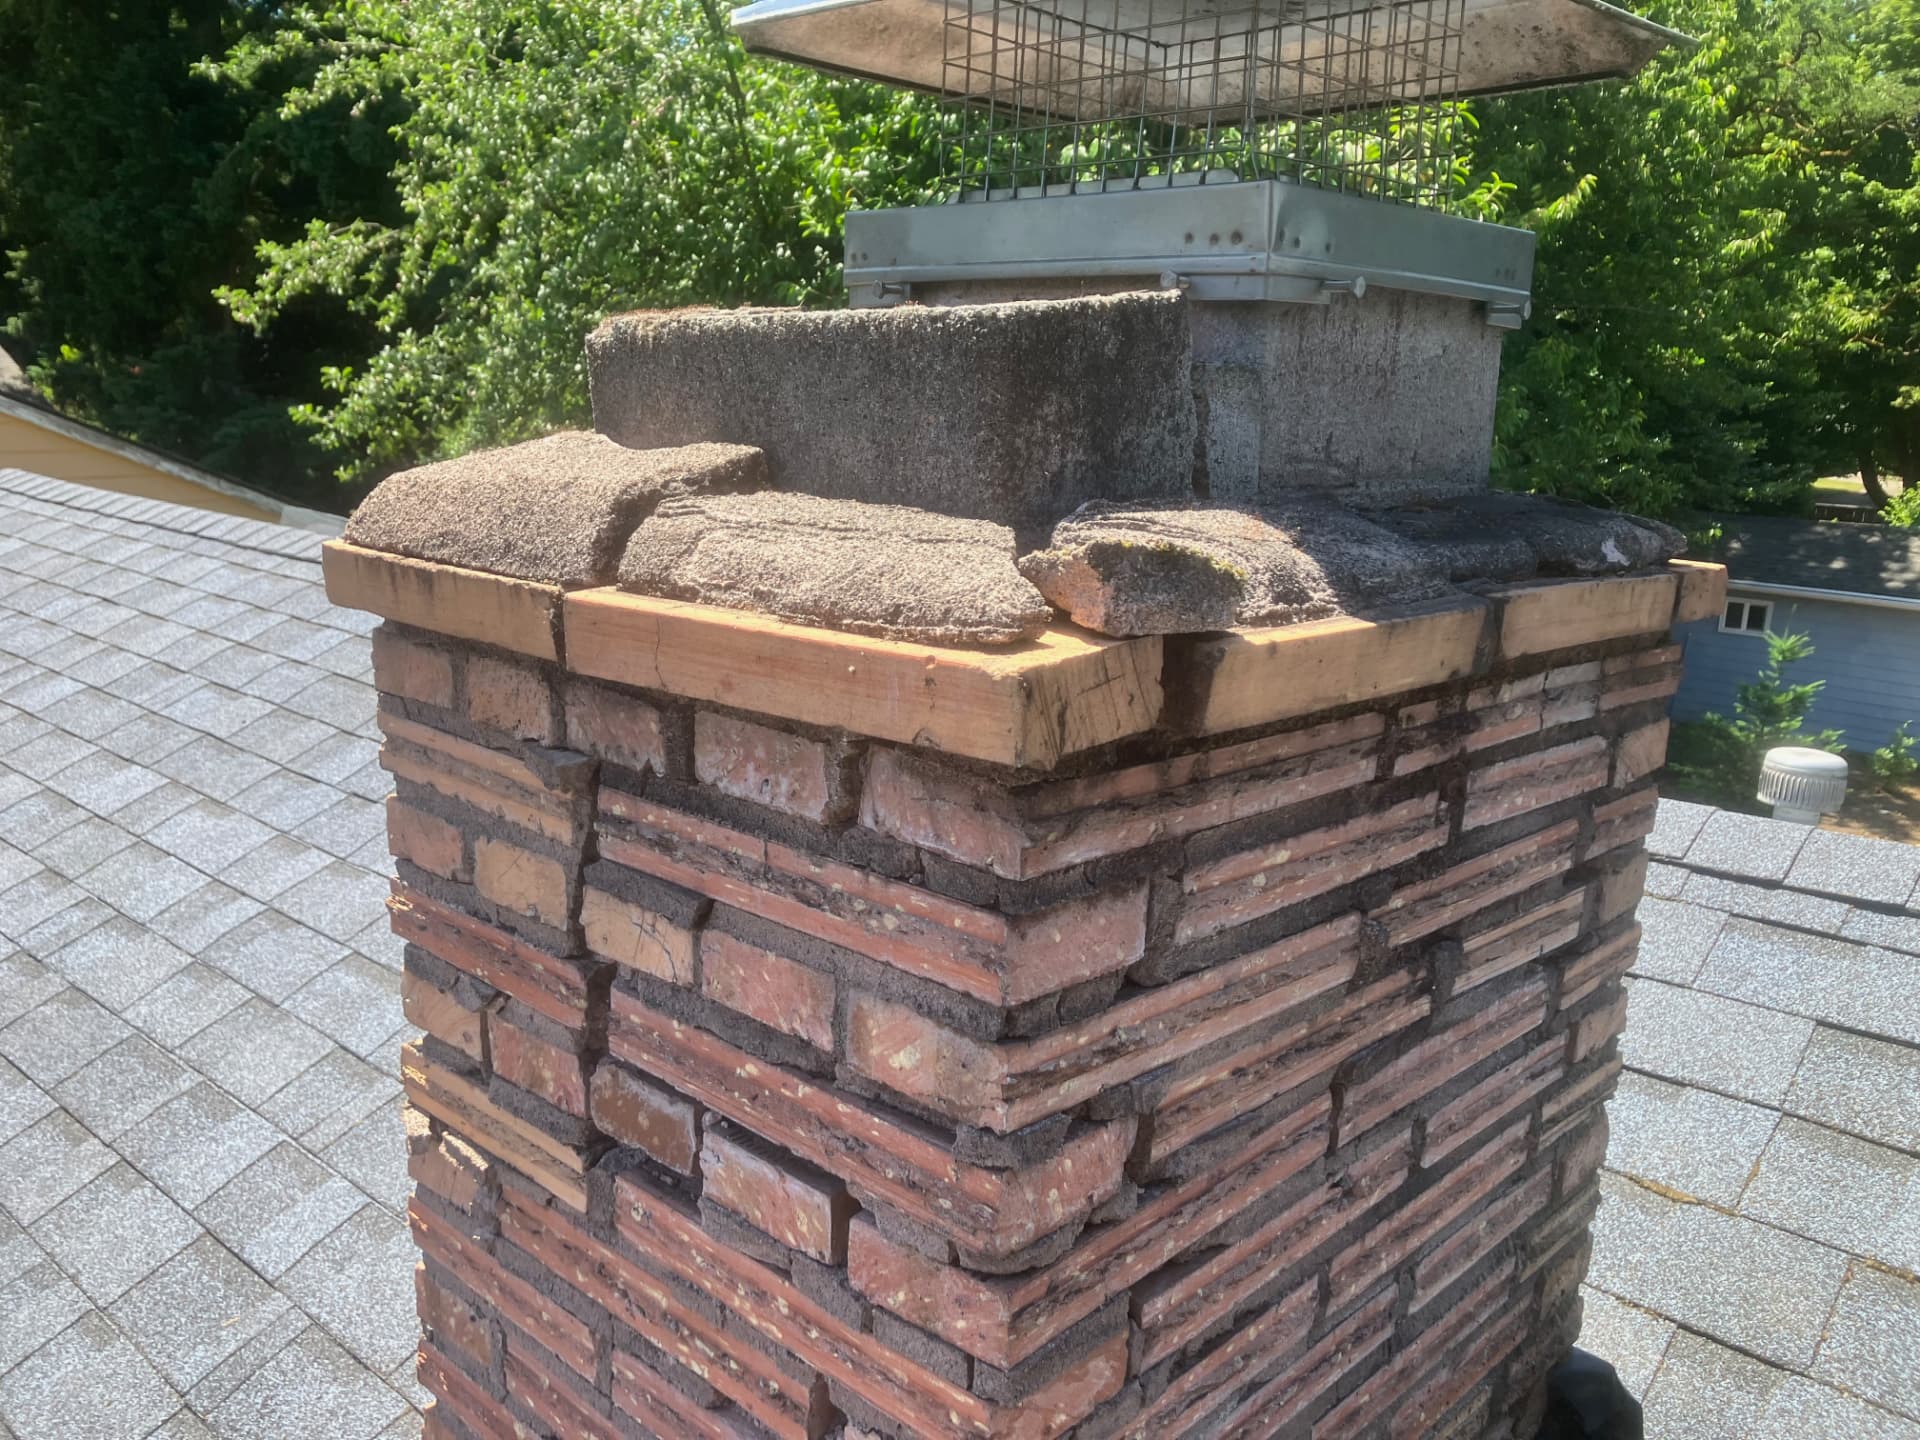
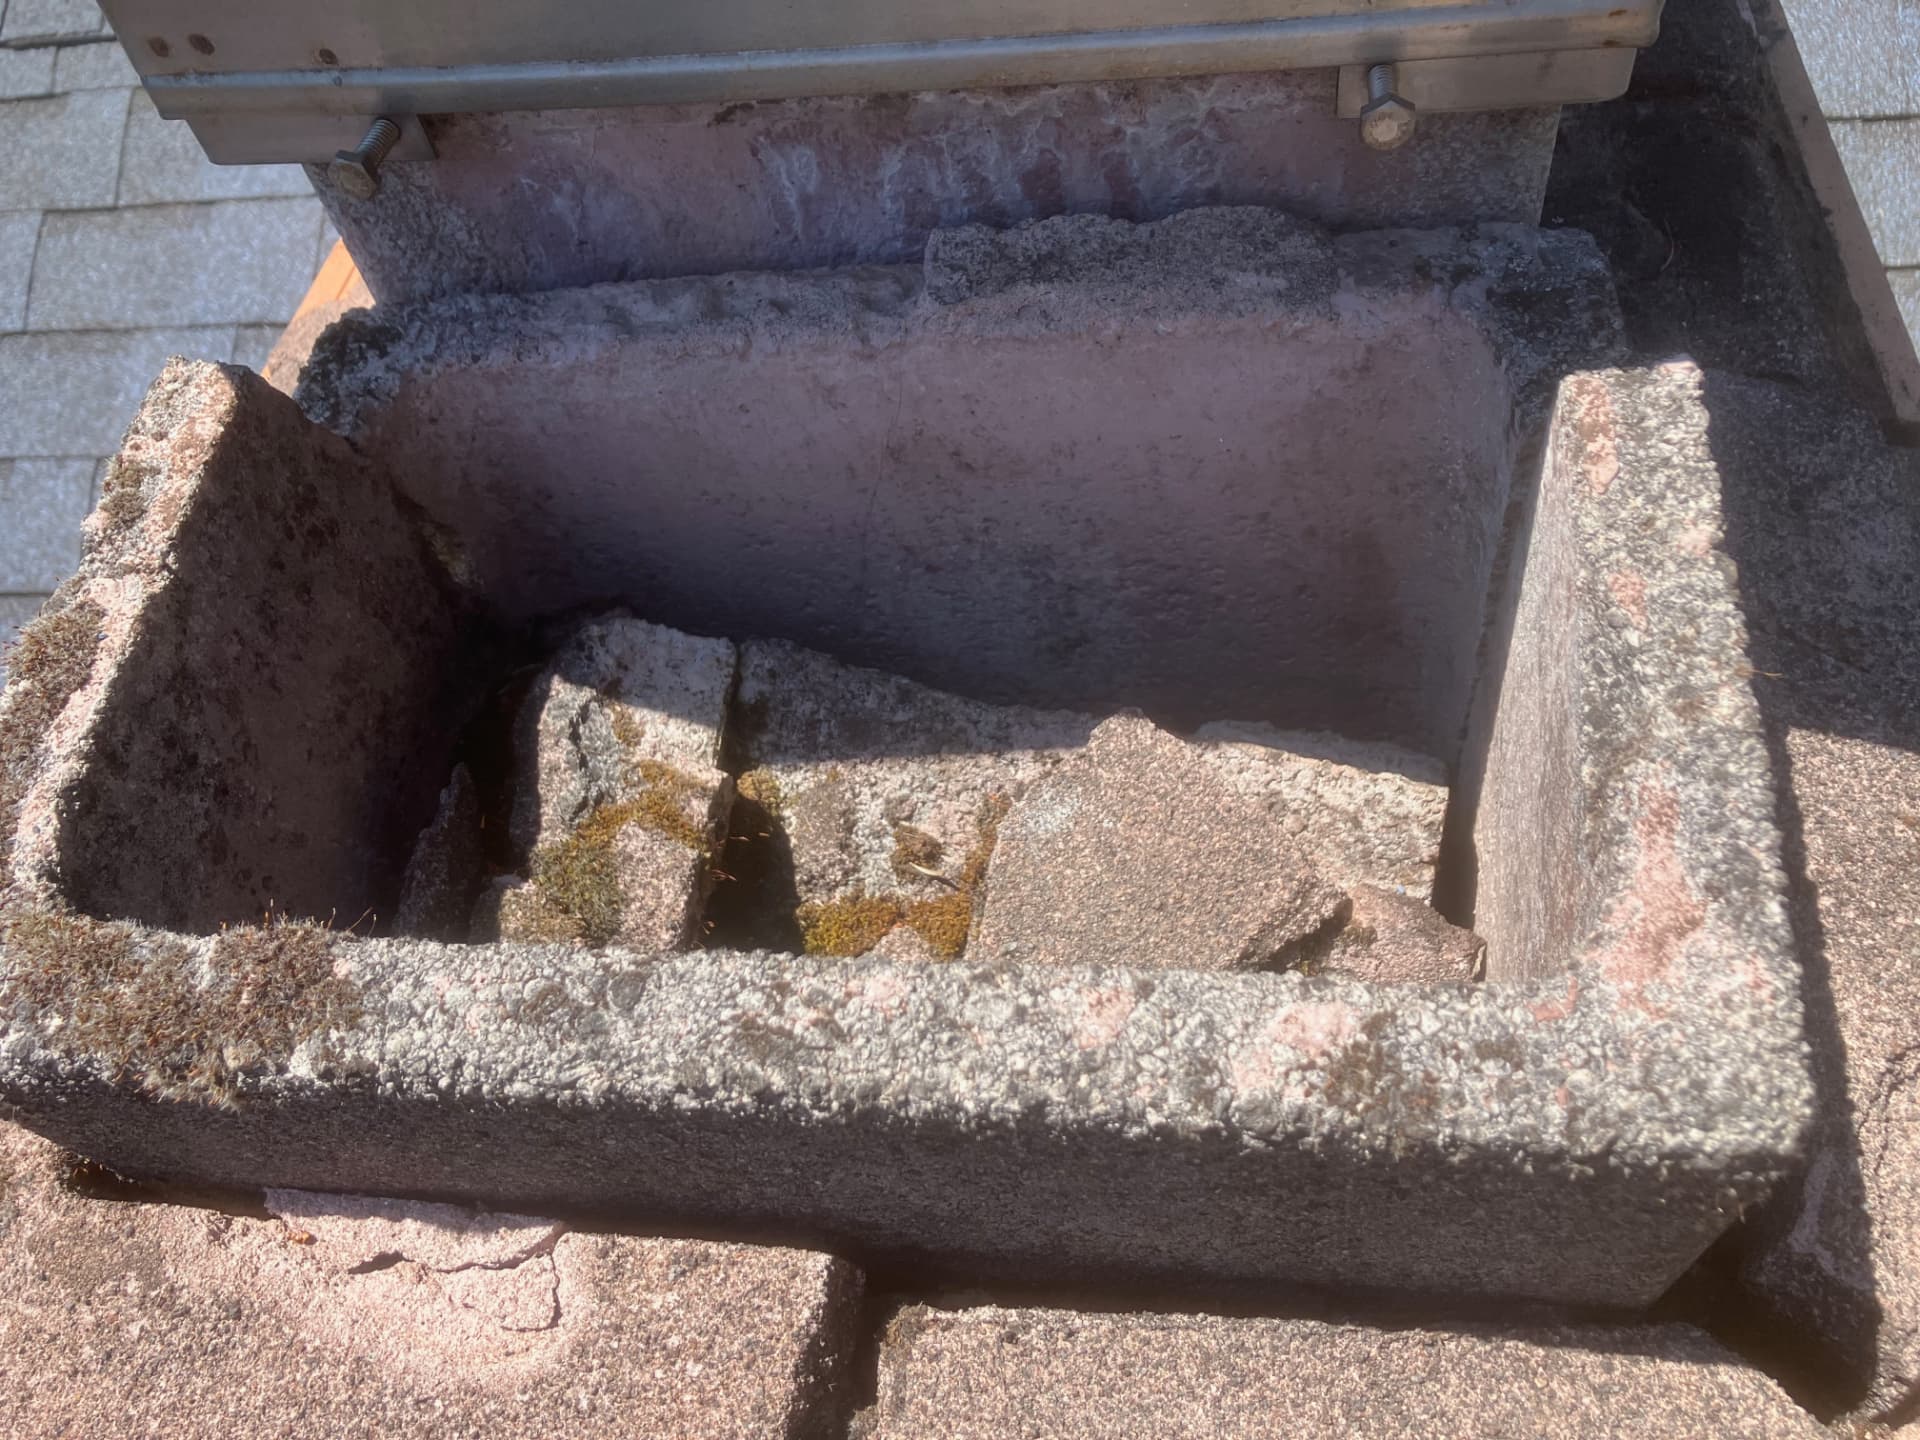
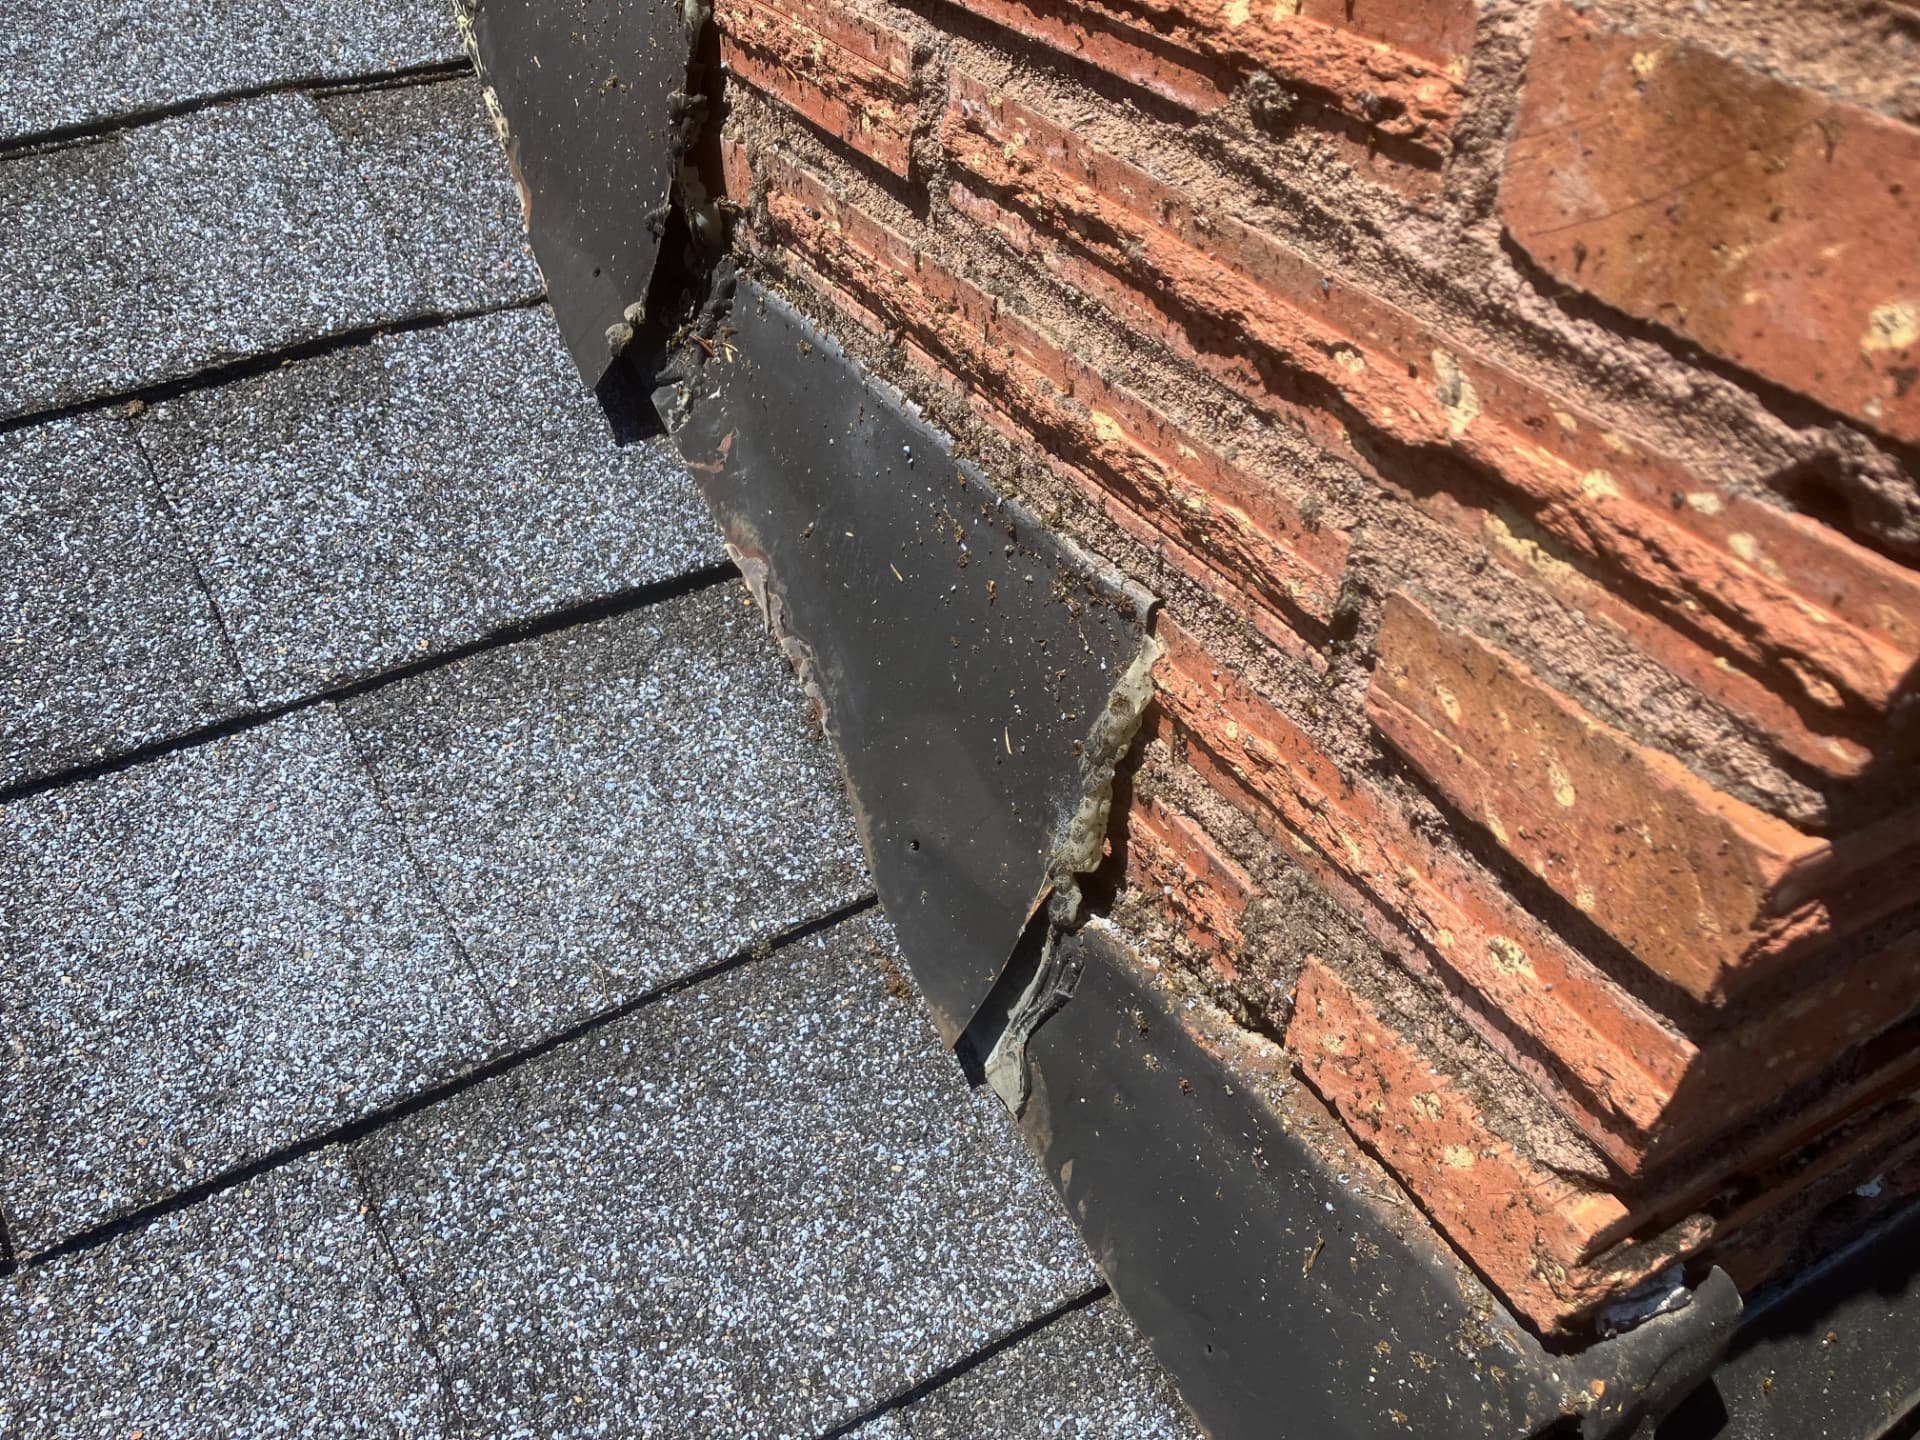
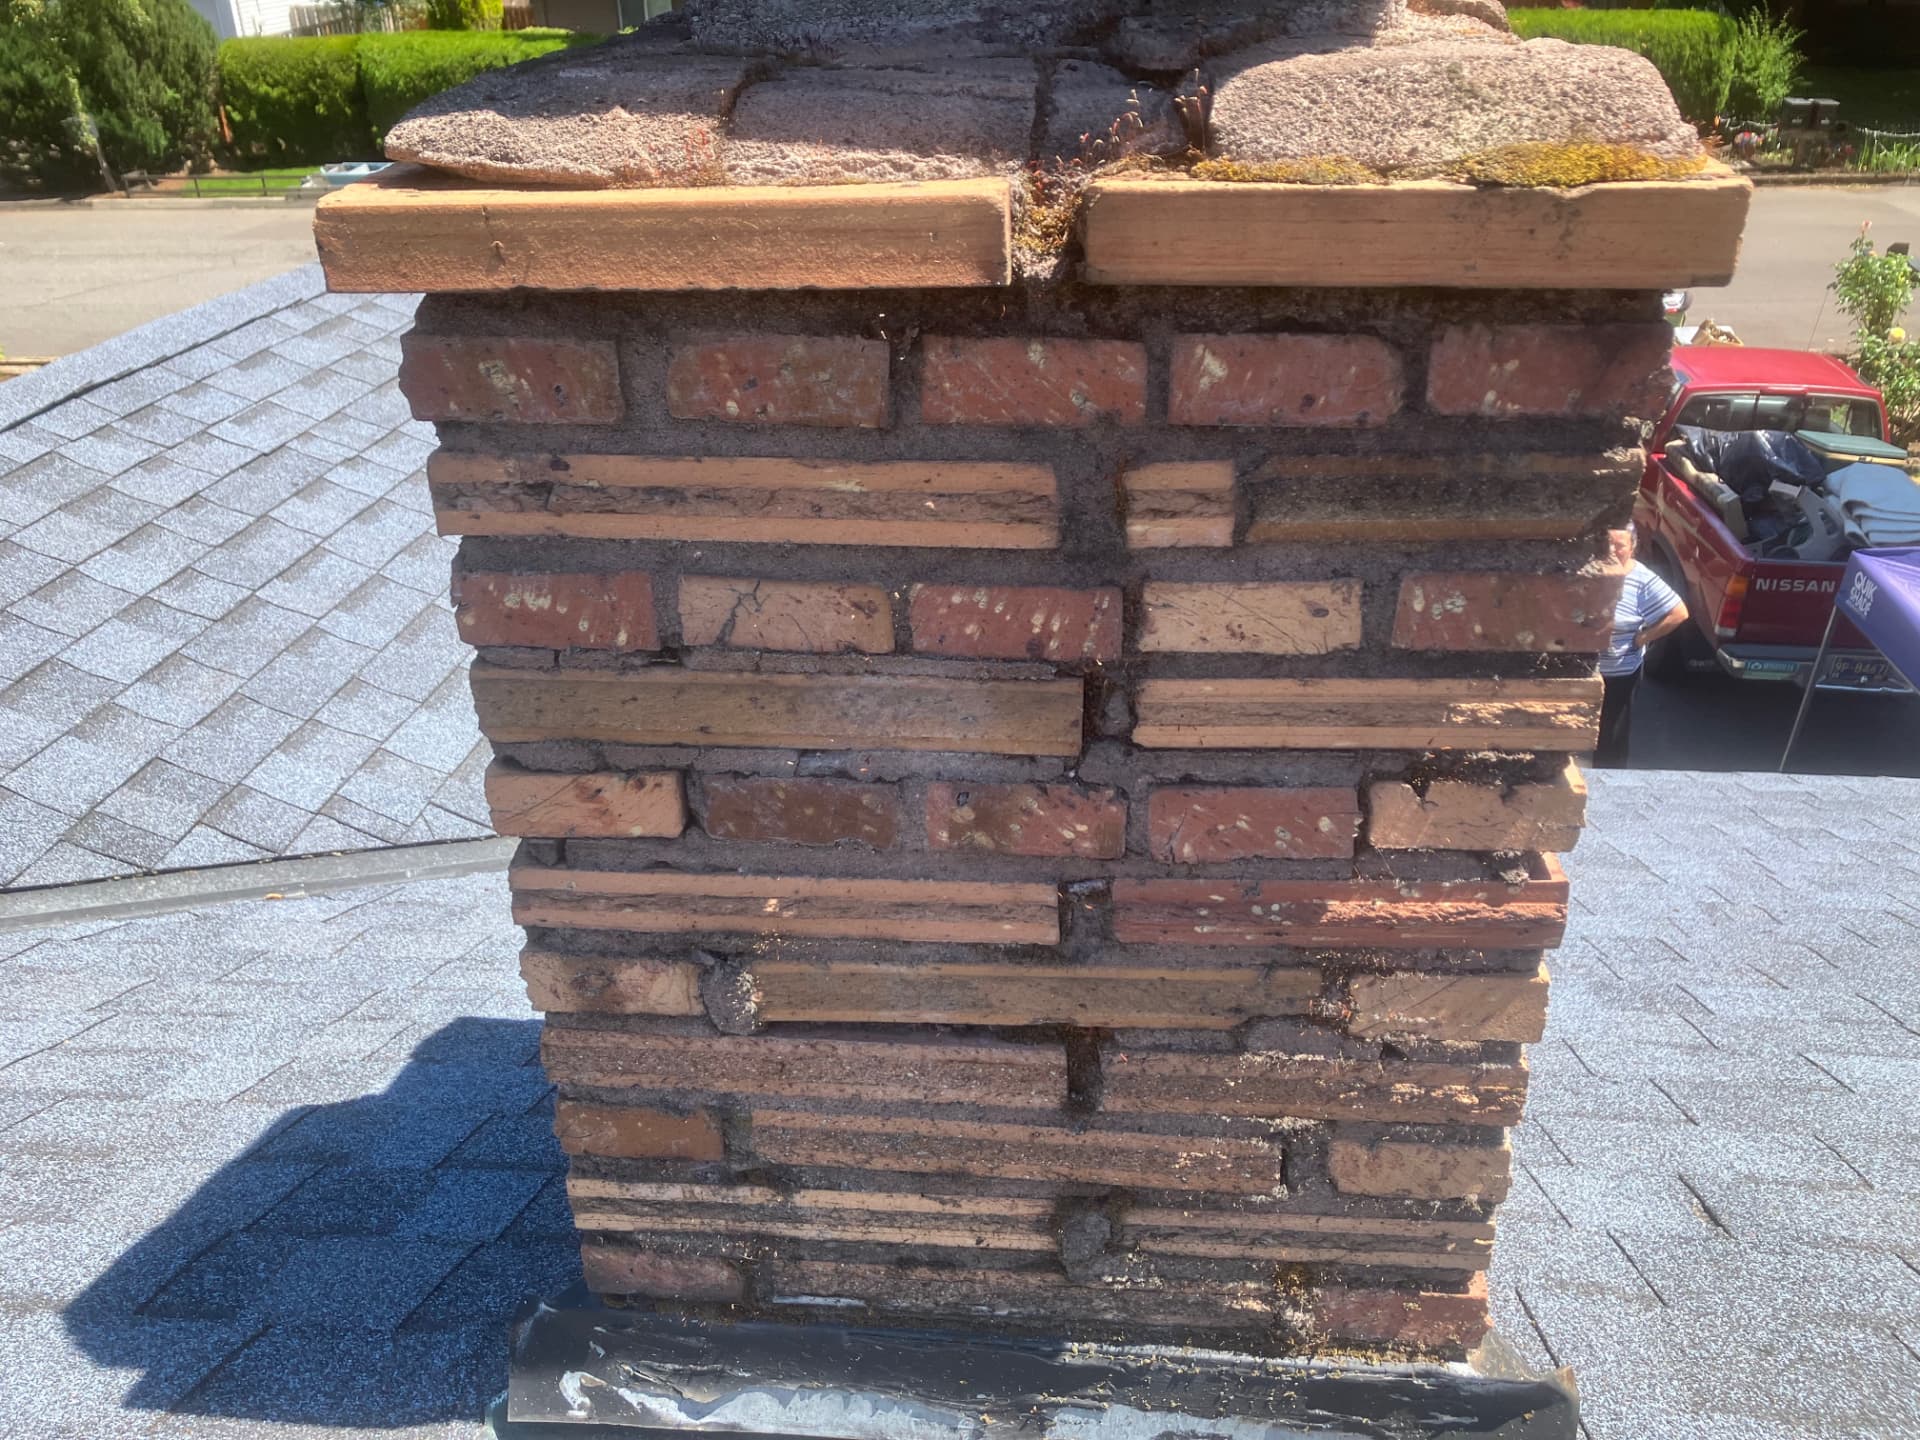
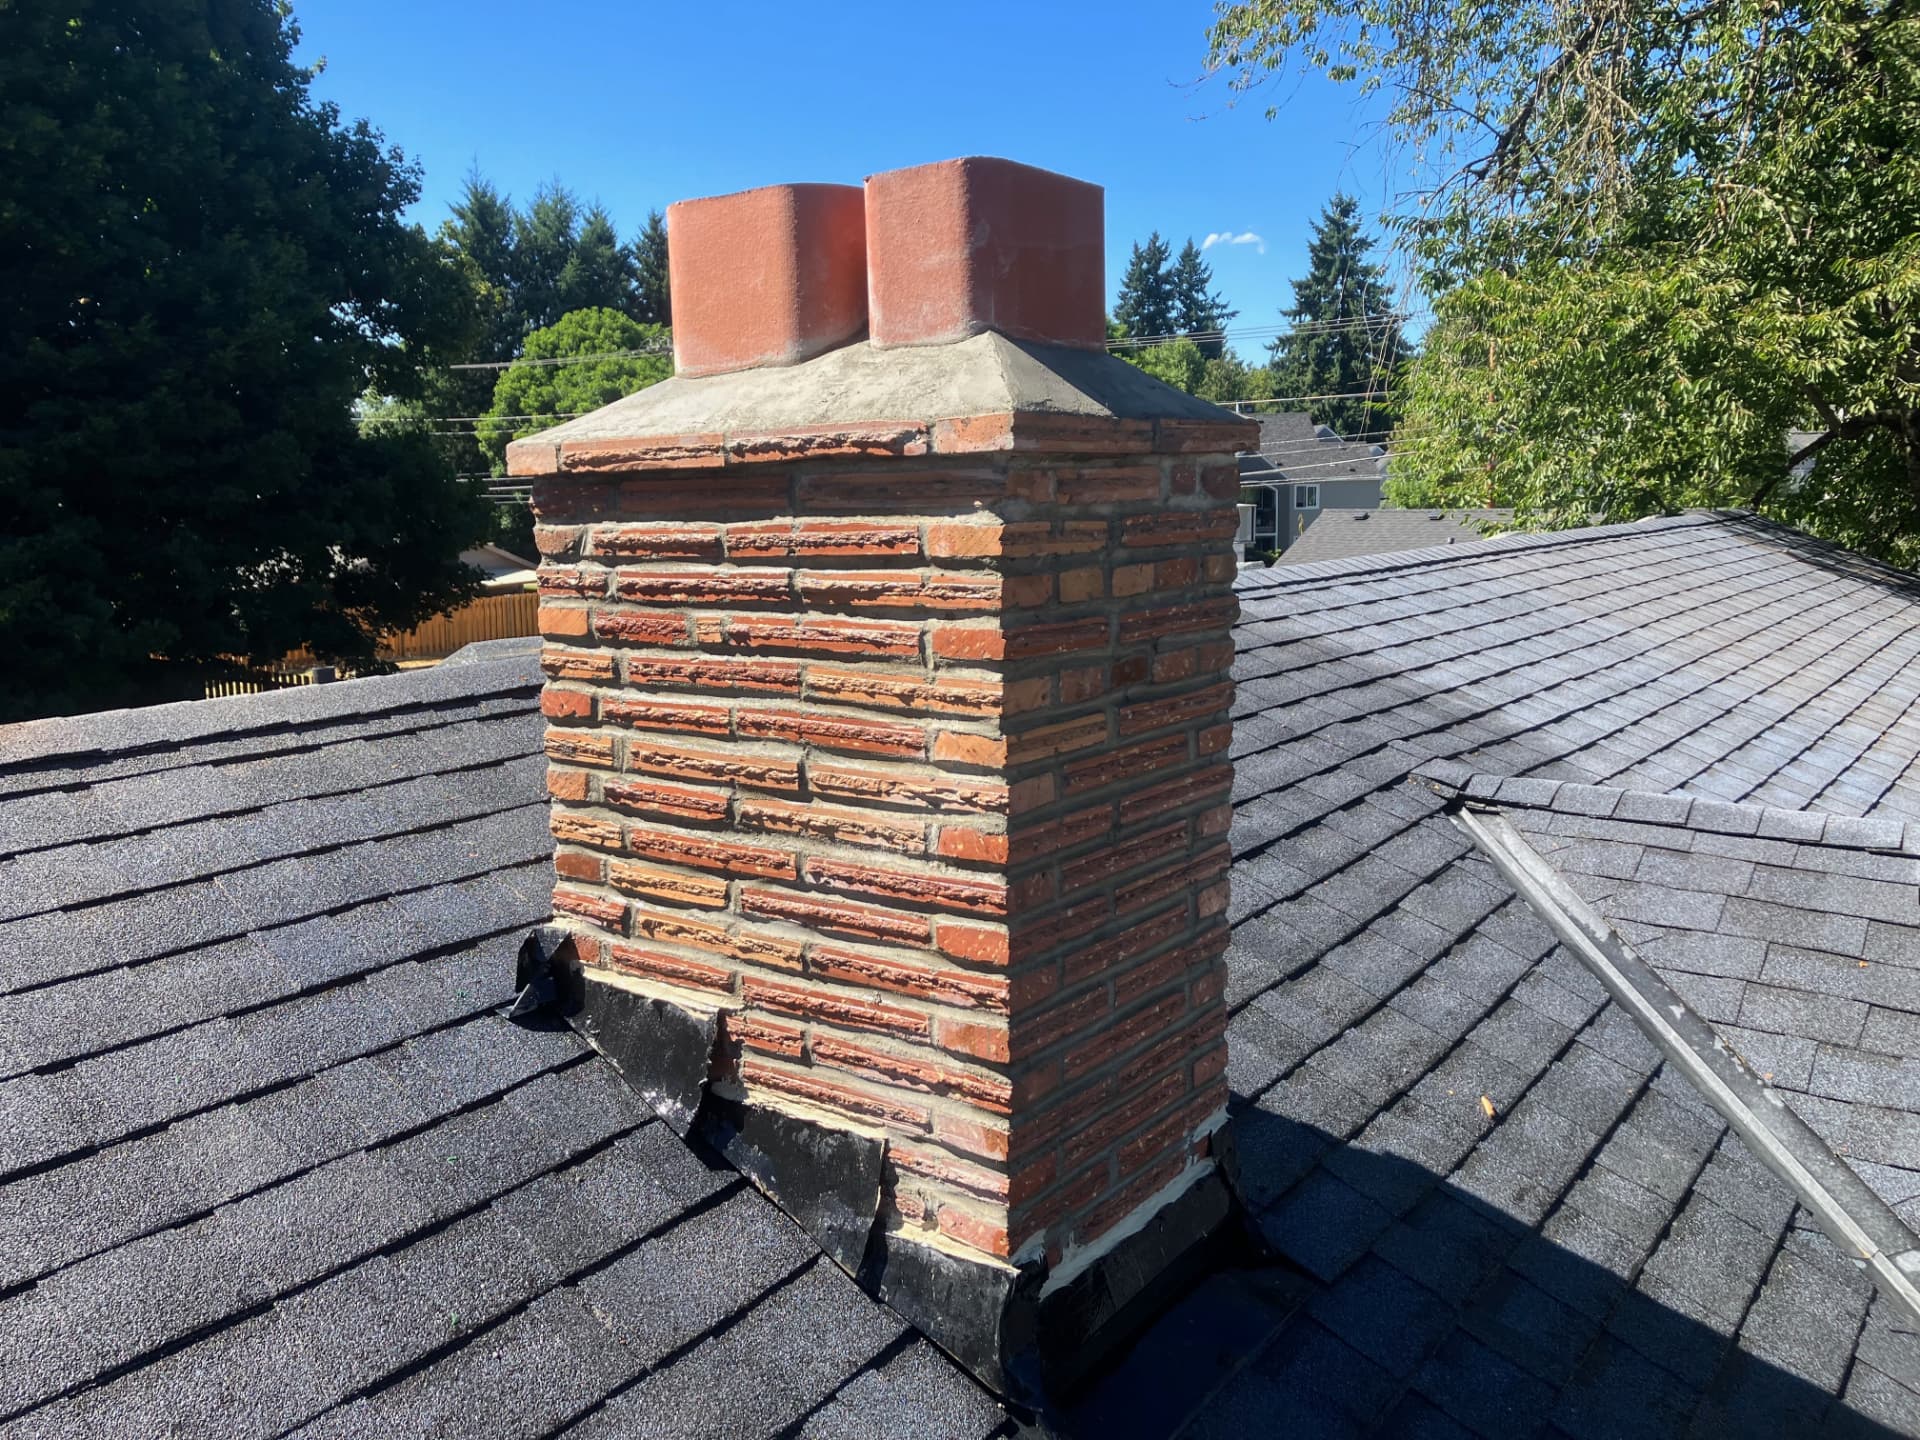
Before and After — Tuck Pointing from June 2025
A June 2025 job showing moss-filled mortar joints, heavy efflorescence and a broken, spalled crown before the work, and the same chimney repointed with fresh mortar and sealed flashing.
Before
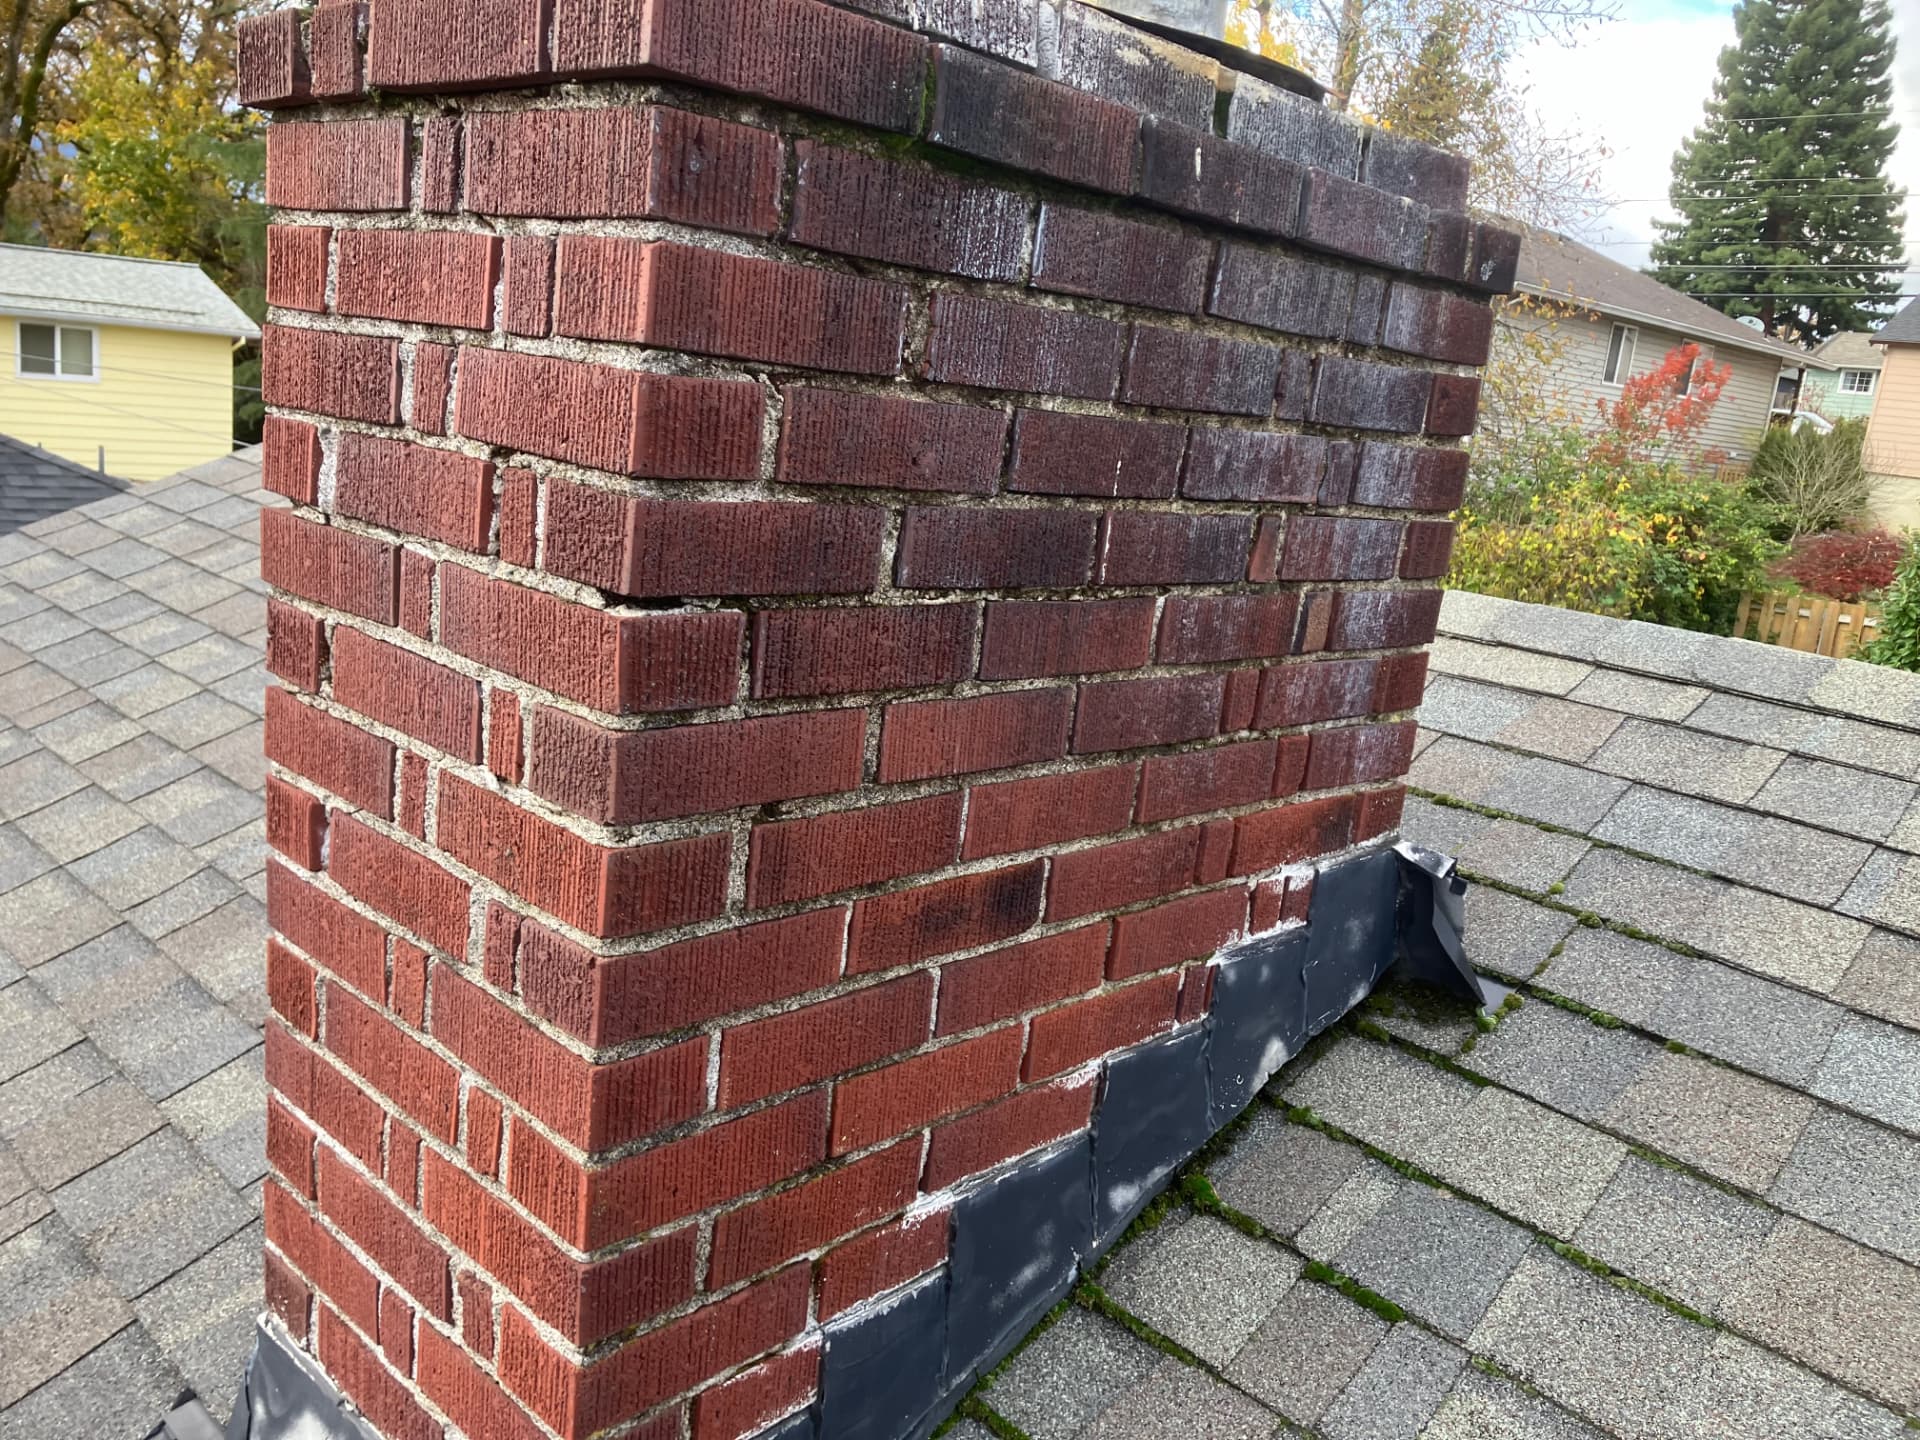
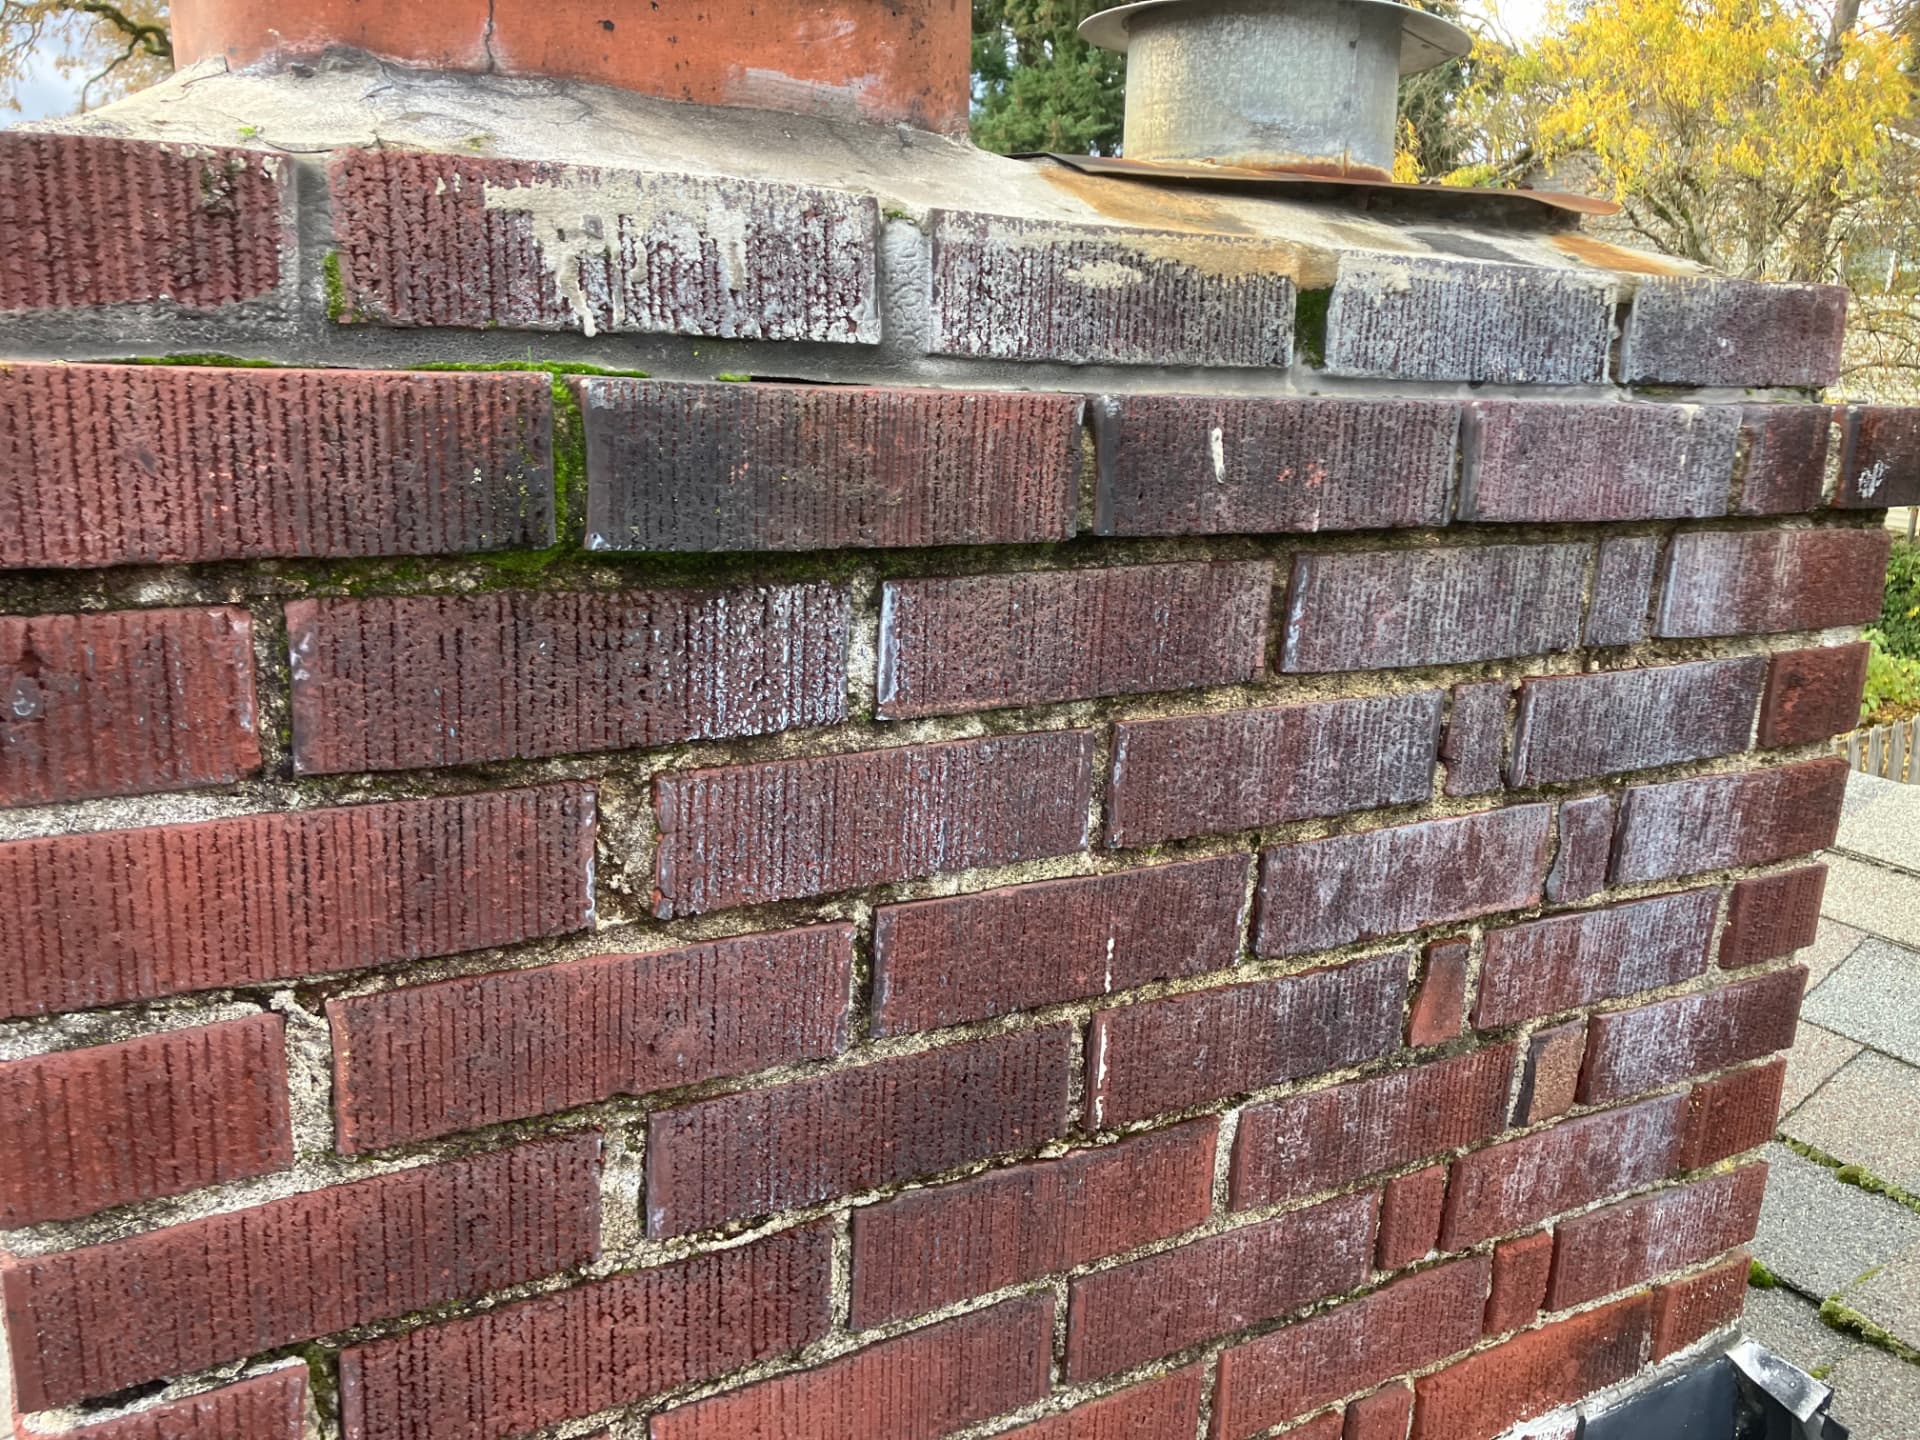
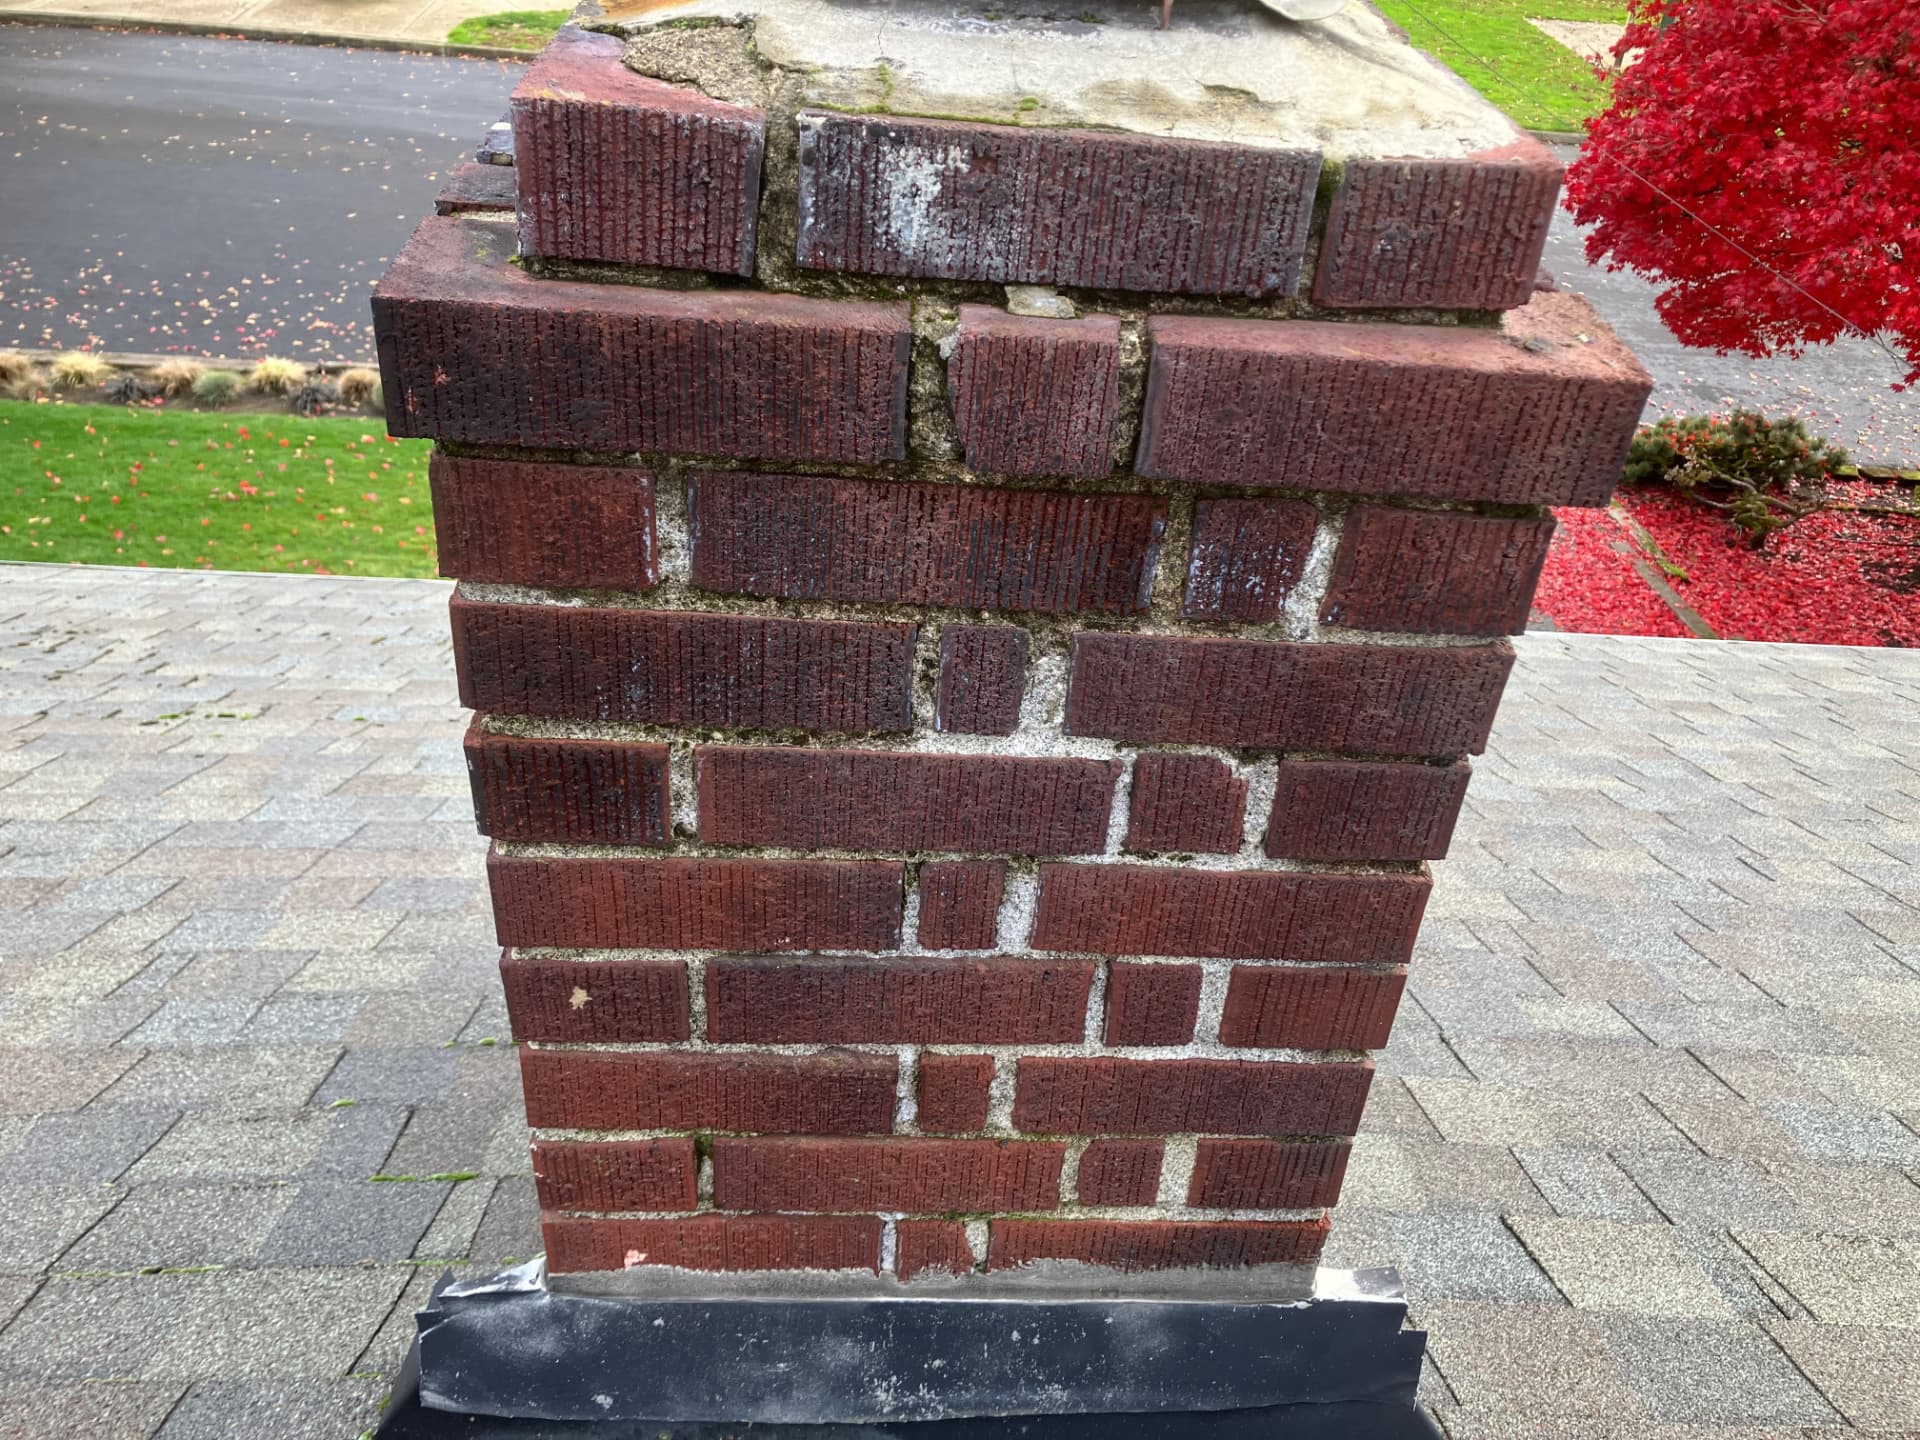
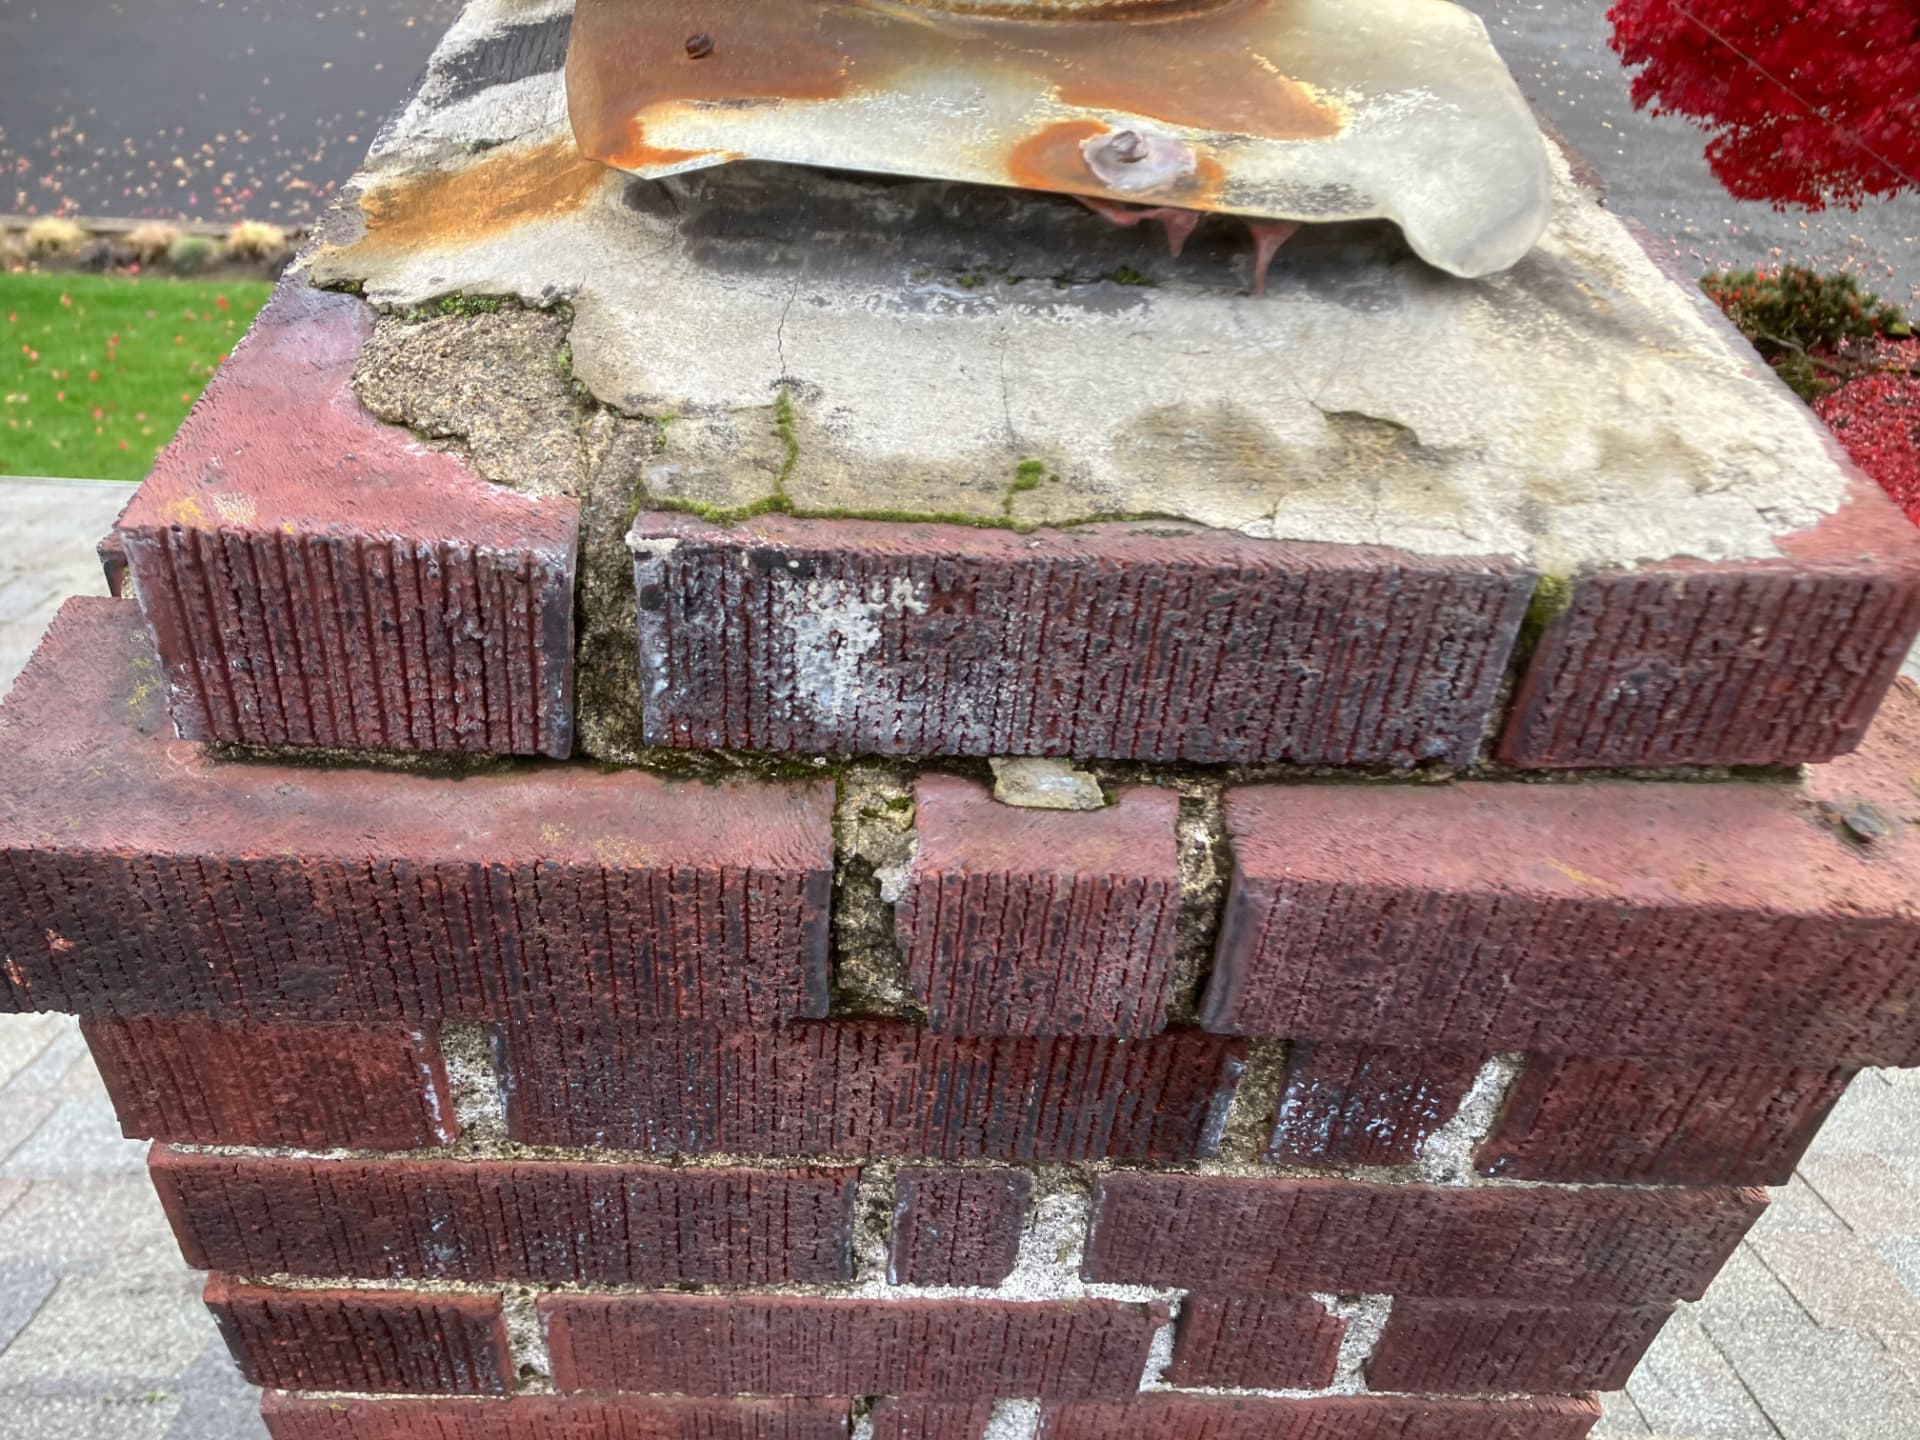
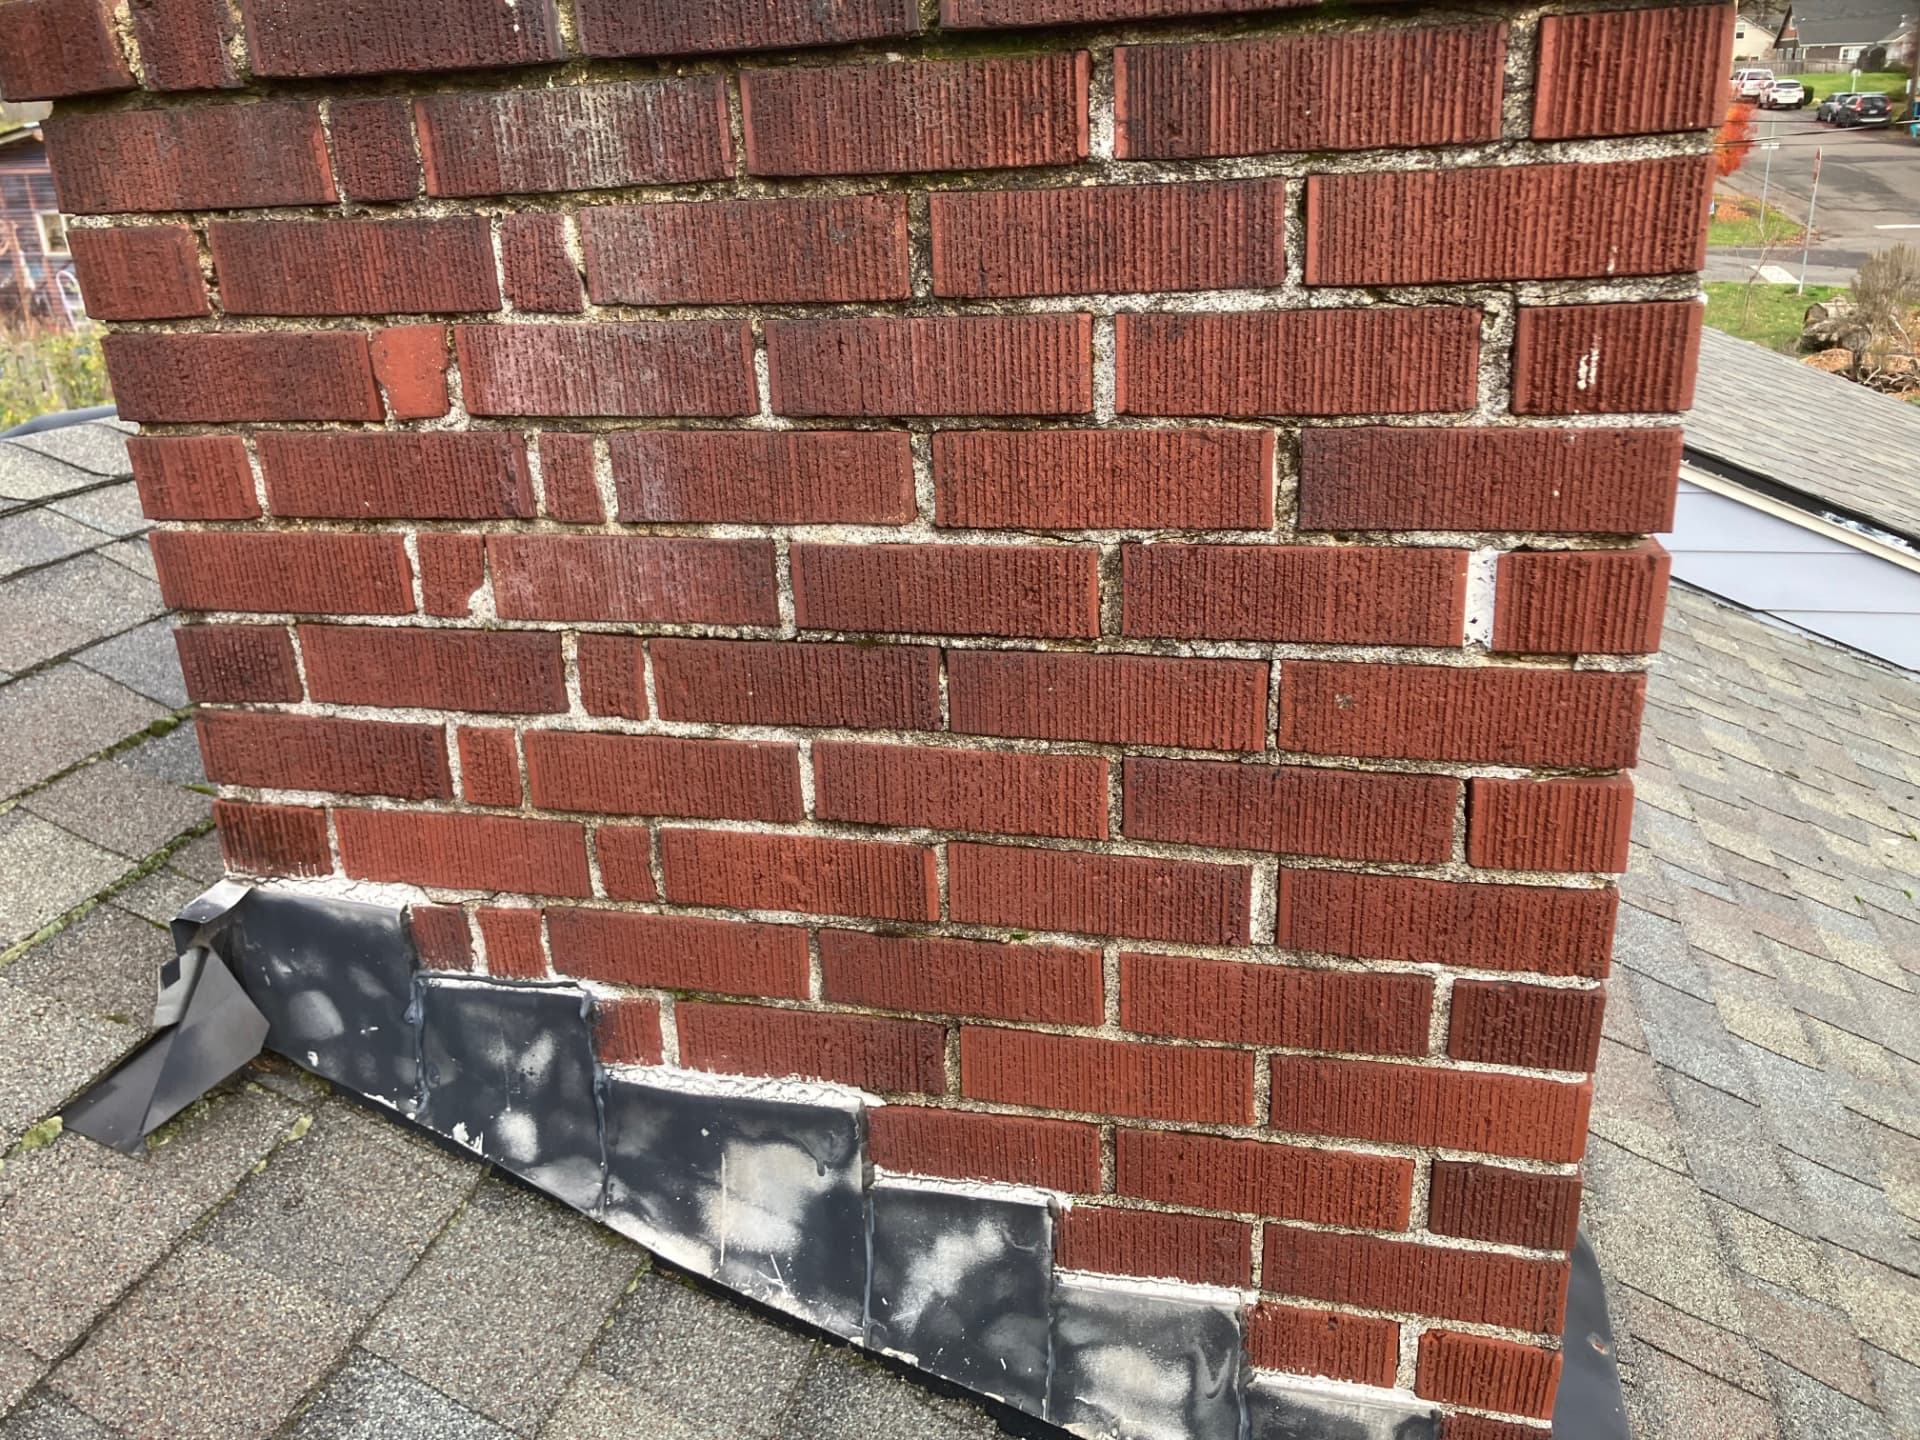
After
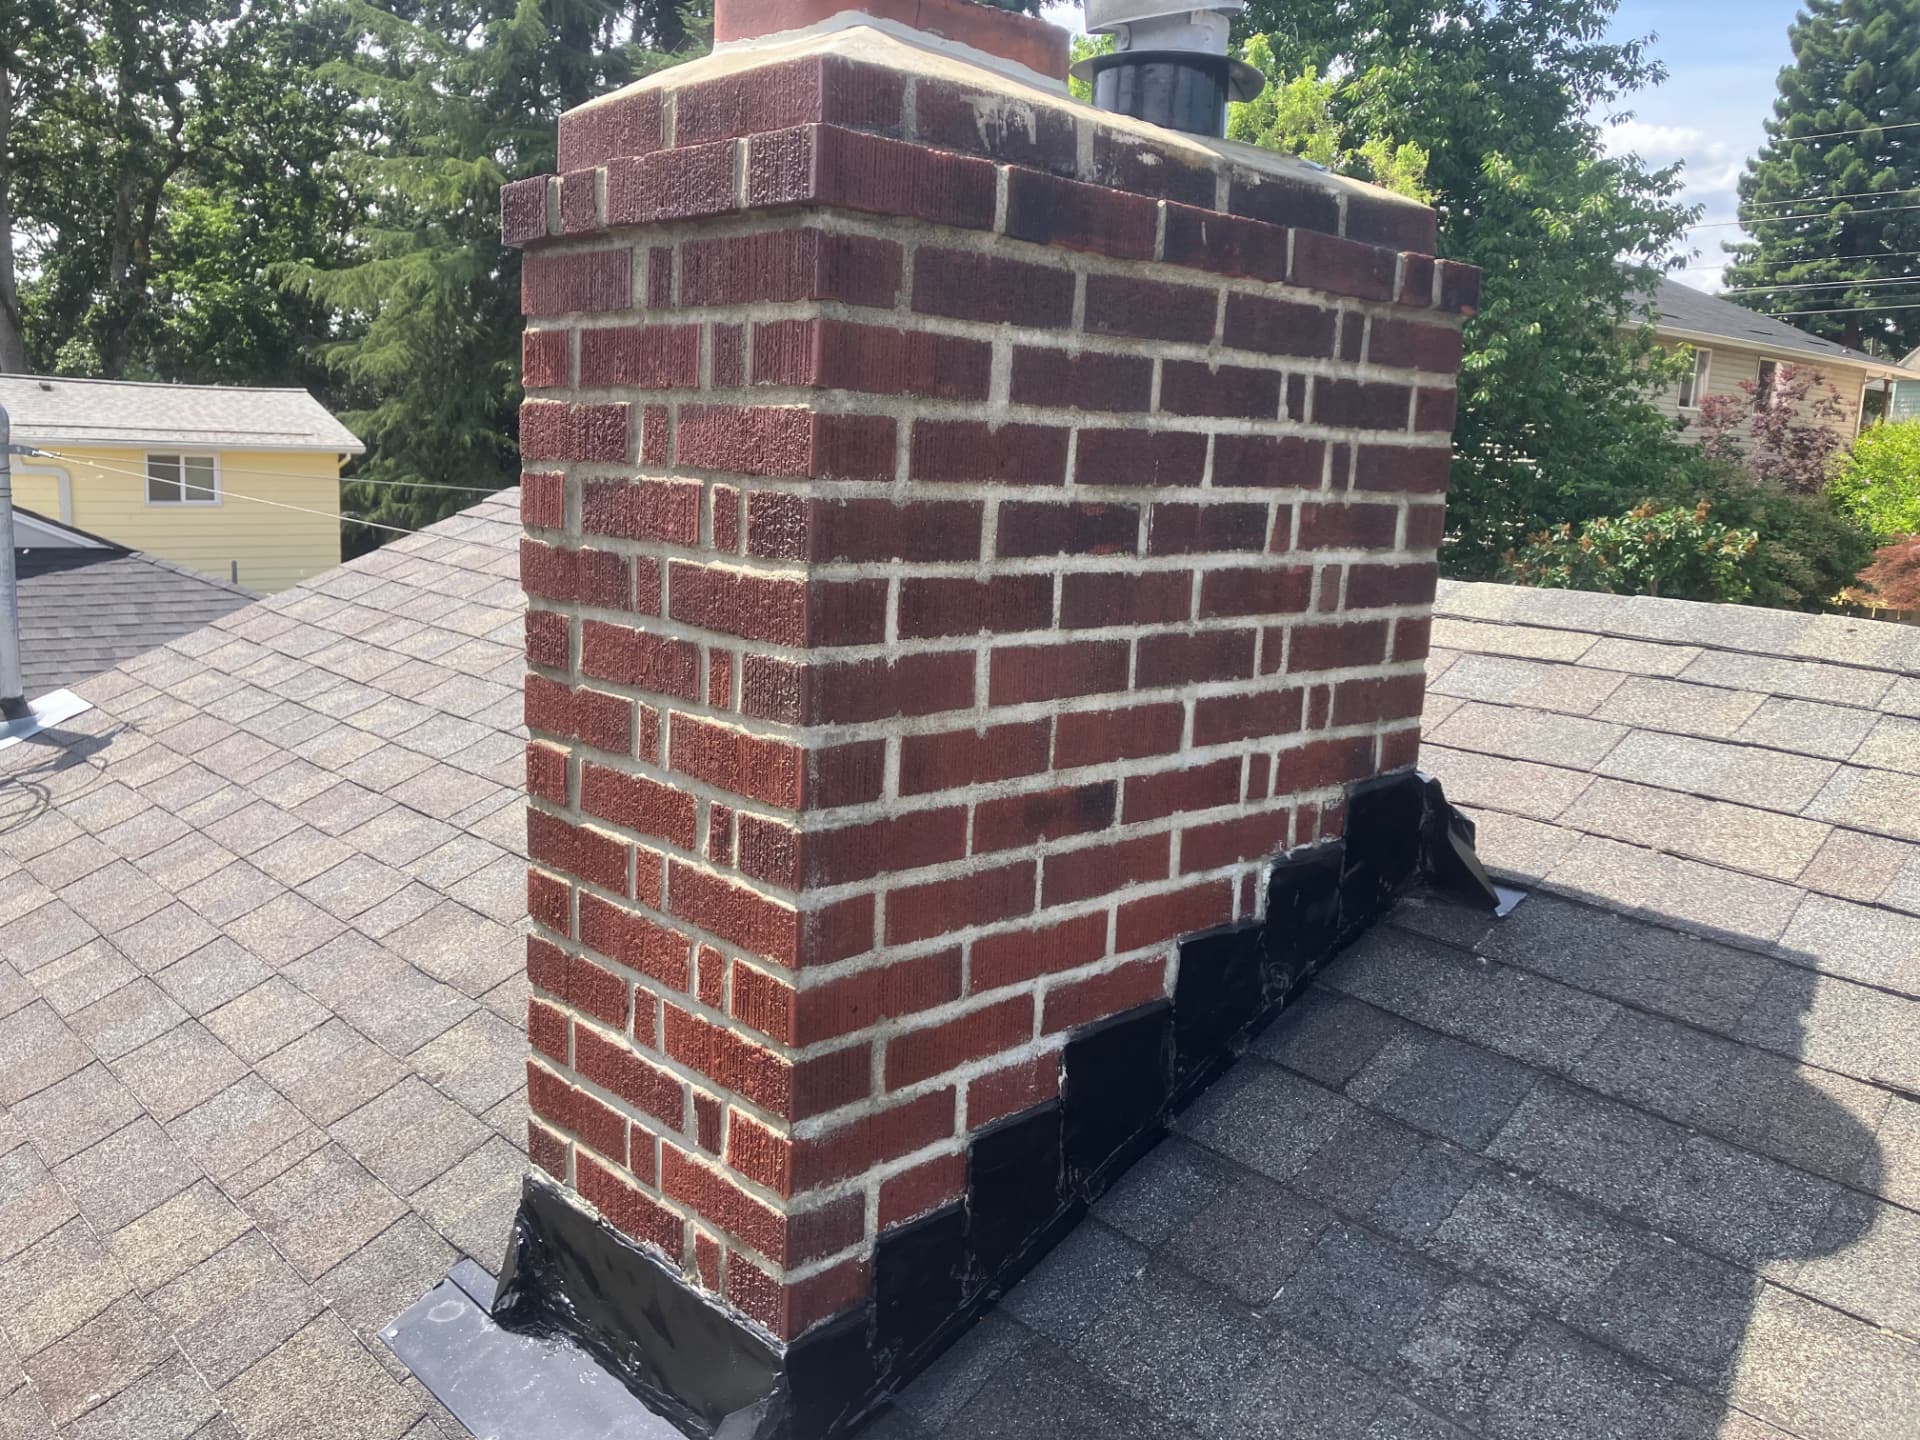
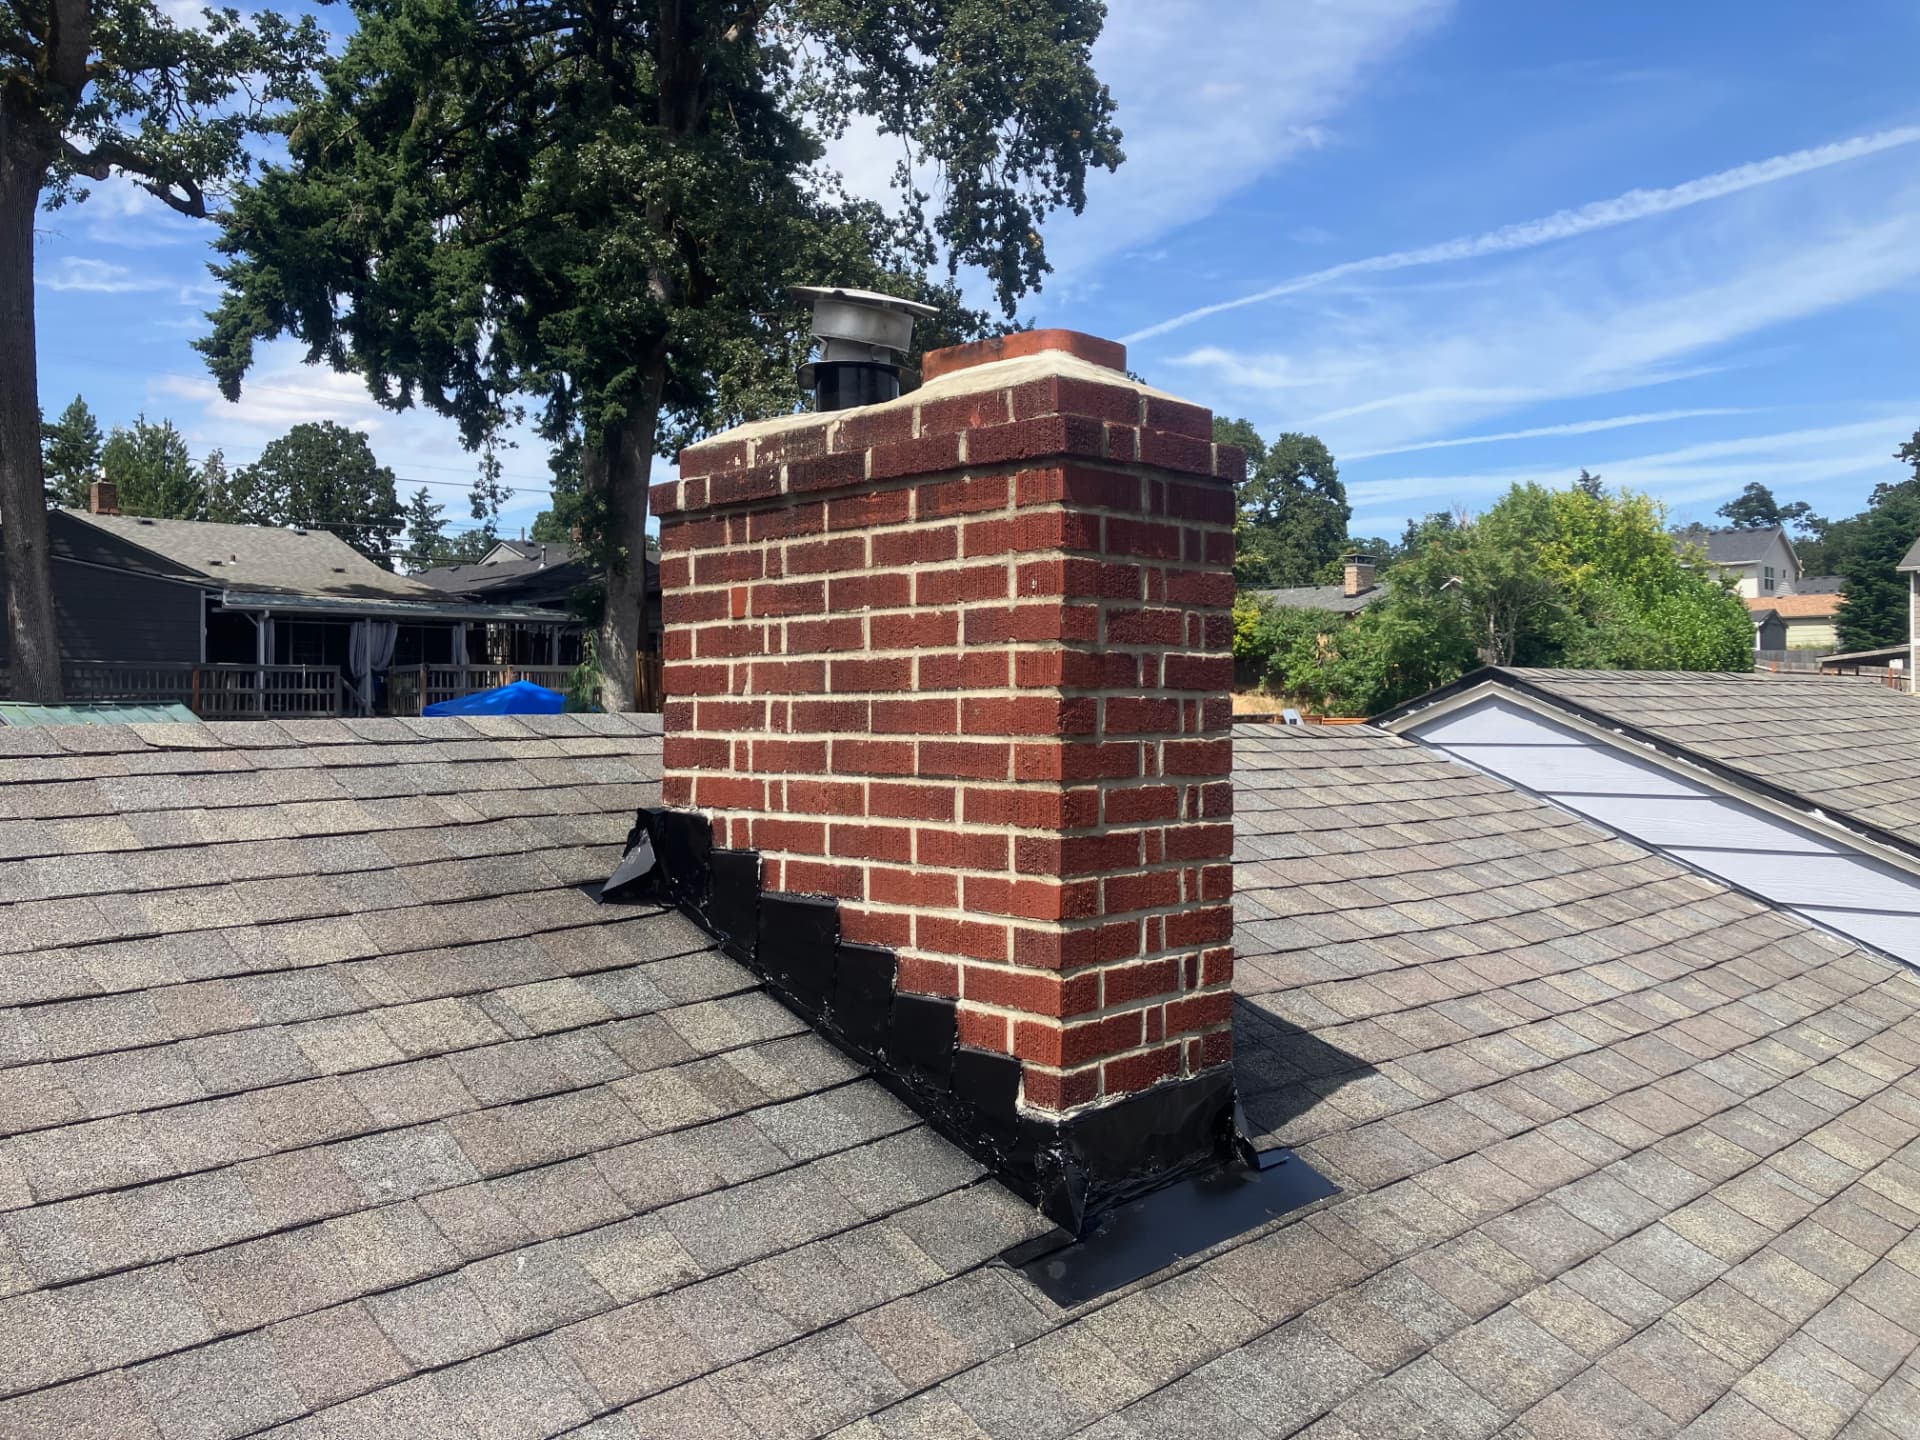
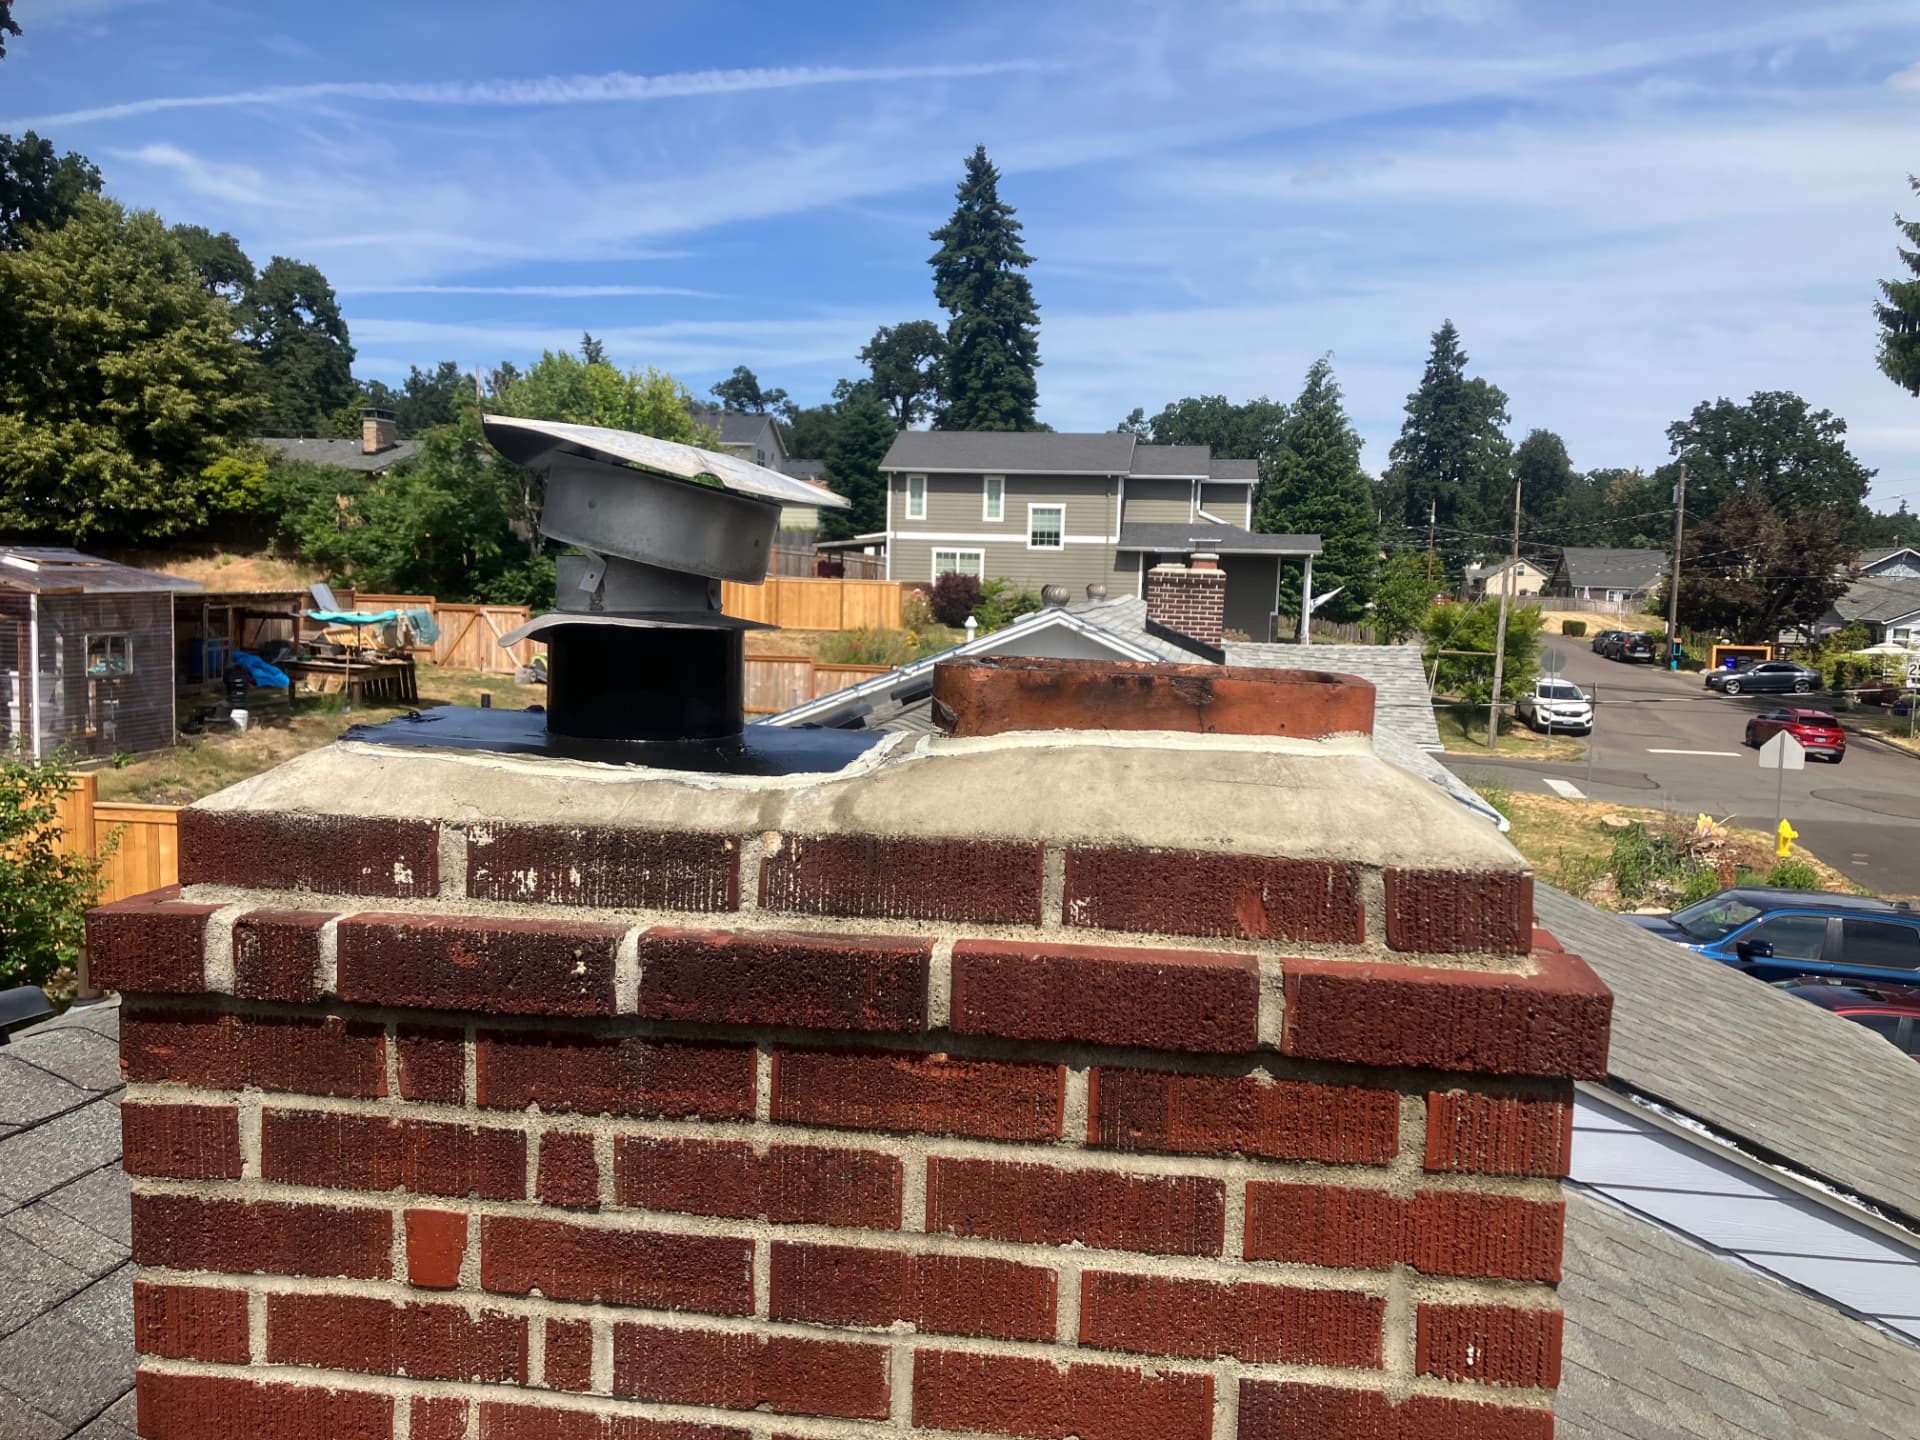
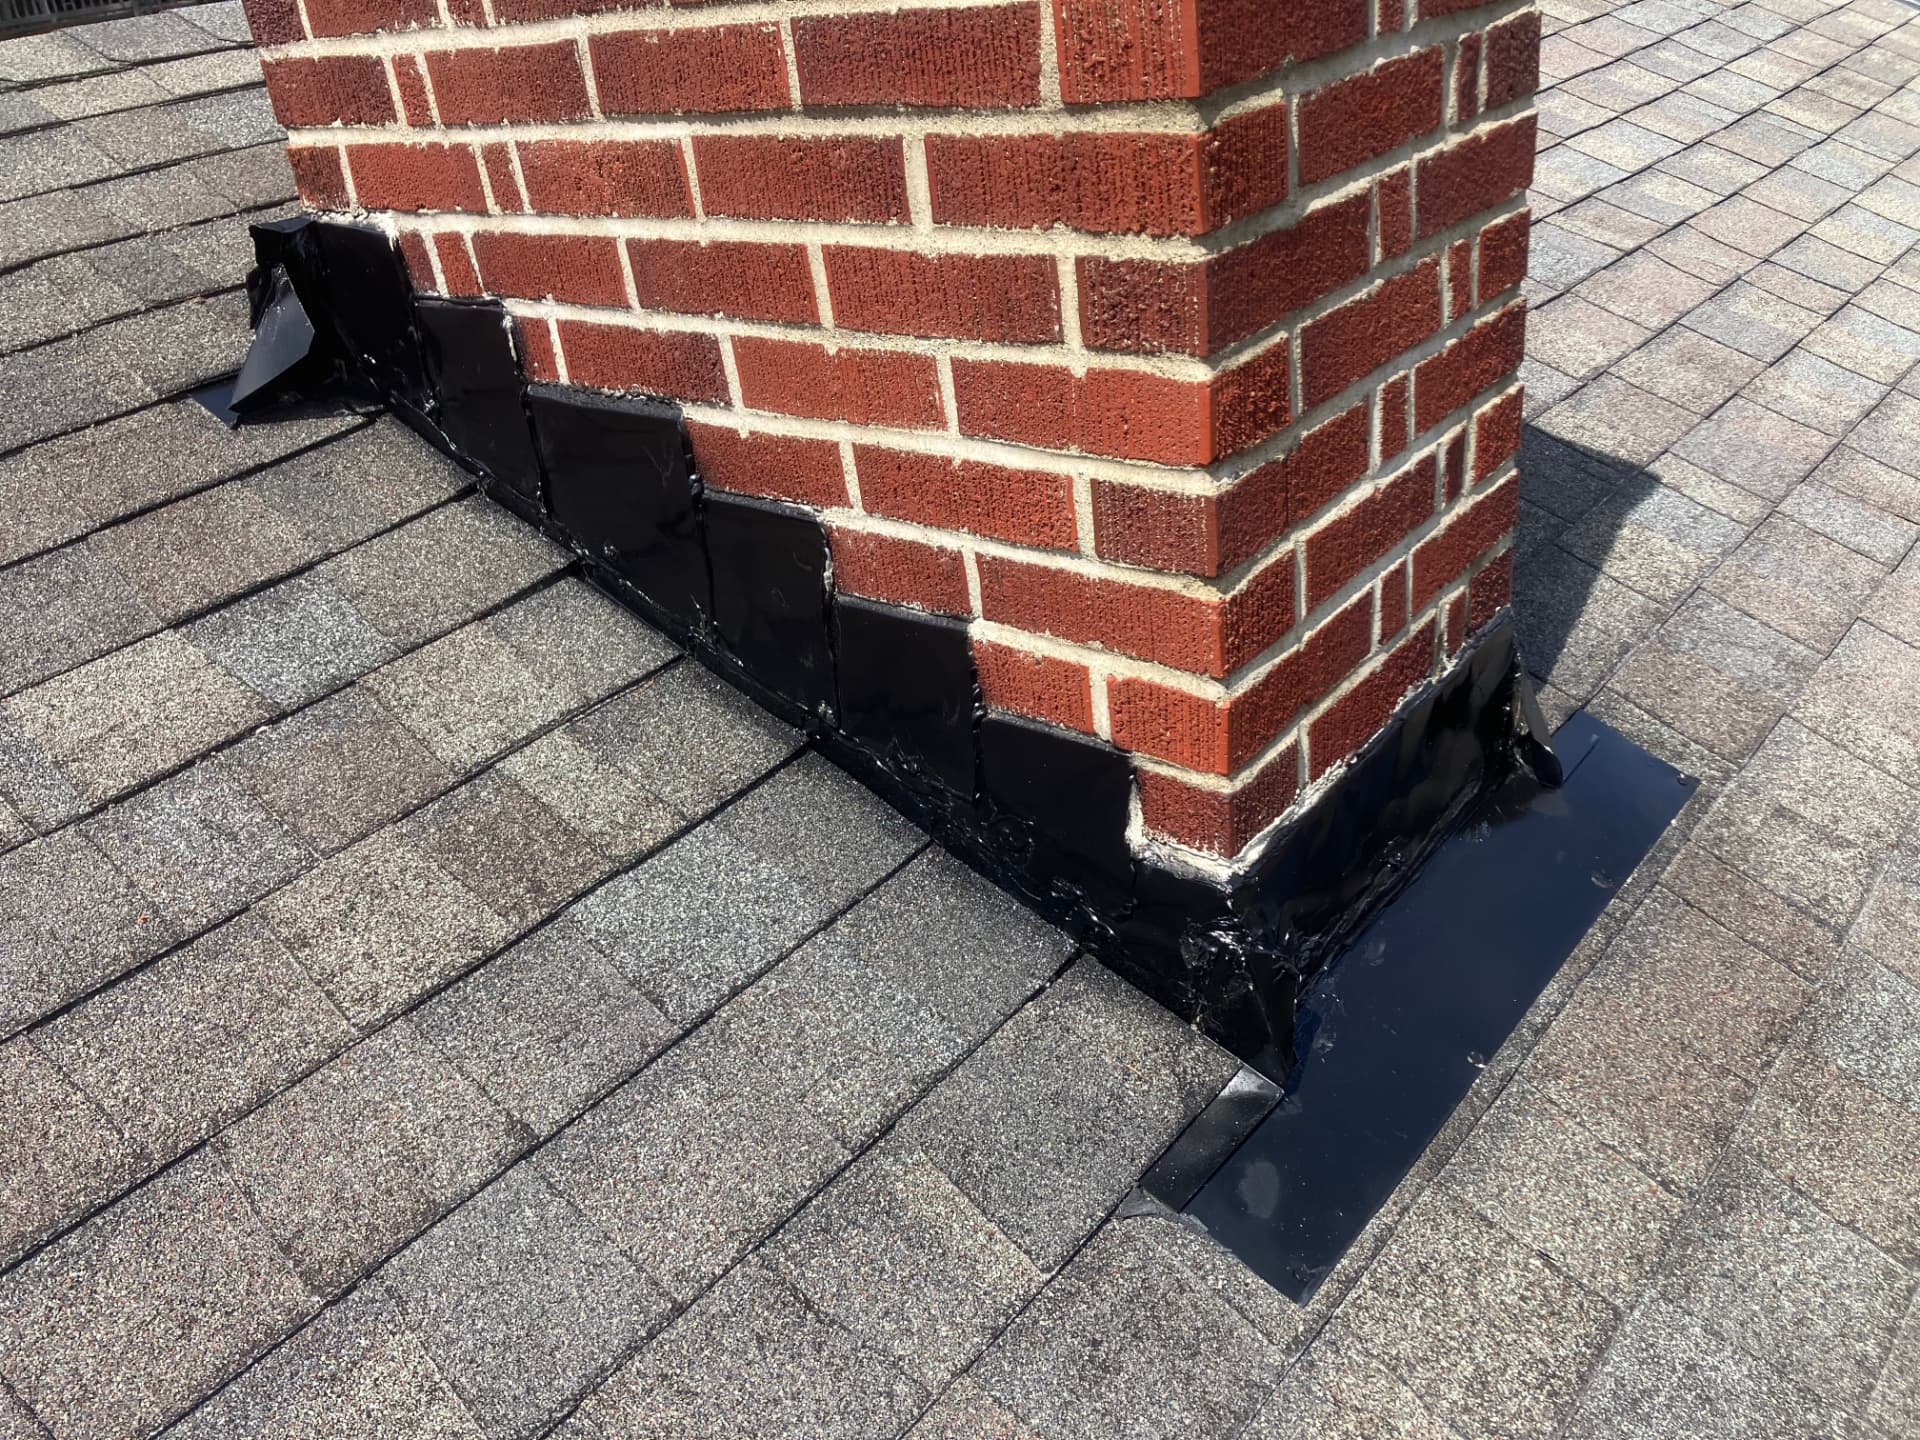
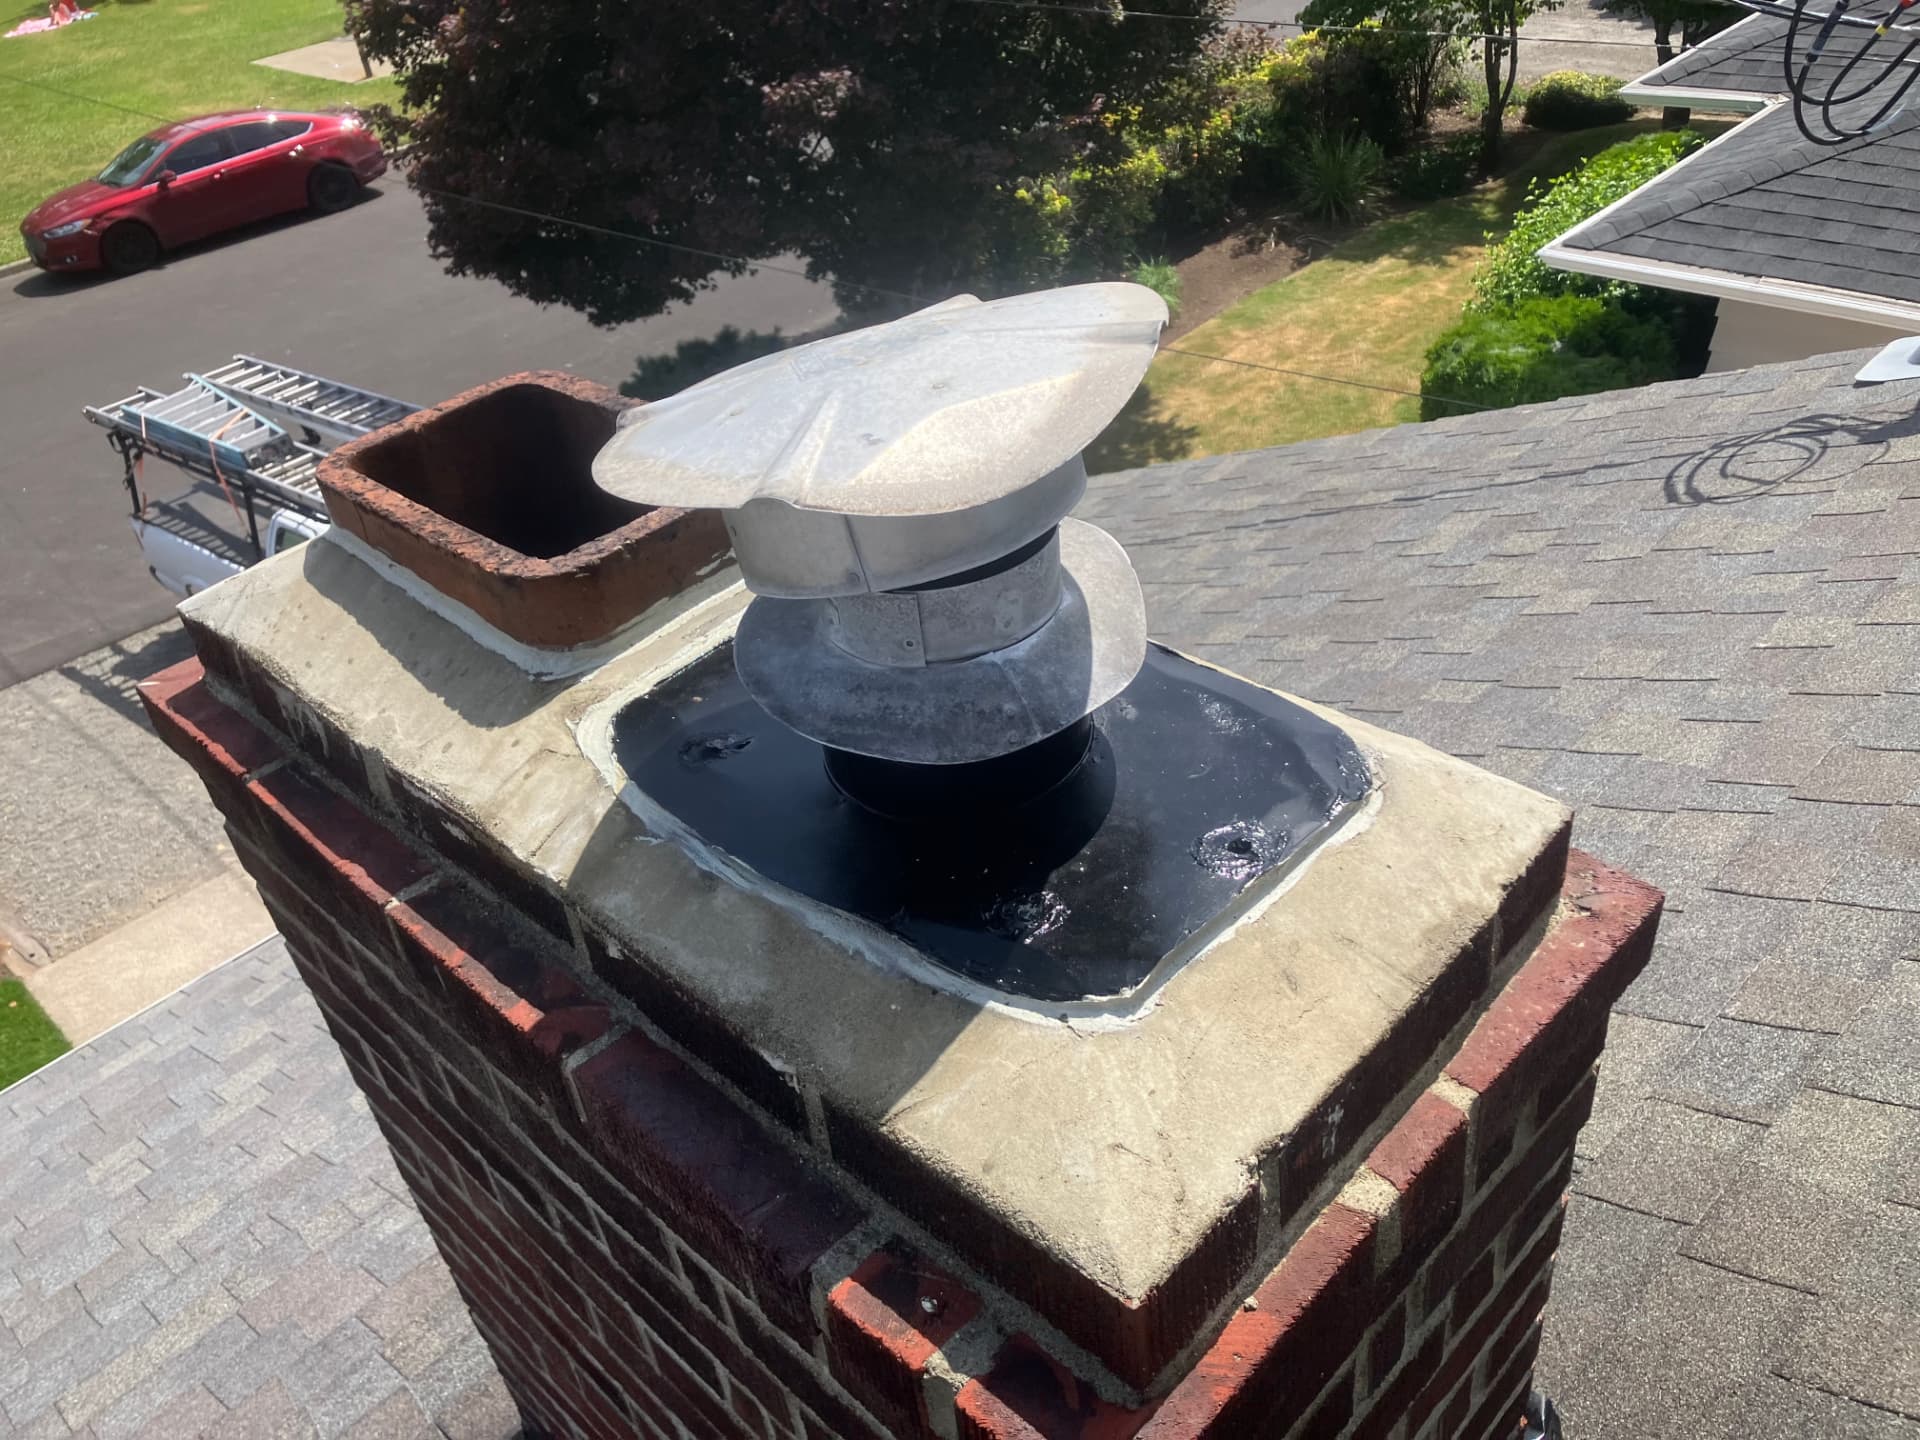
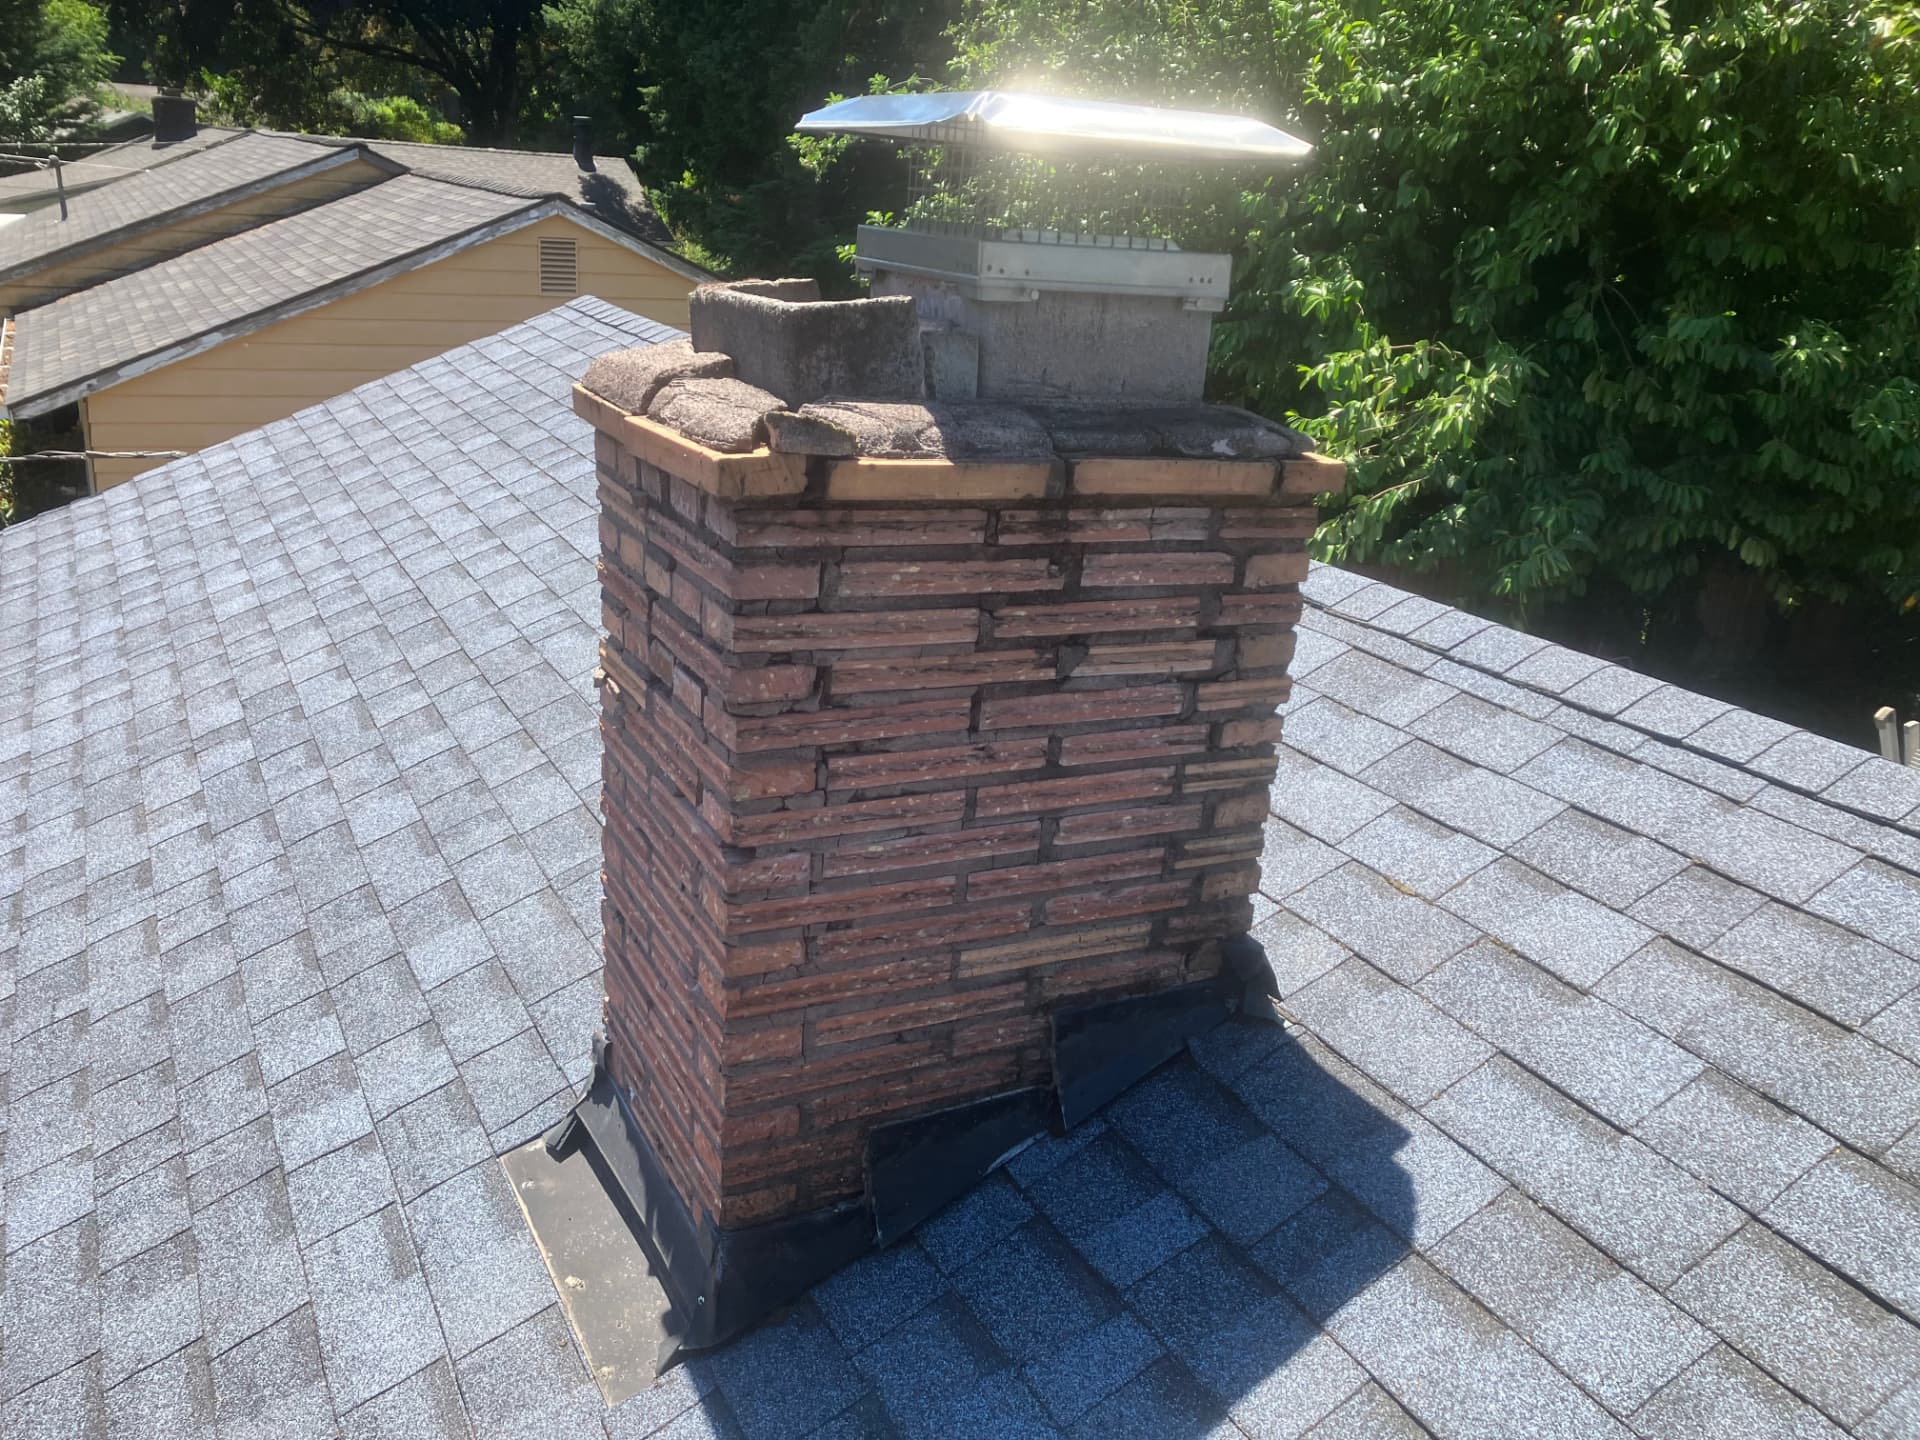
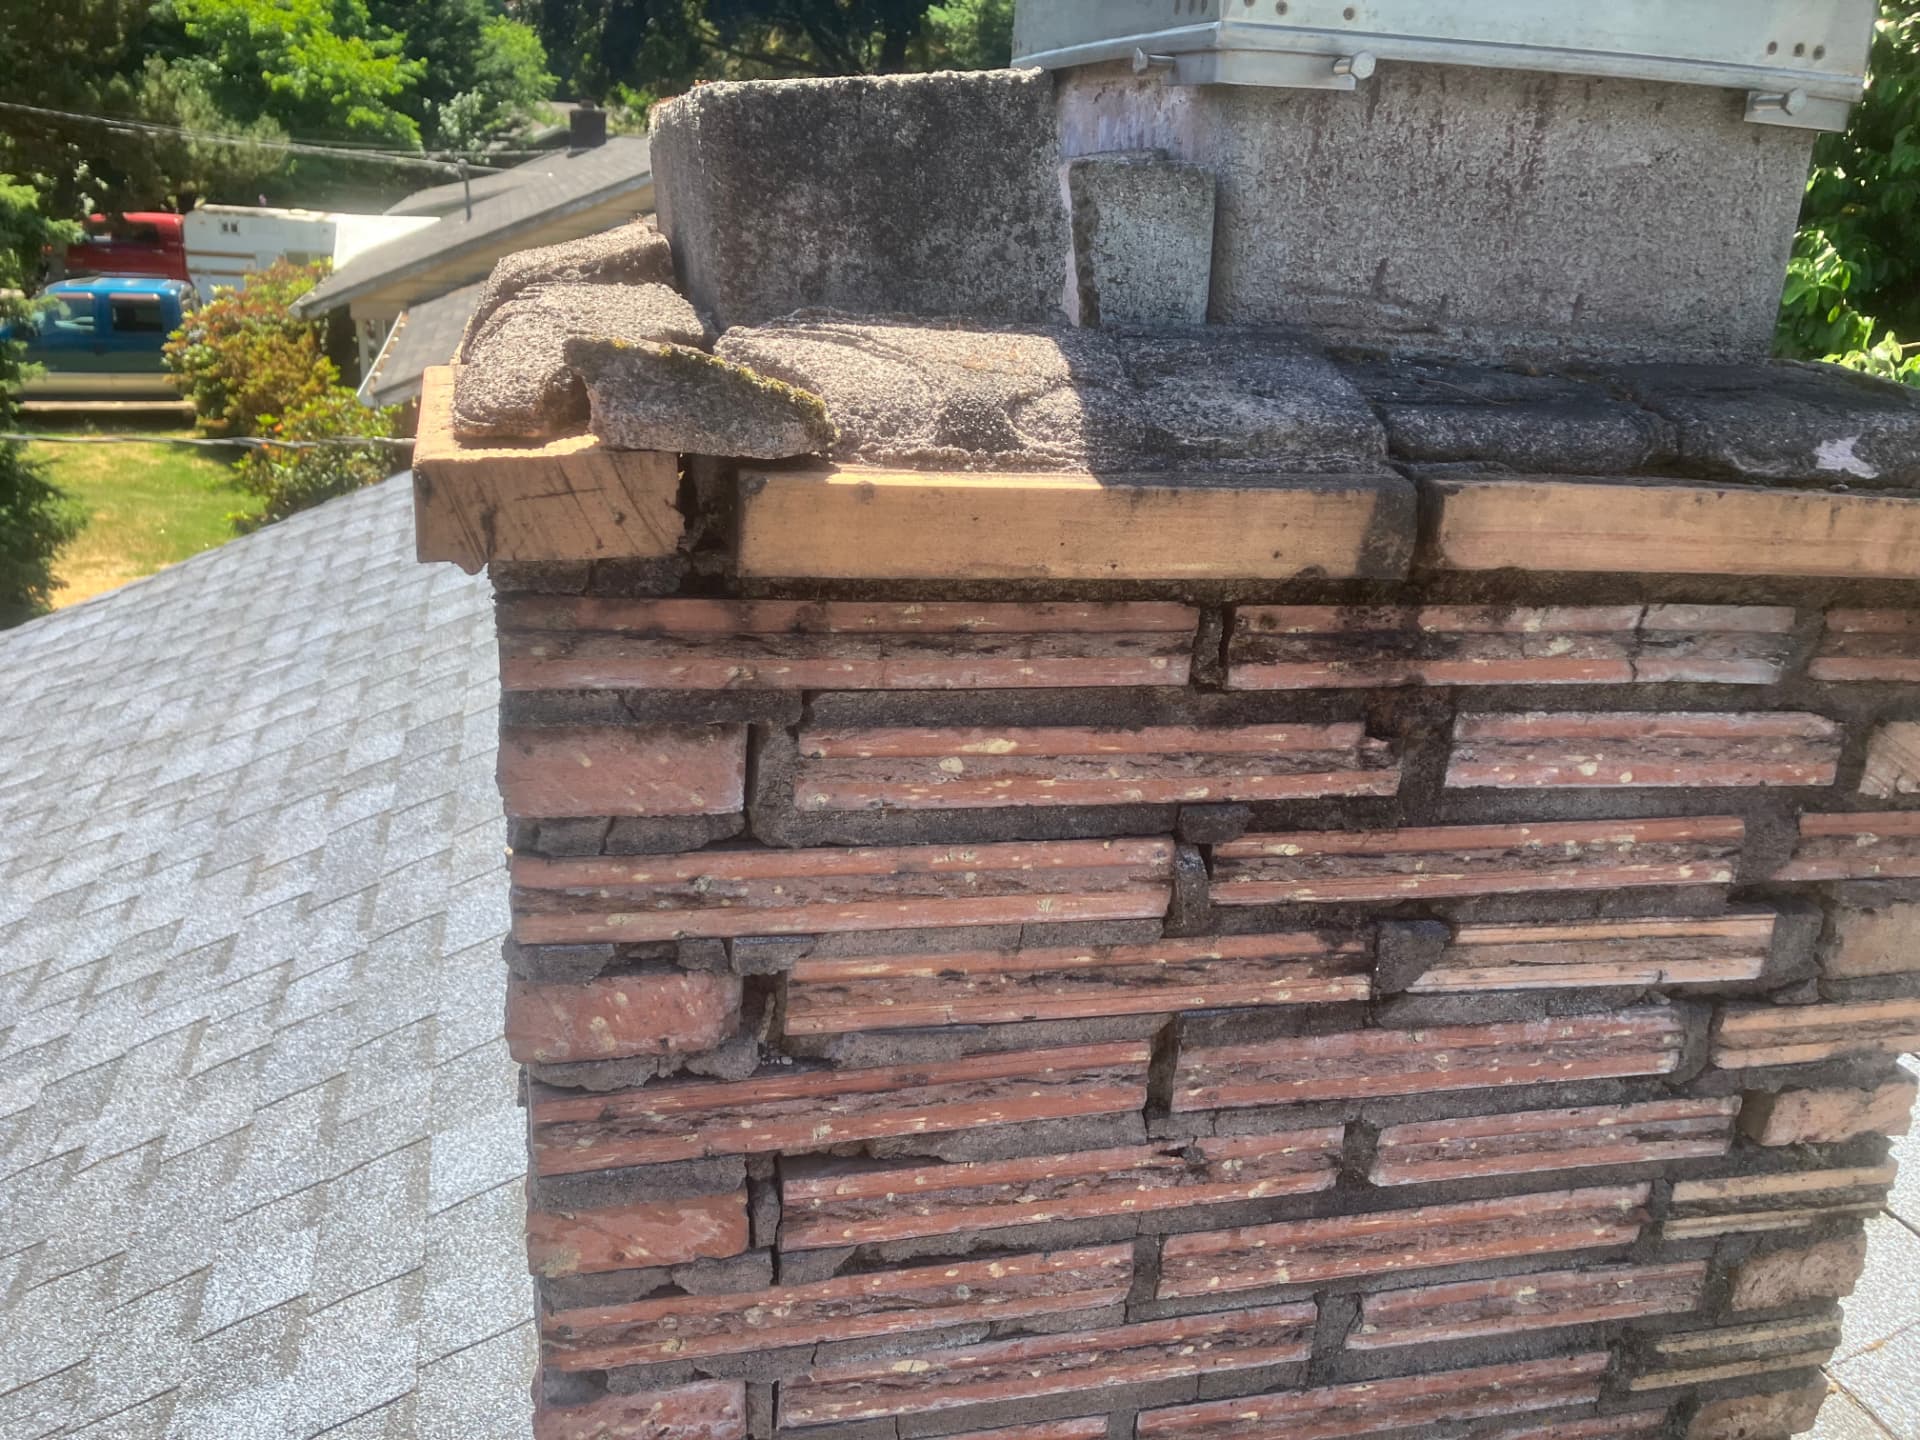
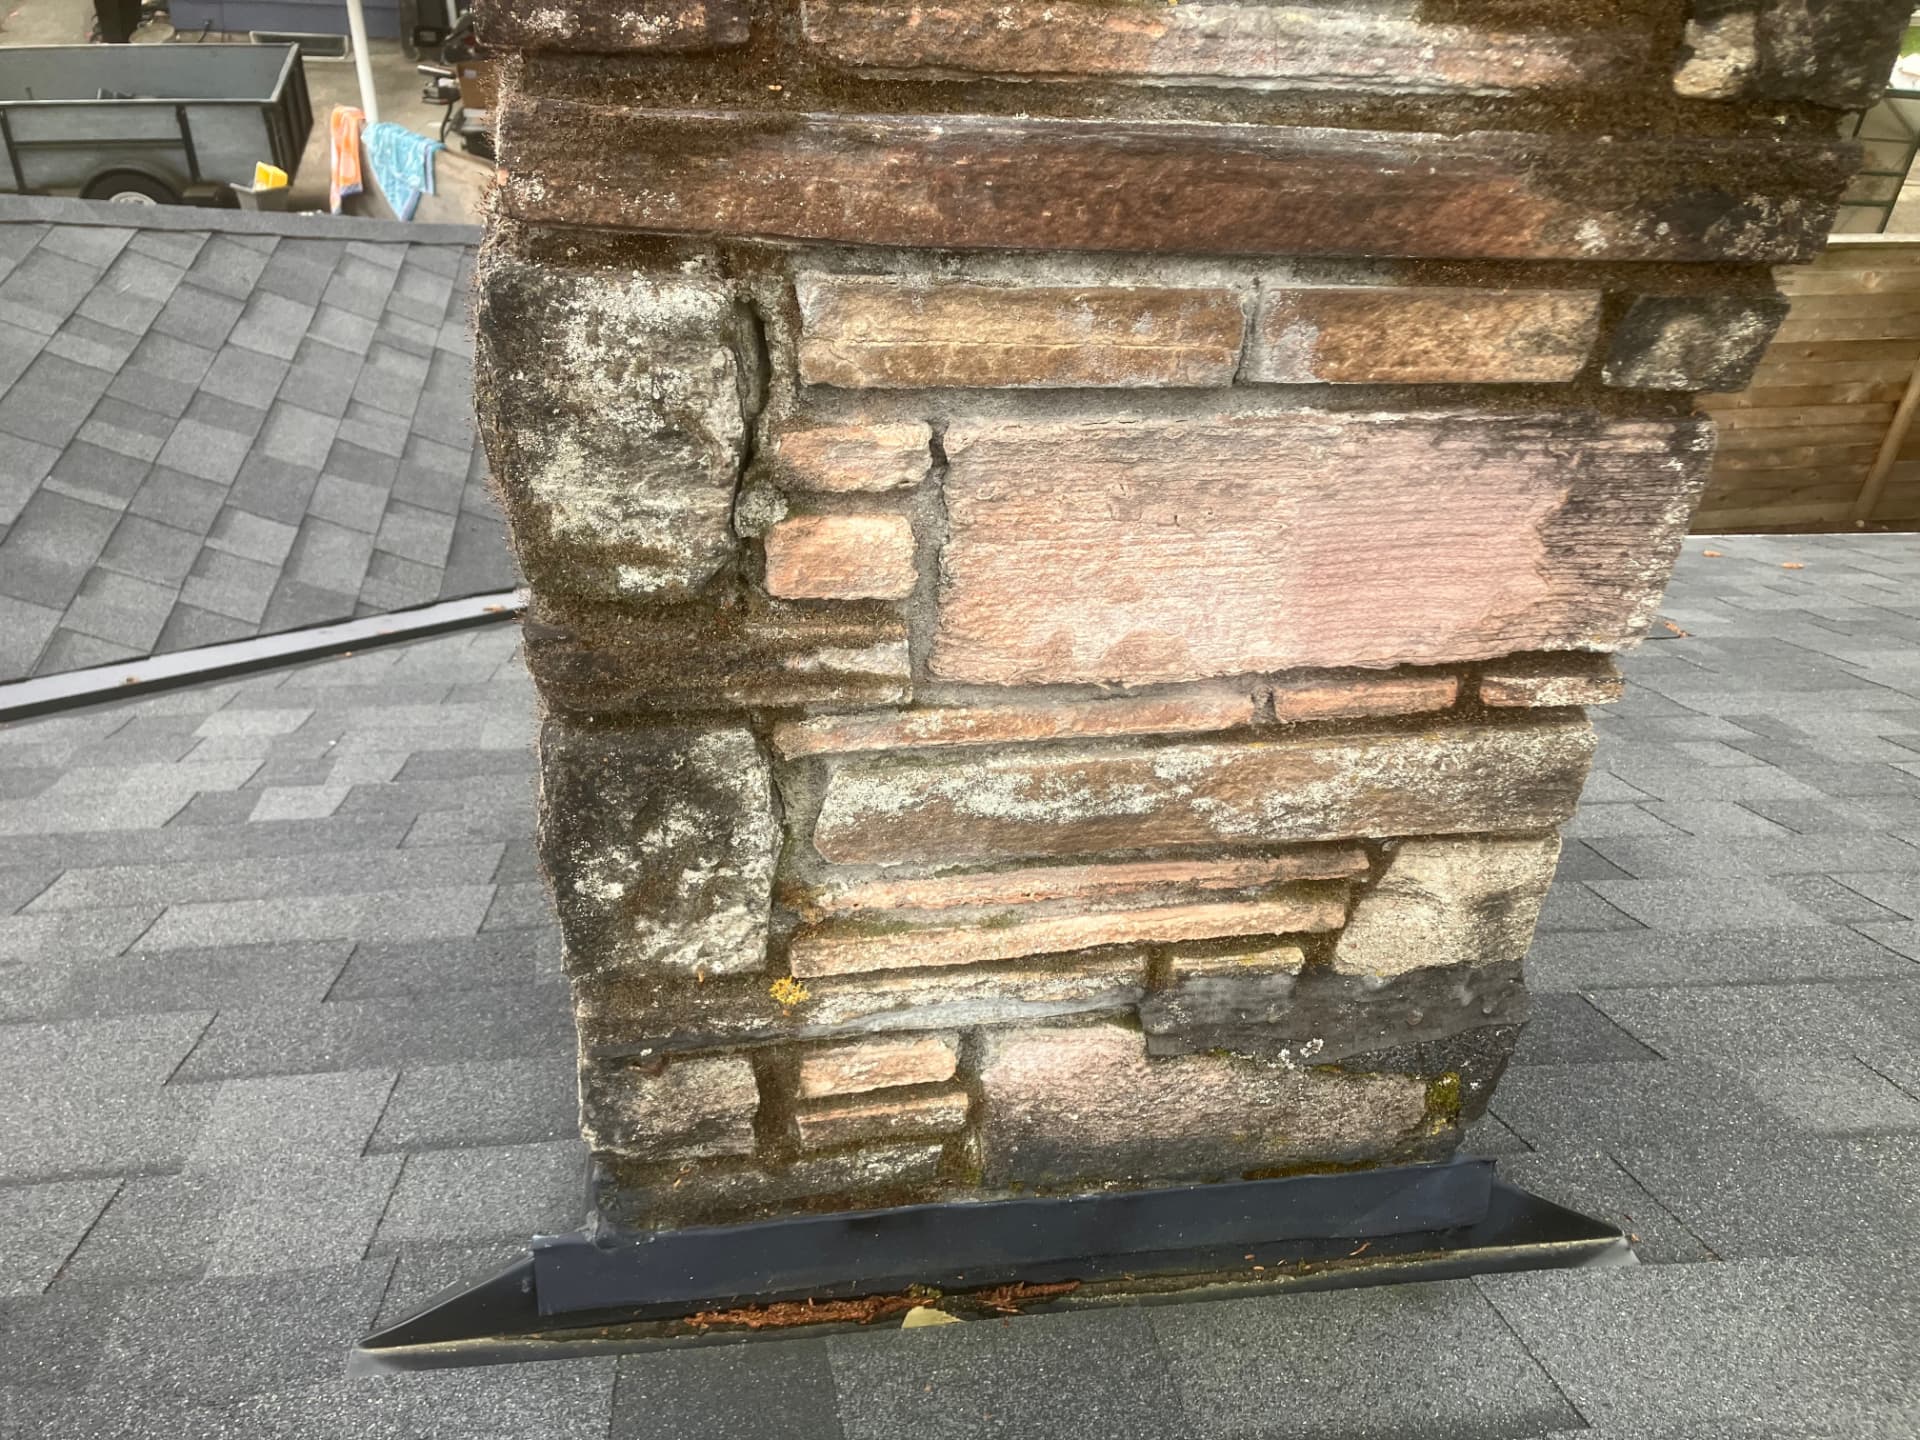
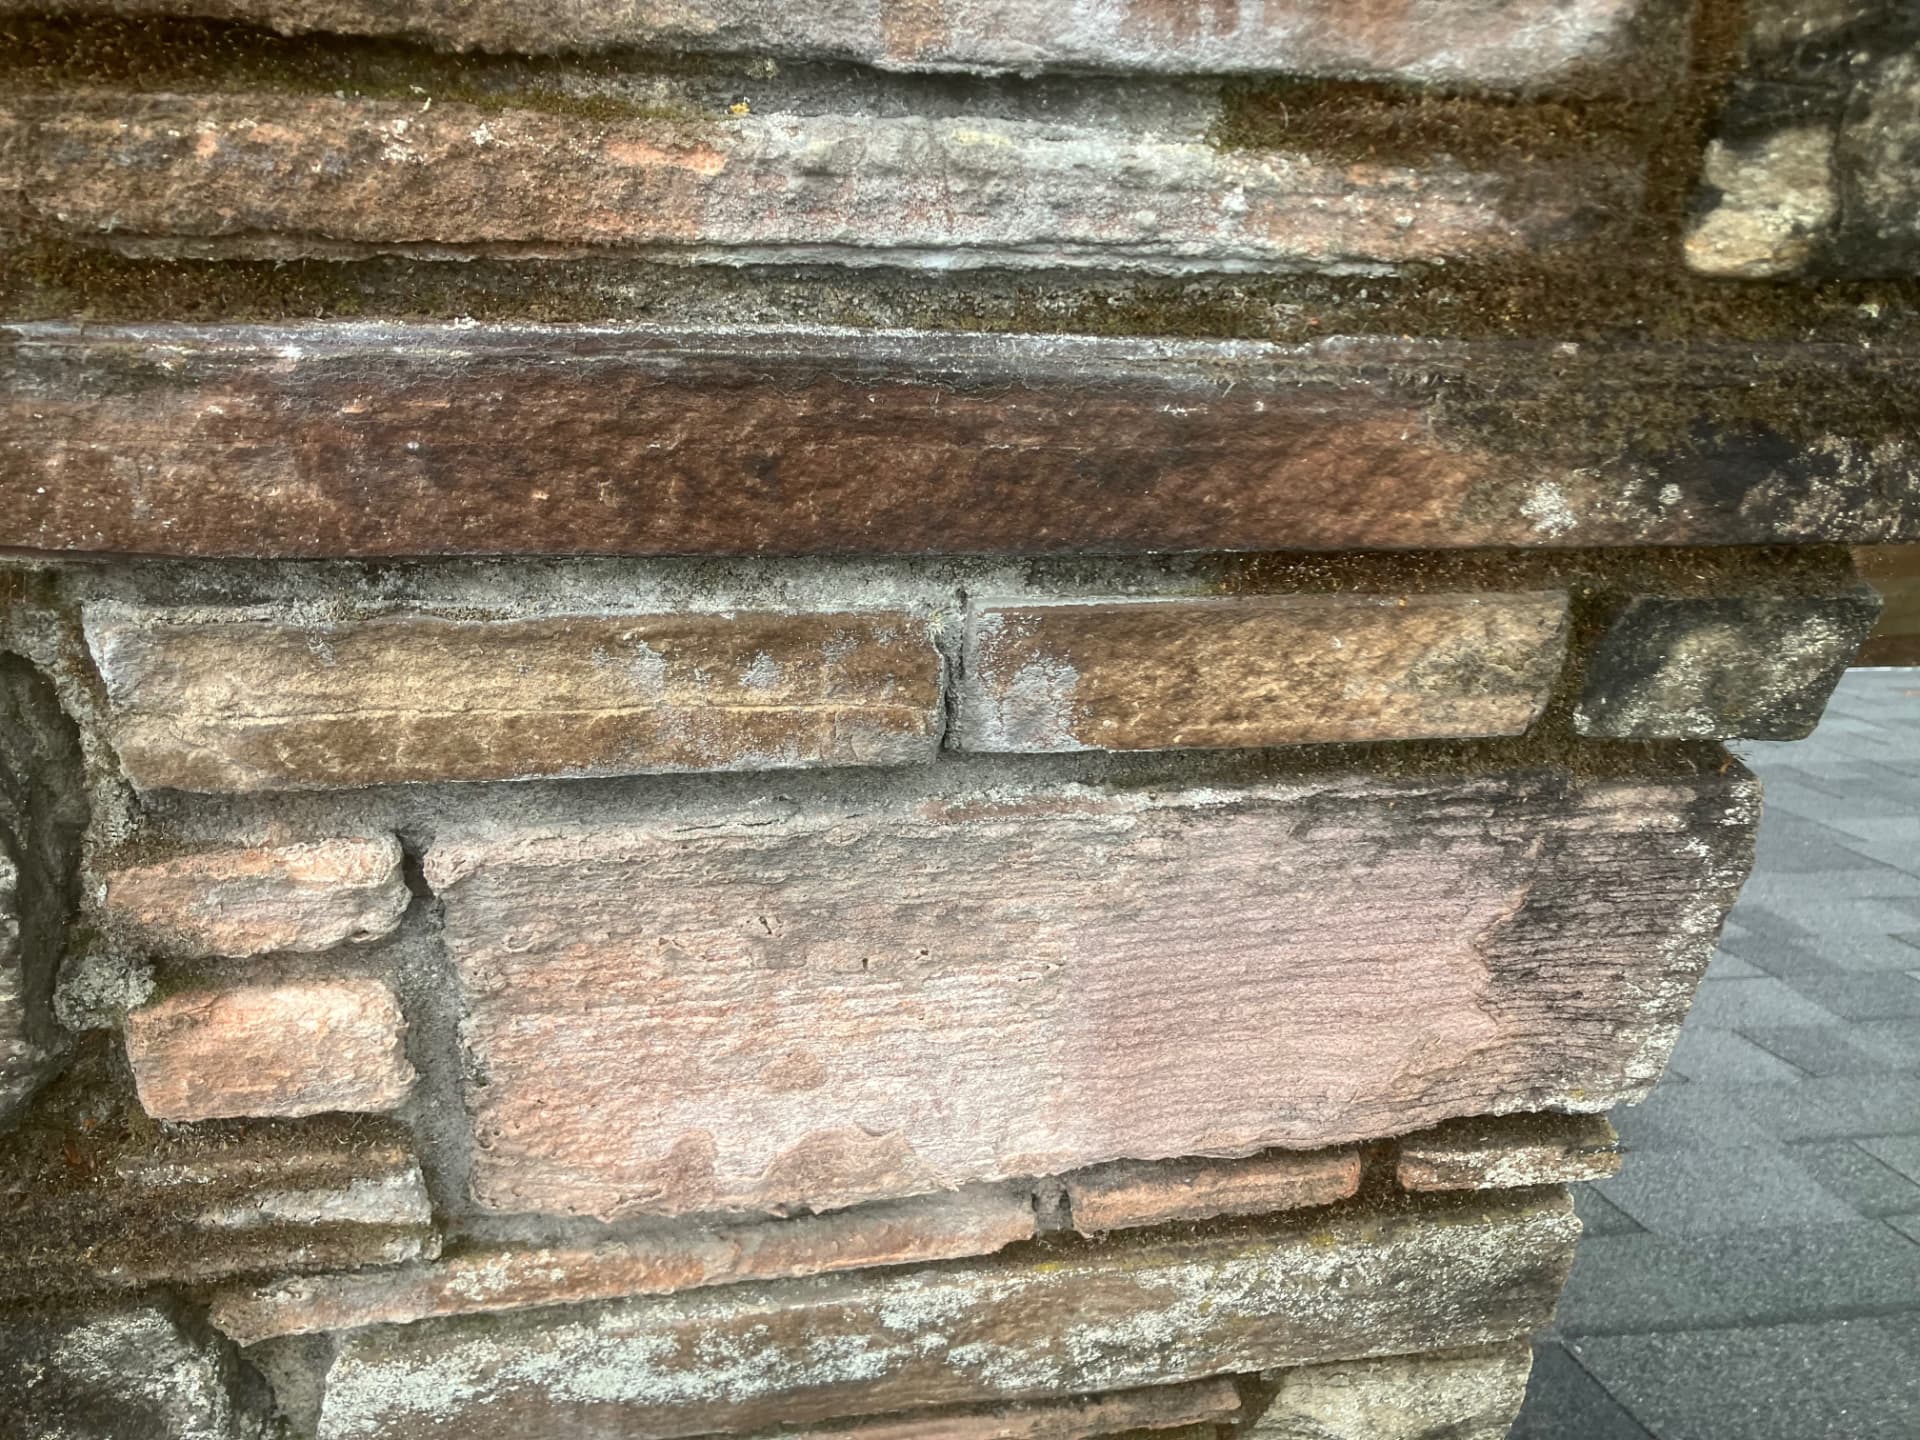
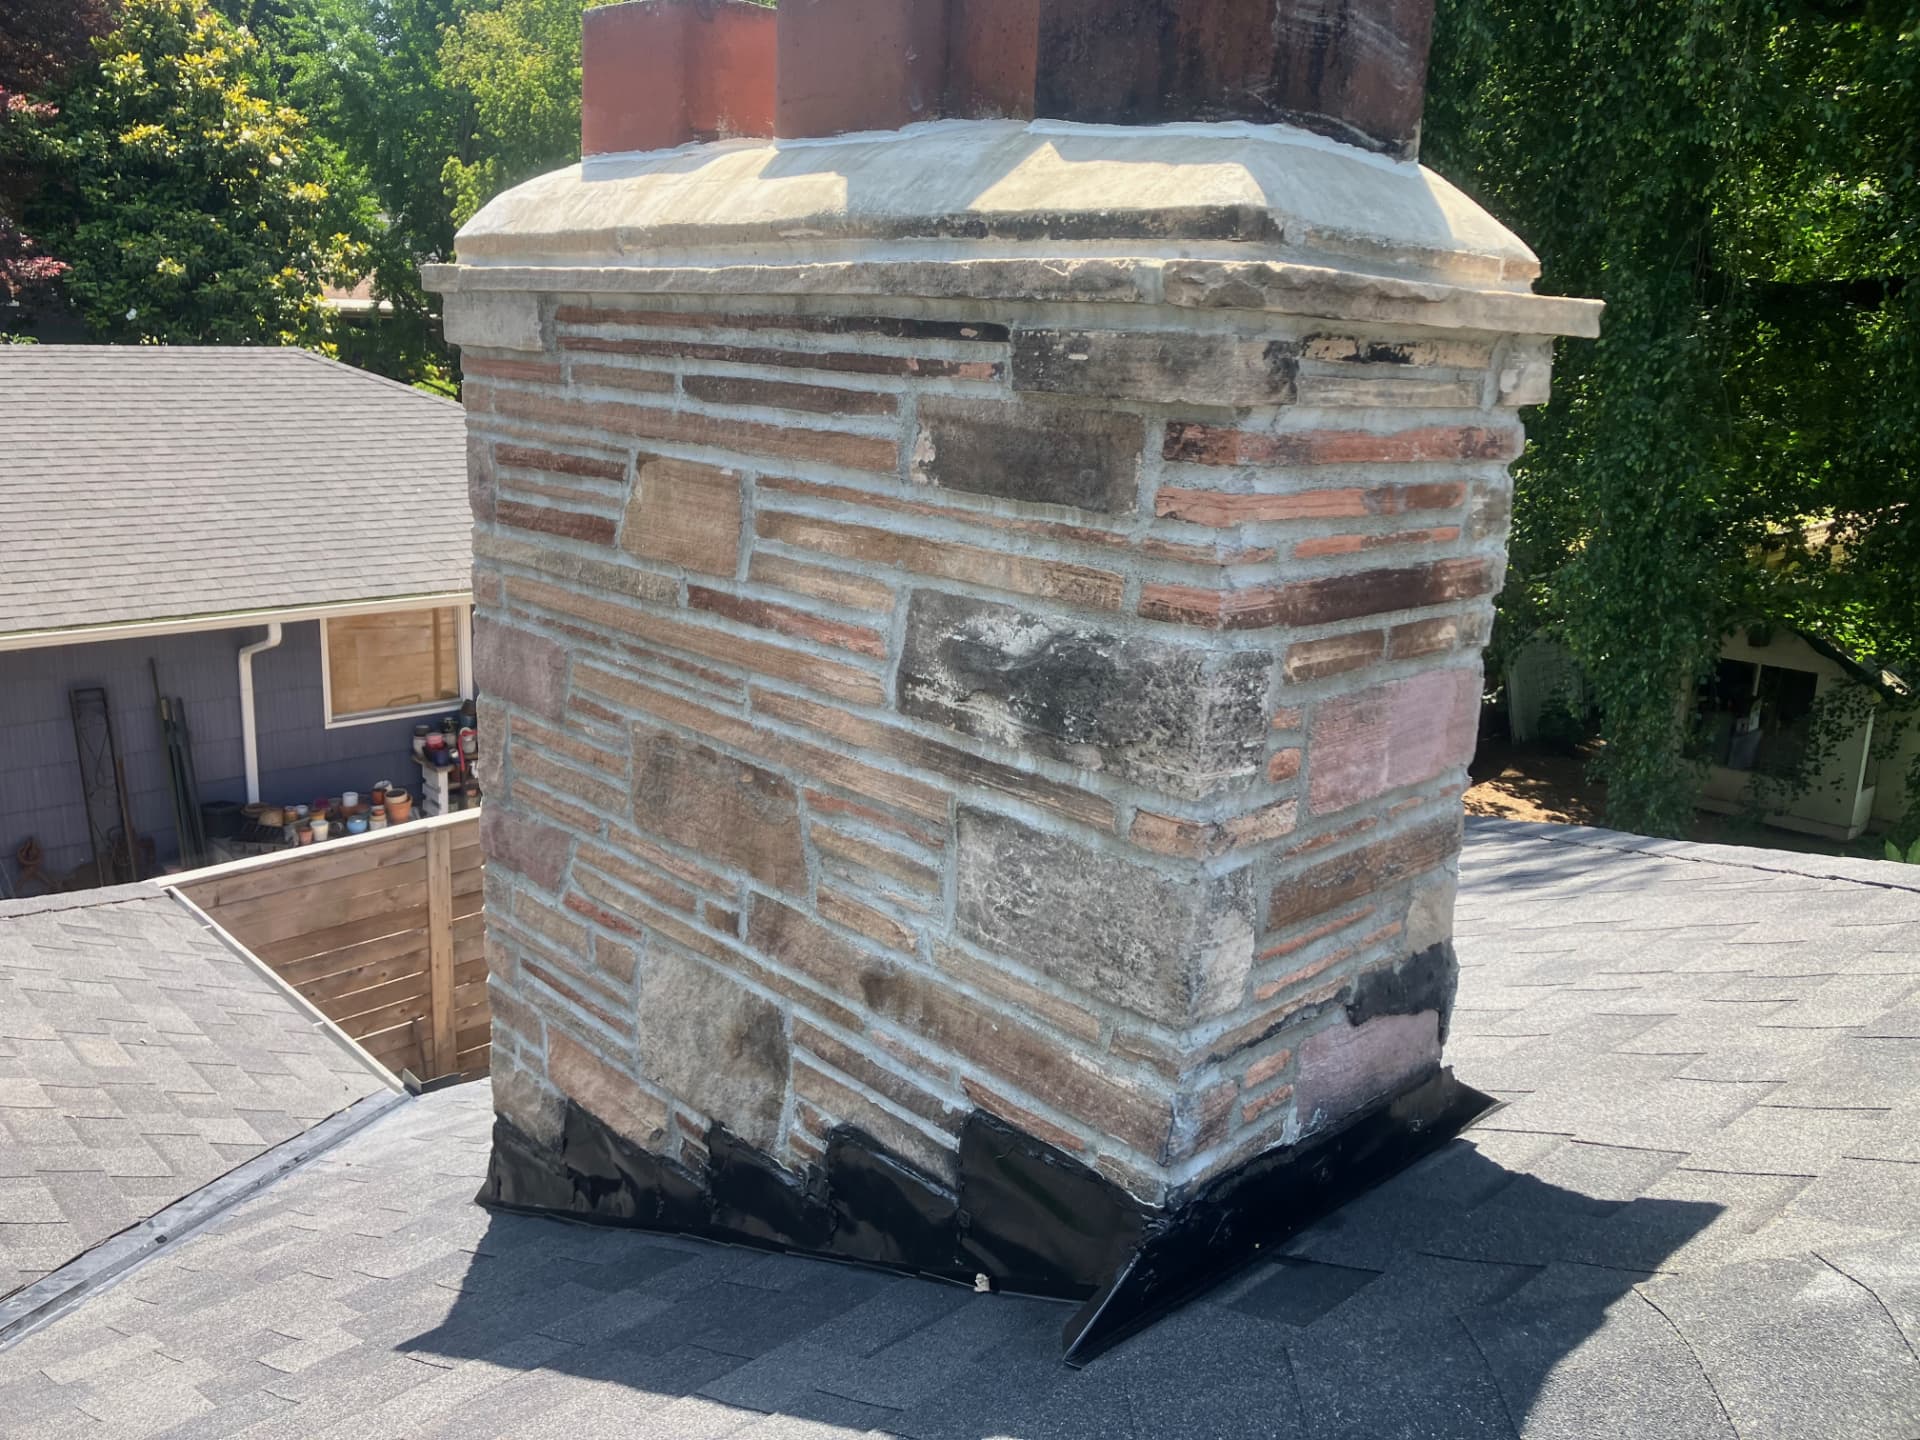
Before and After — Tuck Pointing from June 2025 (Stacked-Stone Chimney)
A second June 2025 job, this one on a stacked-stone chimney, showing moss-filled mortar joints and a weathered crown before the work, and the same chimney repointed with the crown sealed around the flues.
Before
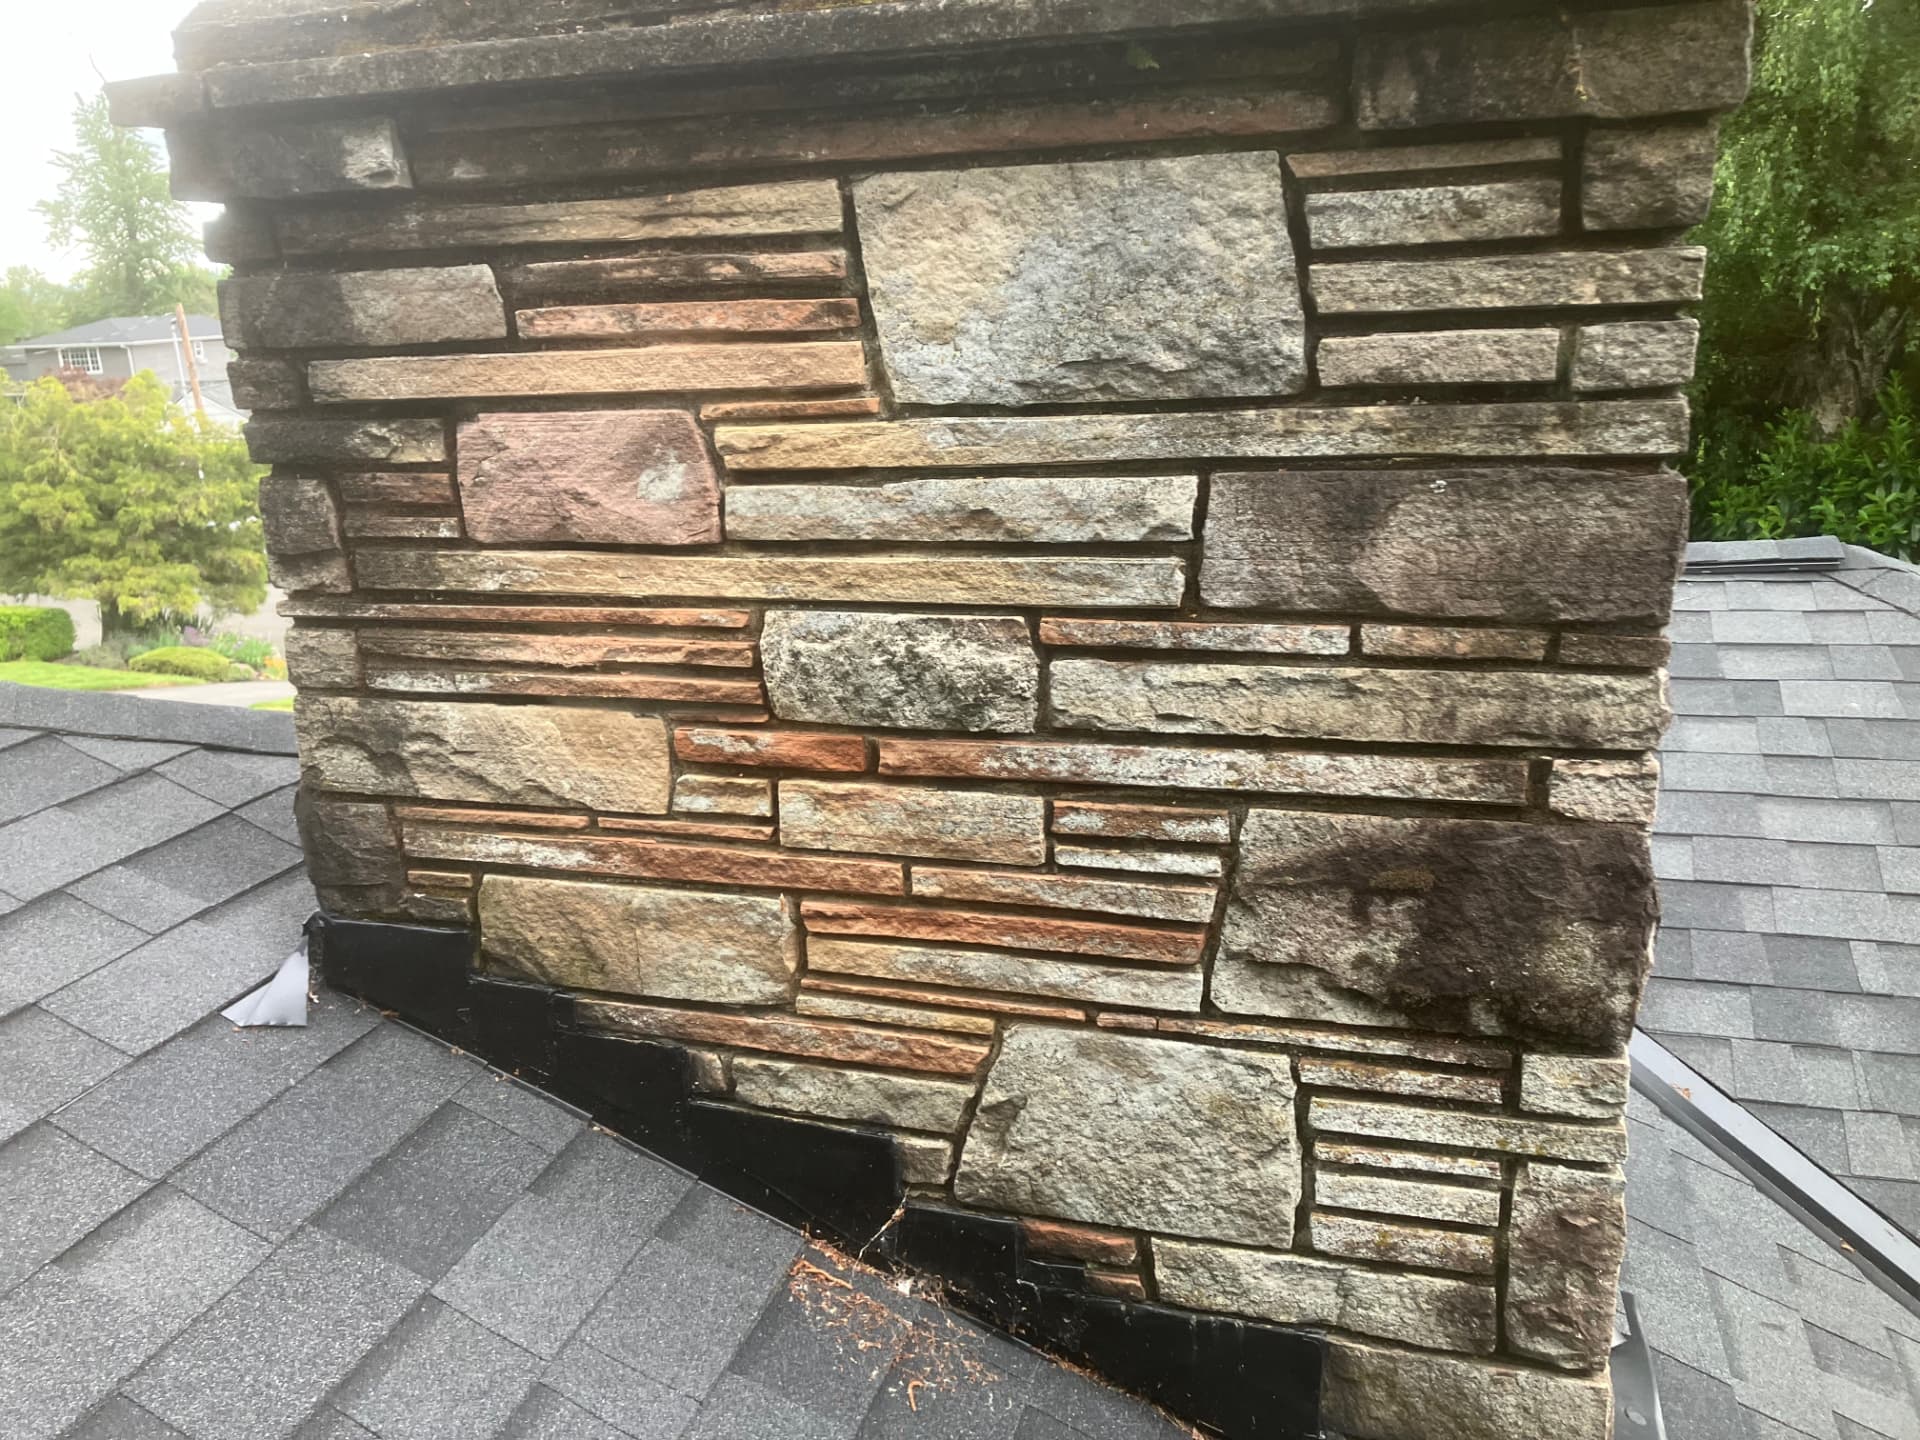
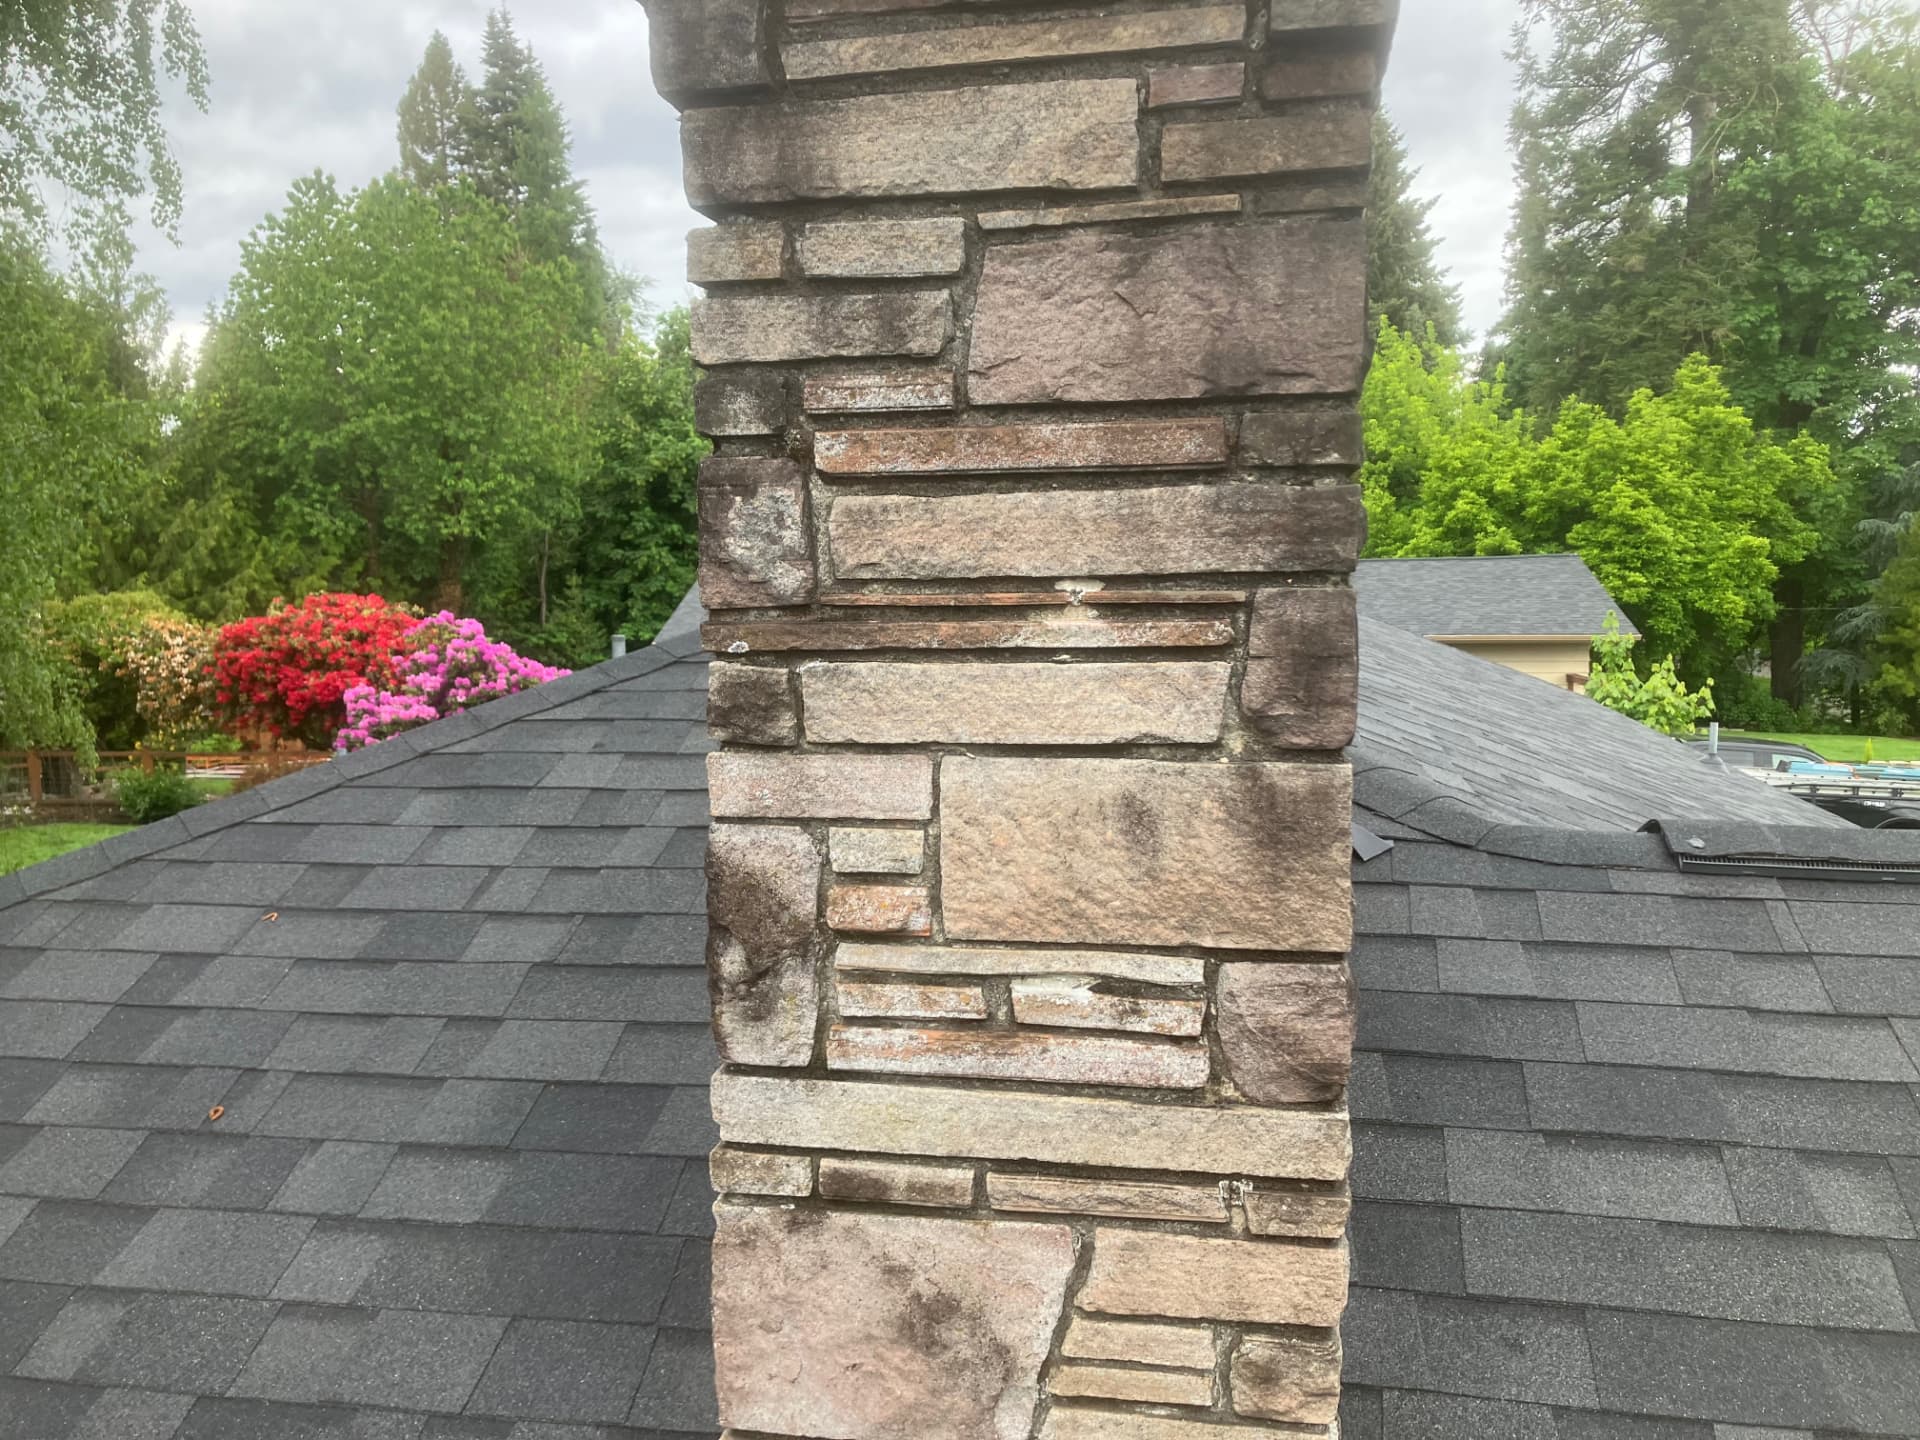
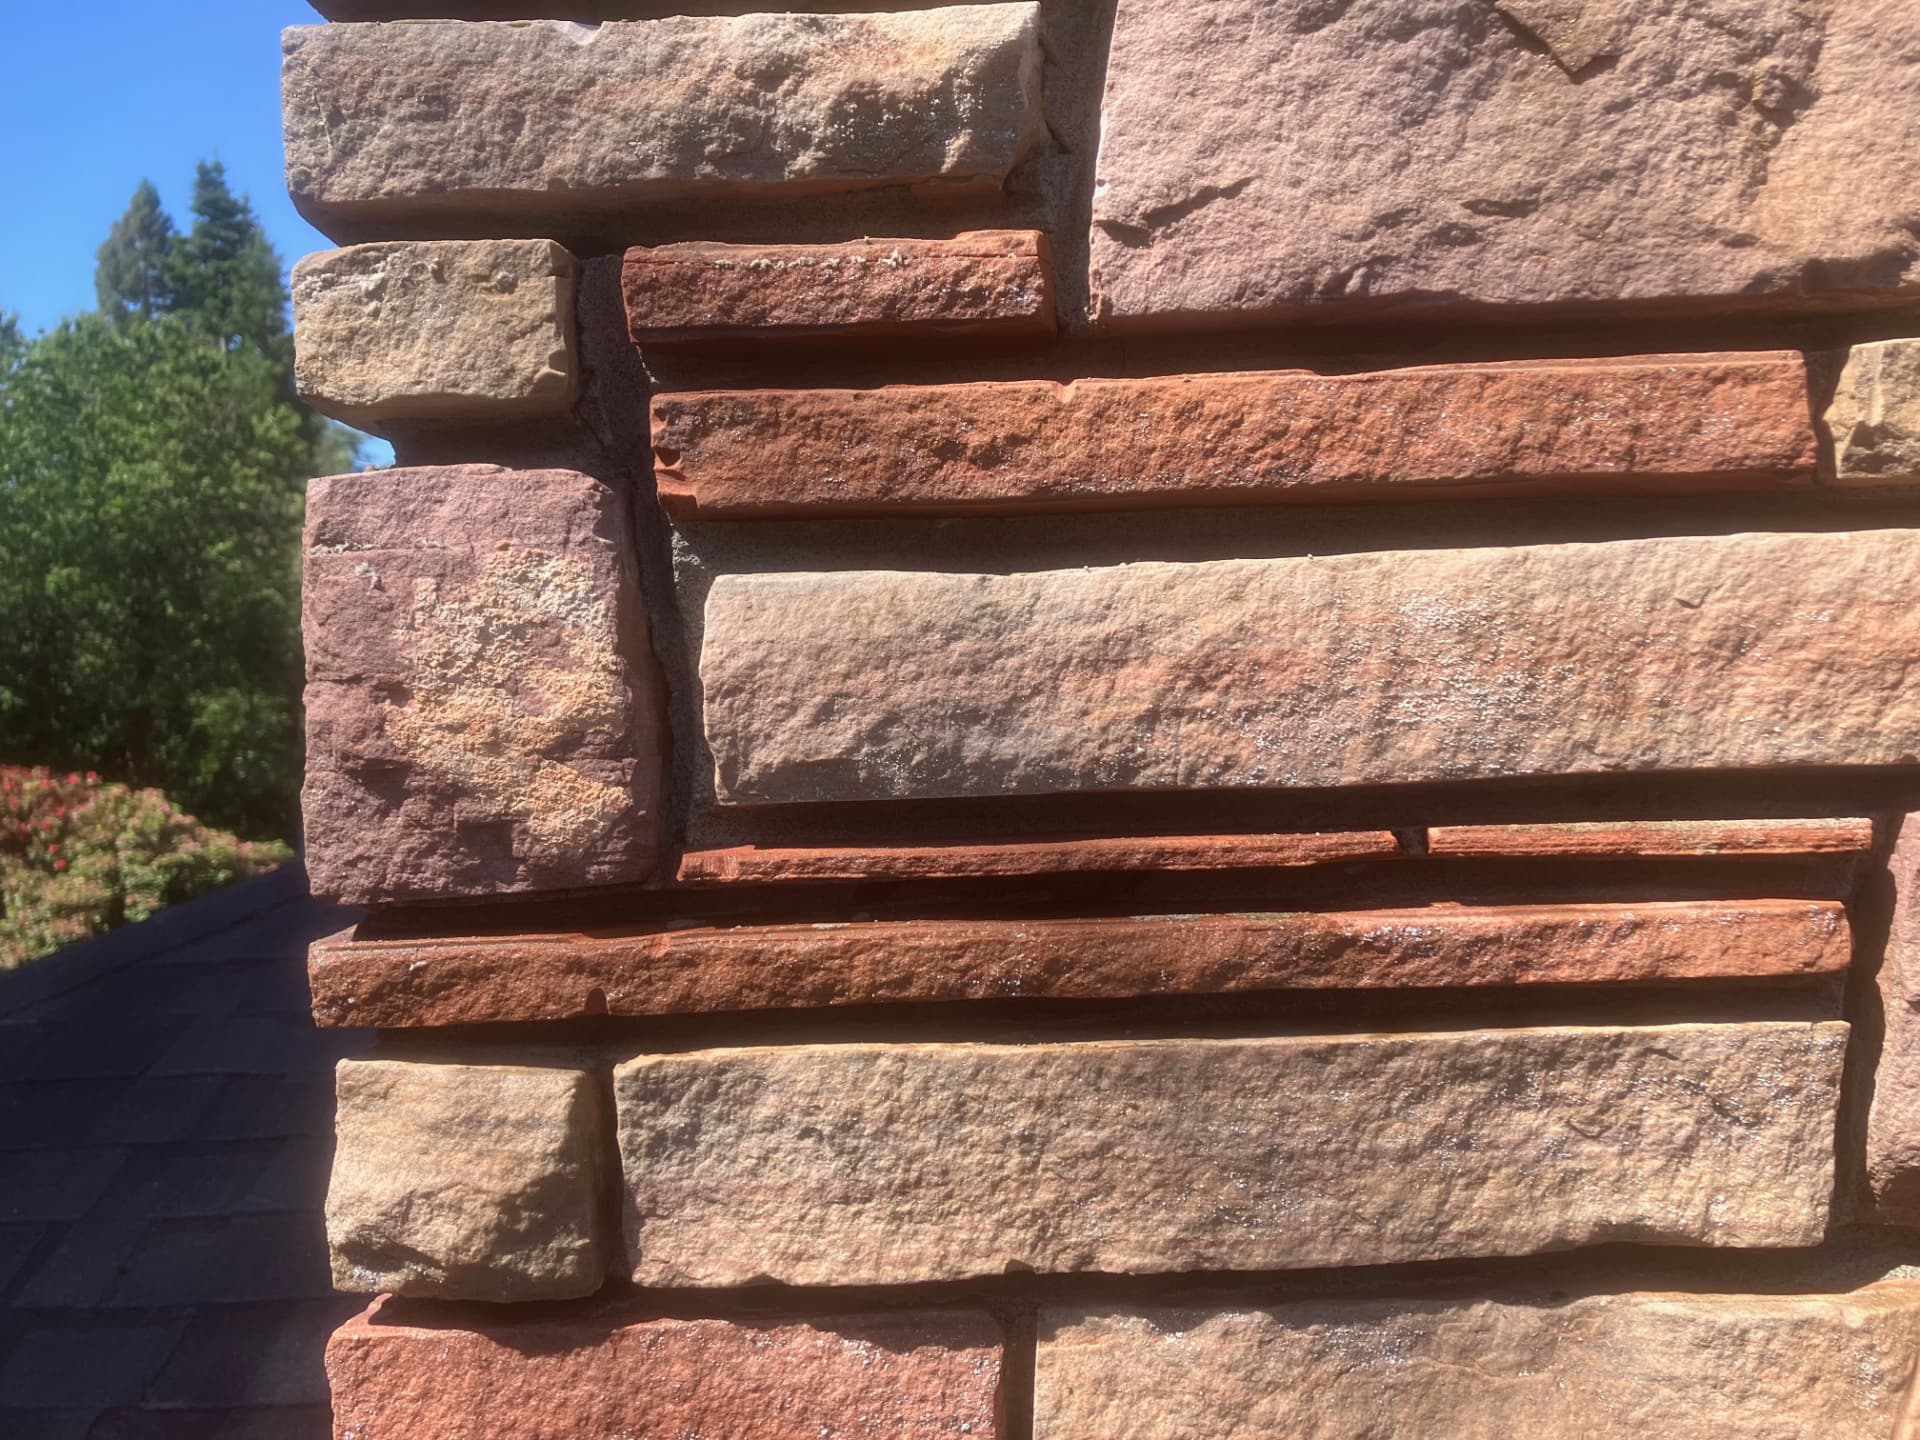
After
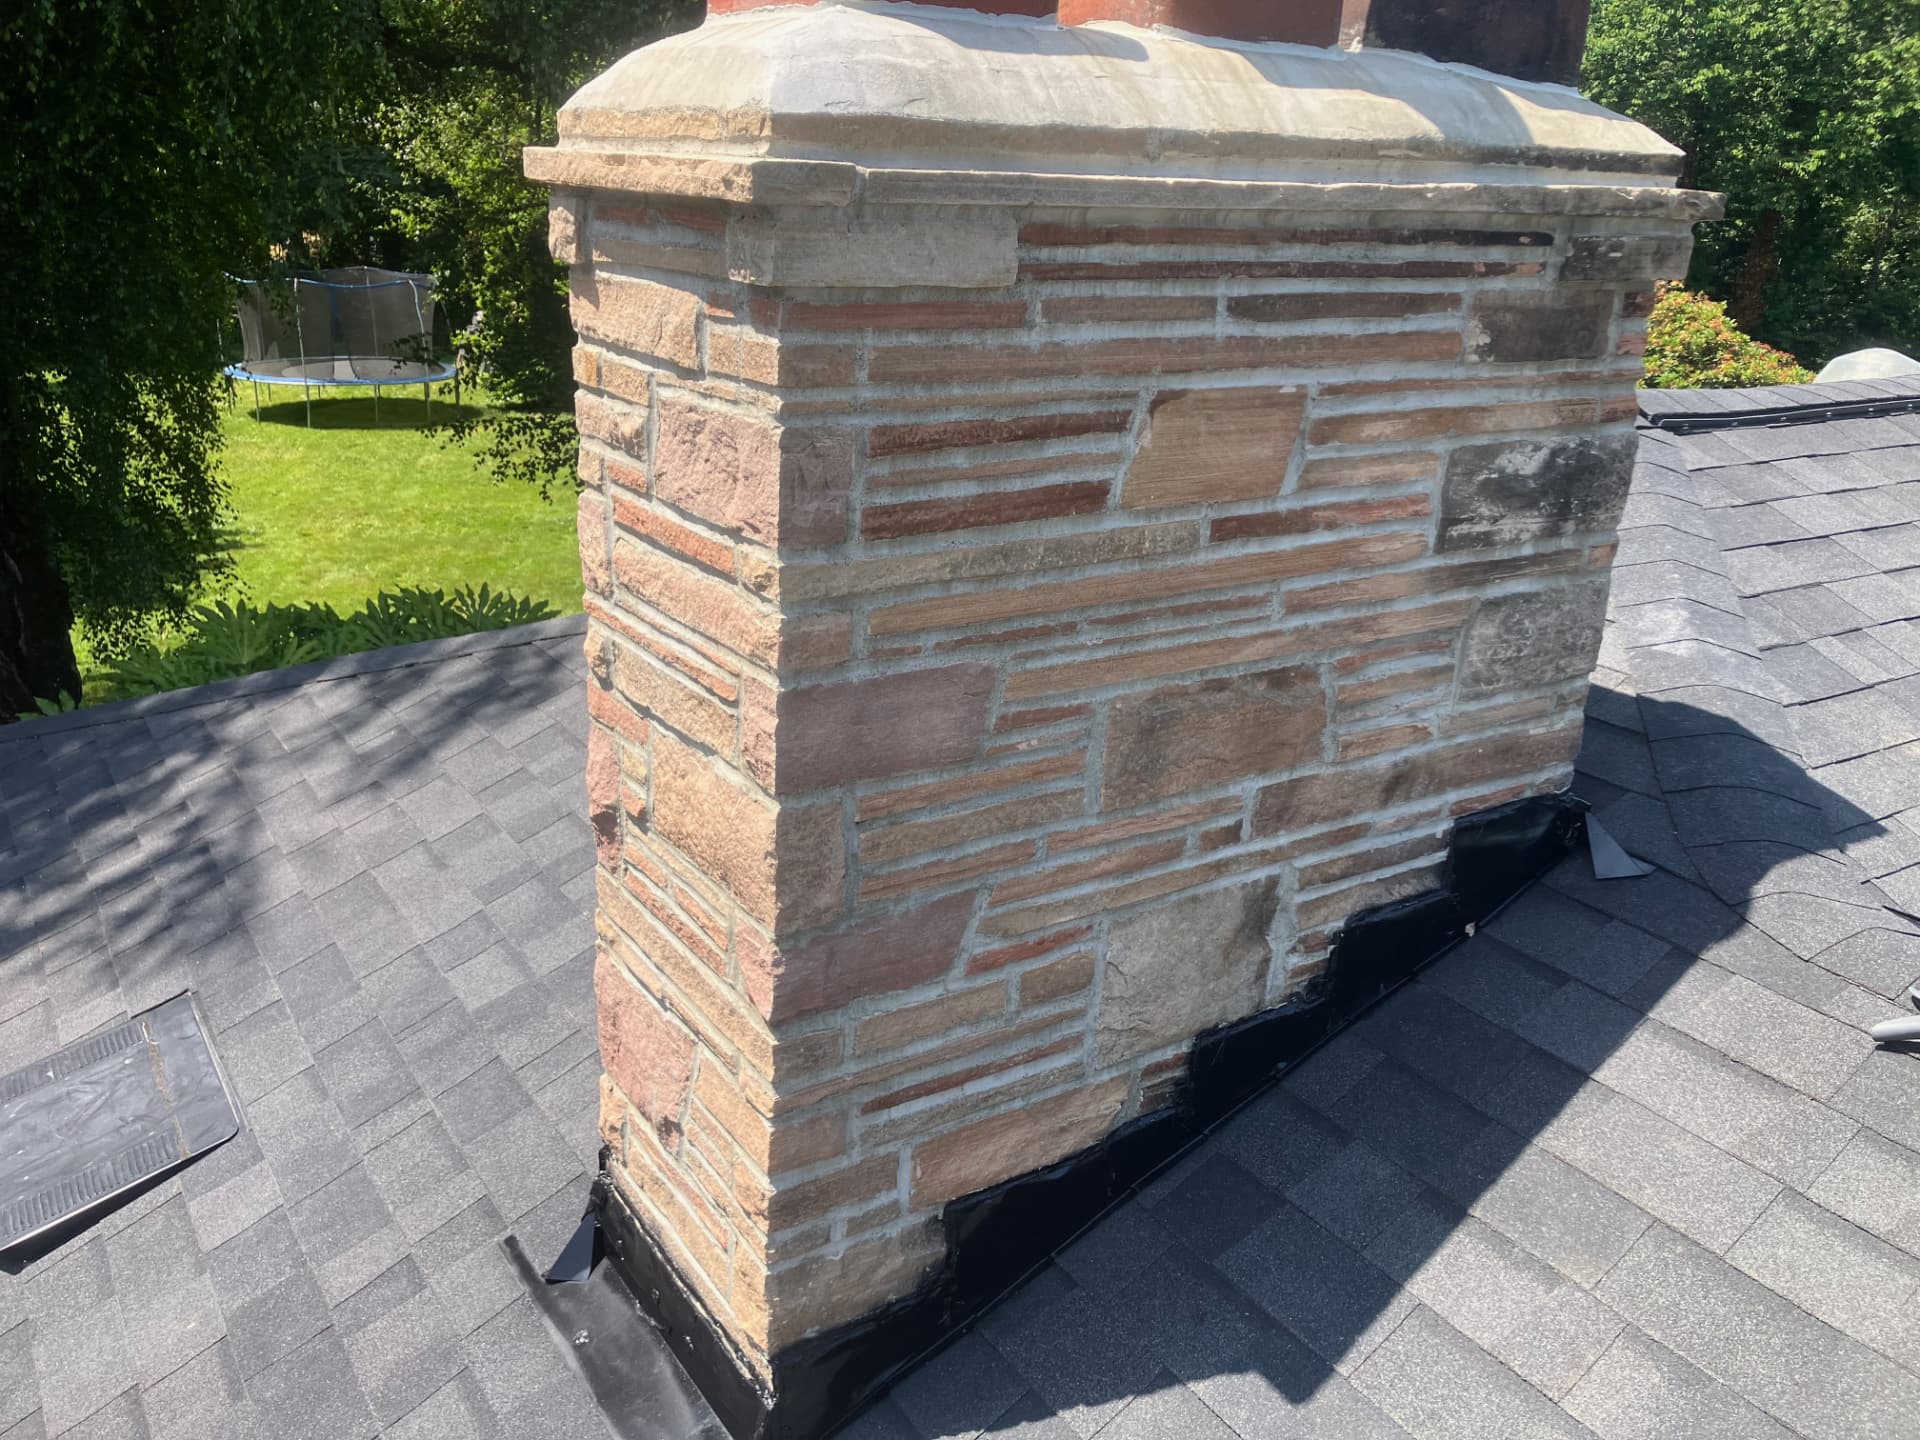
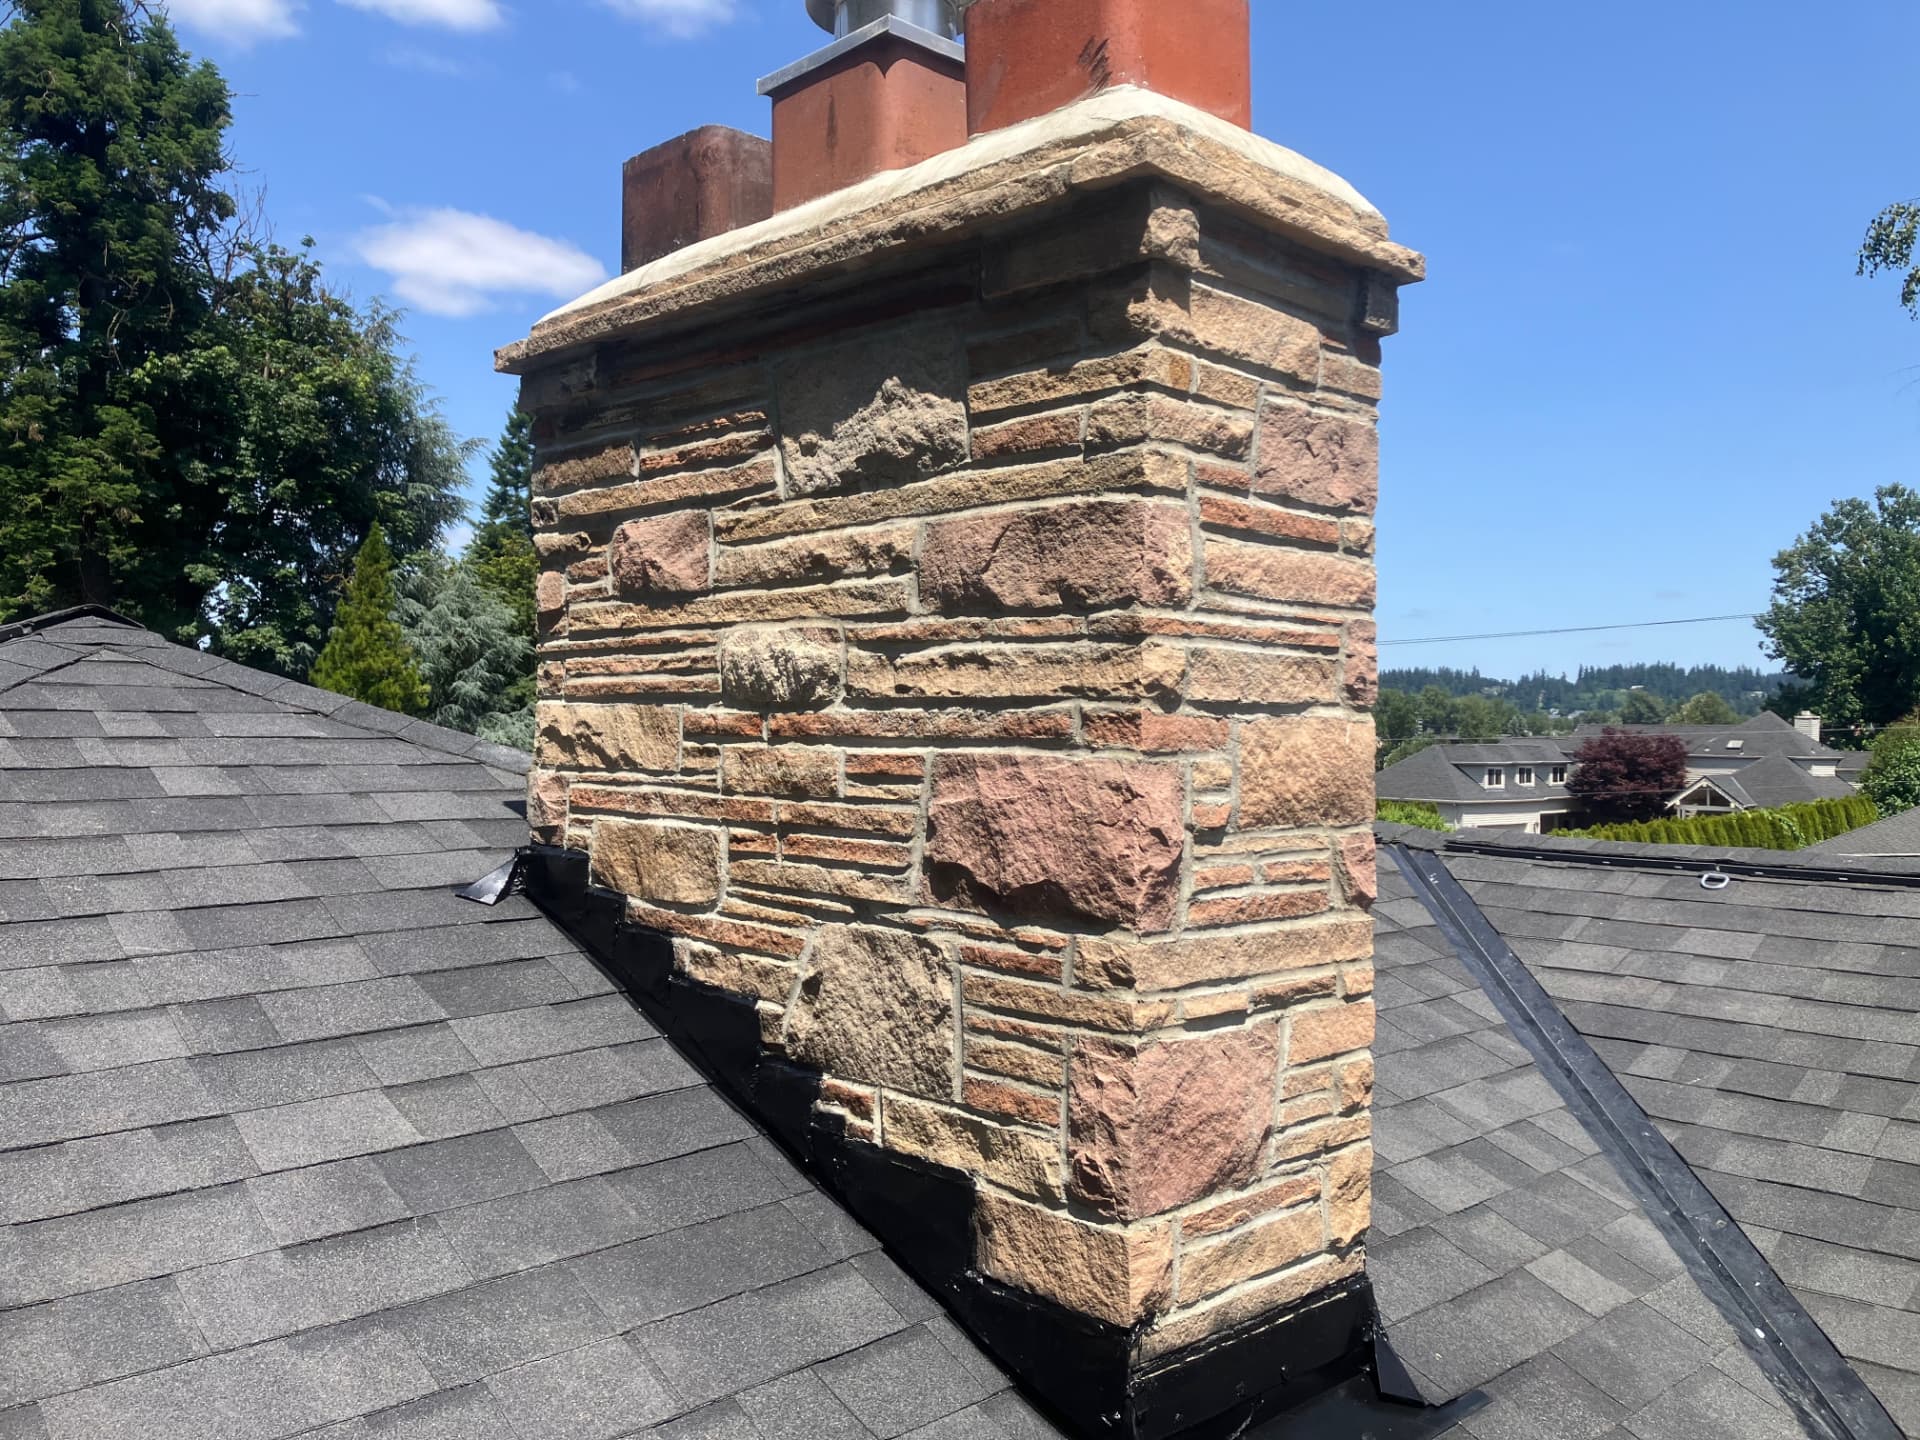
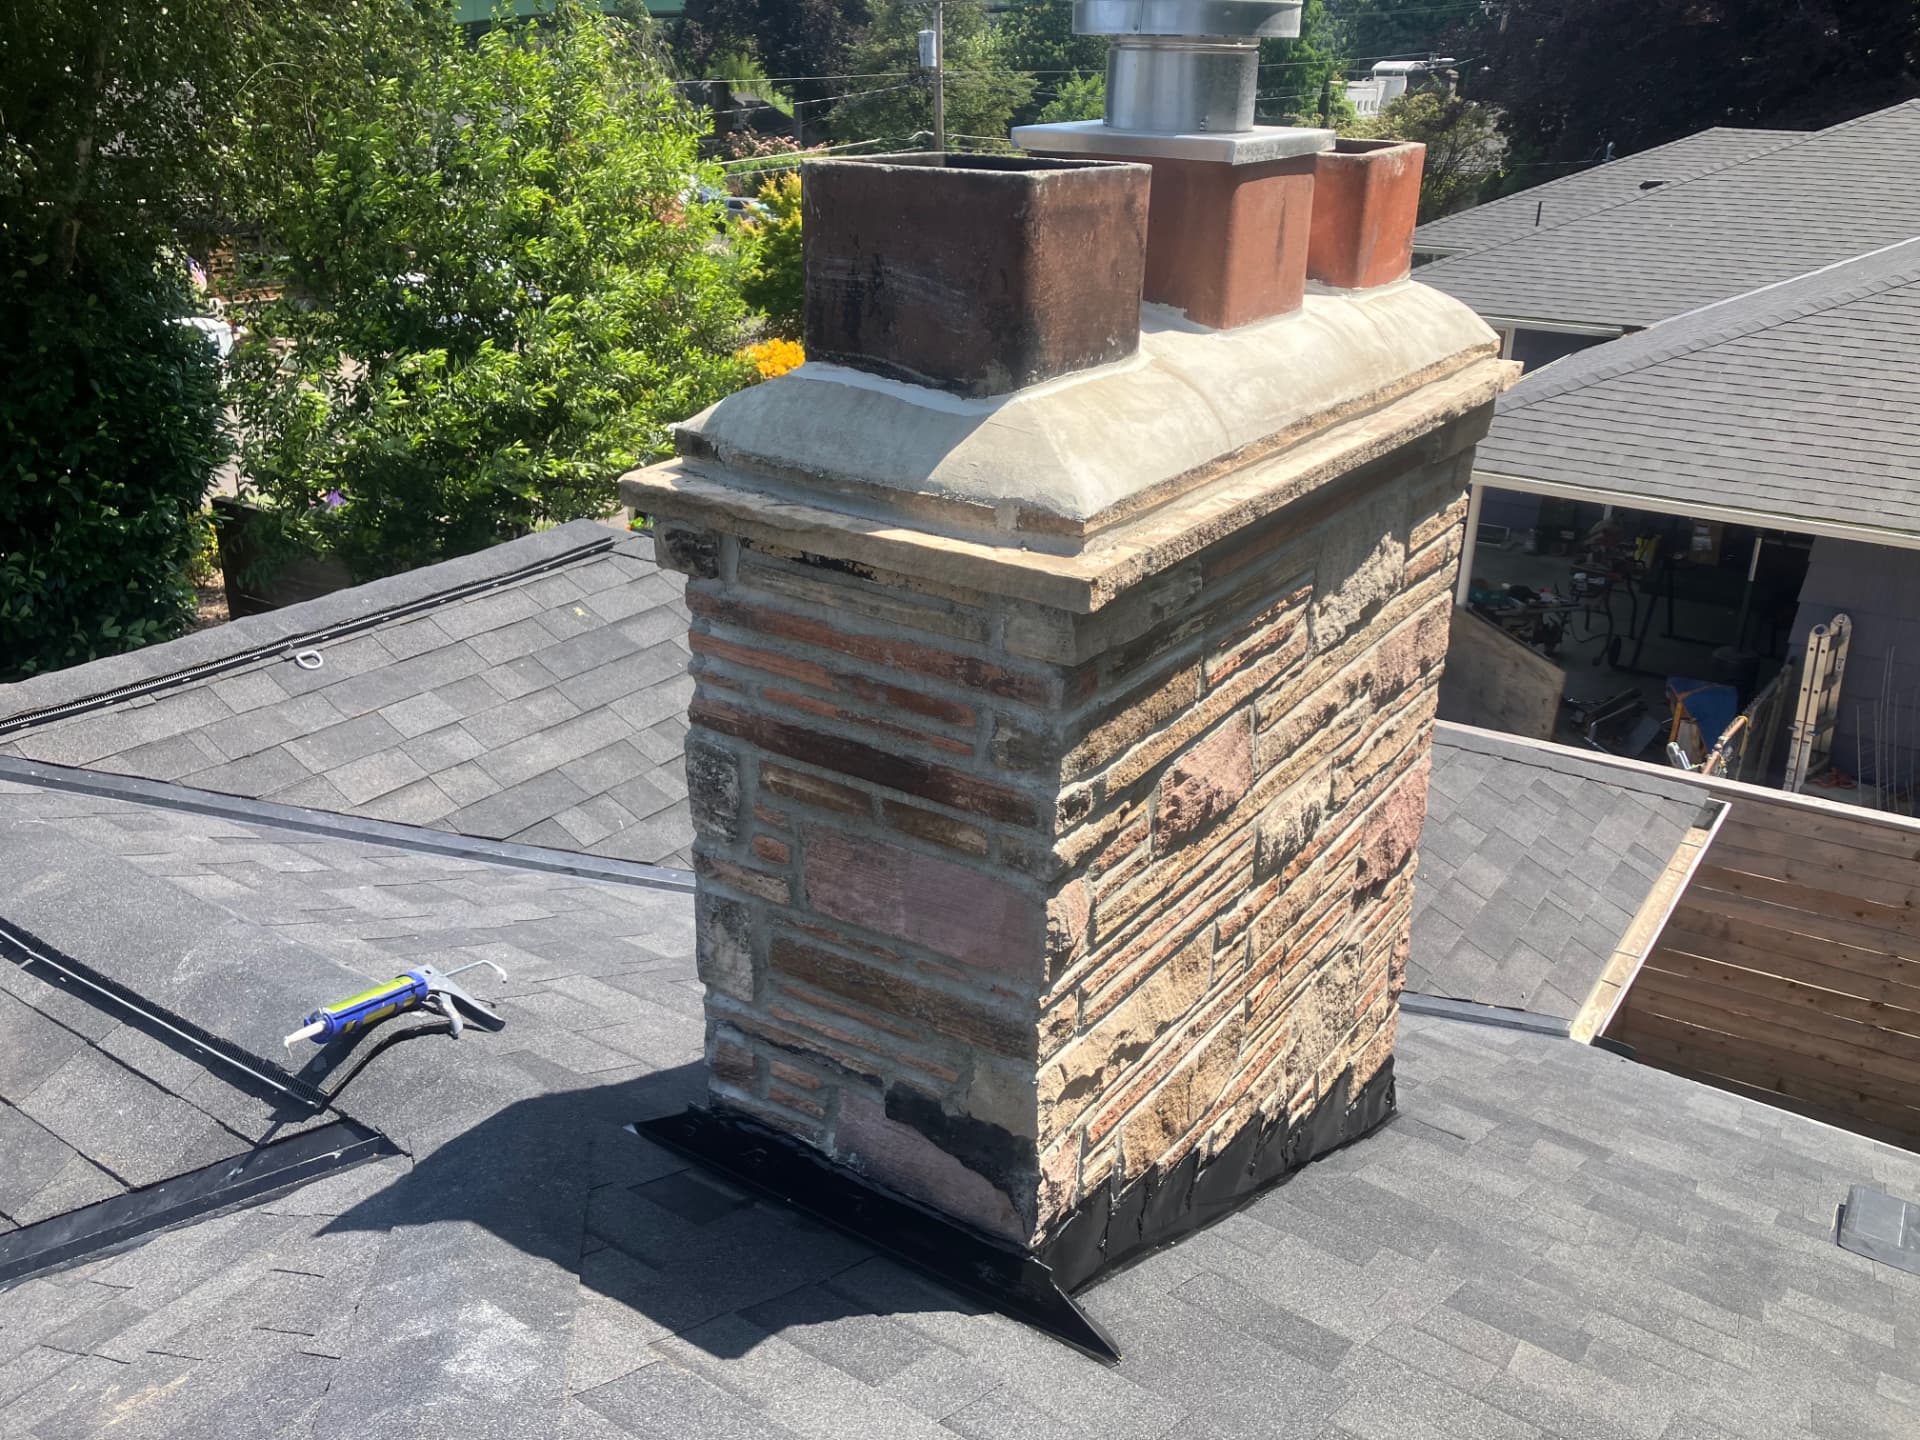
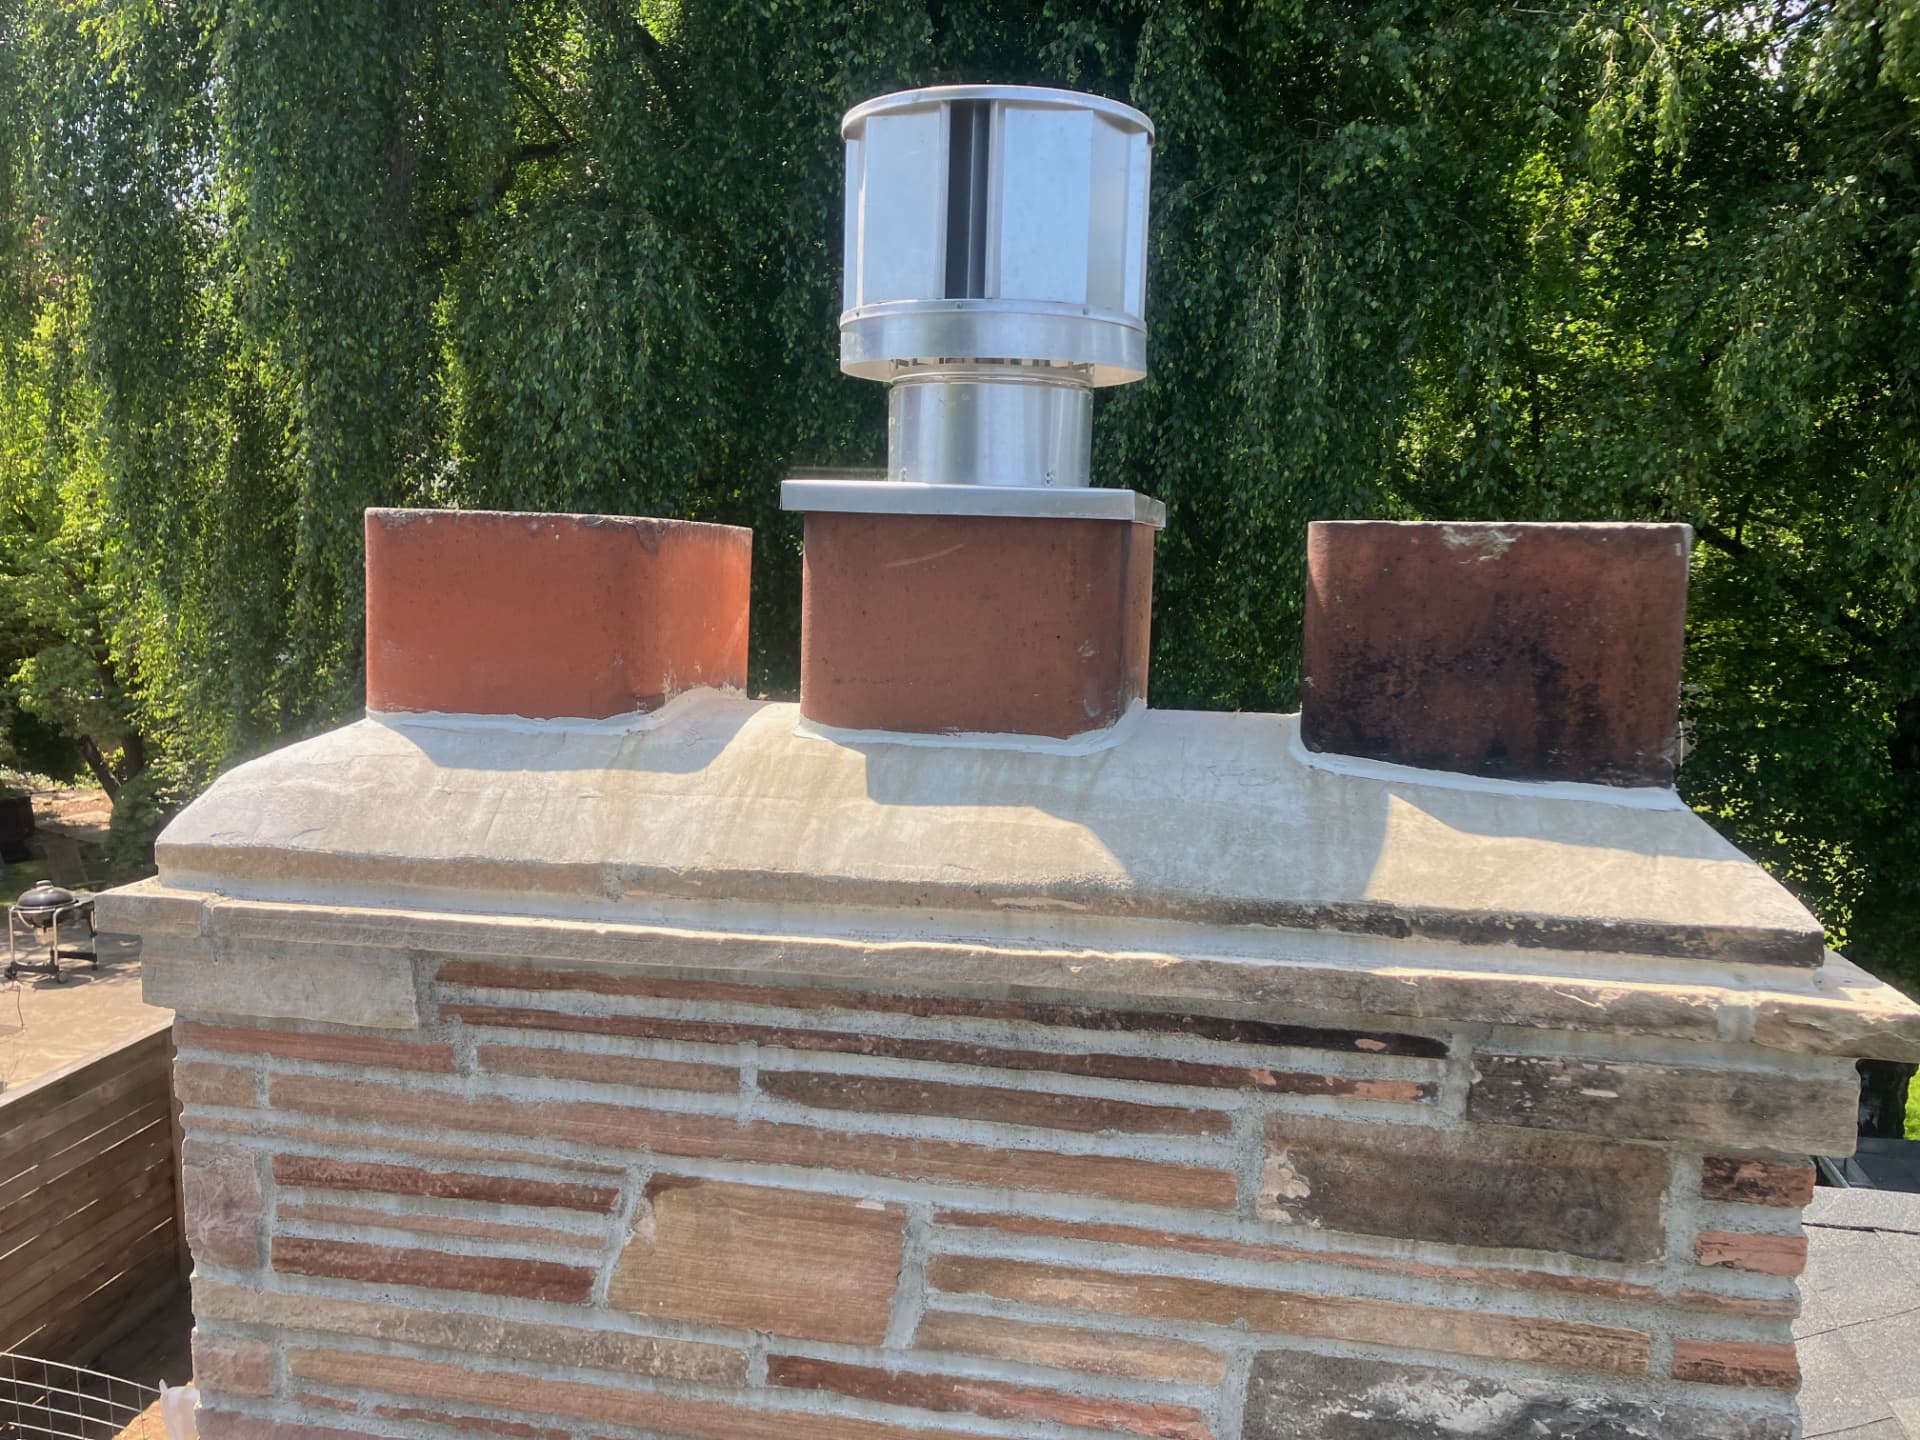
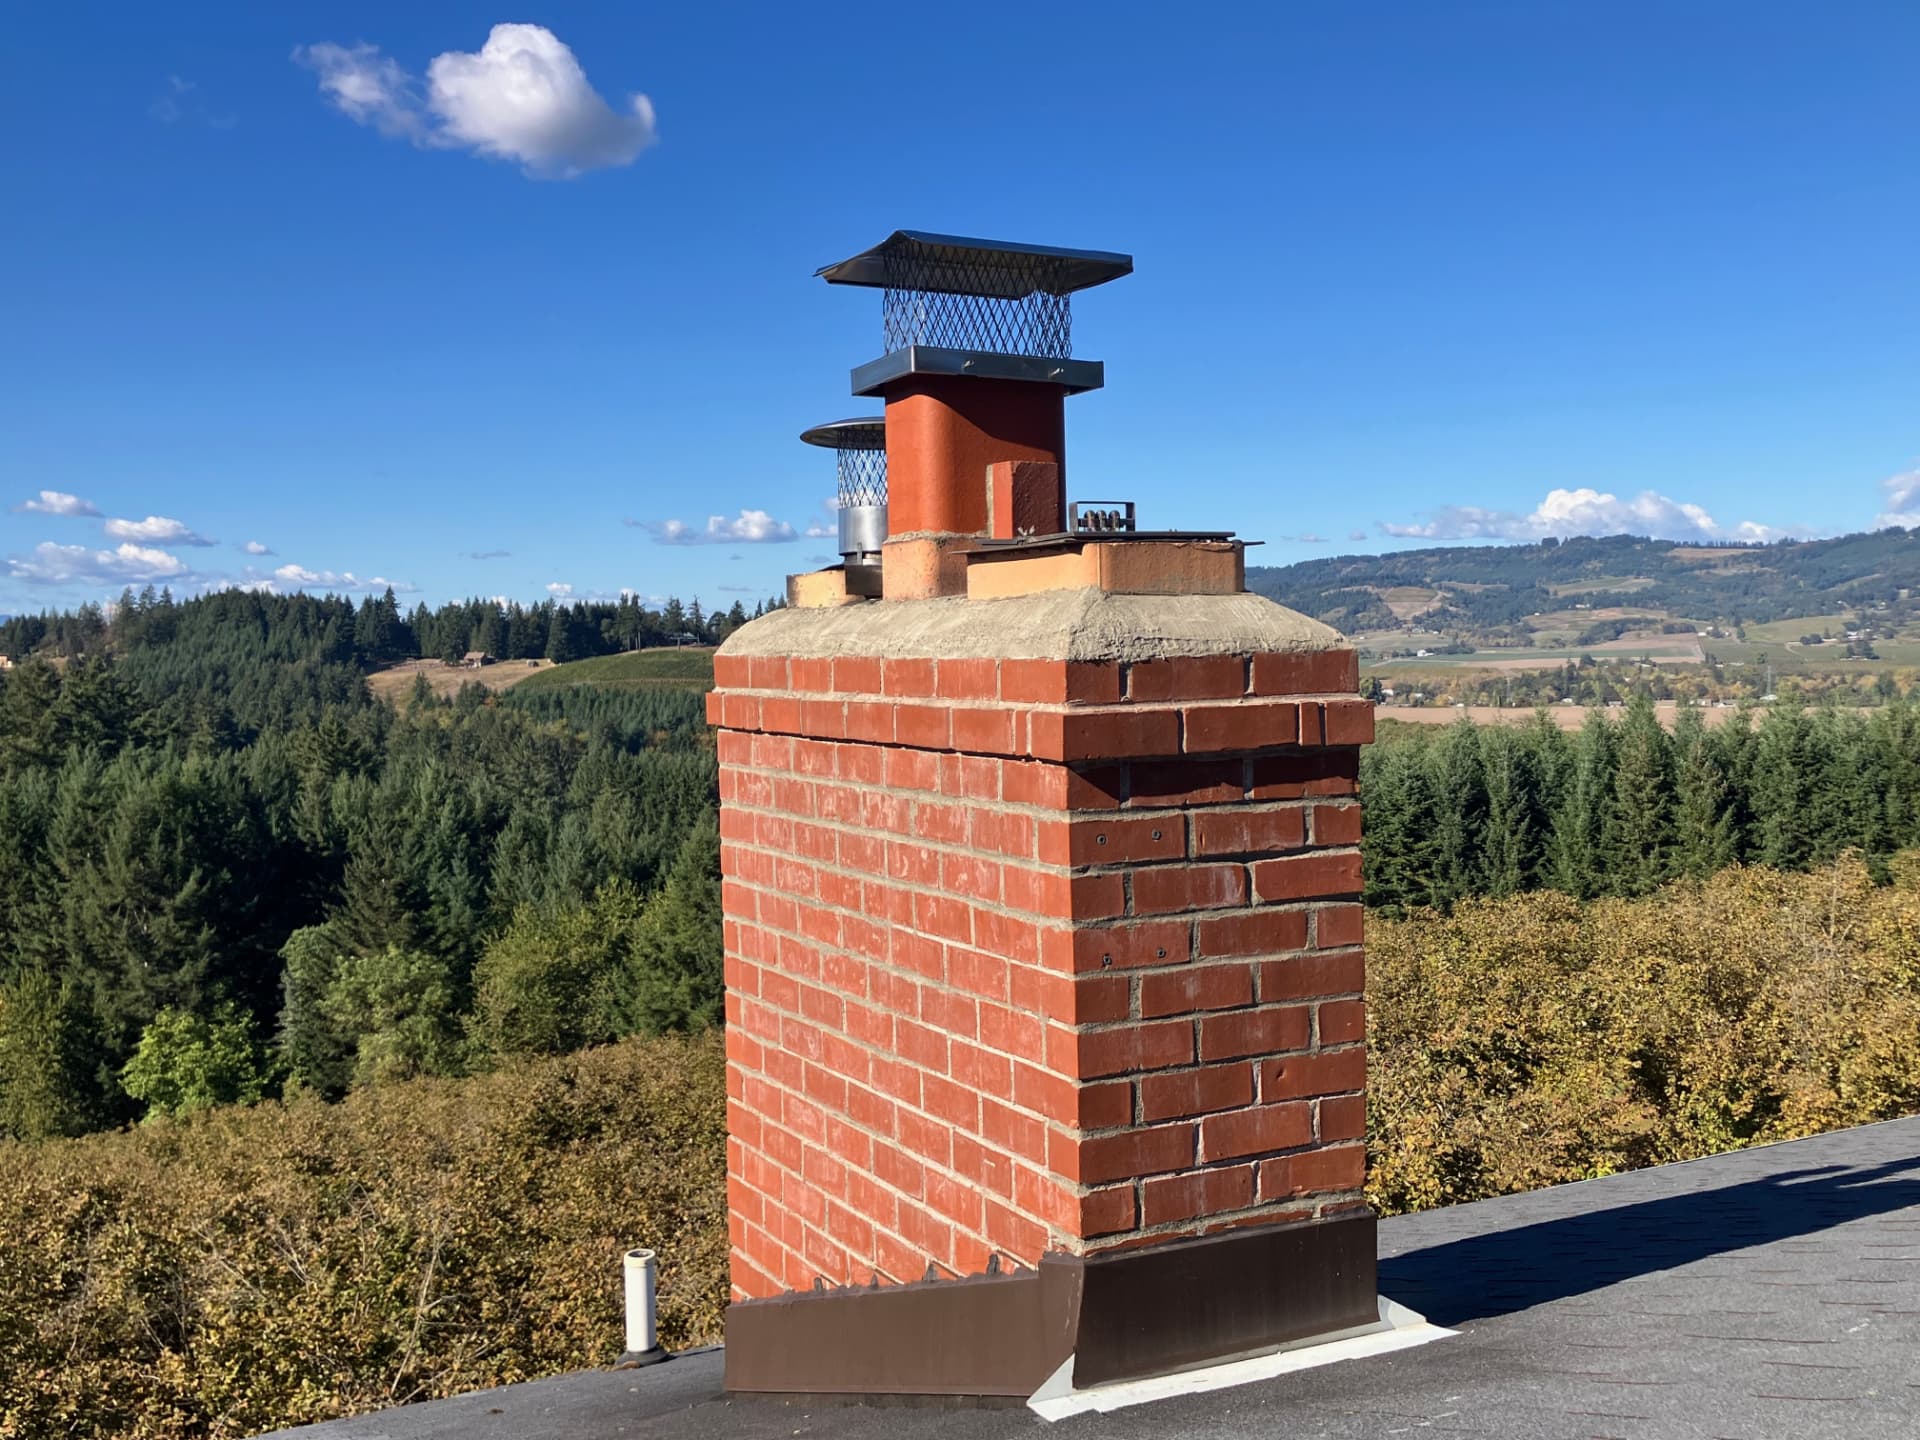
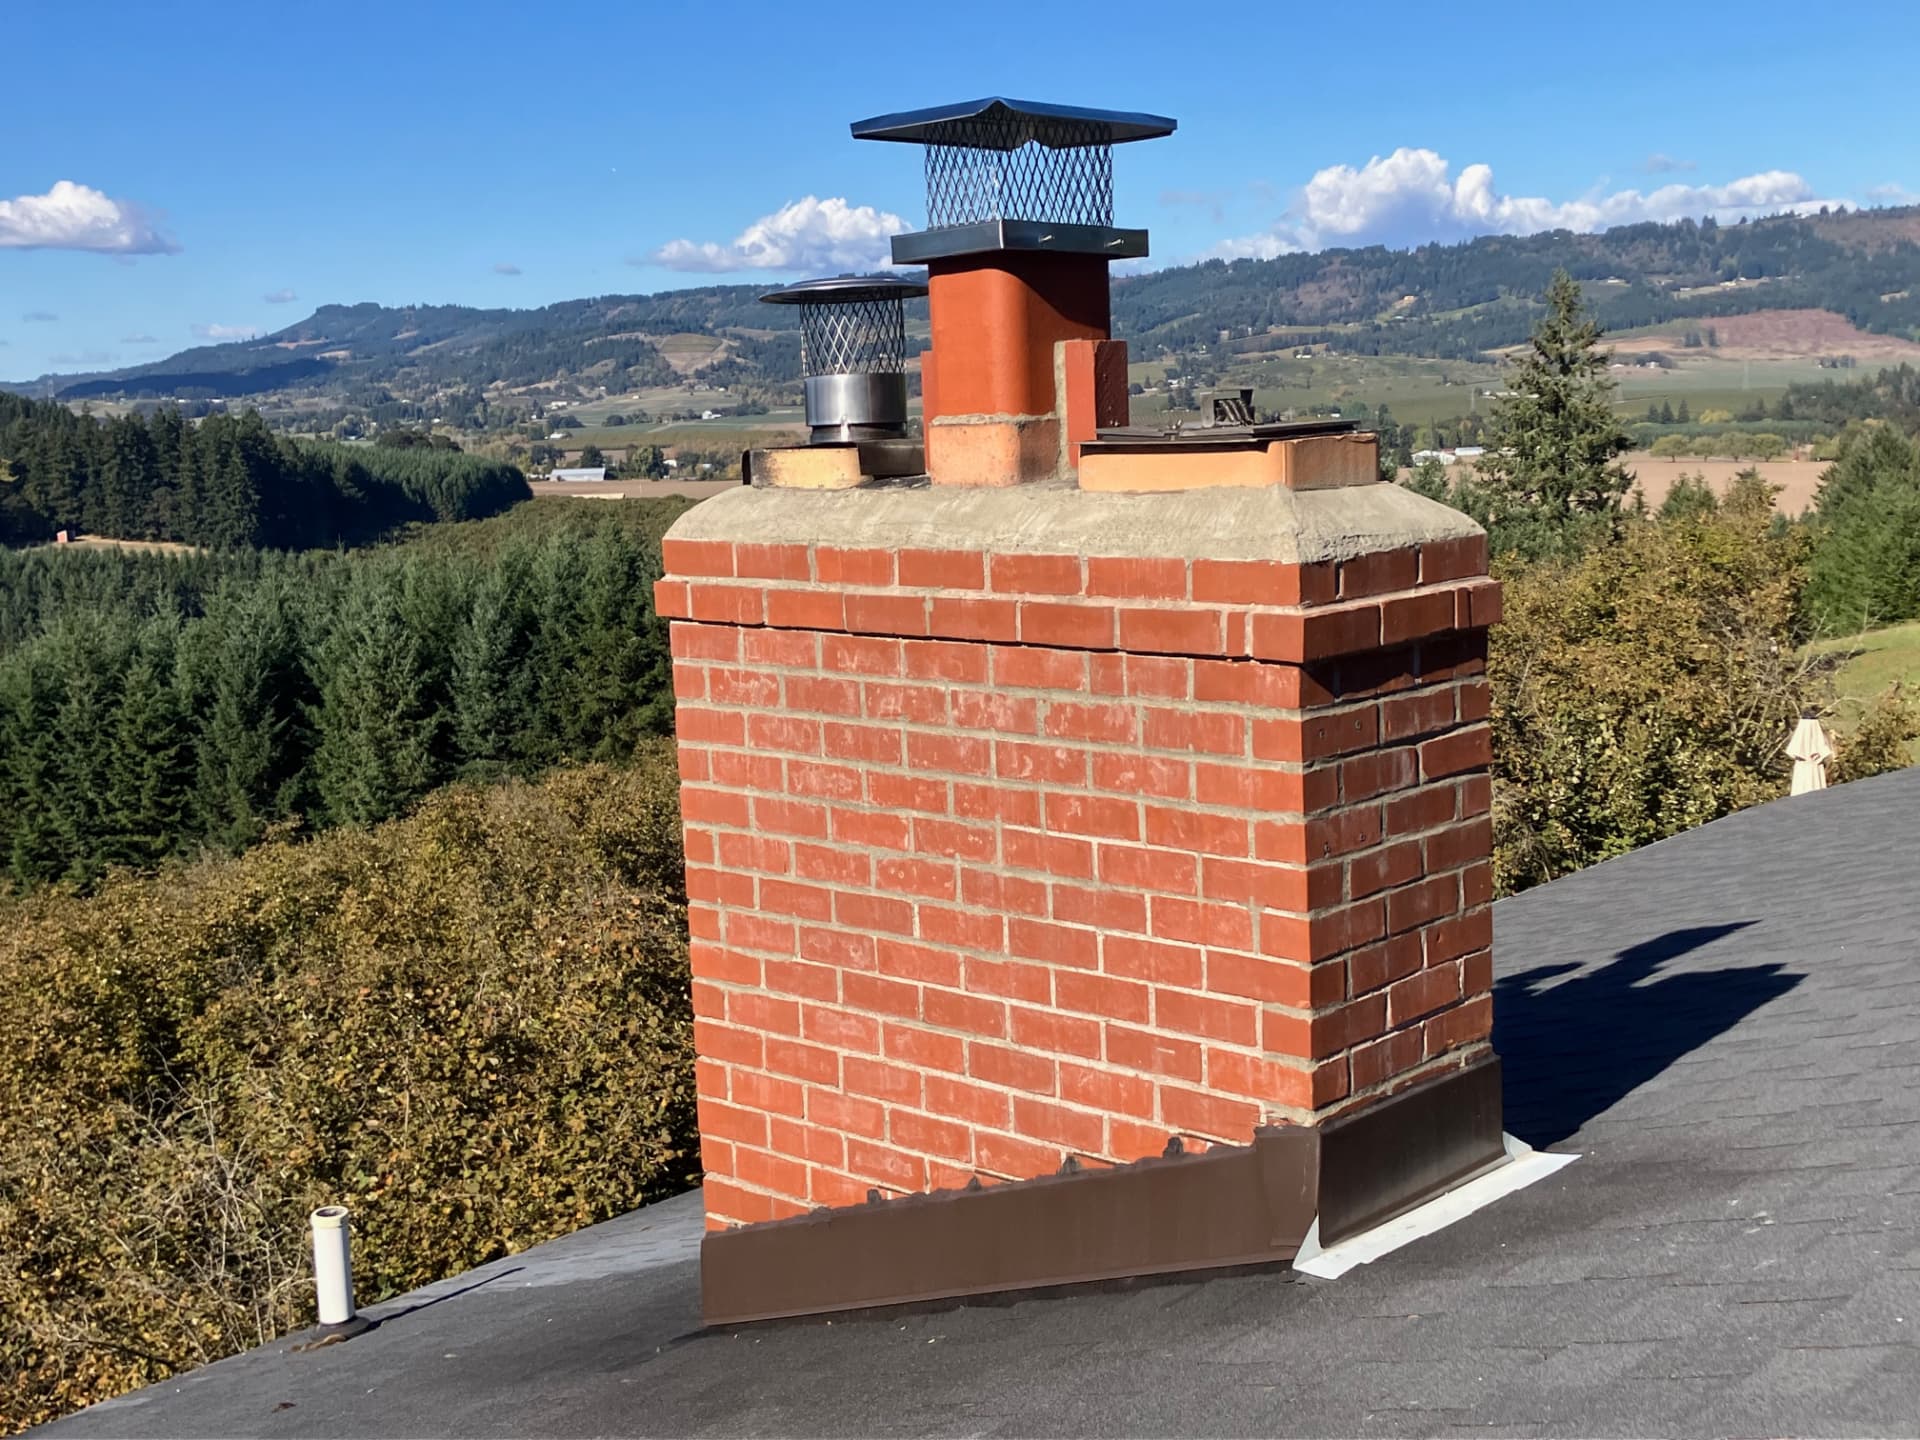
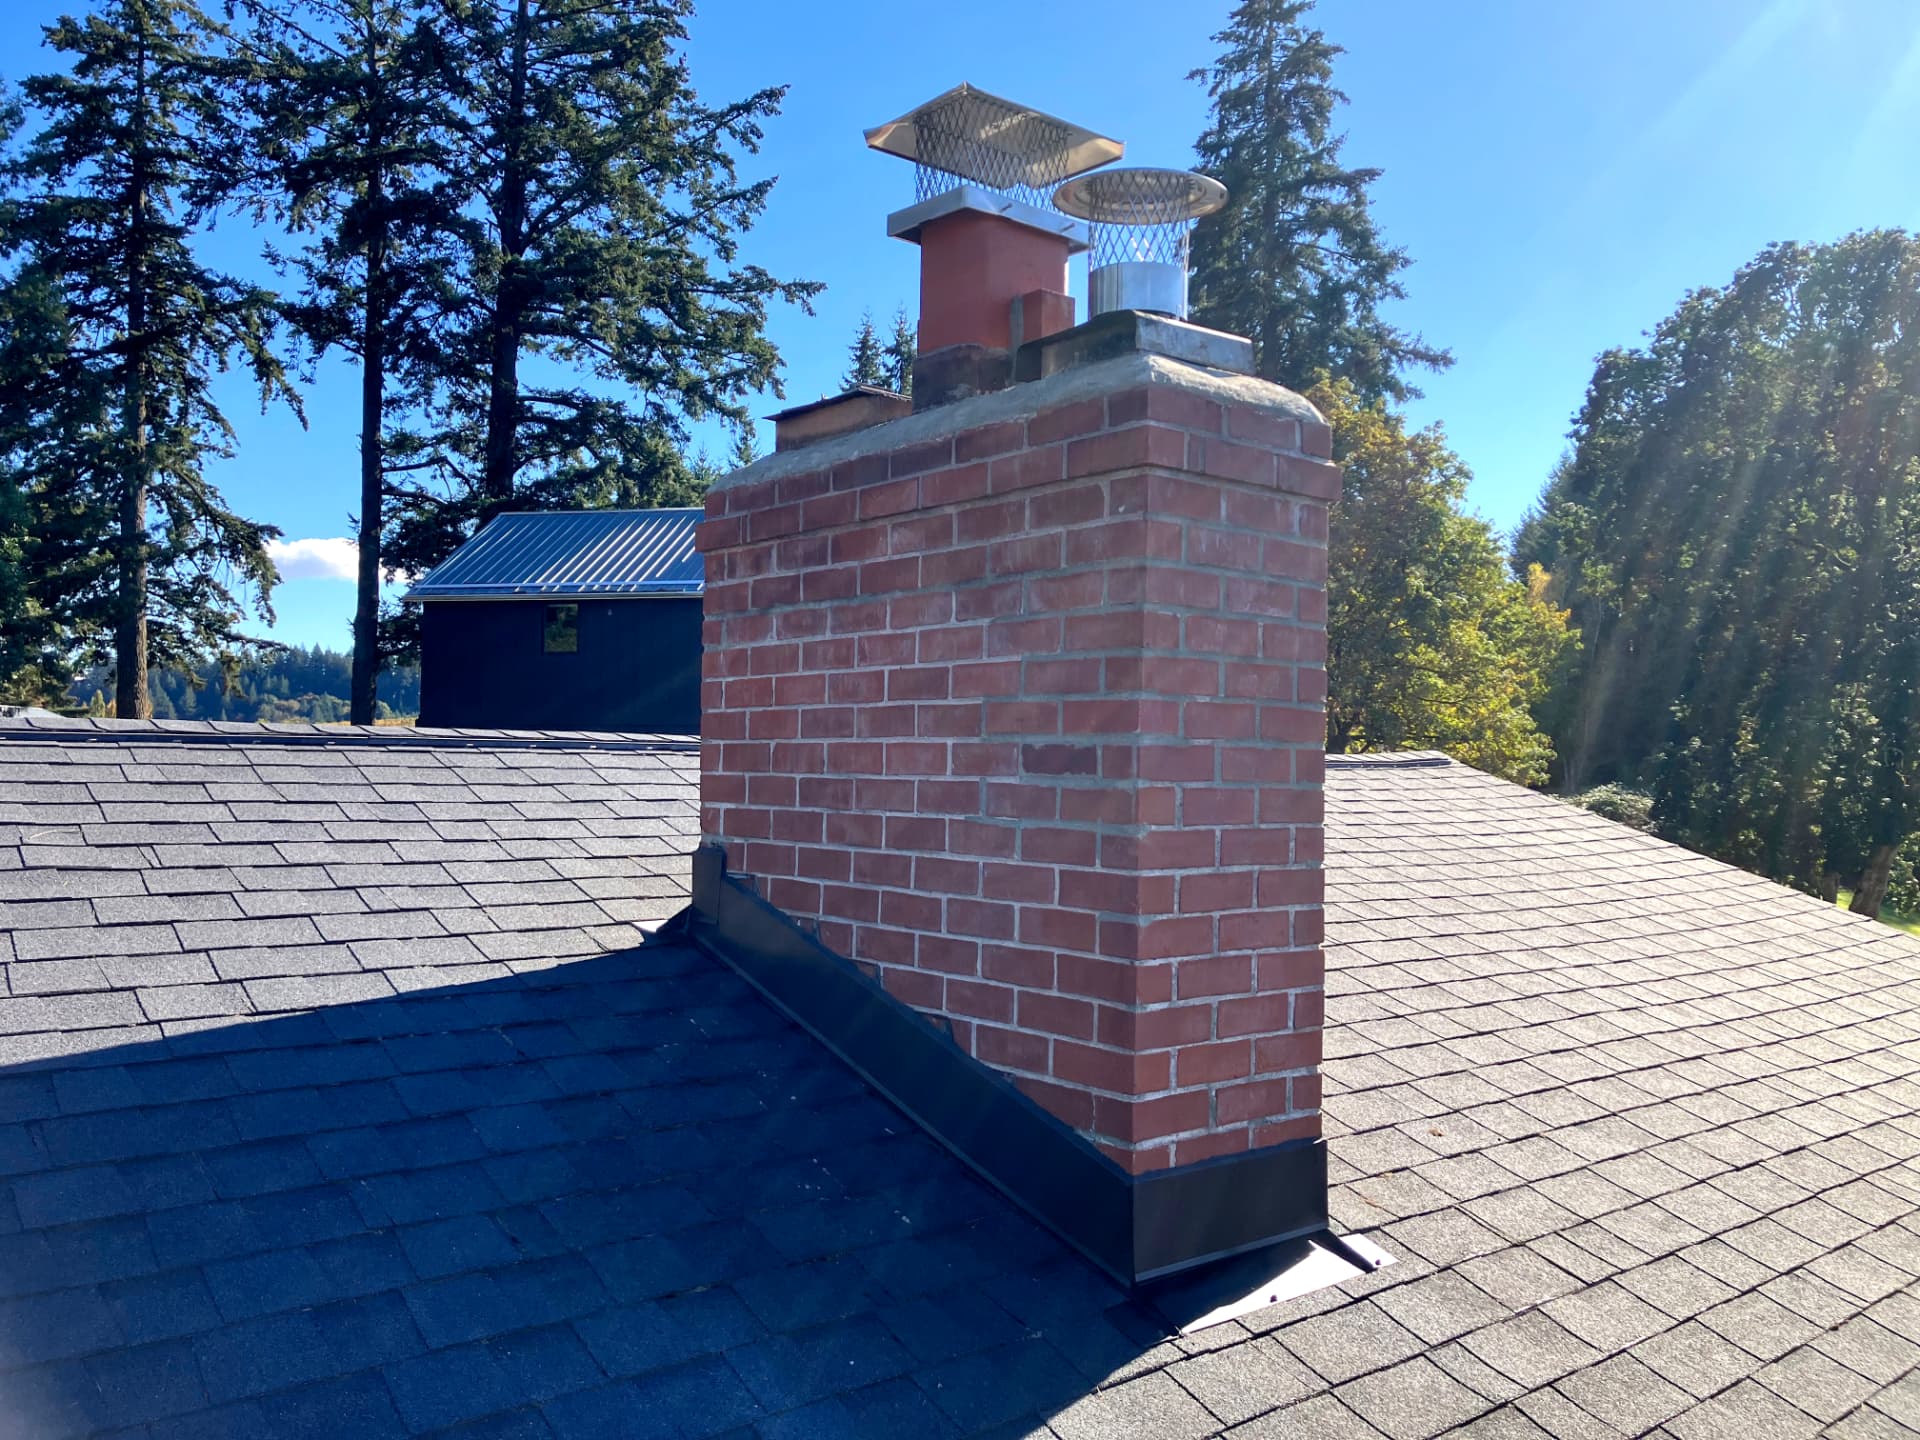
Before and After — Tuck Pointing from May 2026
A May 2026 job showing efflorescence-streaked brick with cracked and missing mortar joints before tuck pointing, and the same chimney repointed with fresh mortar, a sealed crown and spark-arrestor caps on the flues.
Before
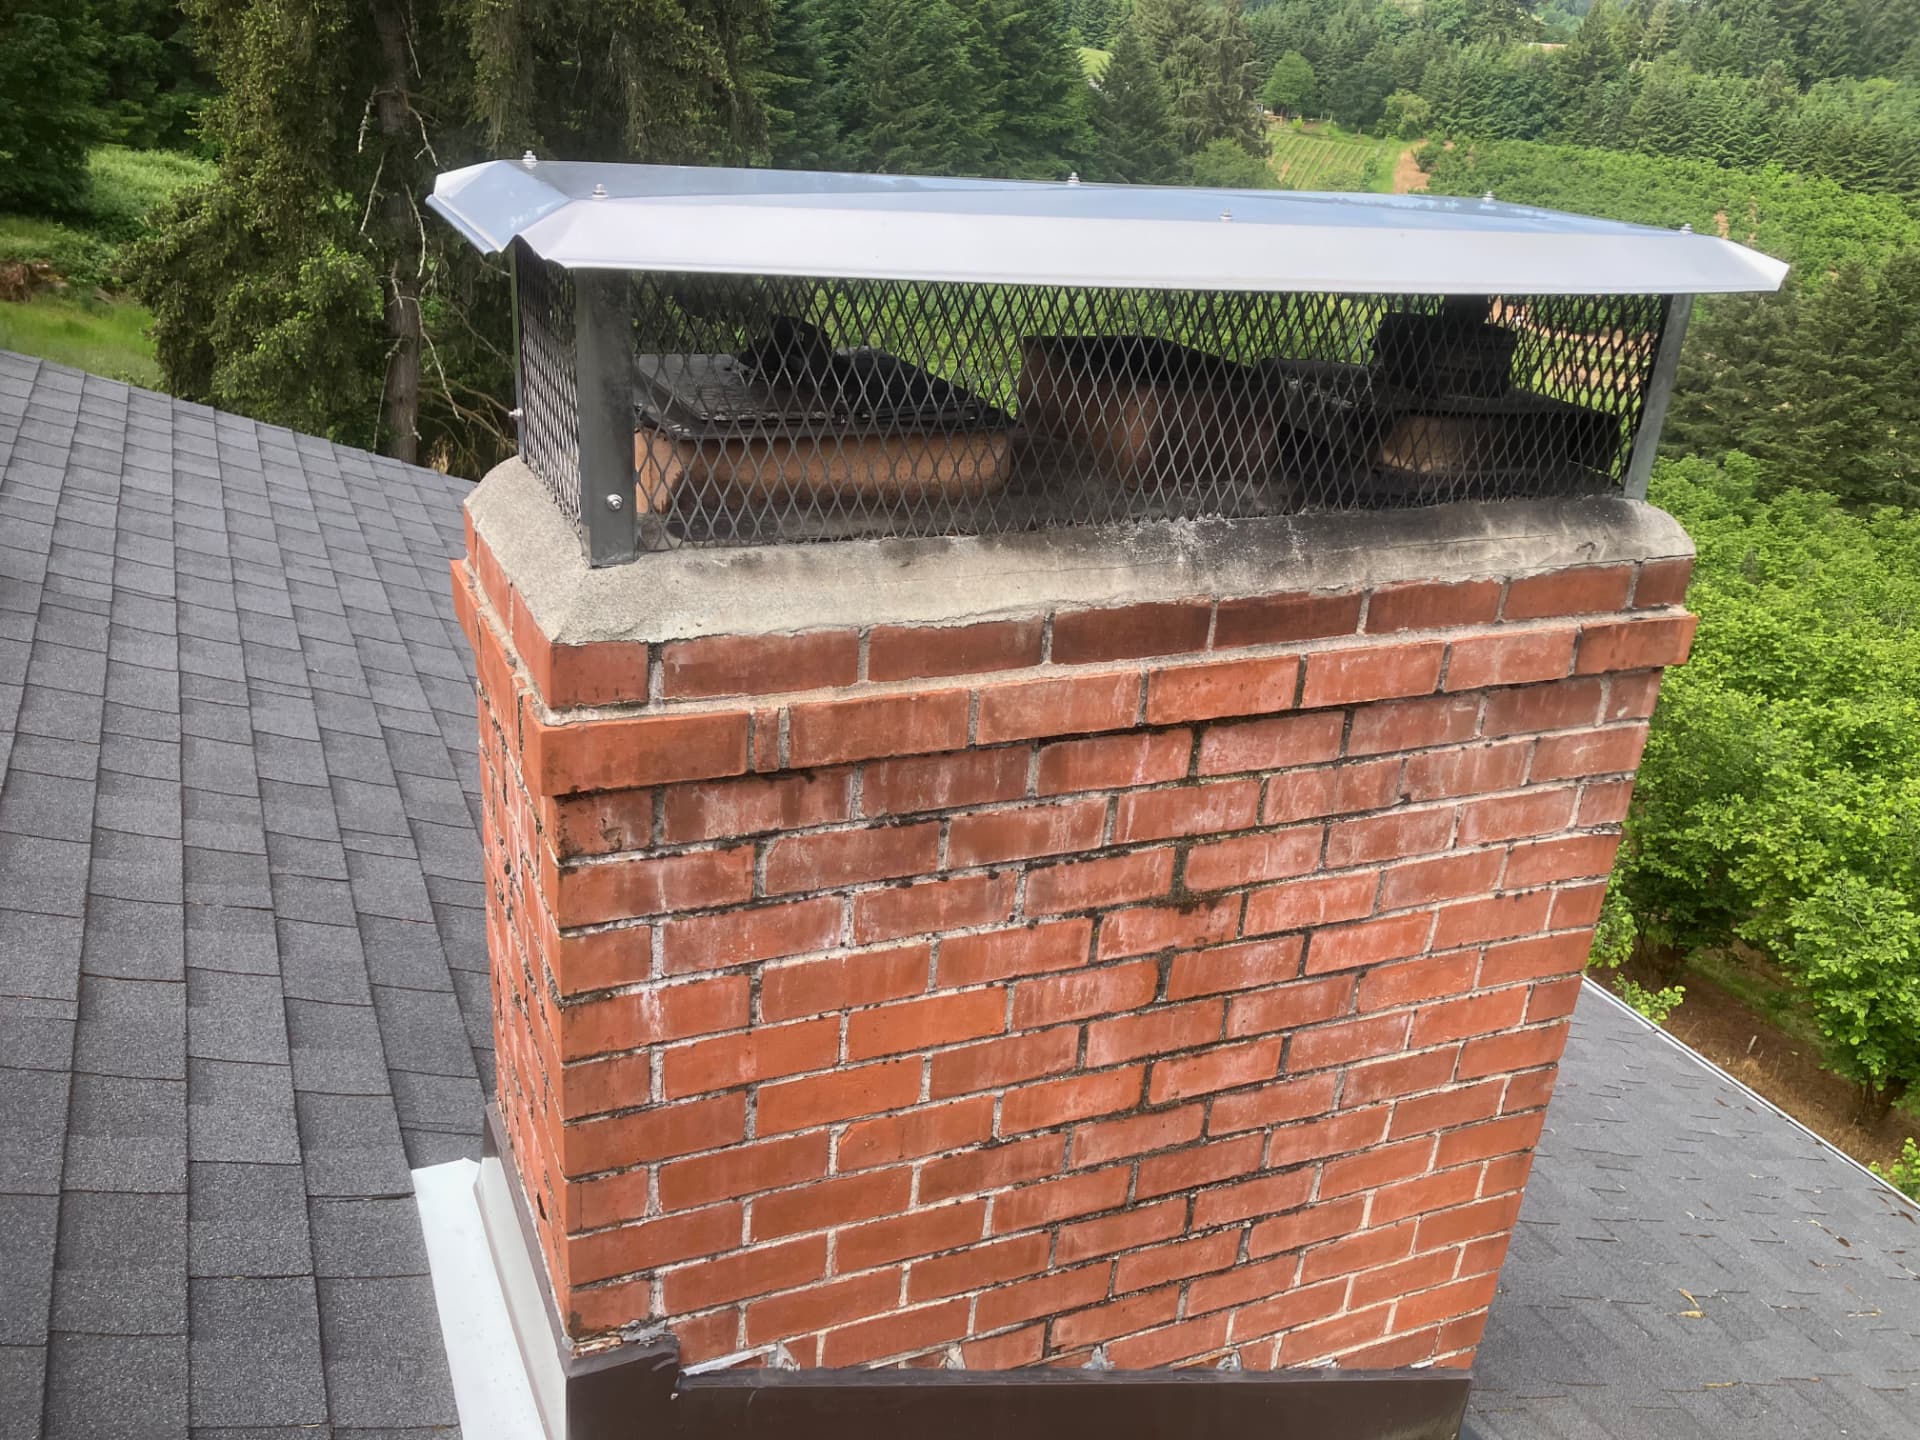
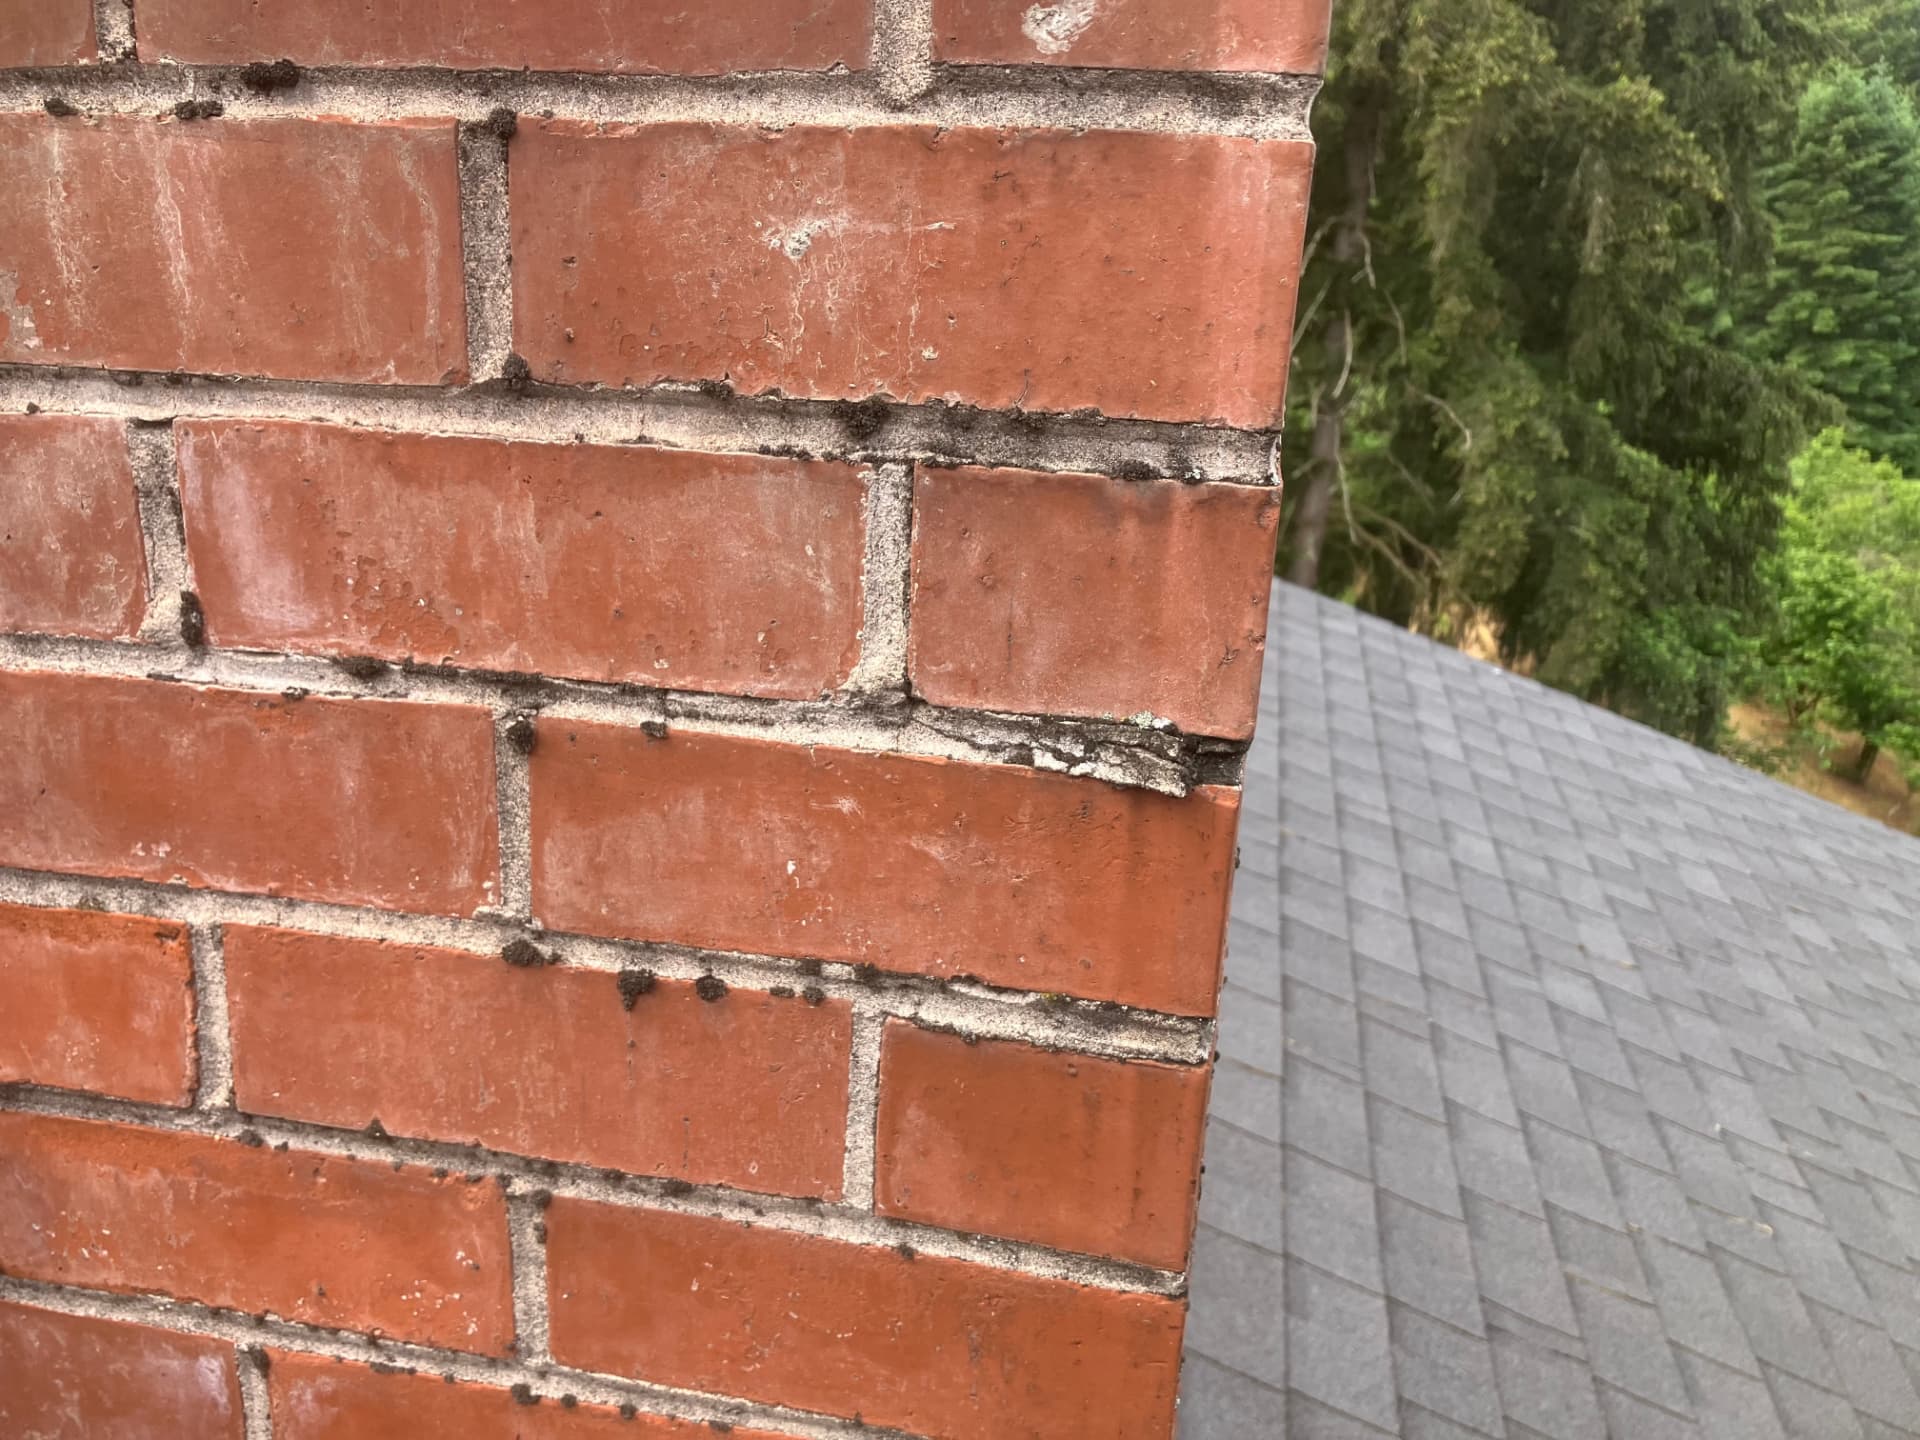
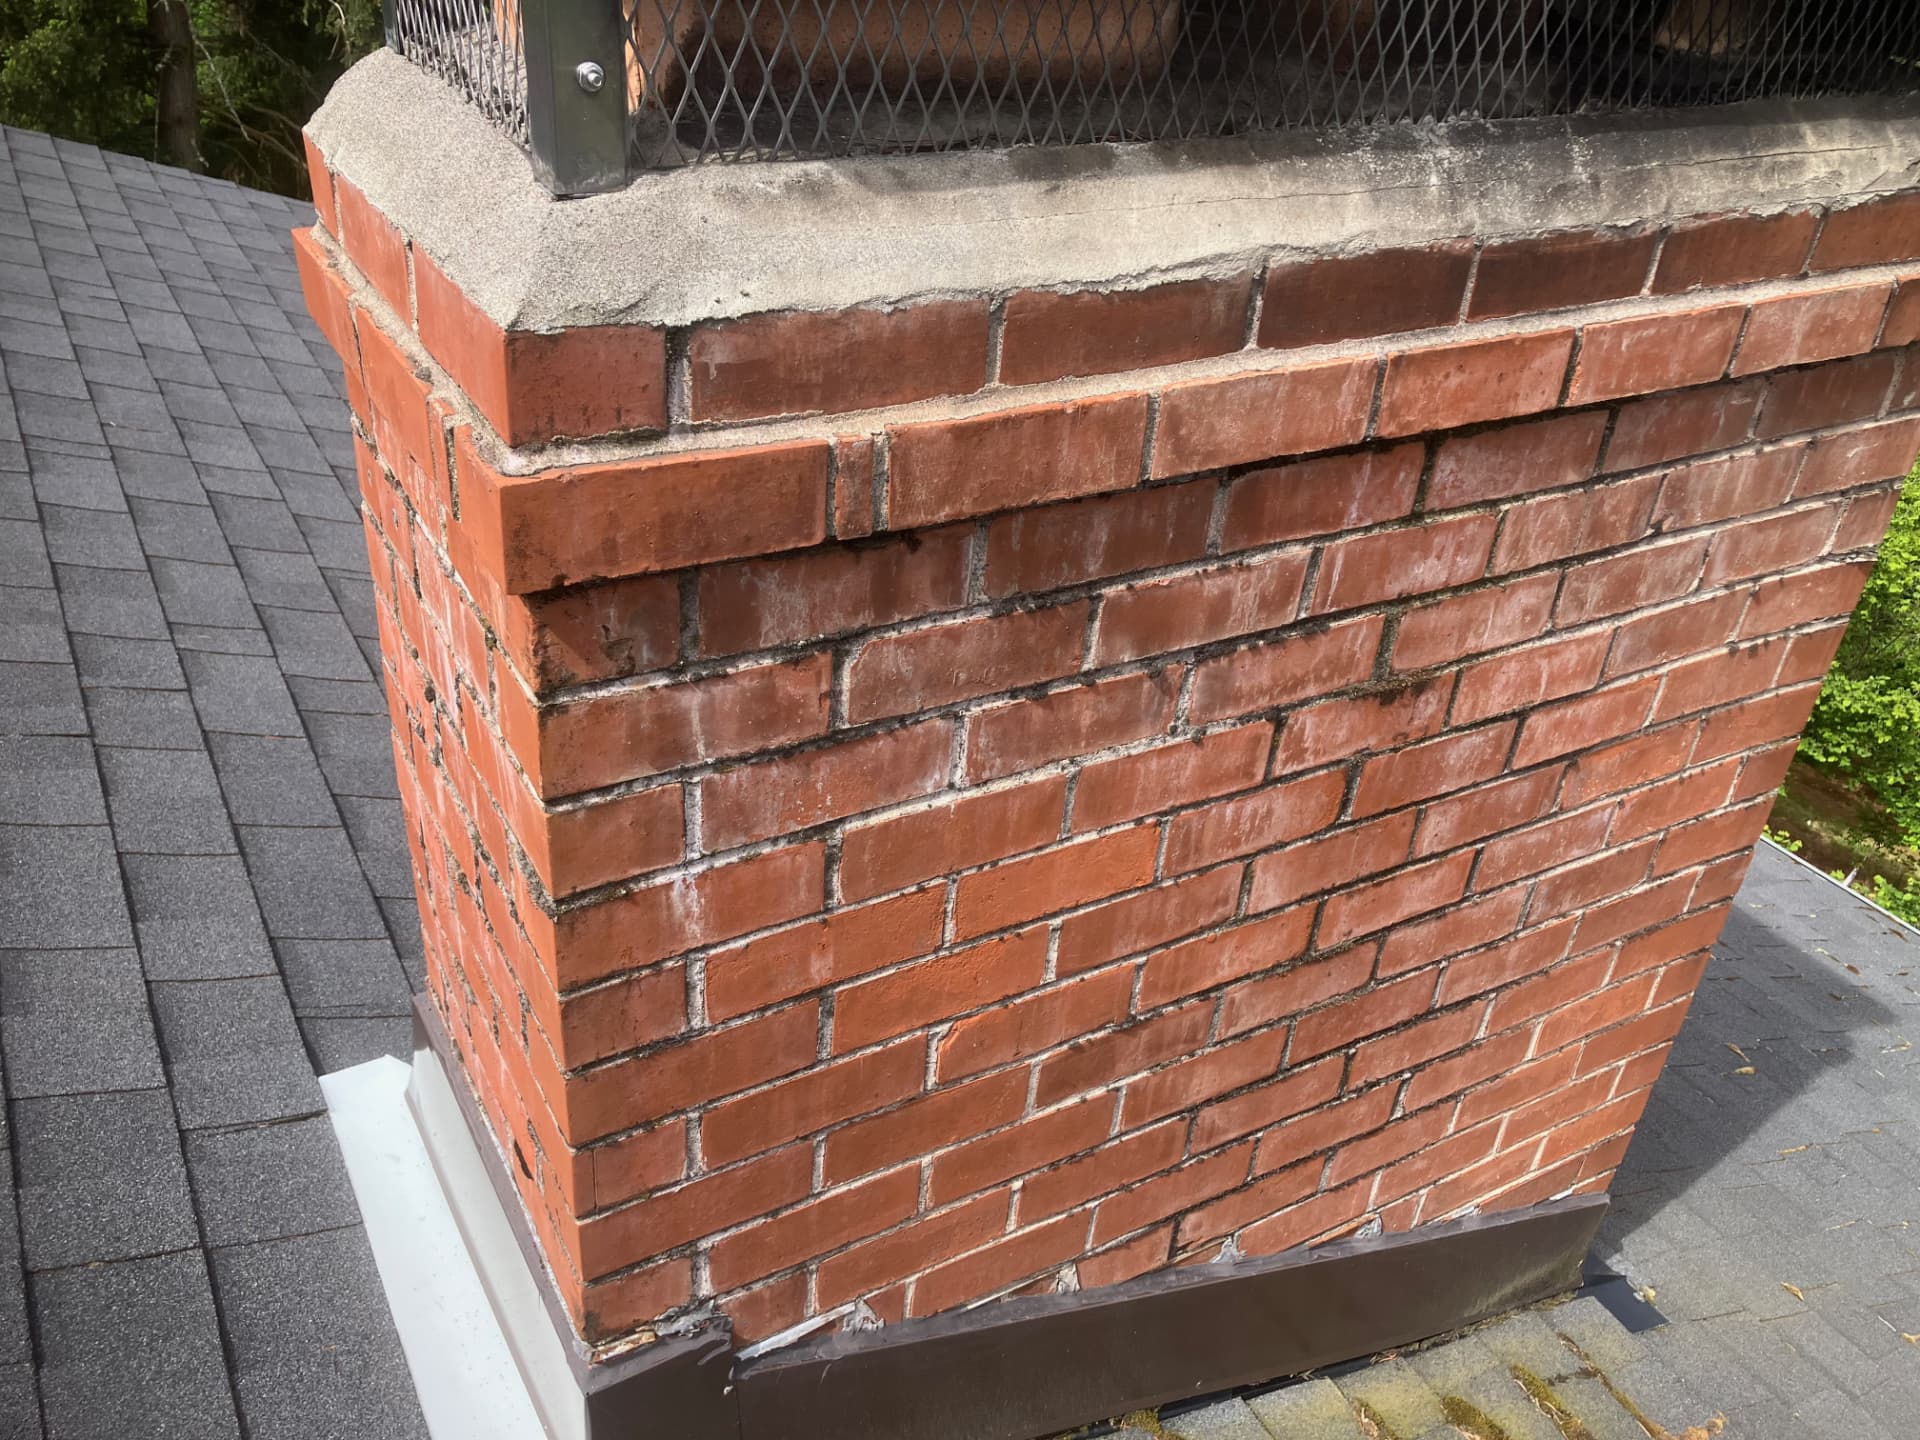
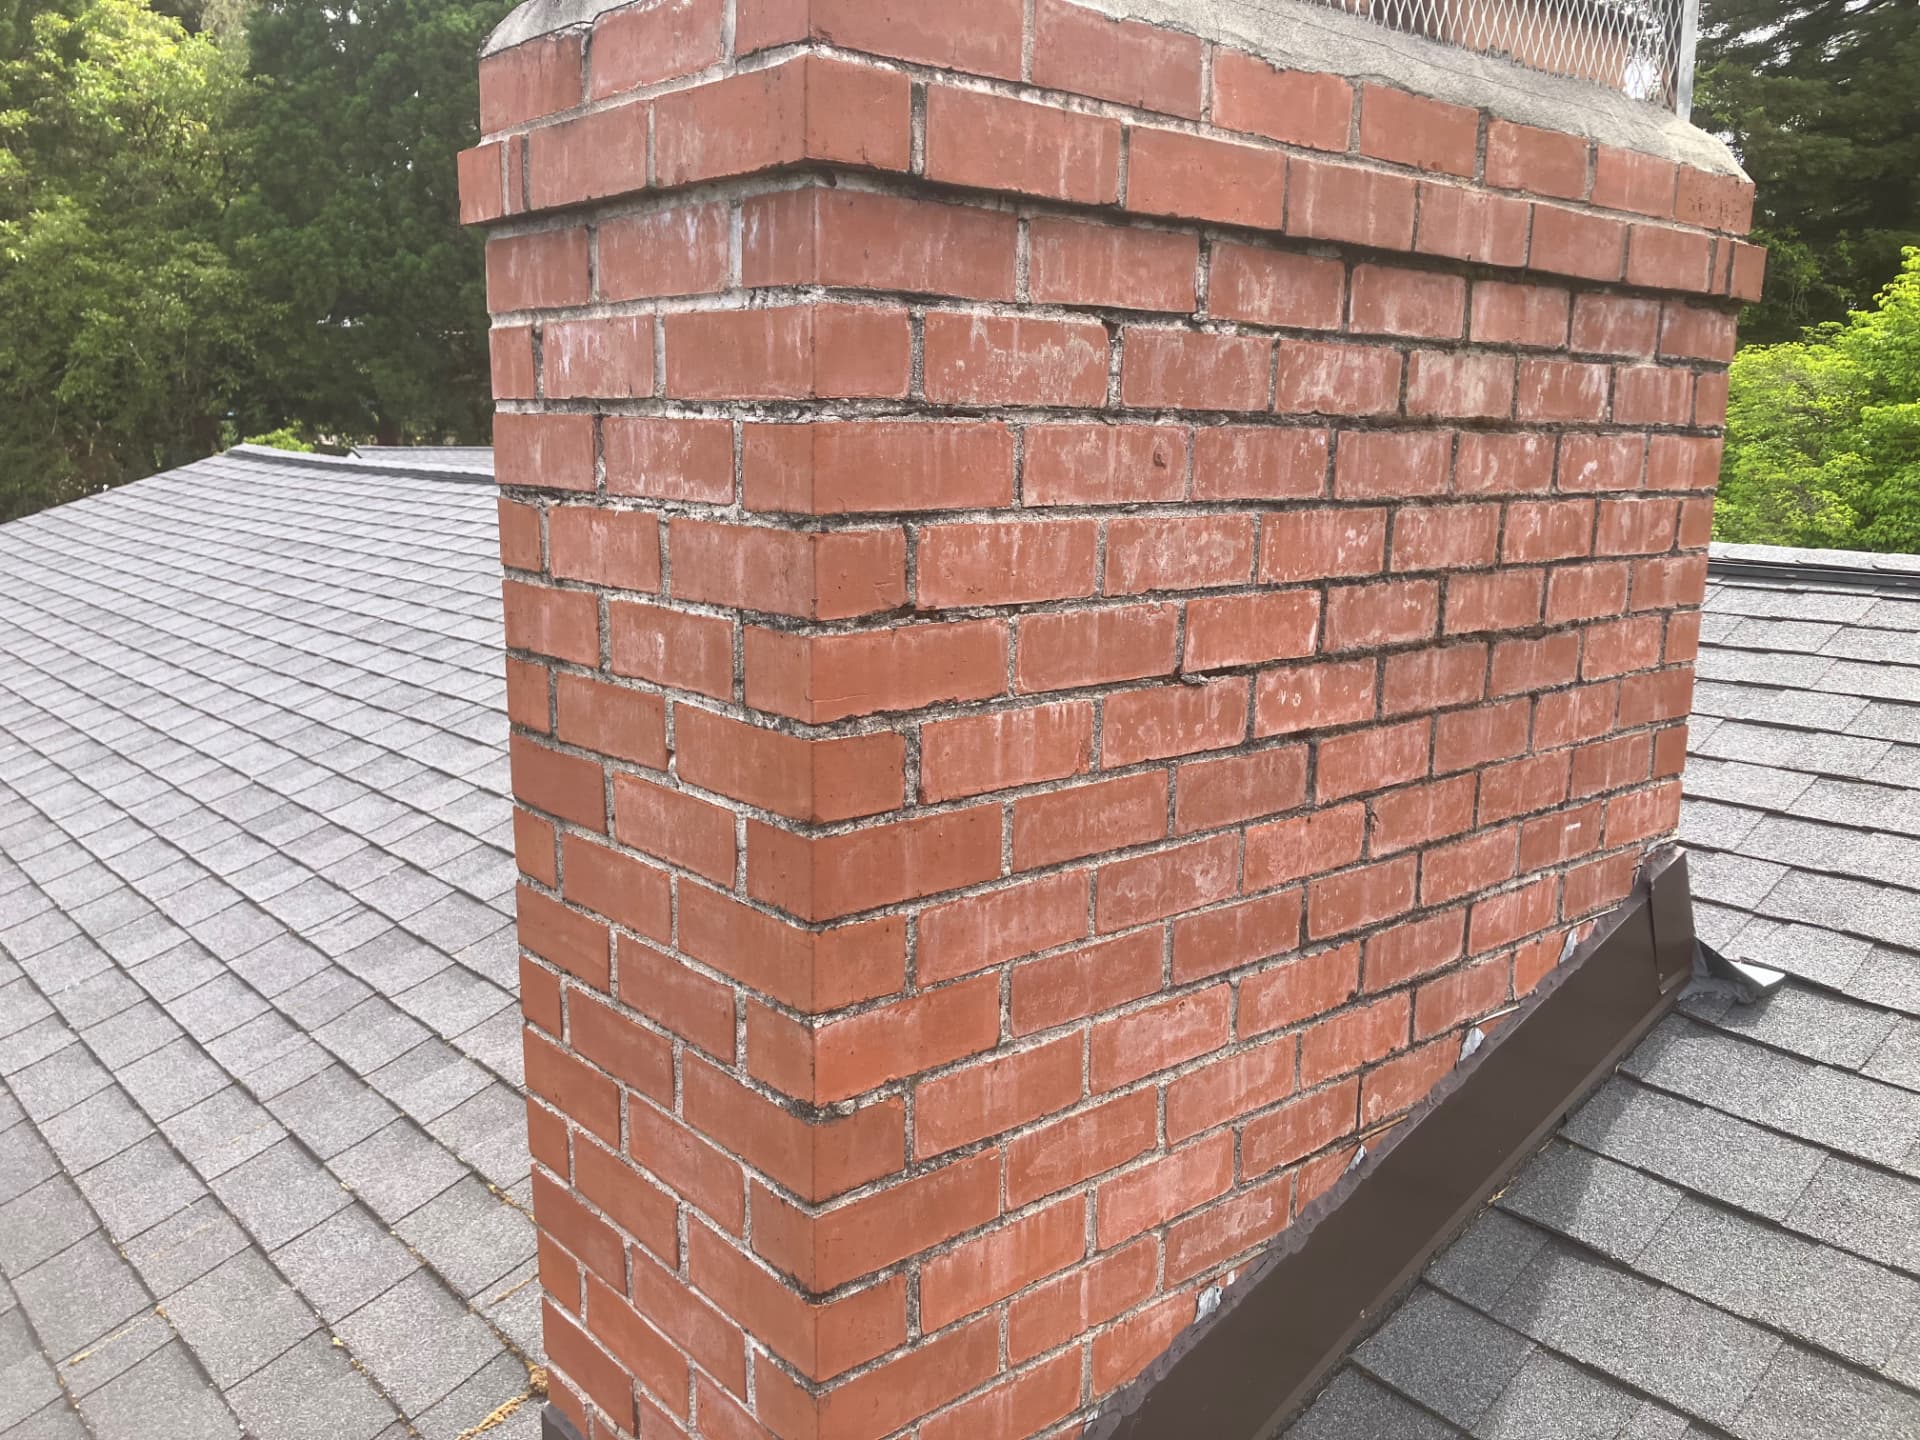
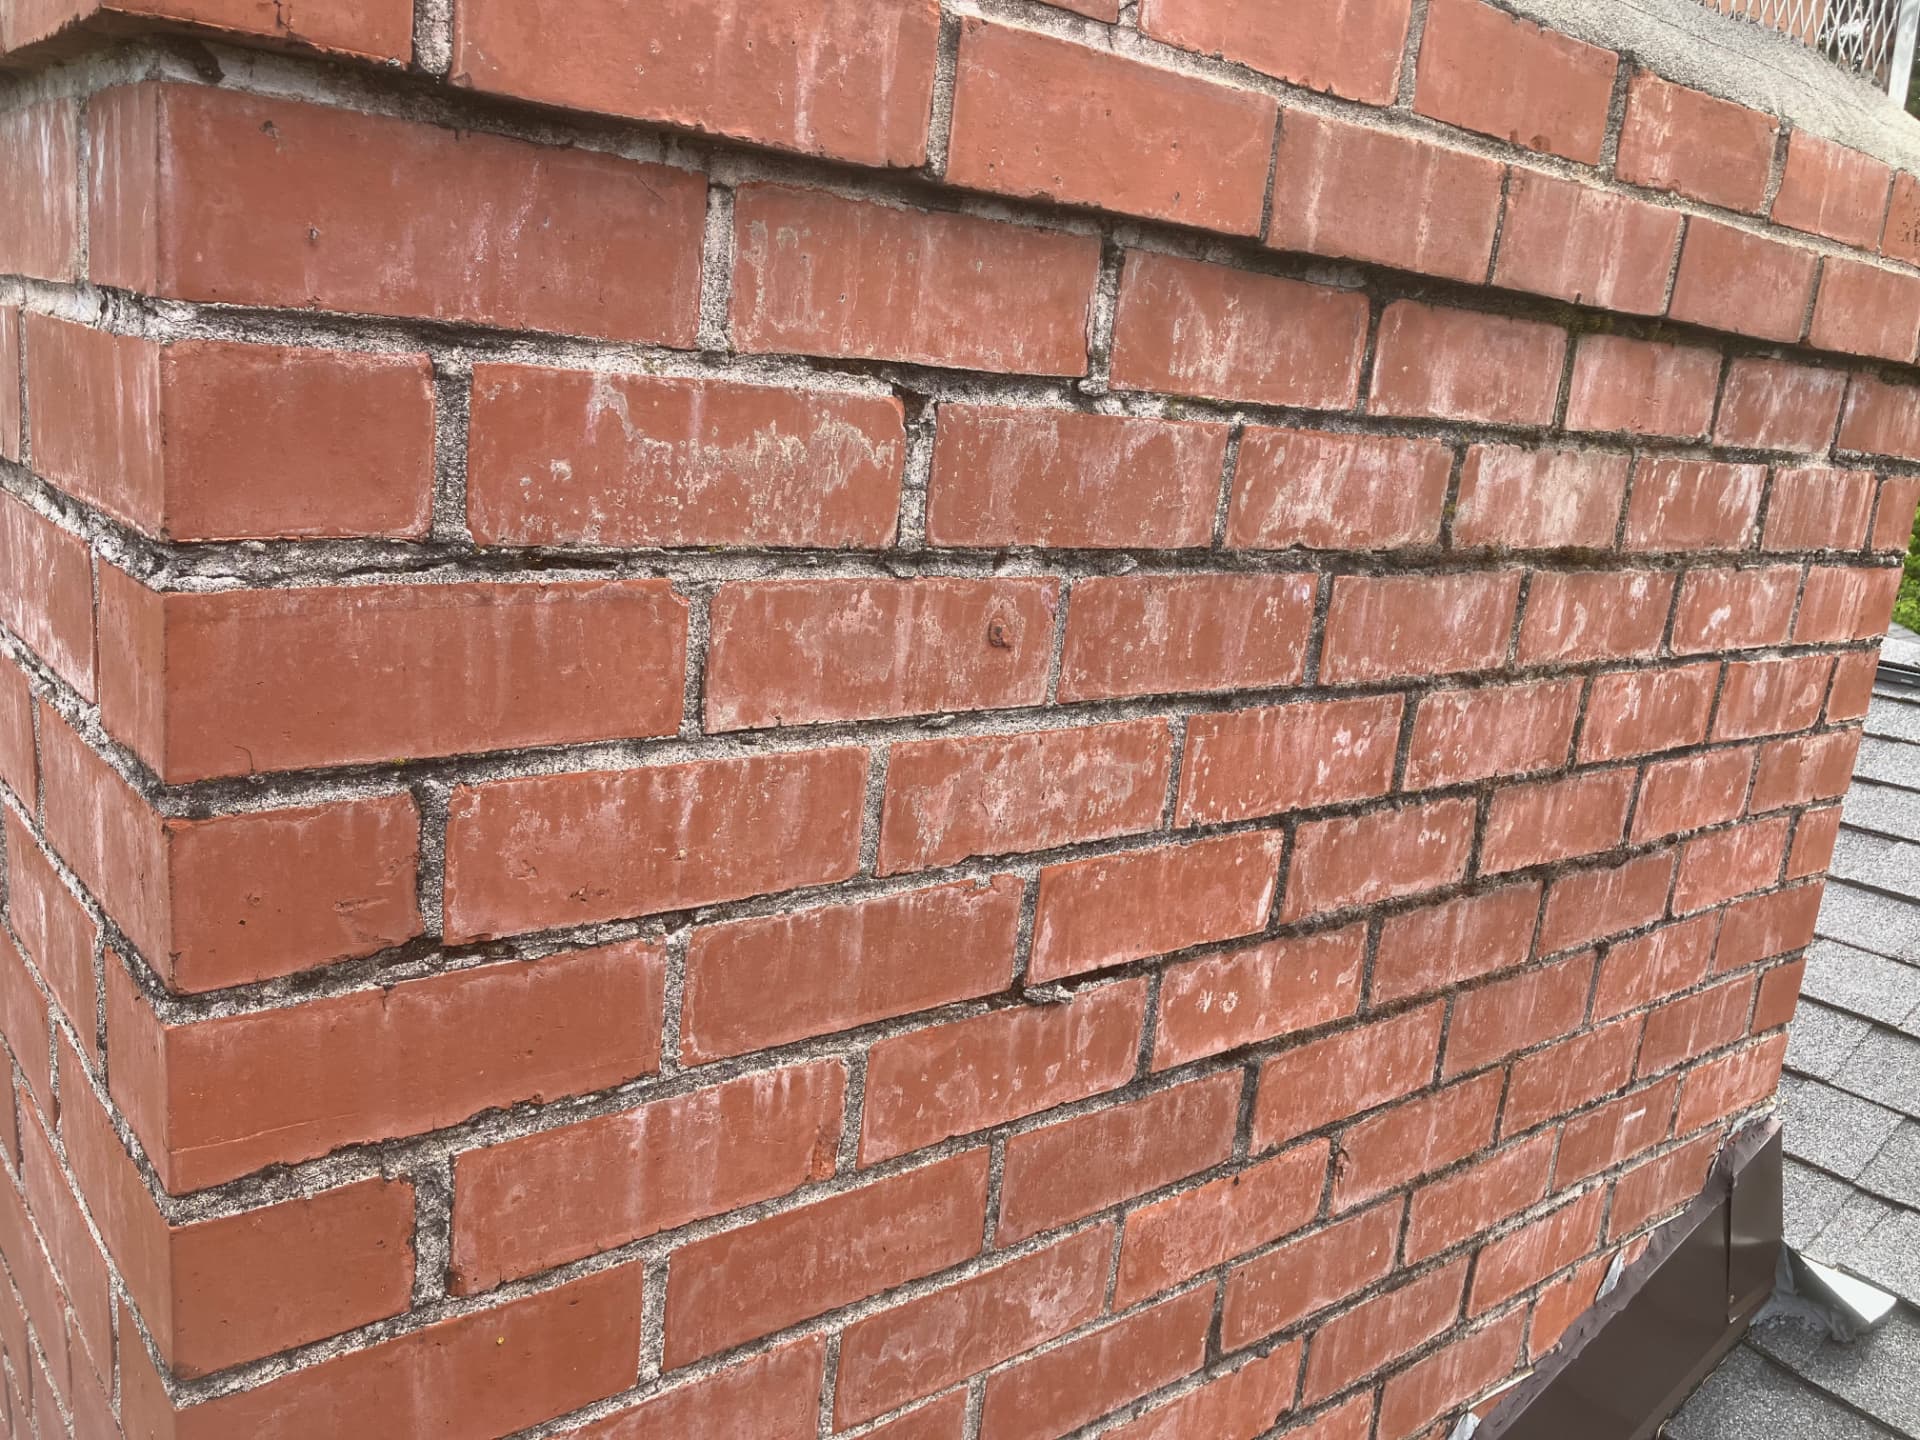
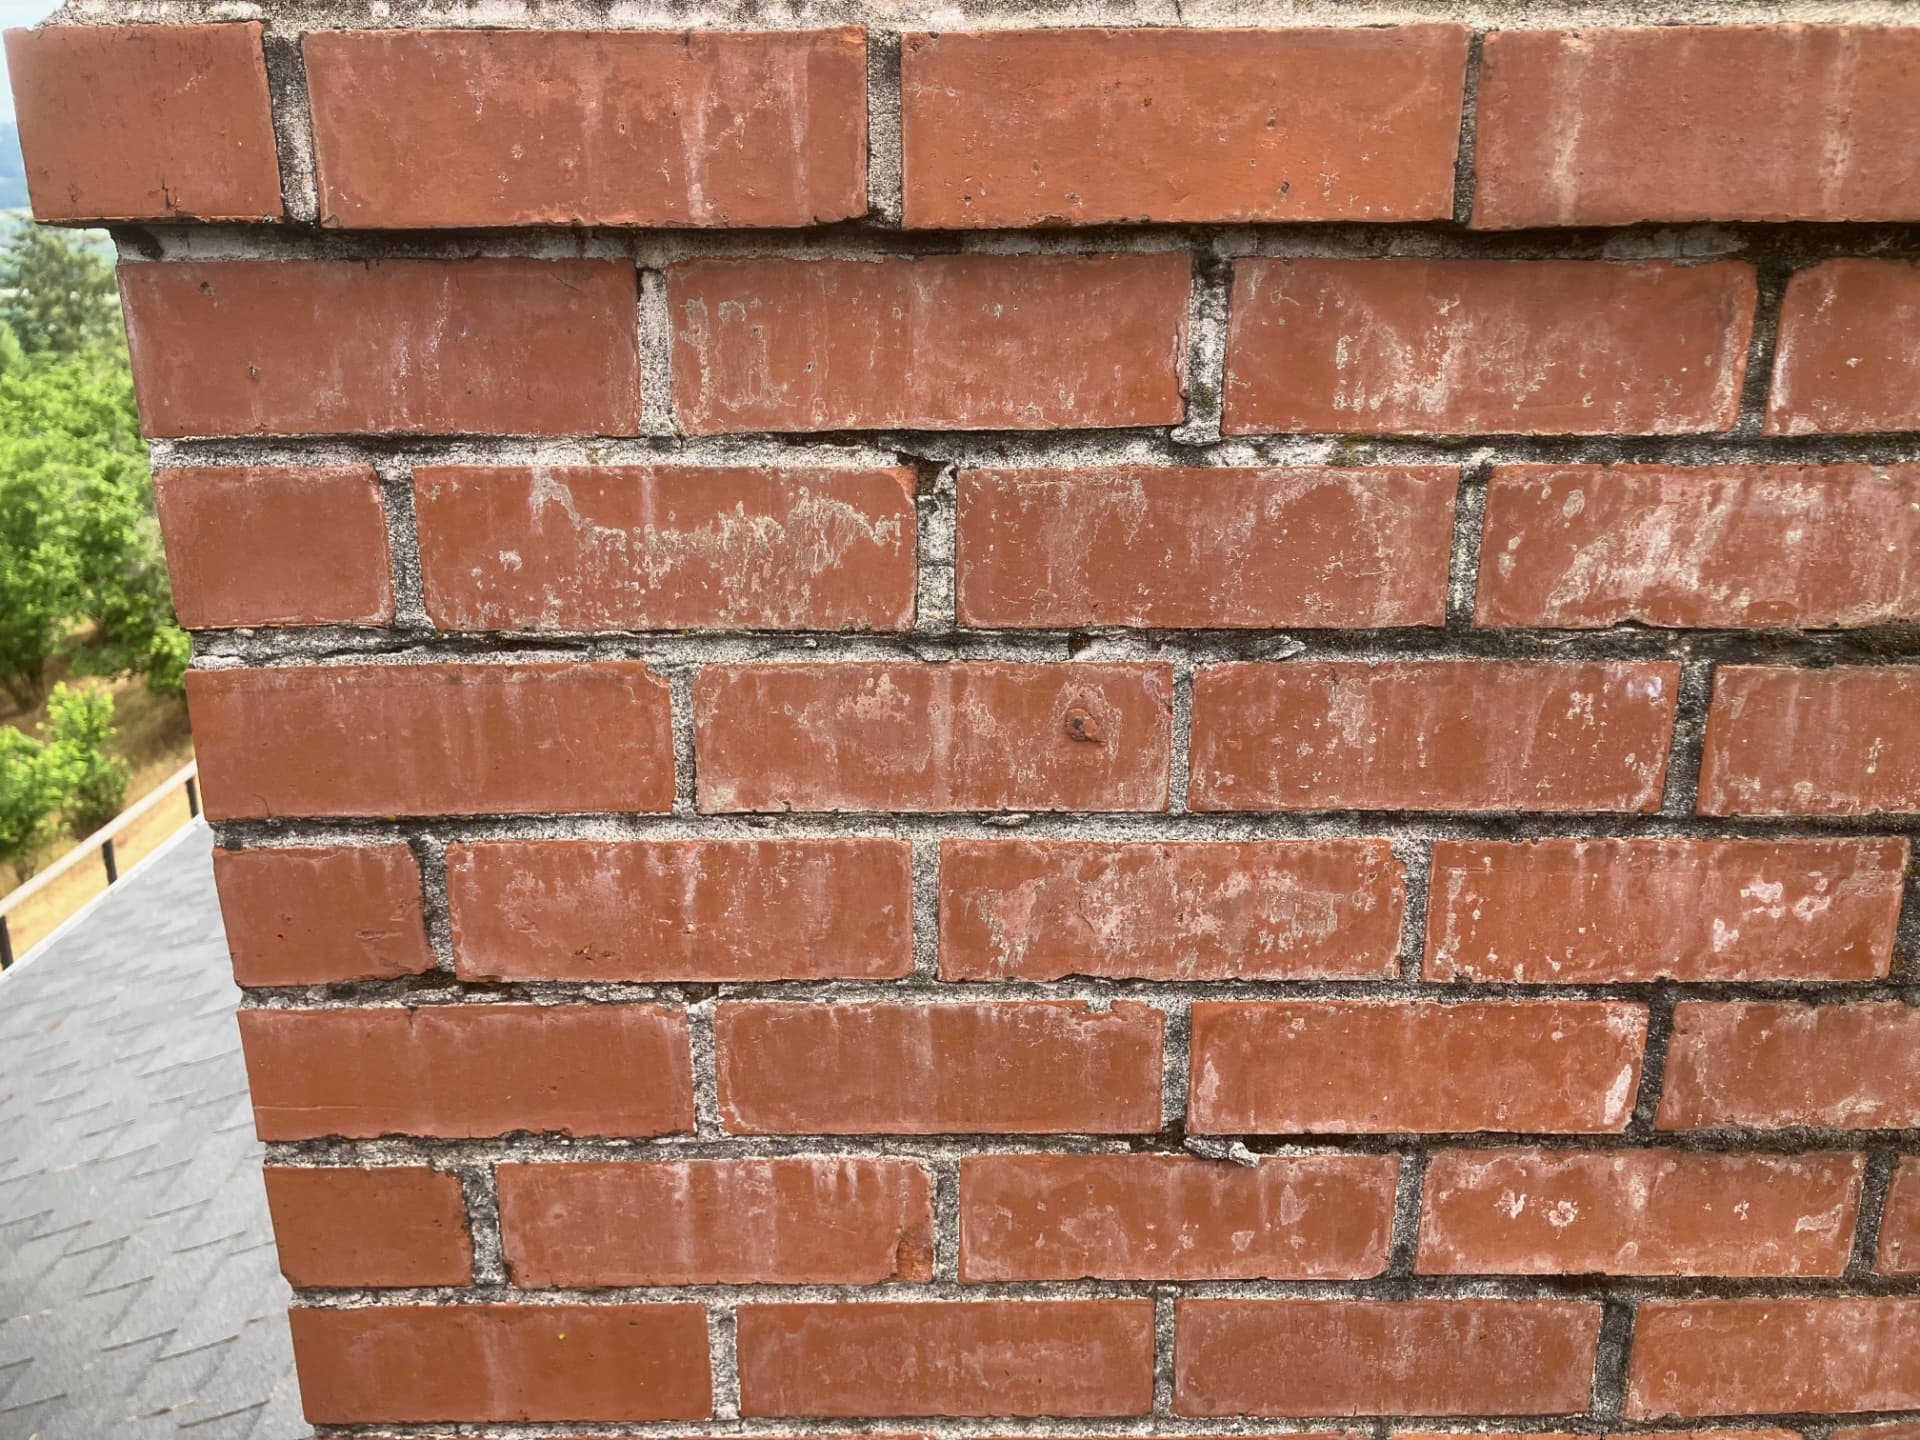
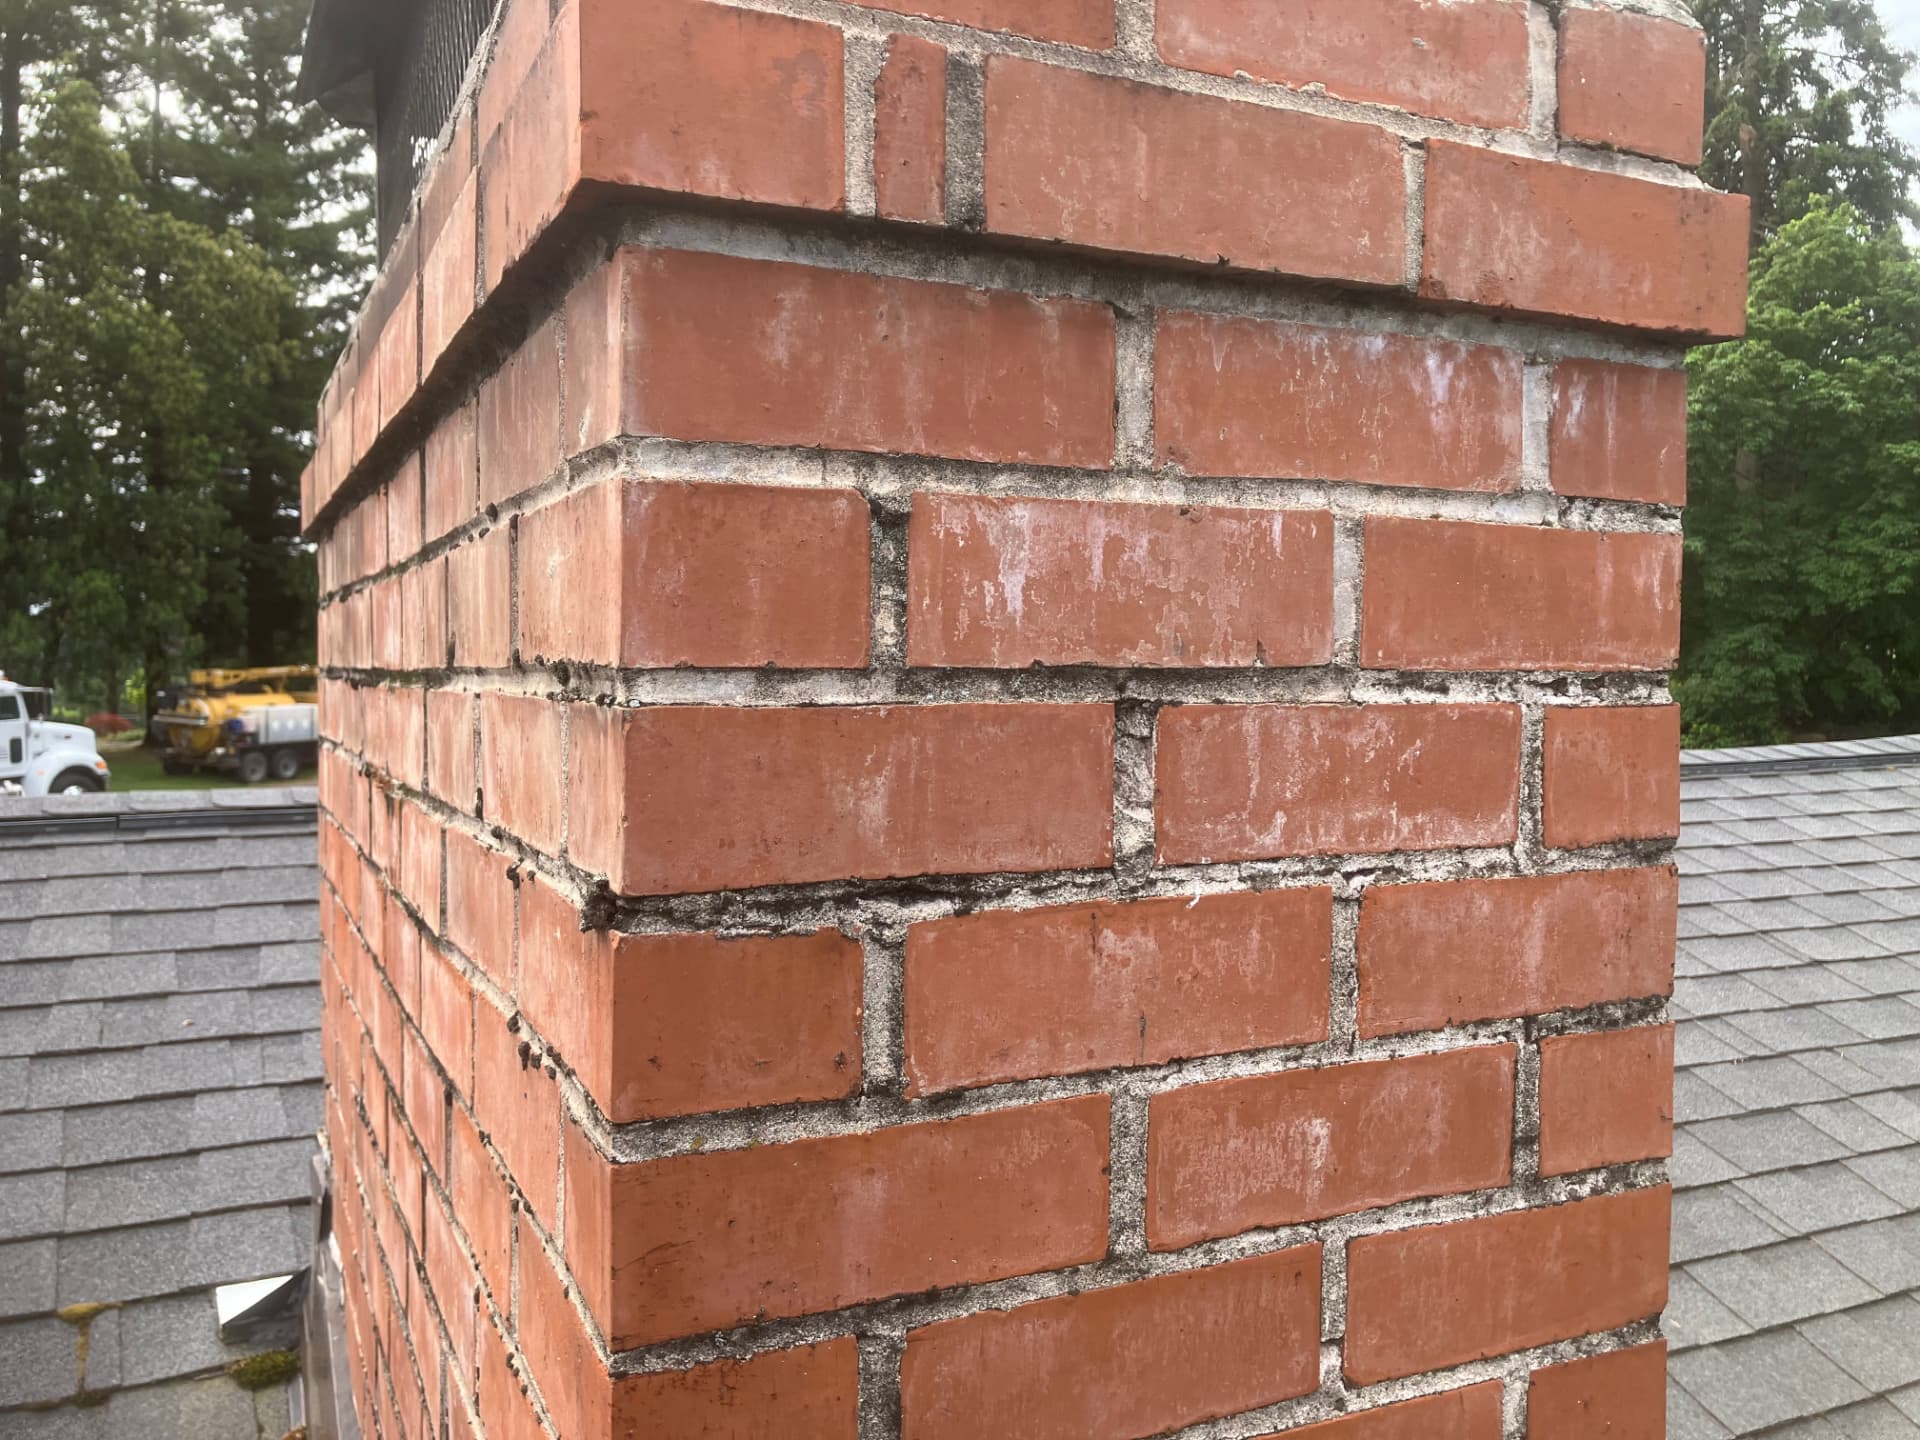
After
Before and After — Tuck Pointing from June 2026
A June 2026 job showing moss-covered, eroded mortar joints before tuck pointing, and the same chimney repointed with fresh mortar and a new crown.
Before
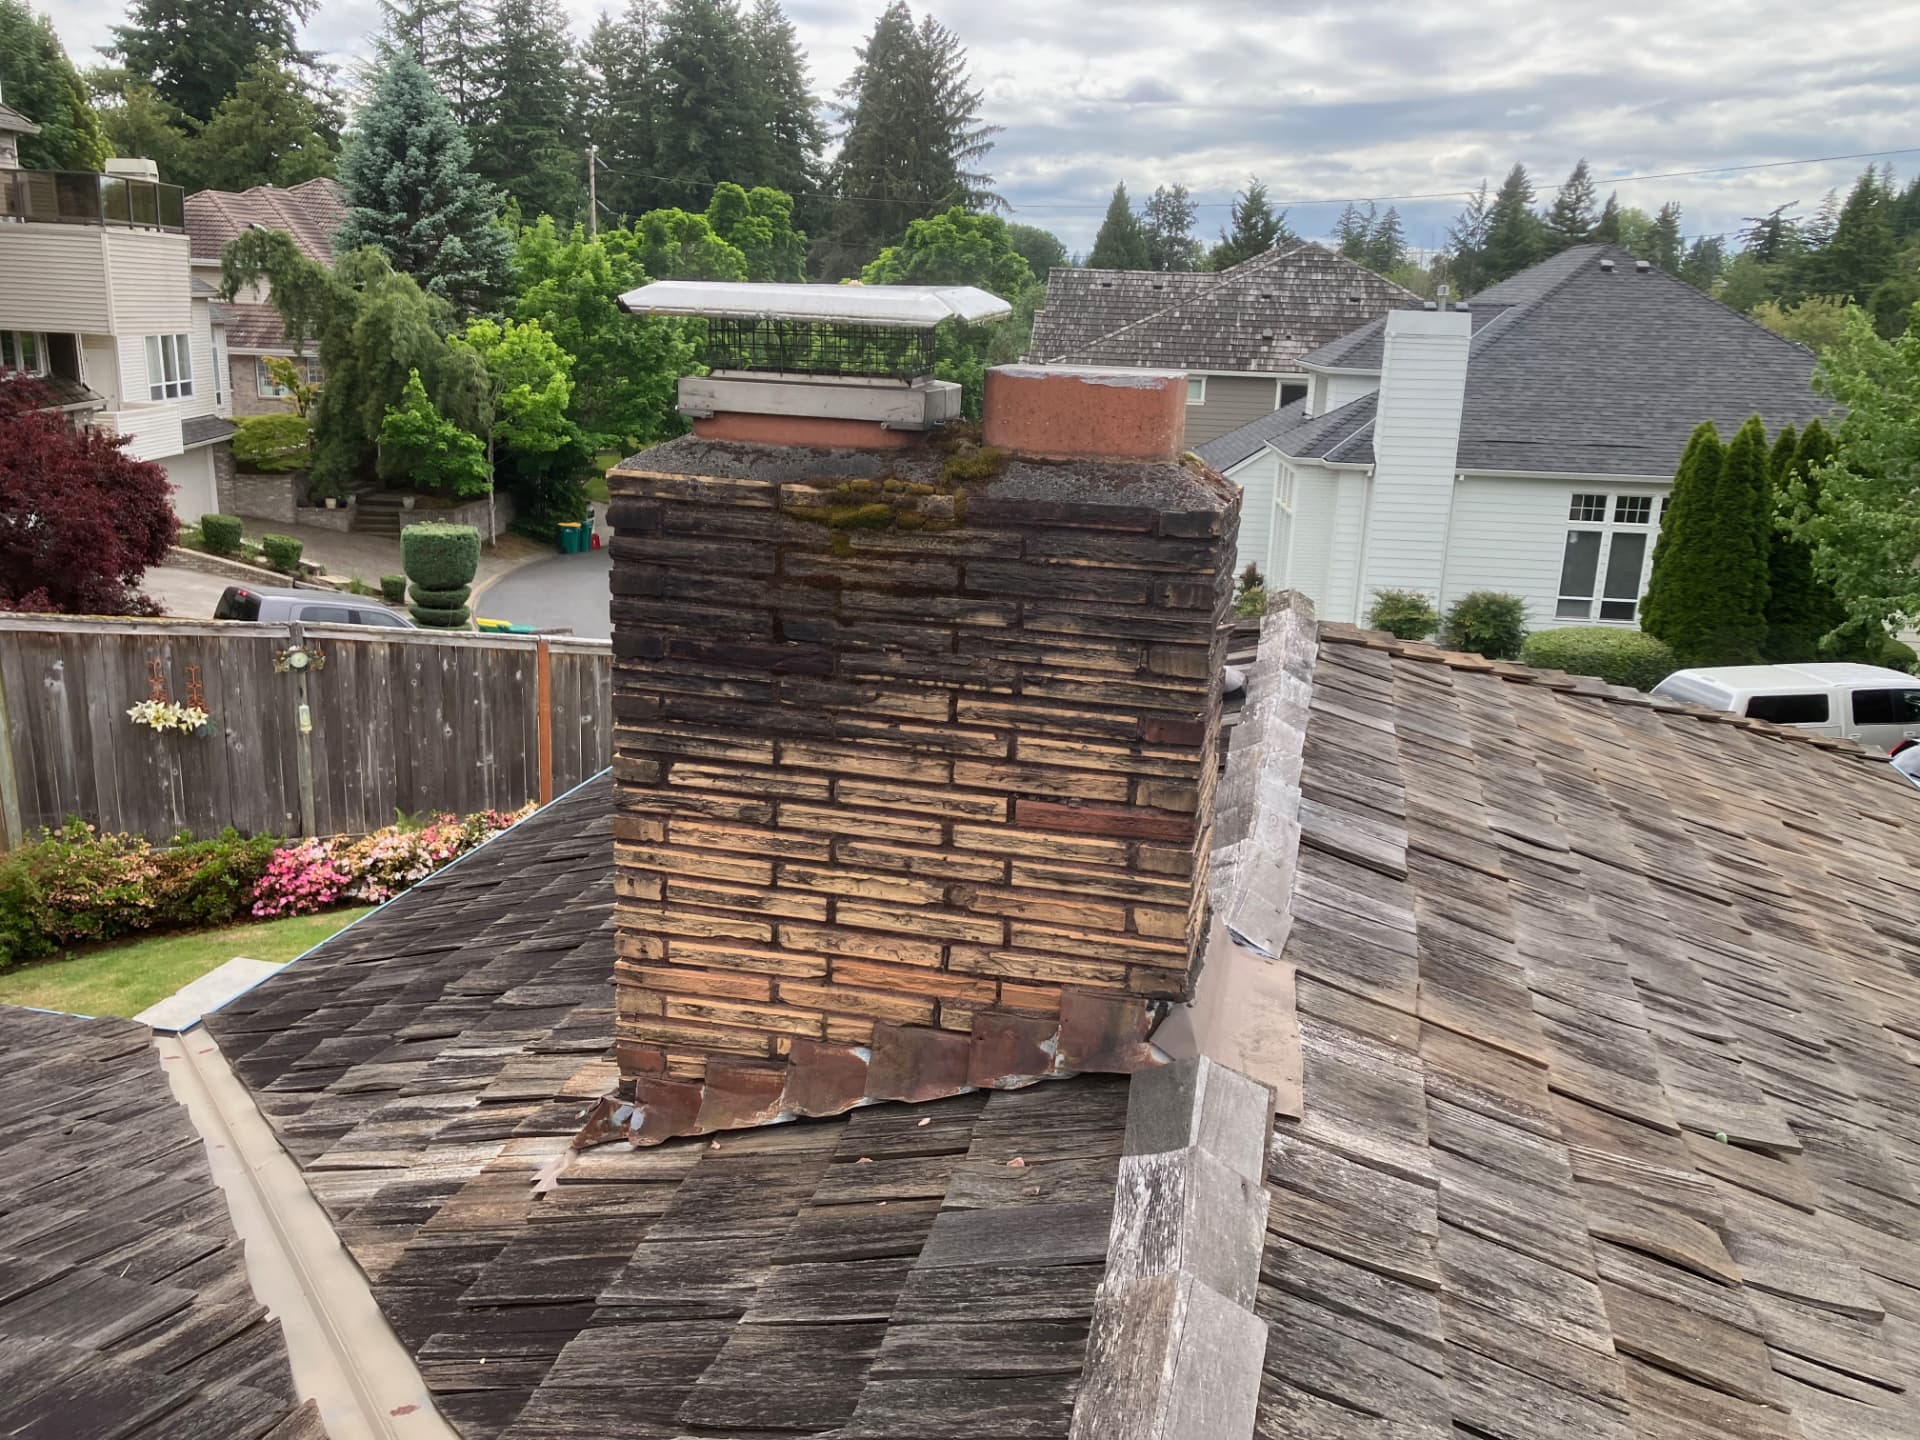
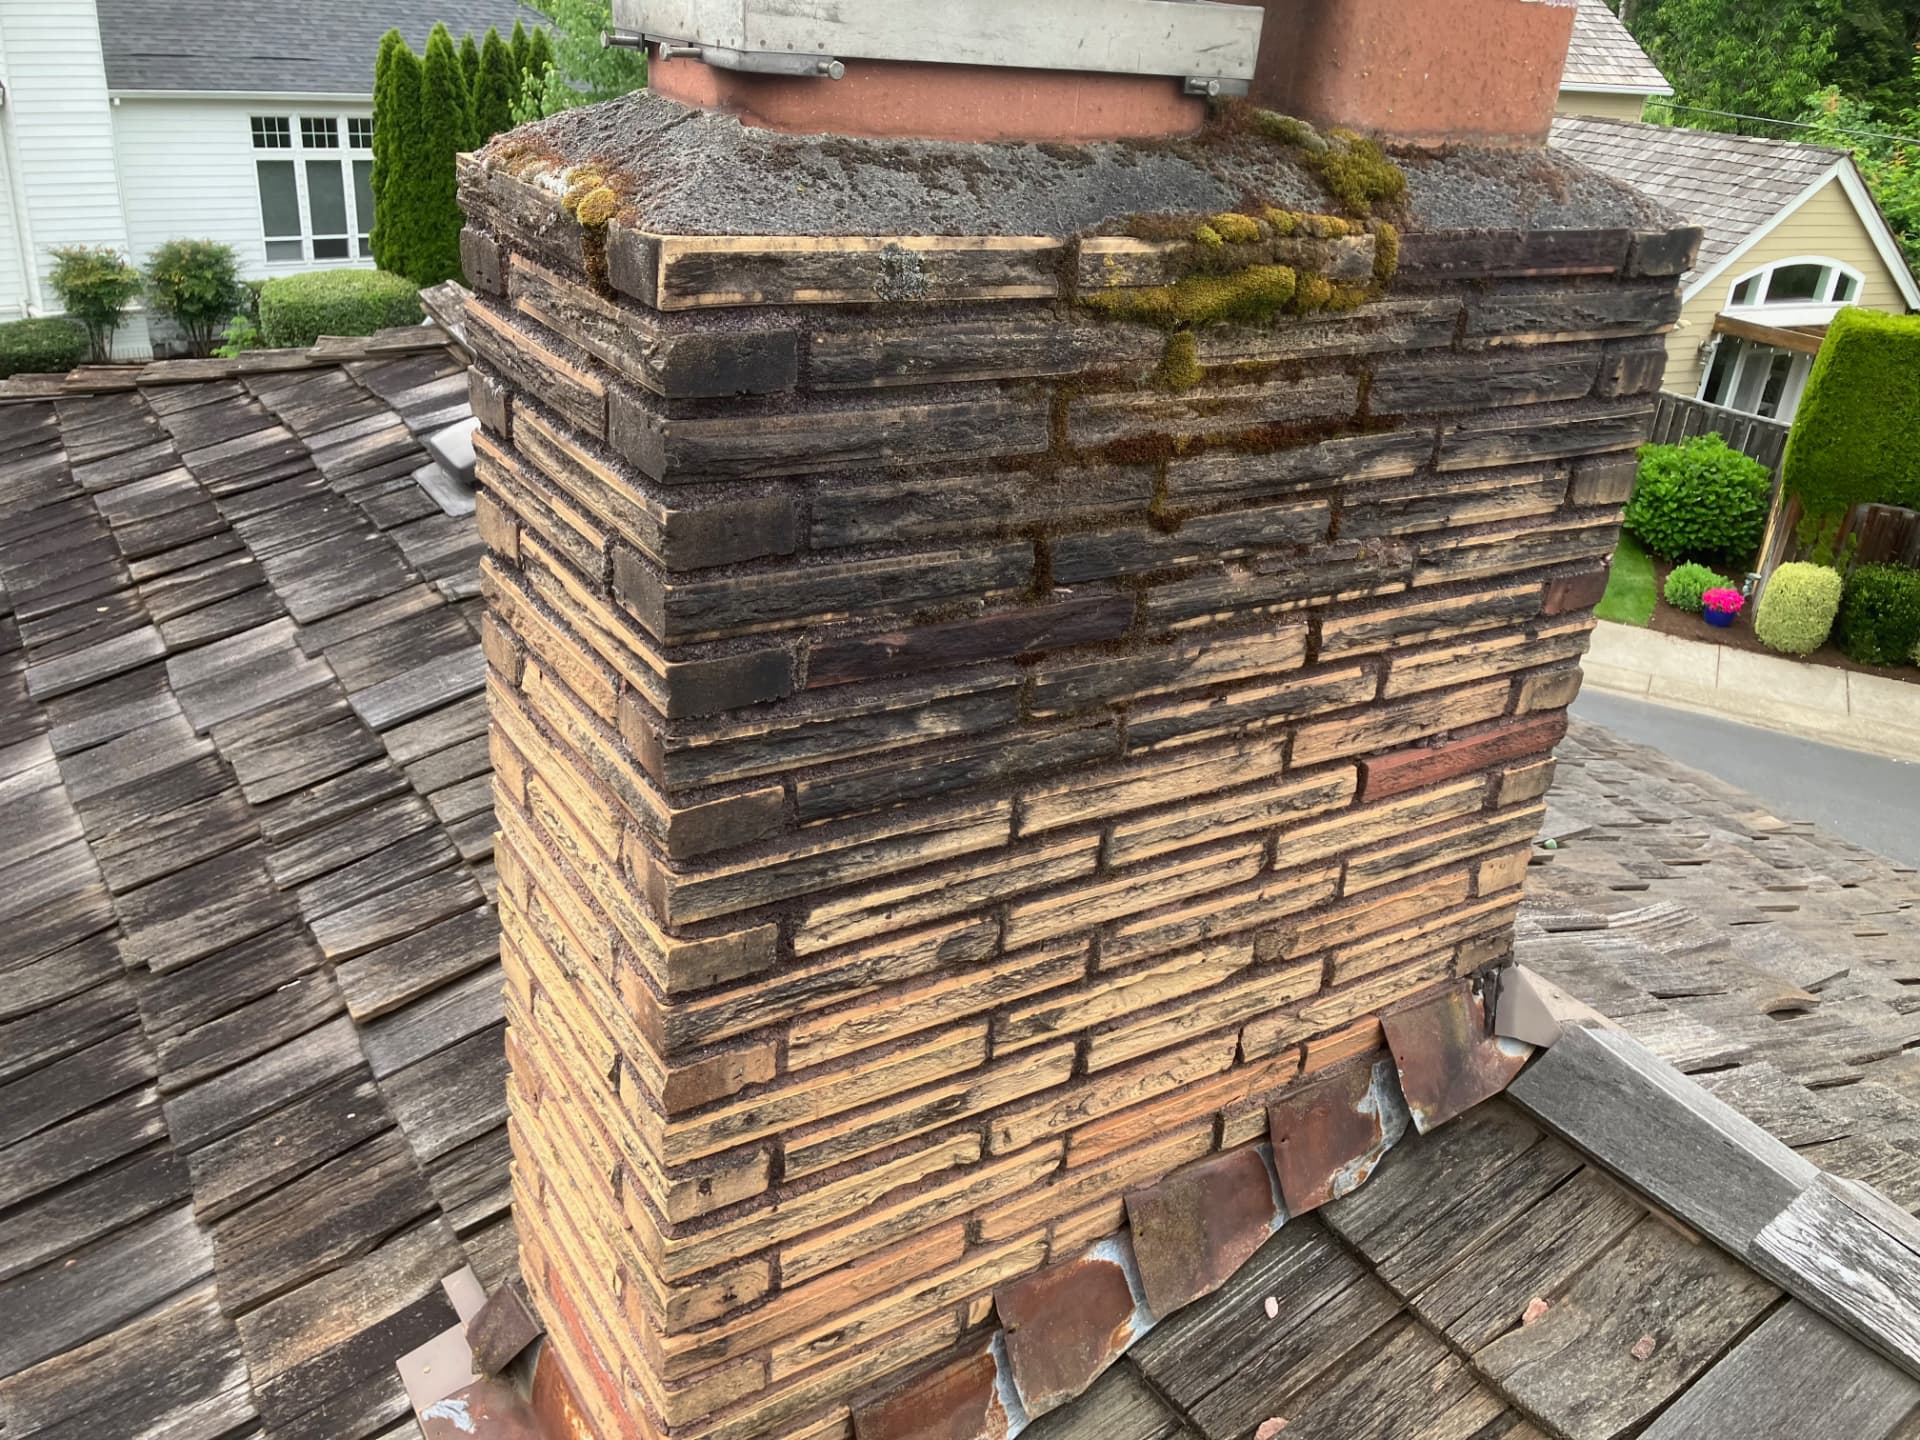
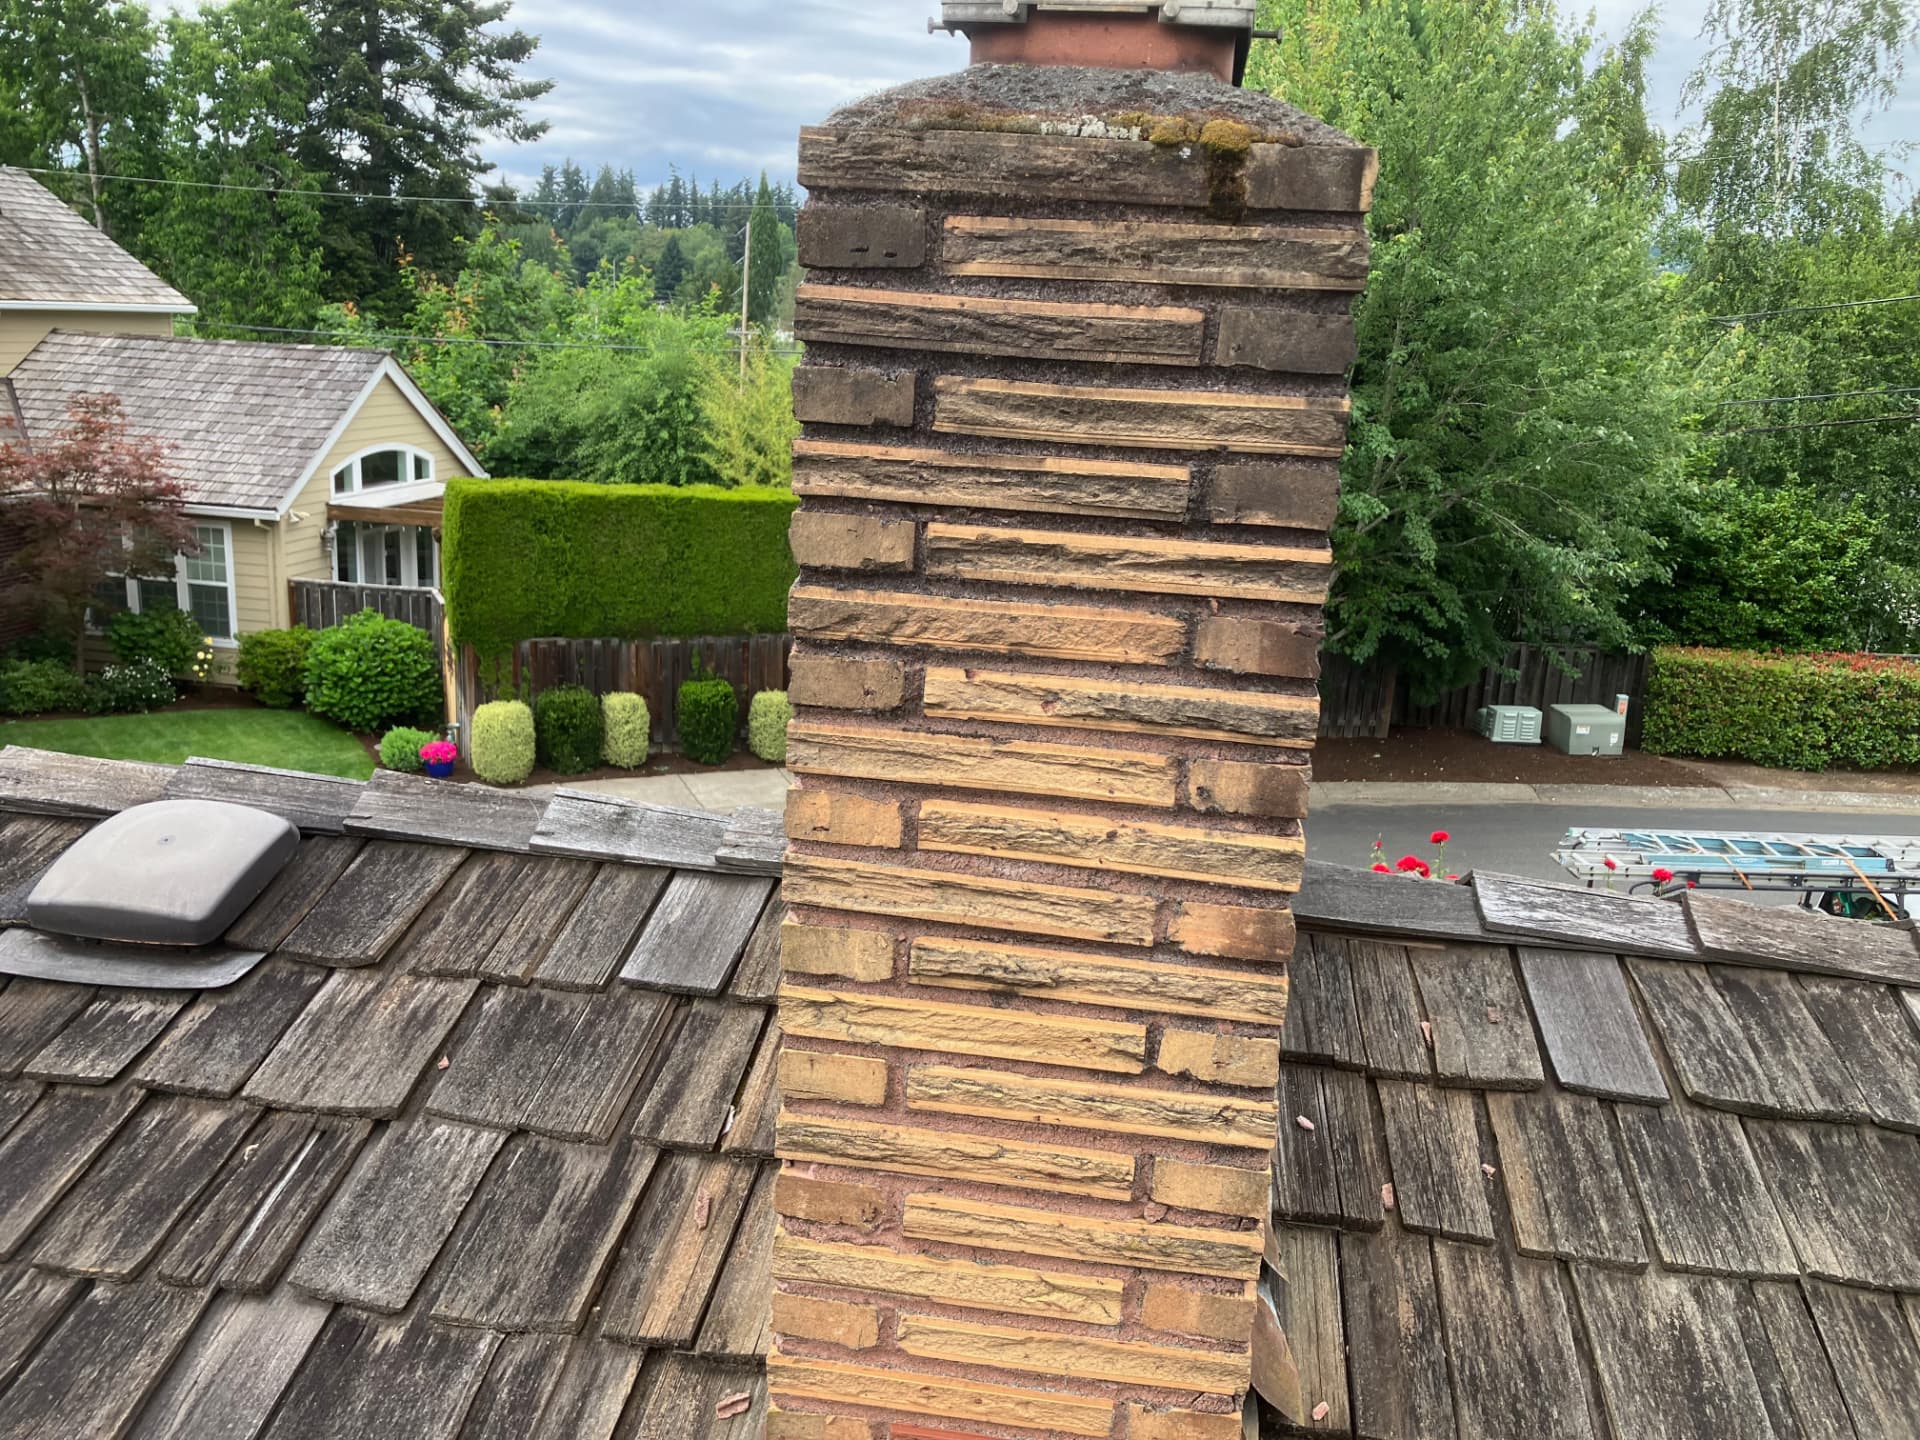
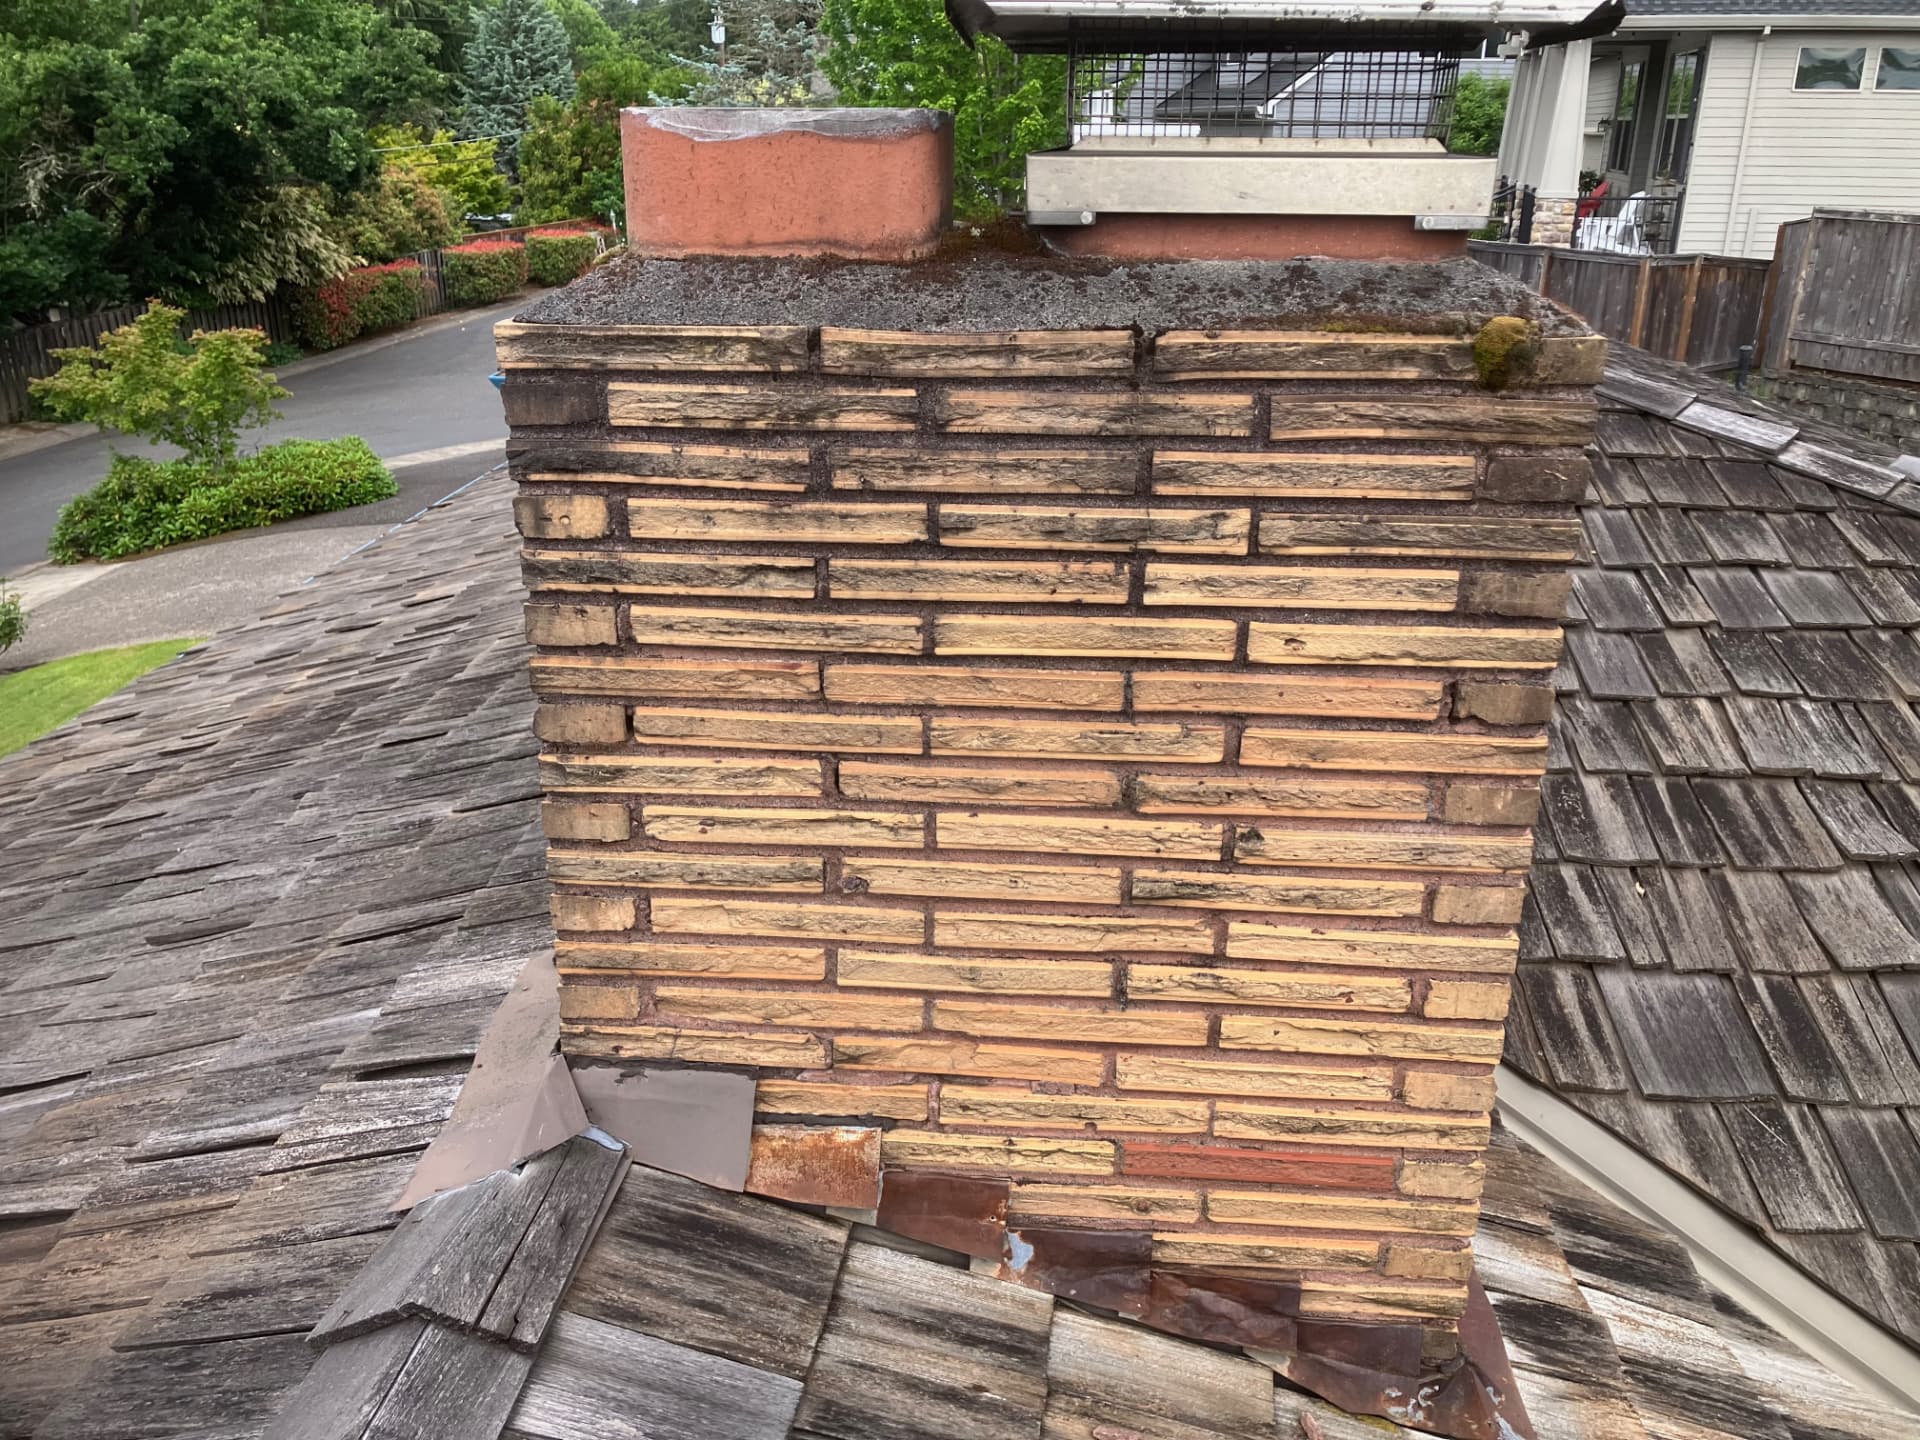
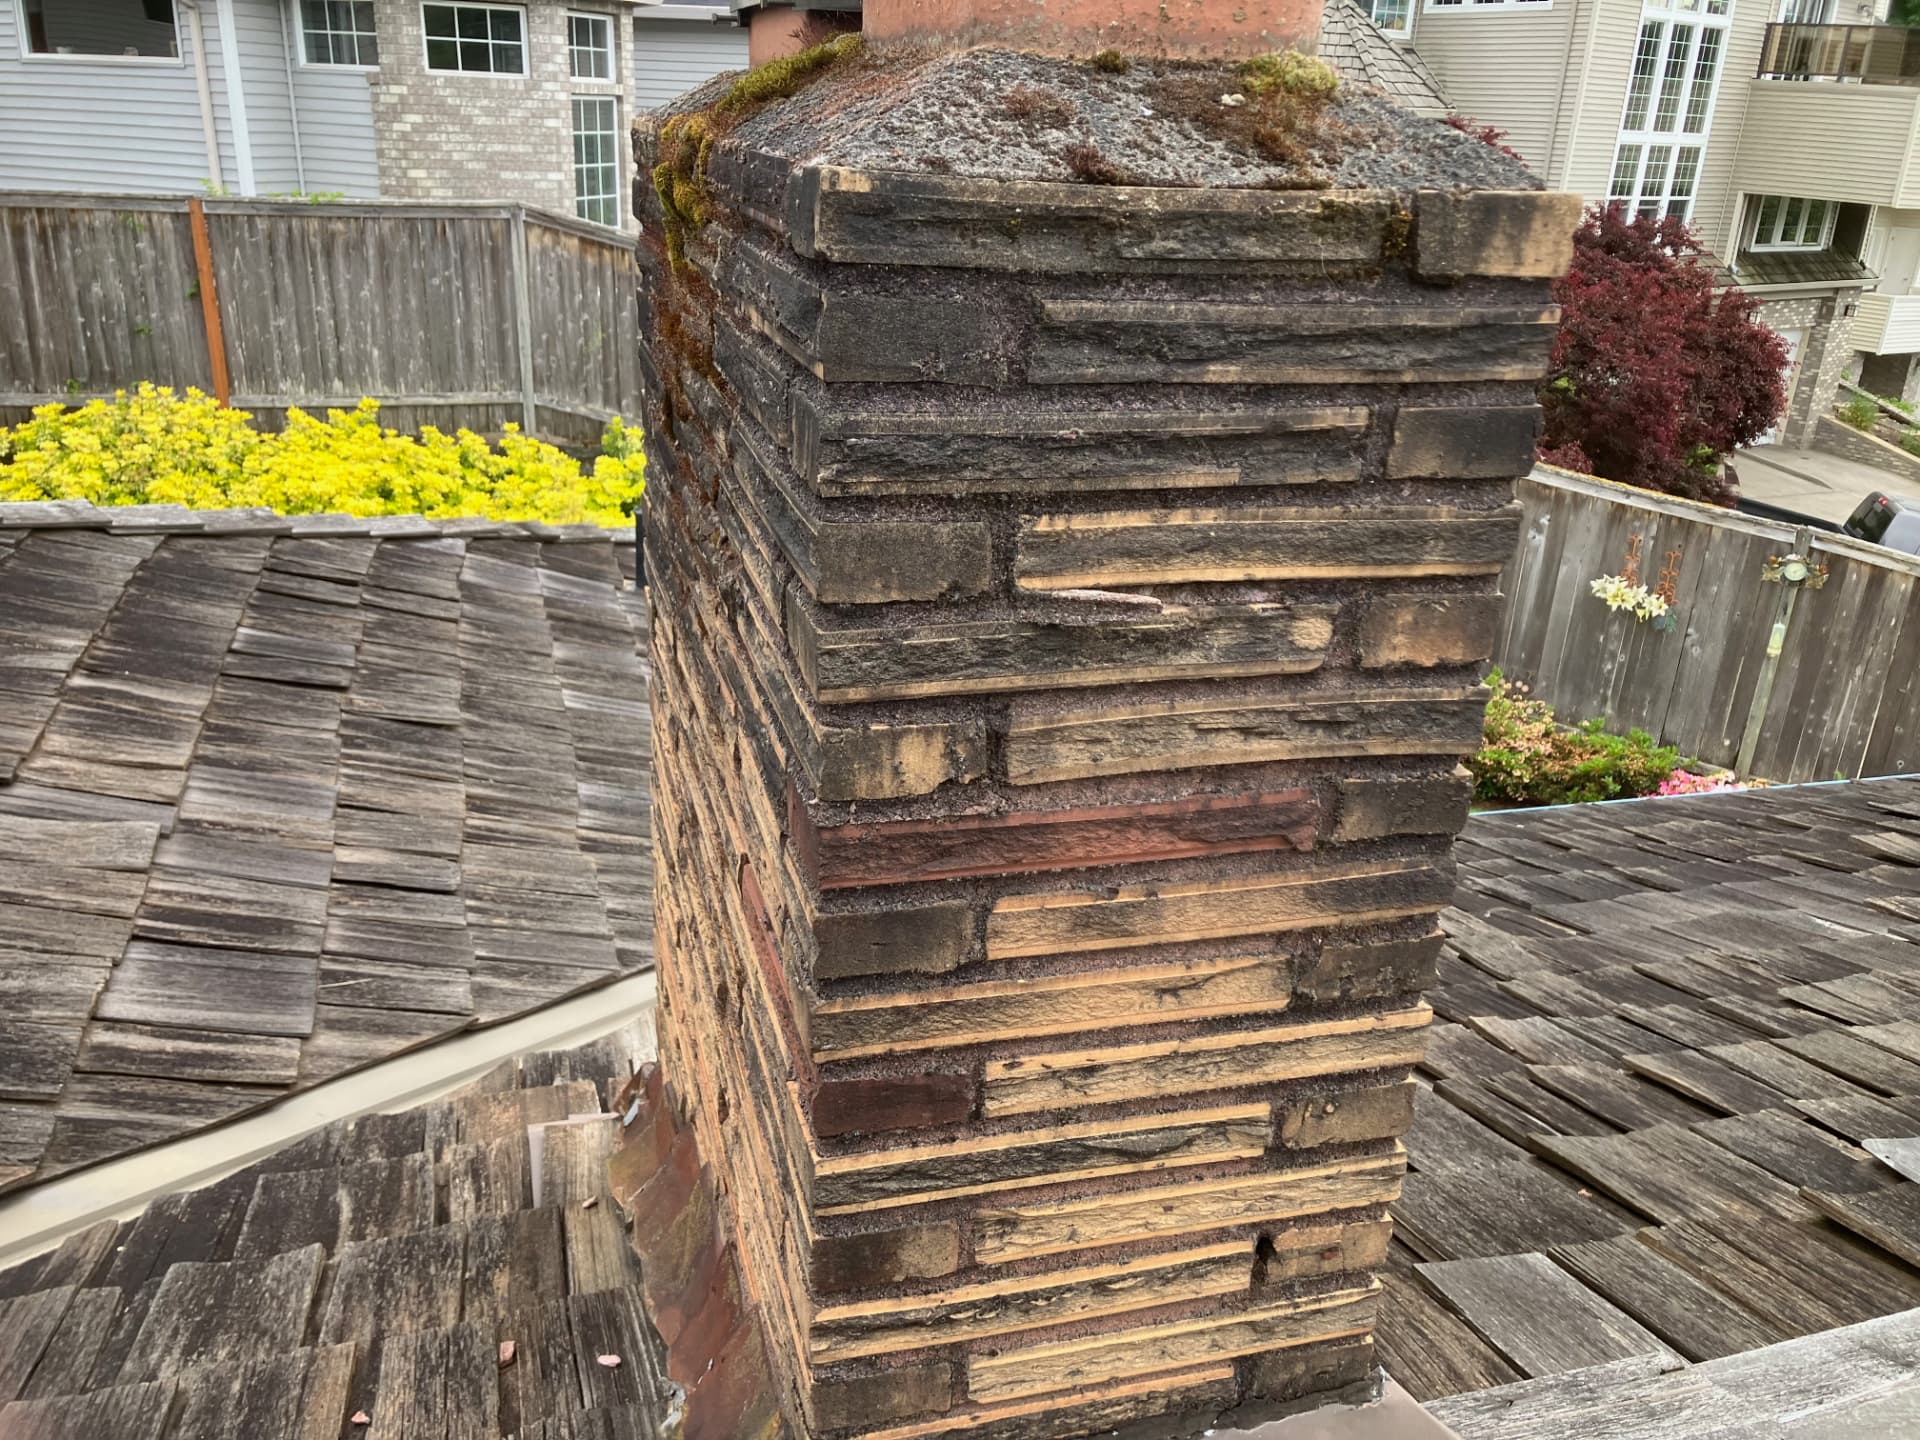
After
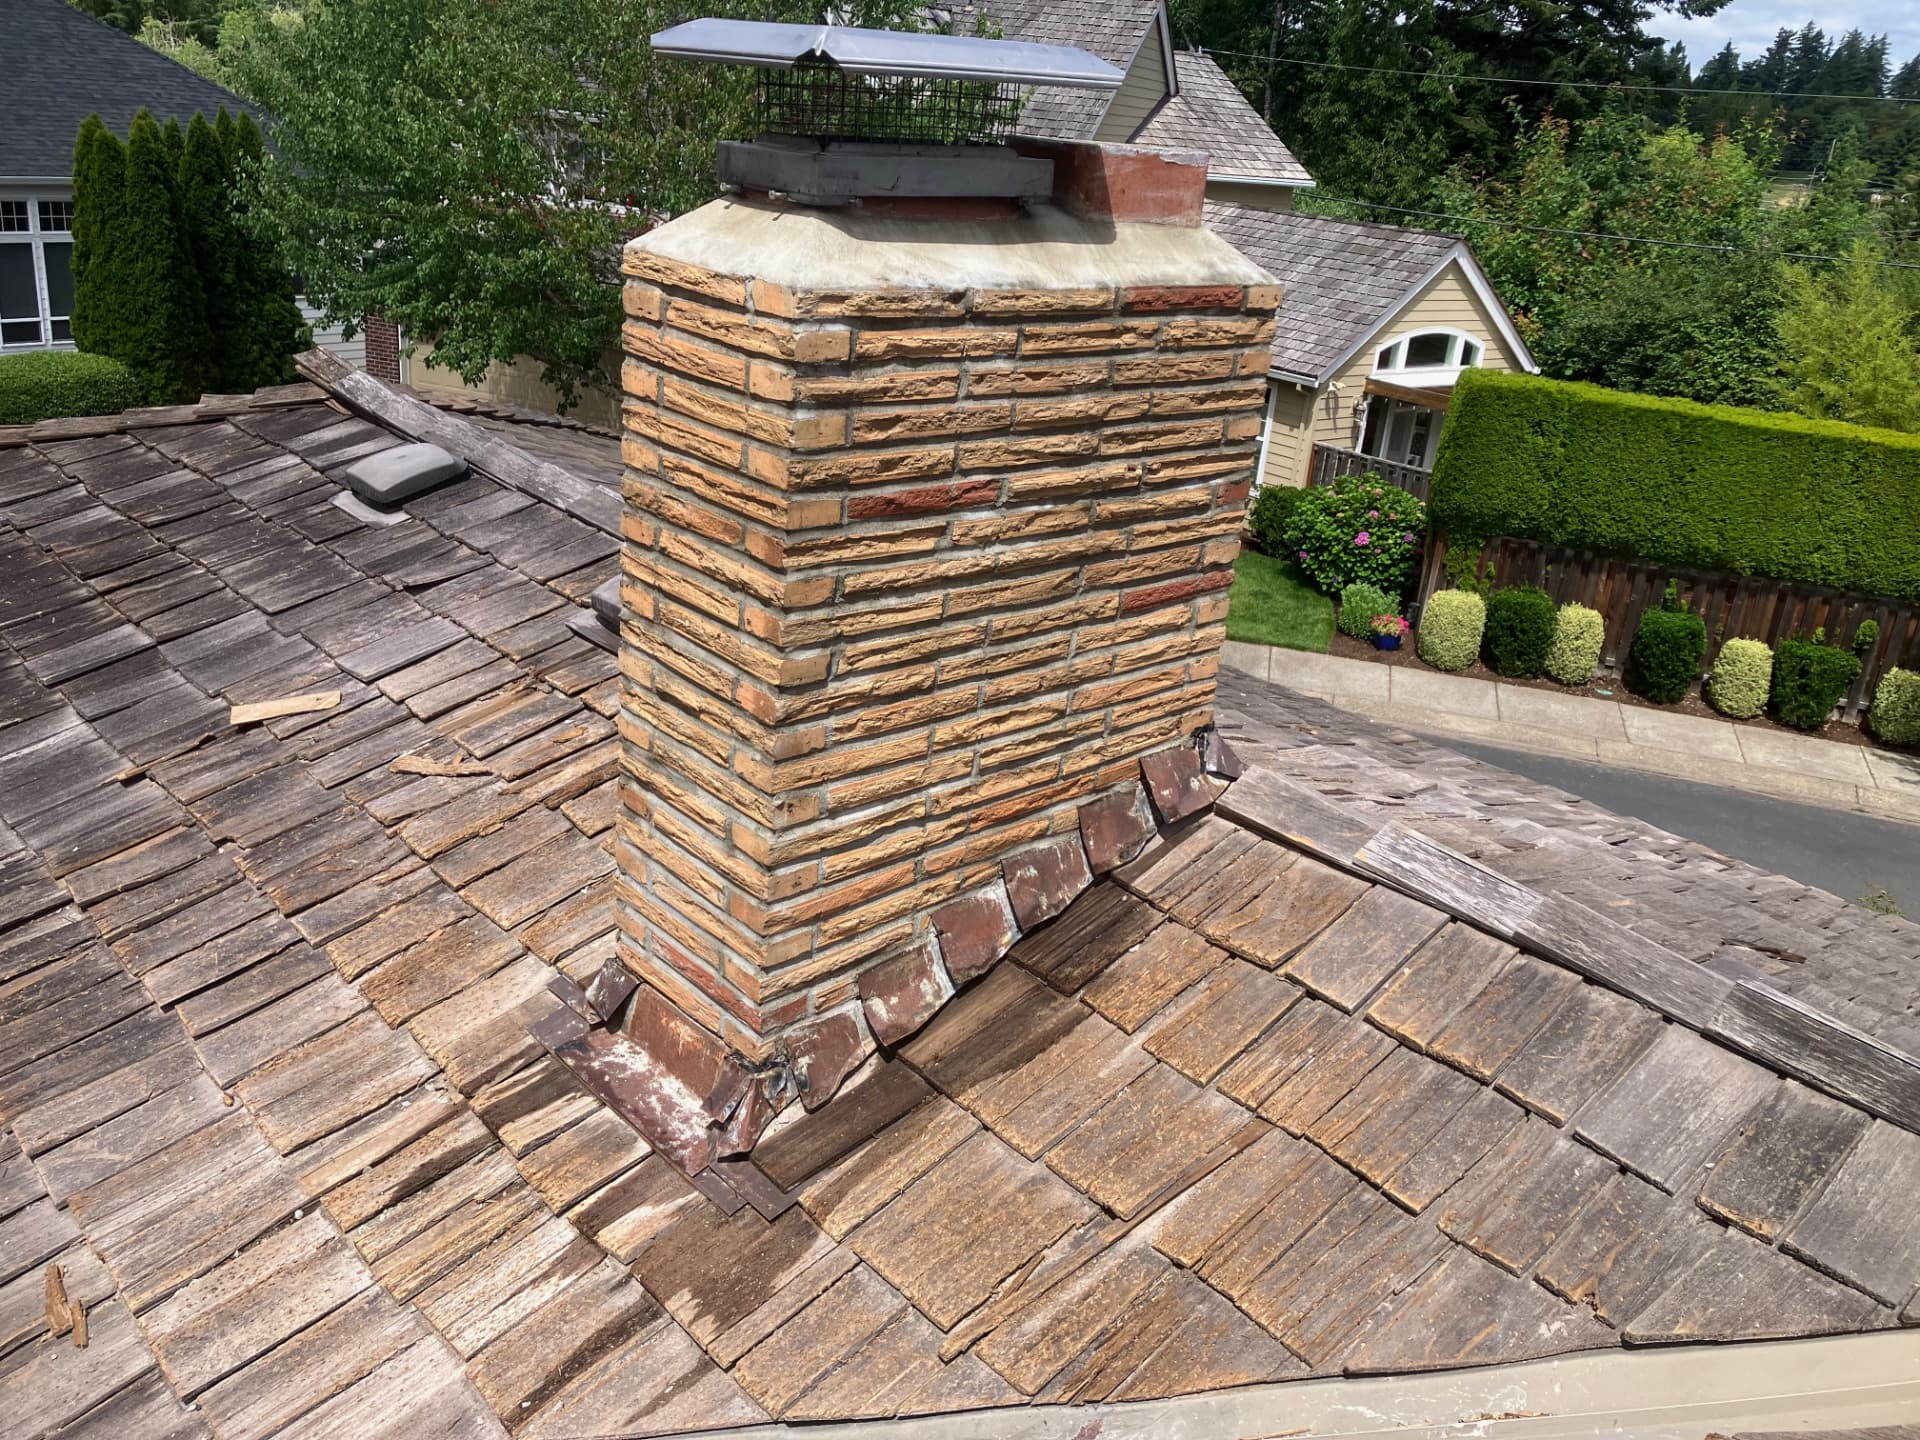
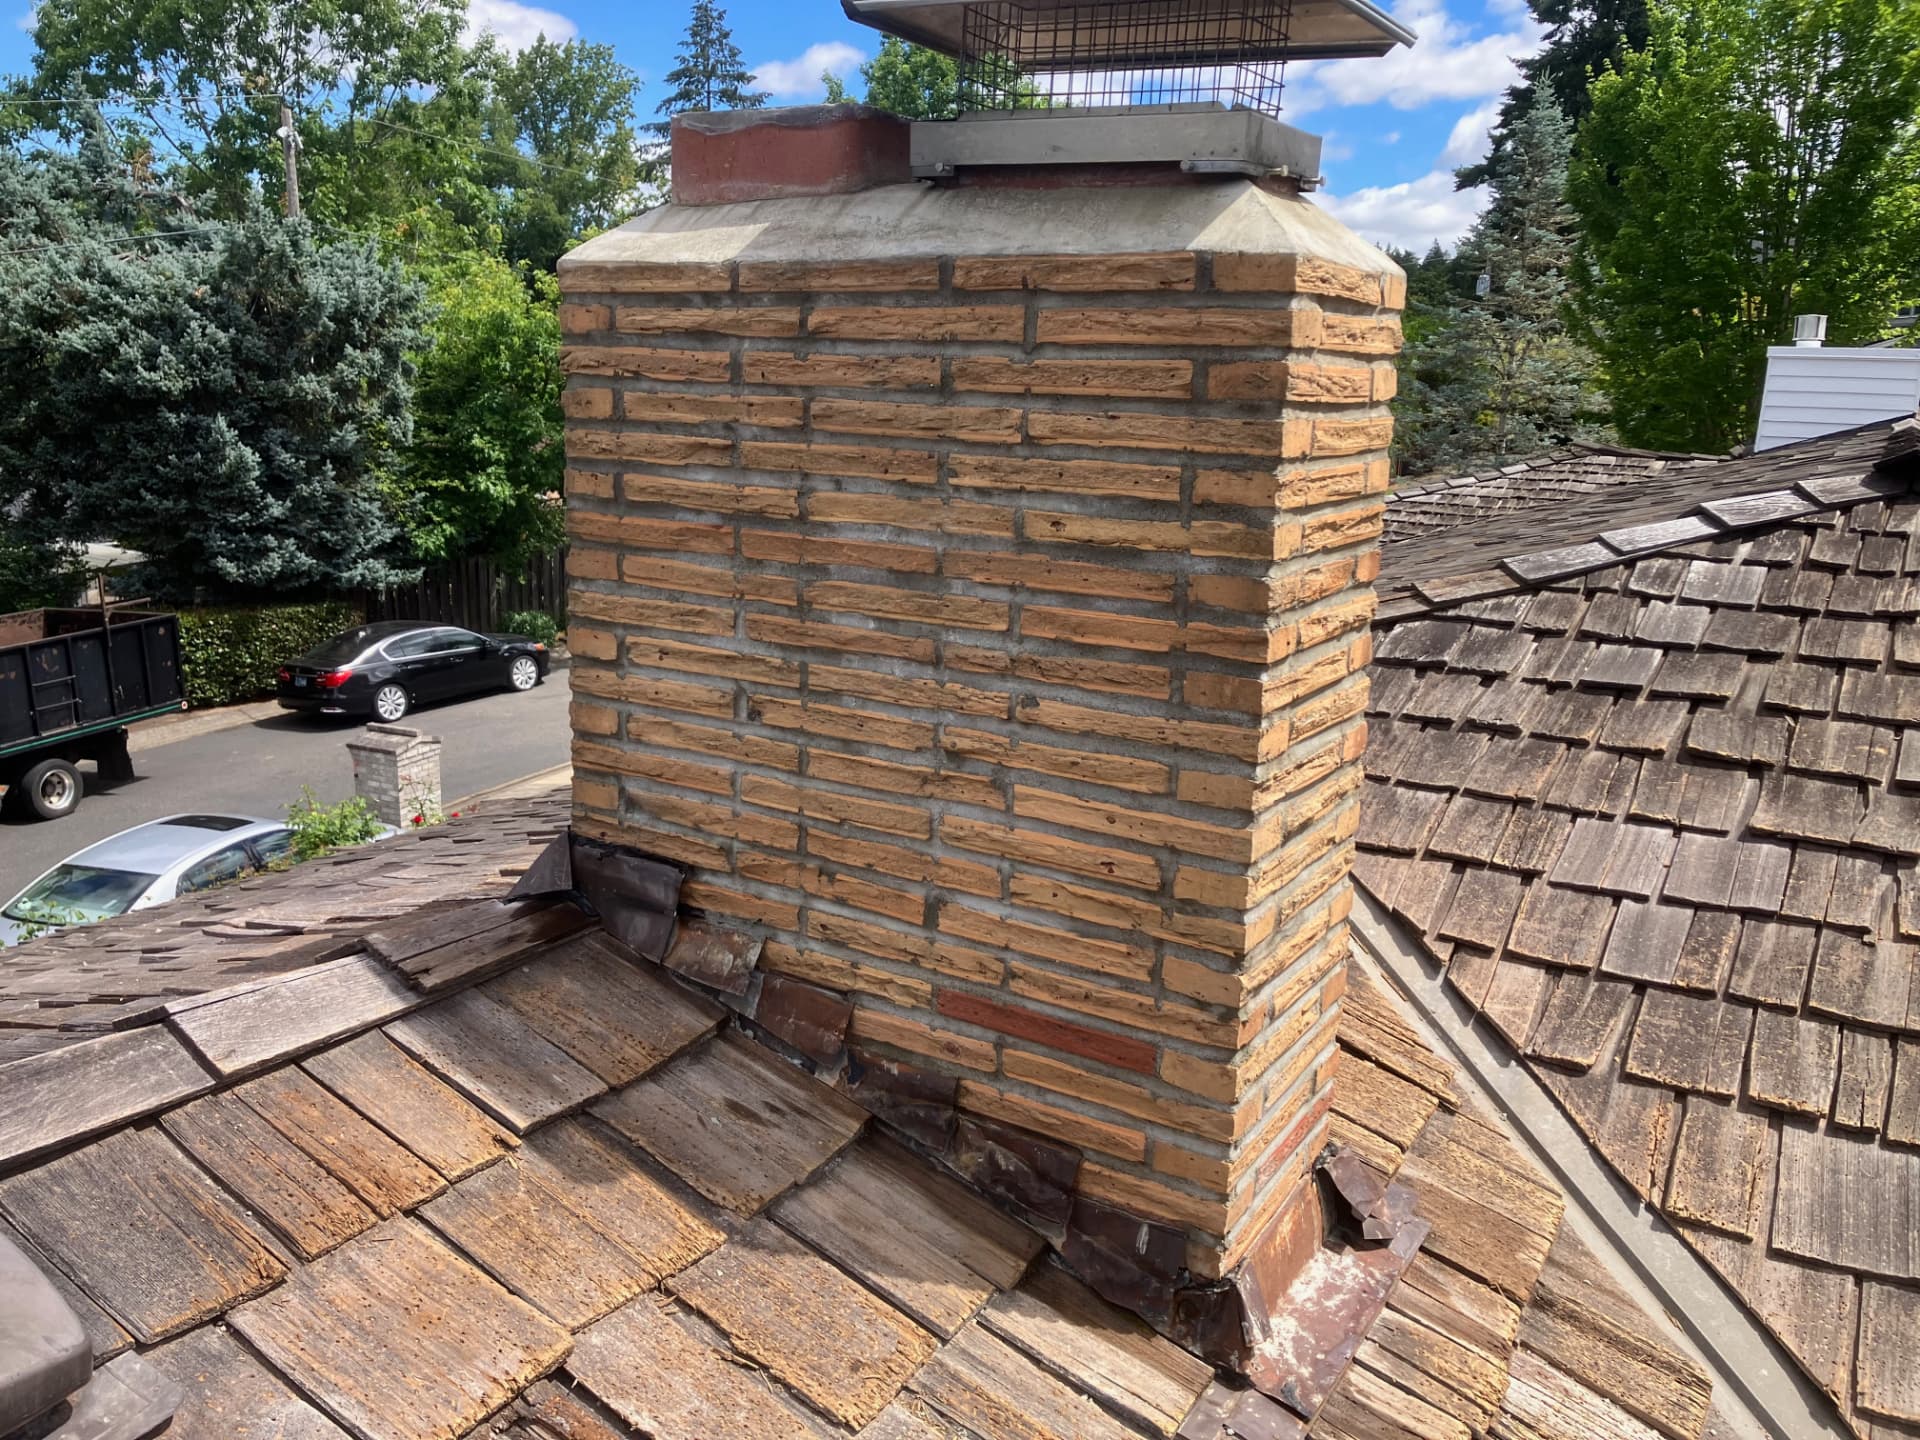
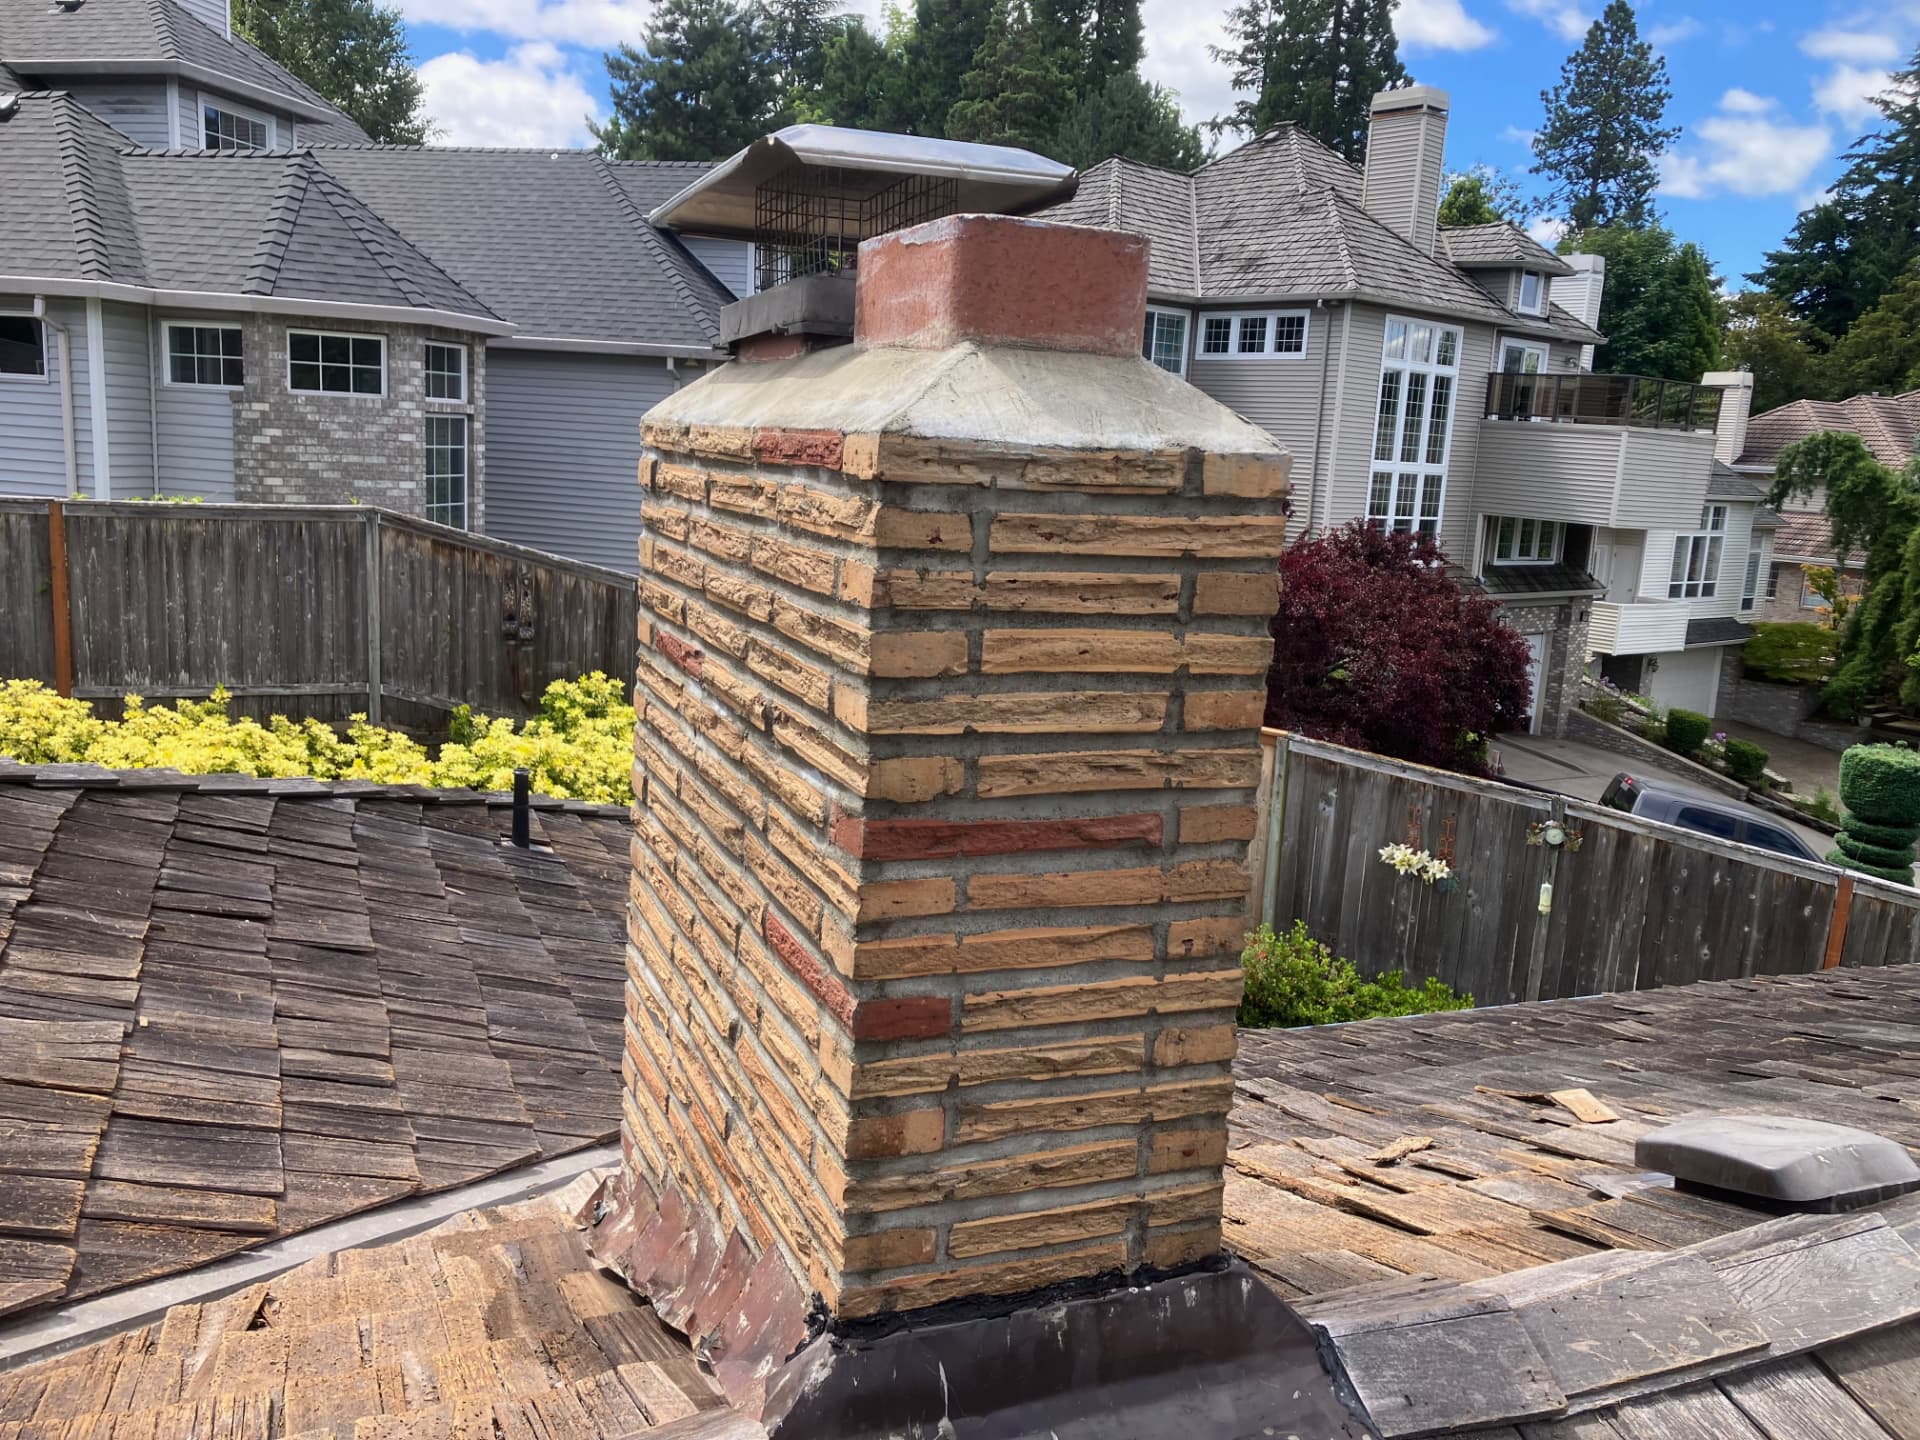
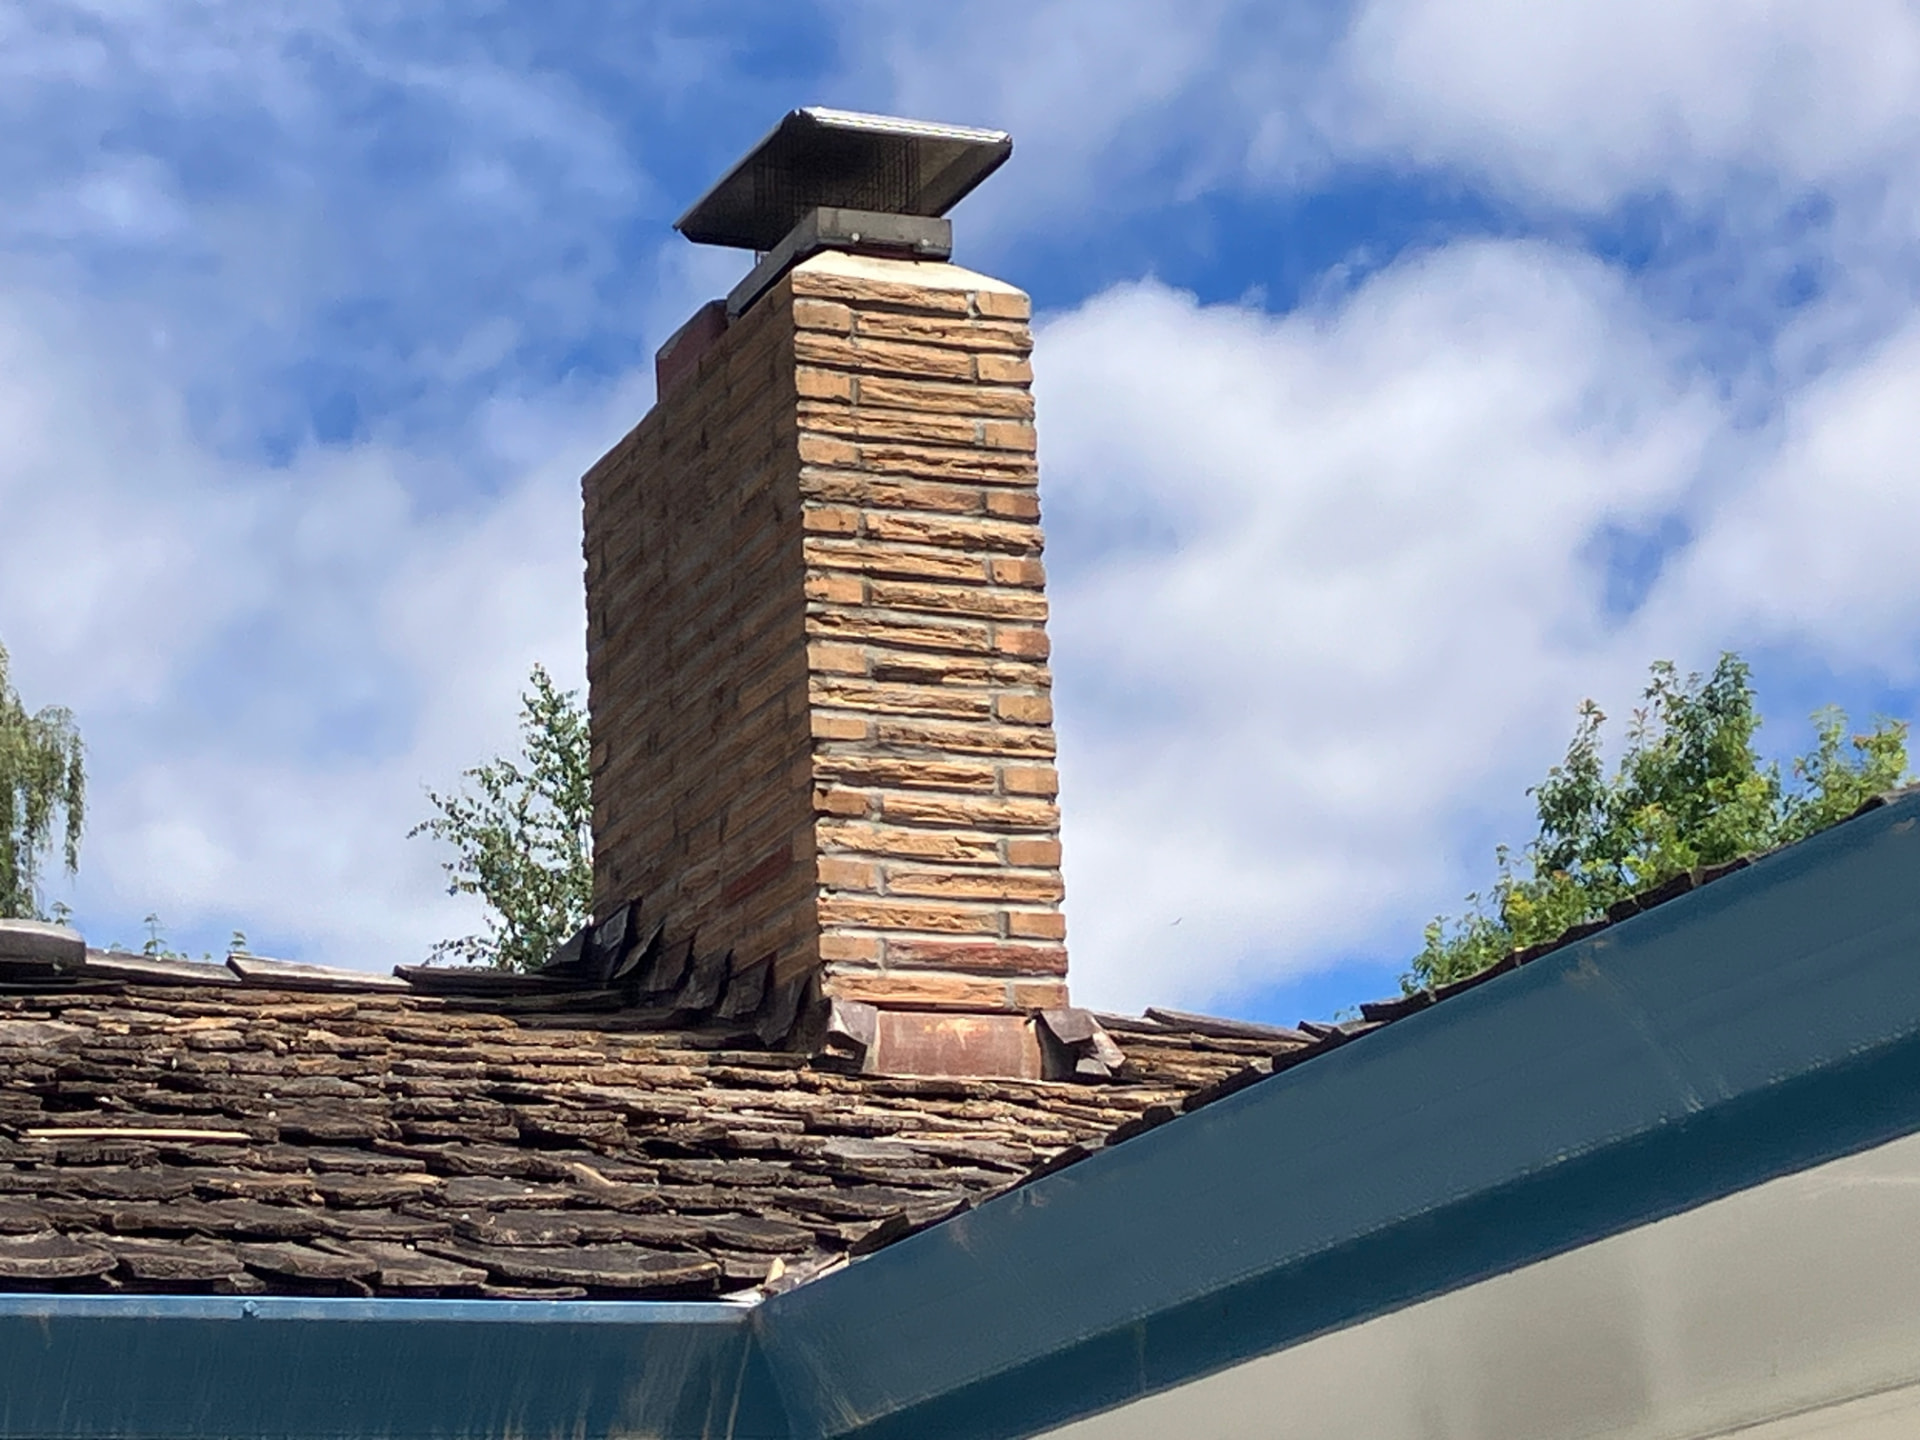
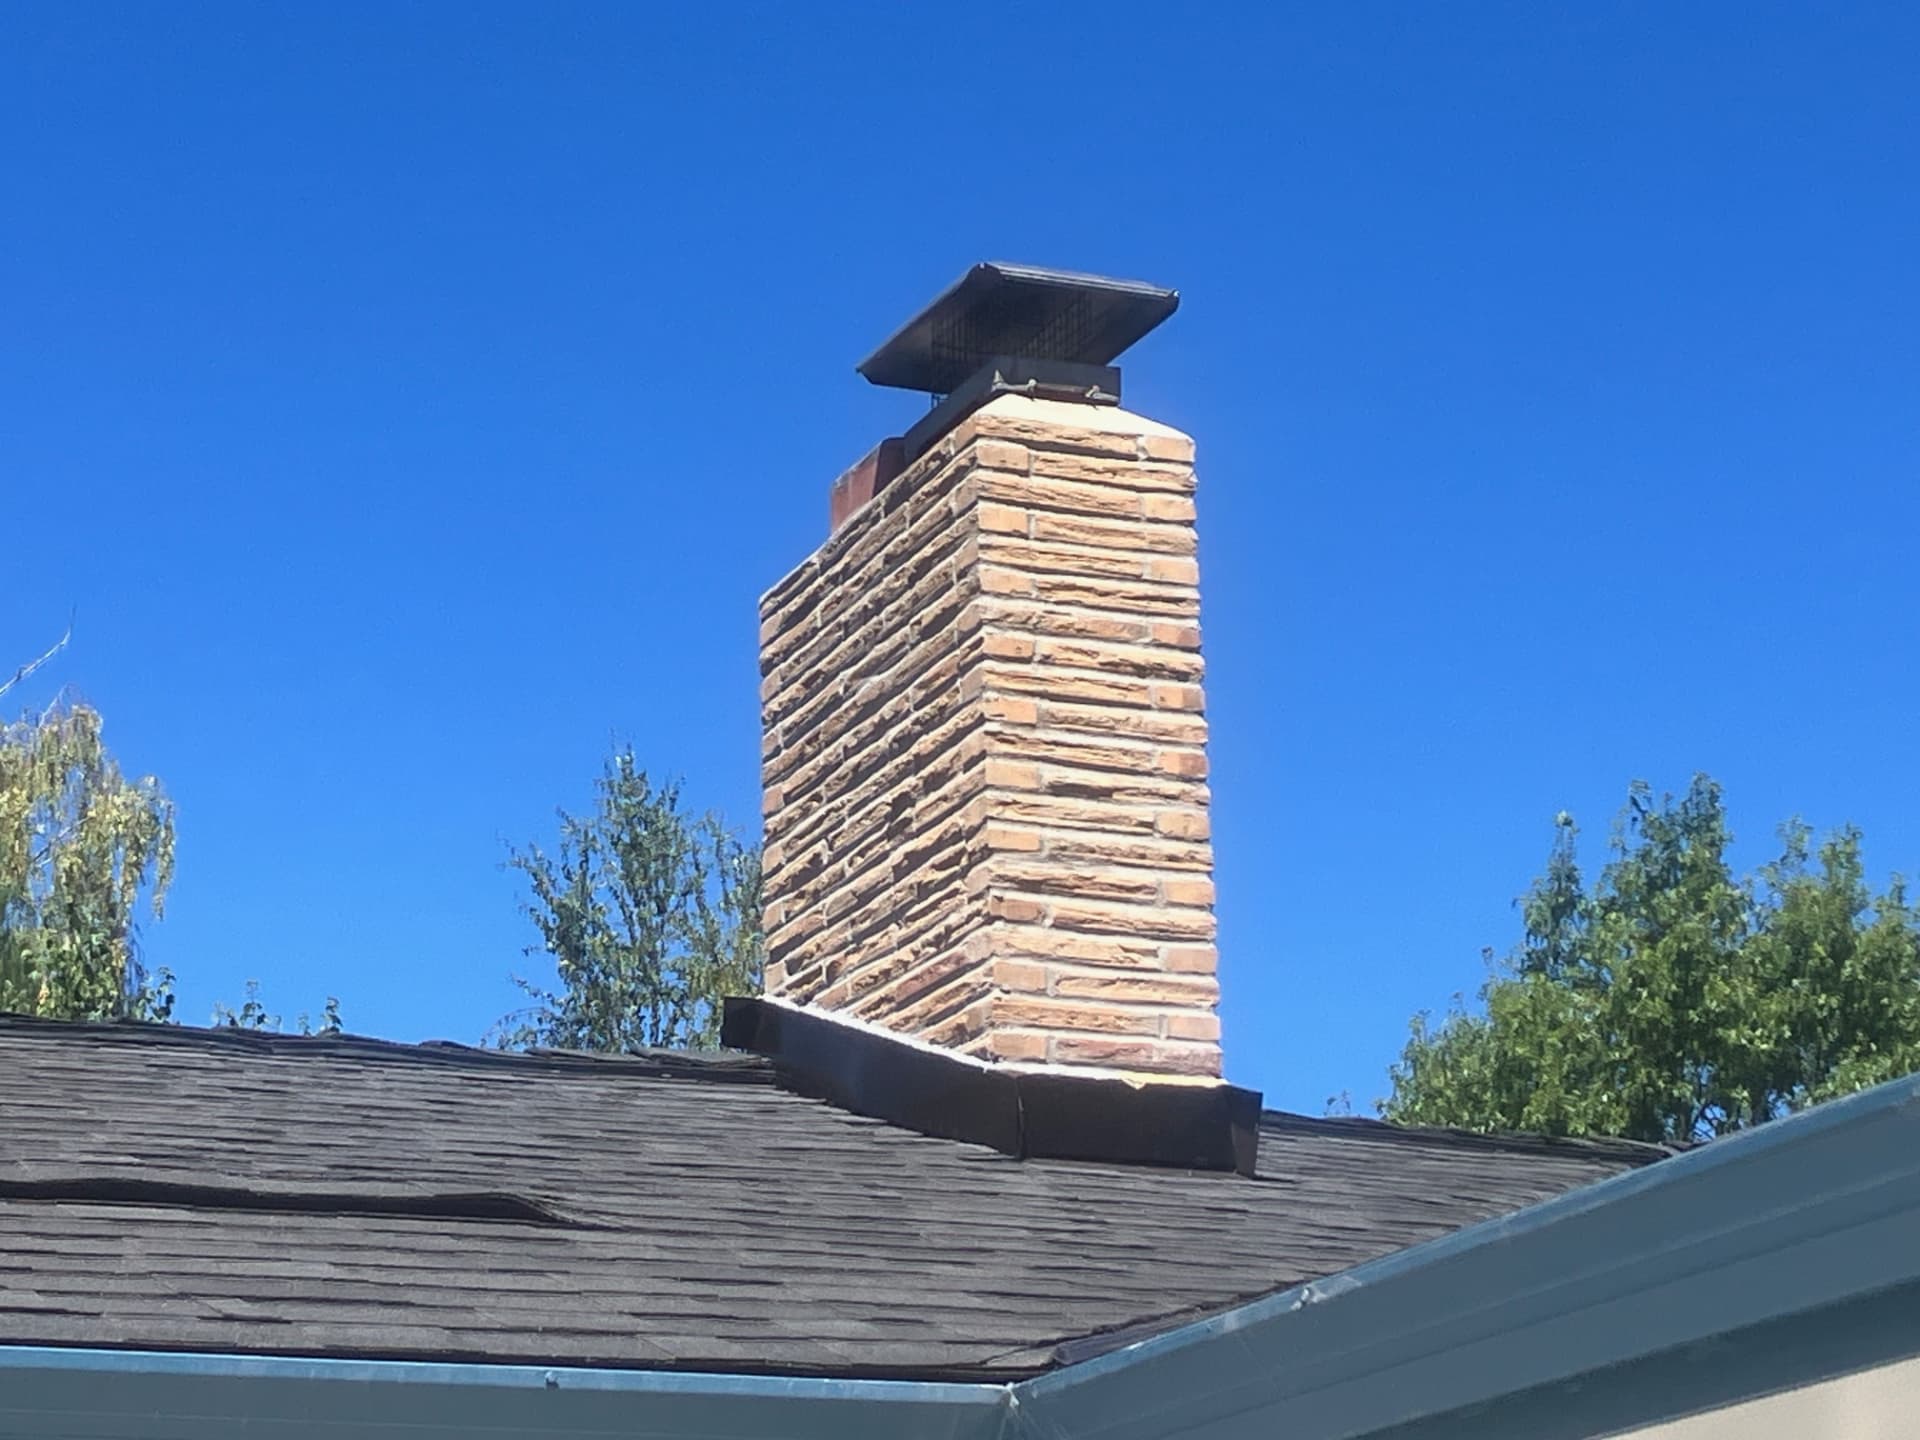
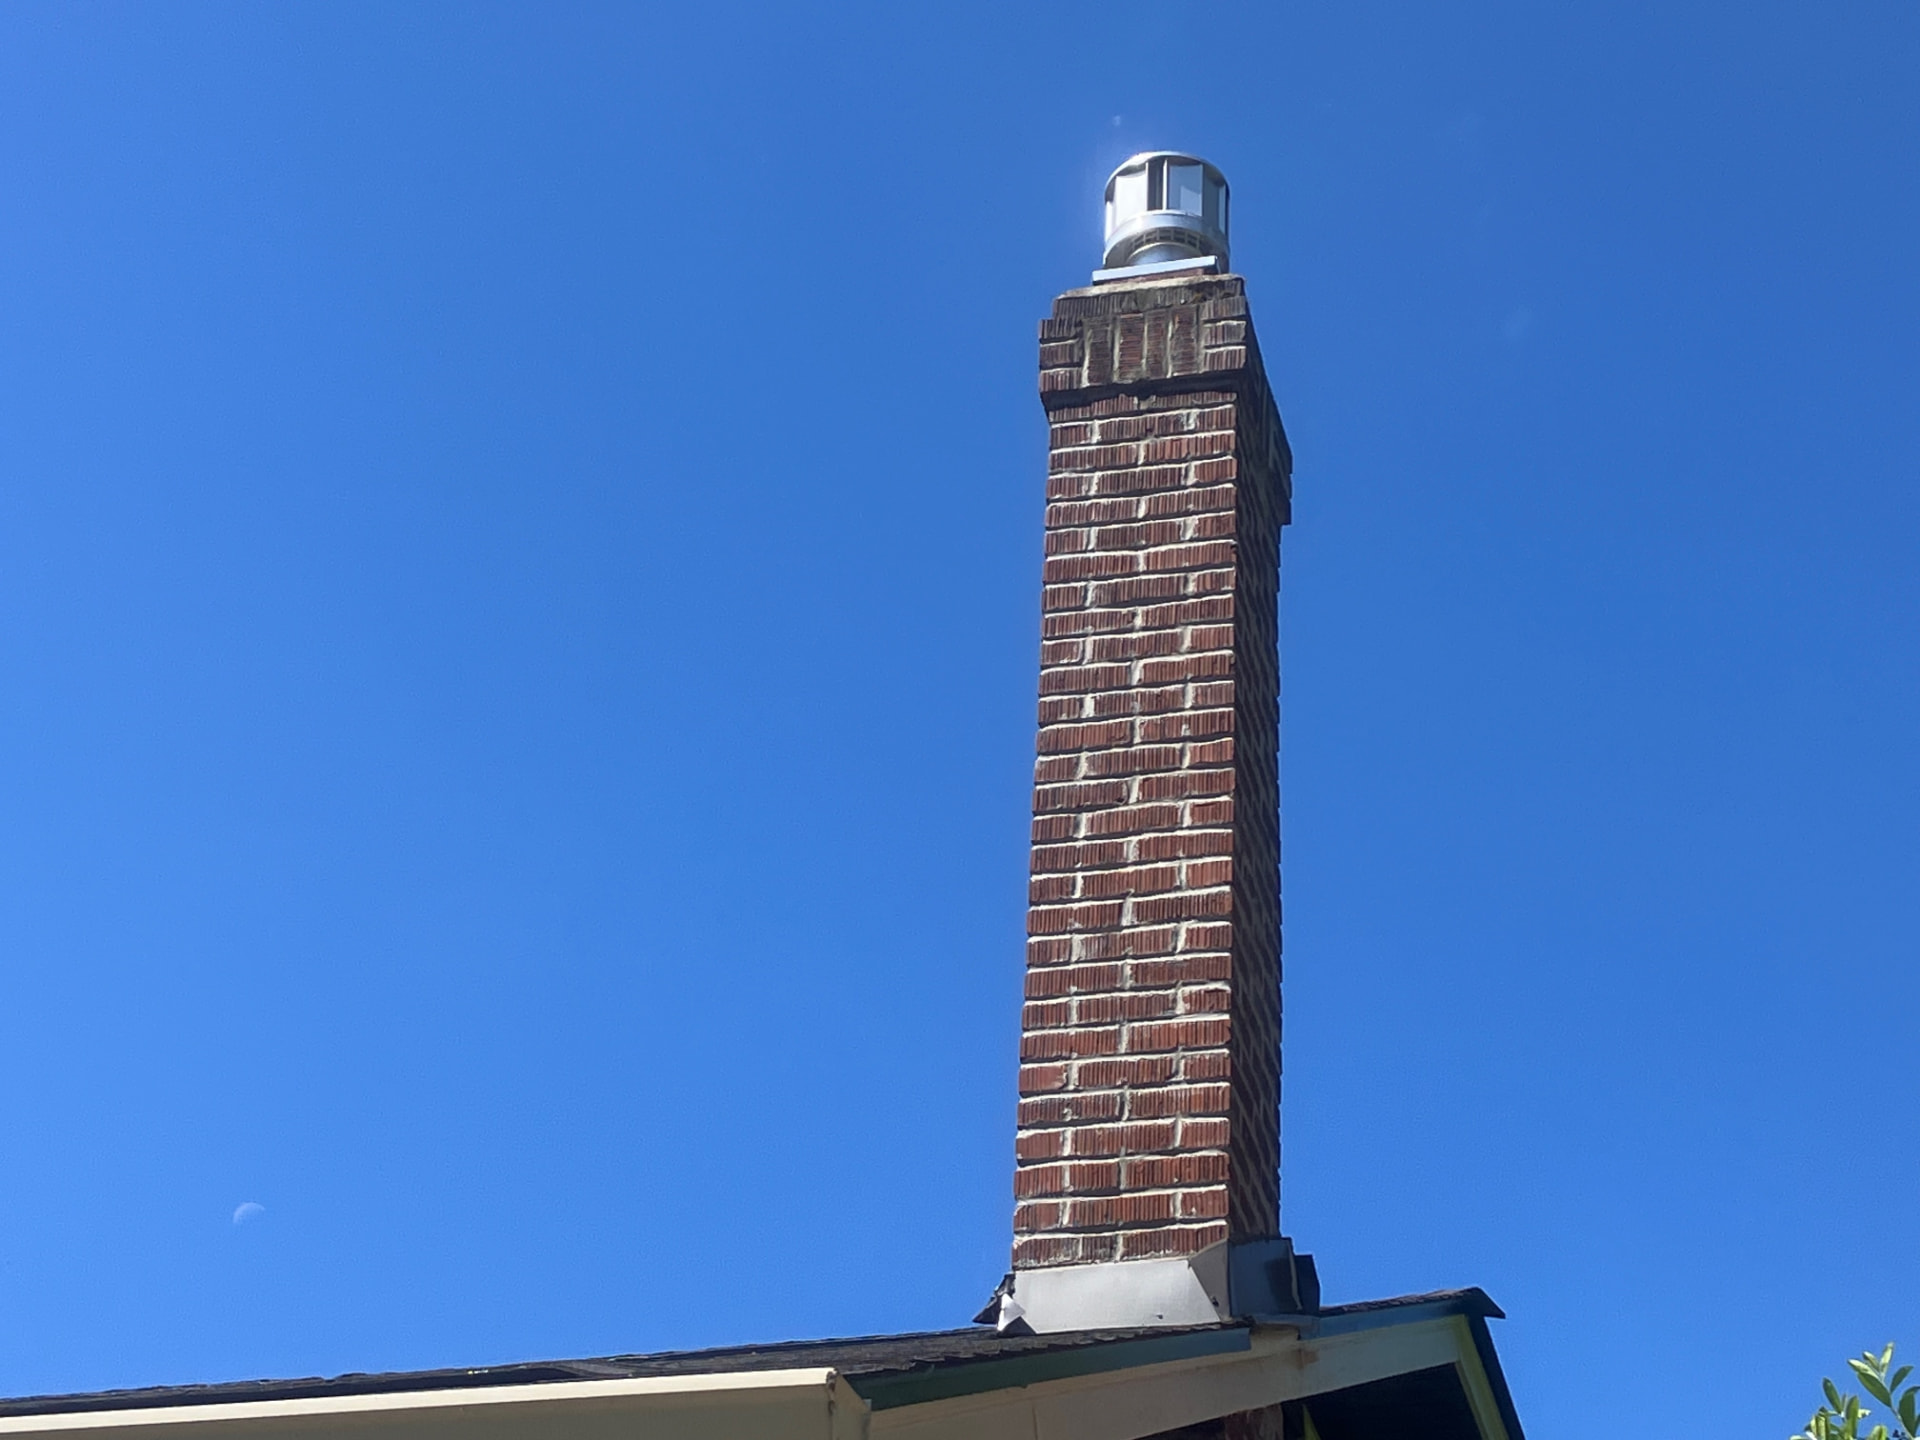
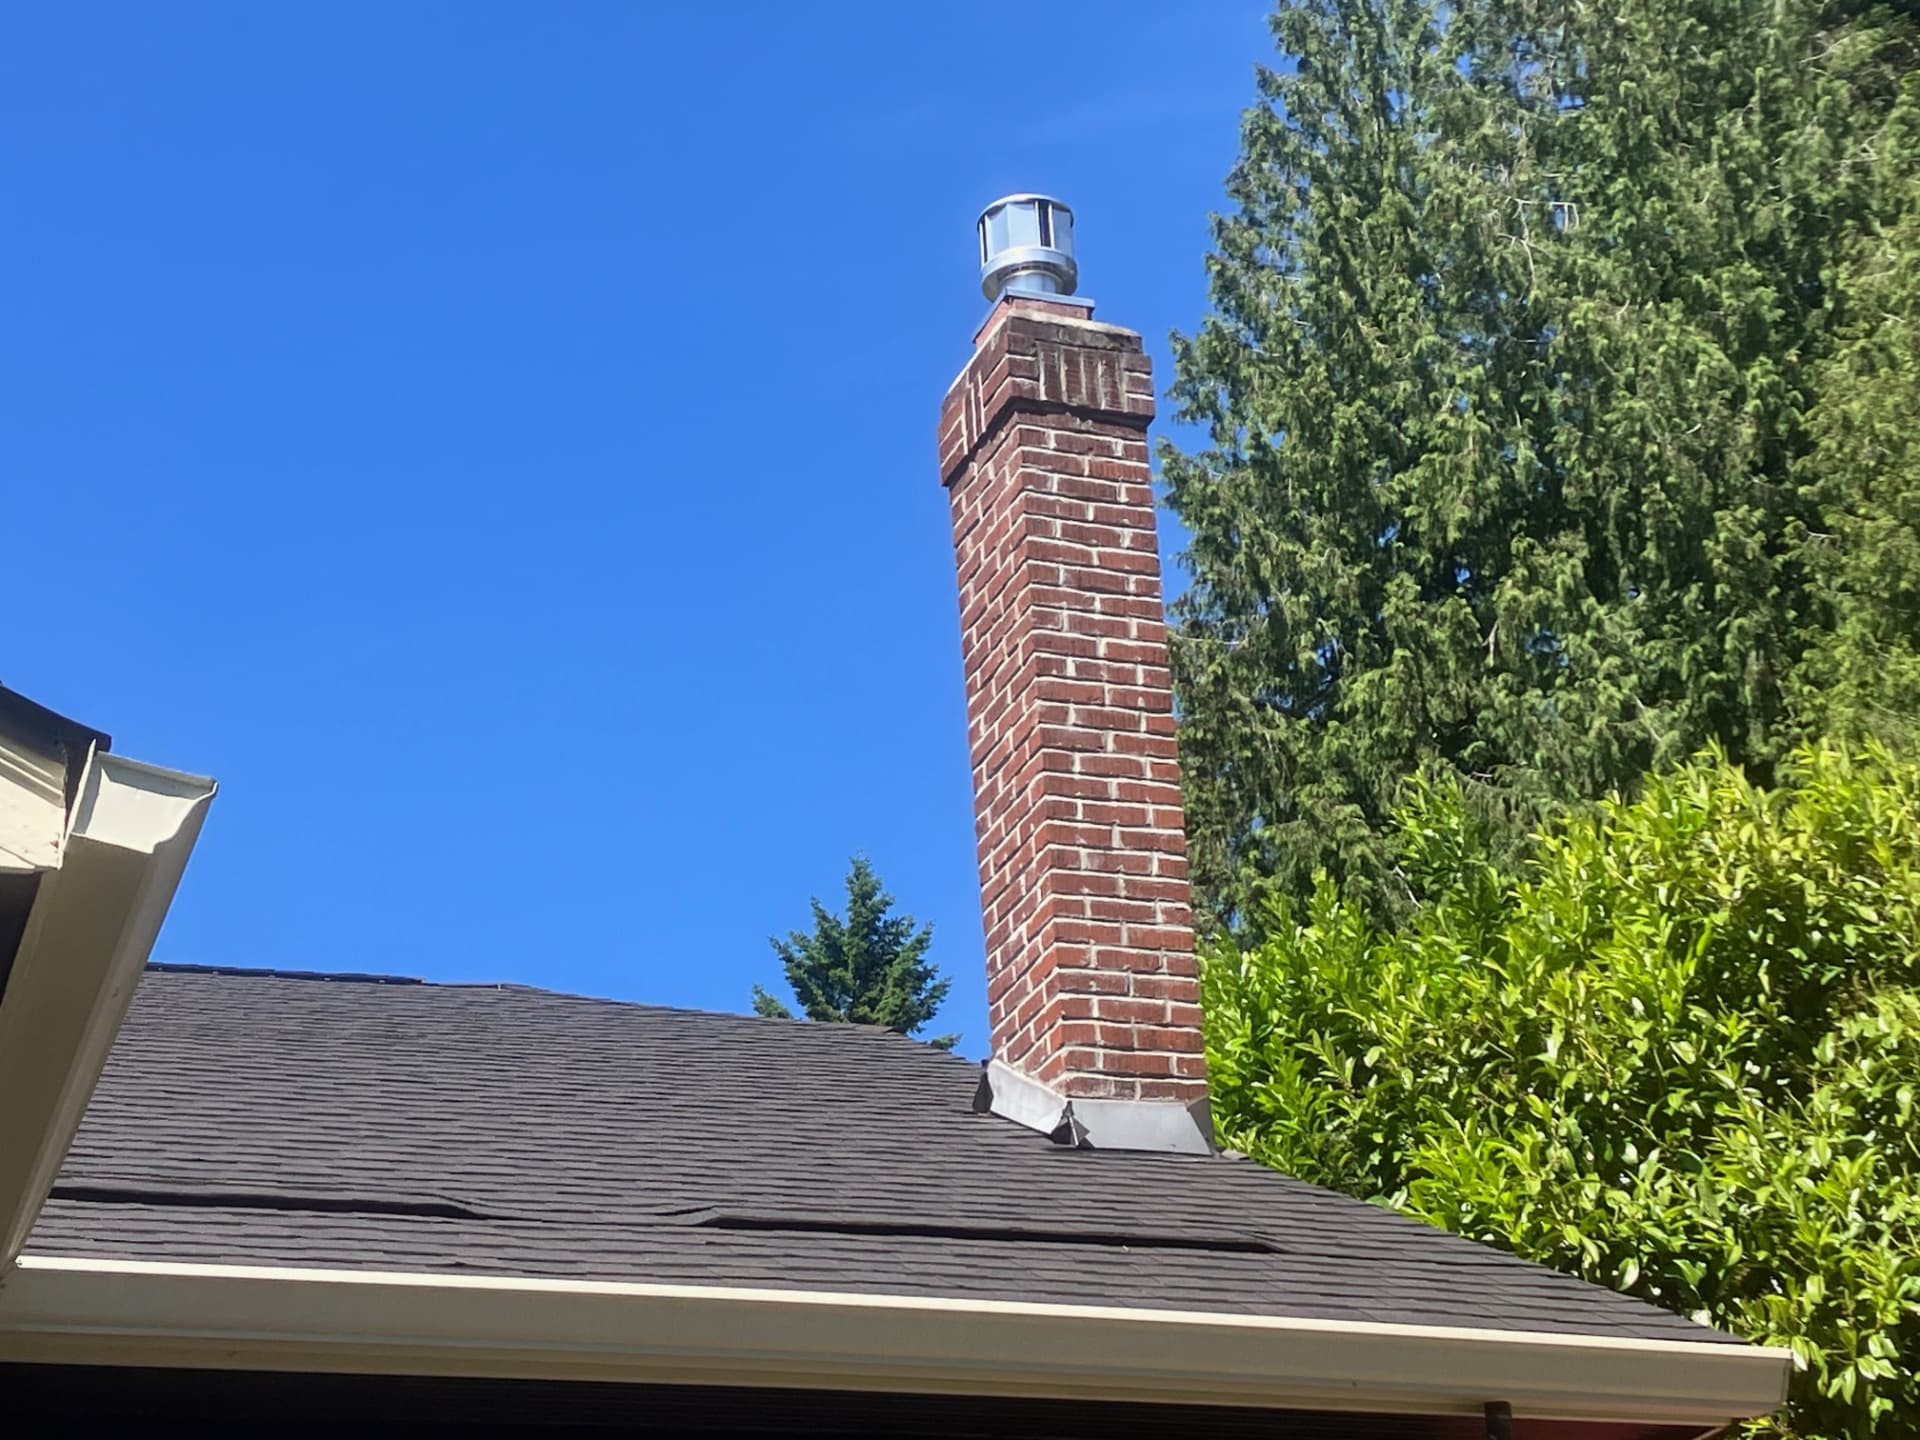
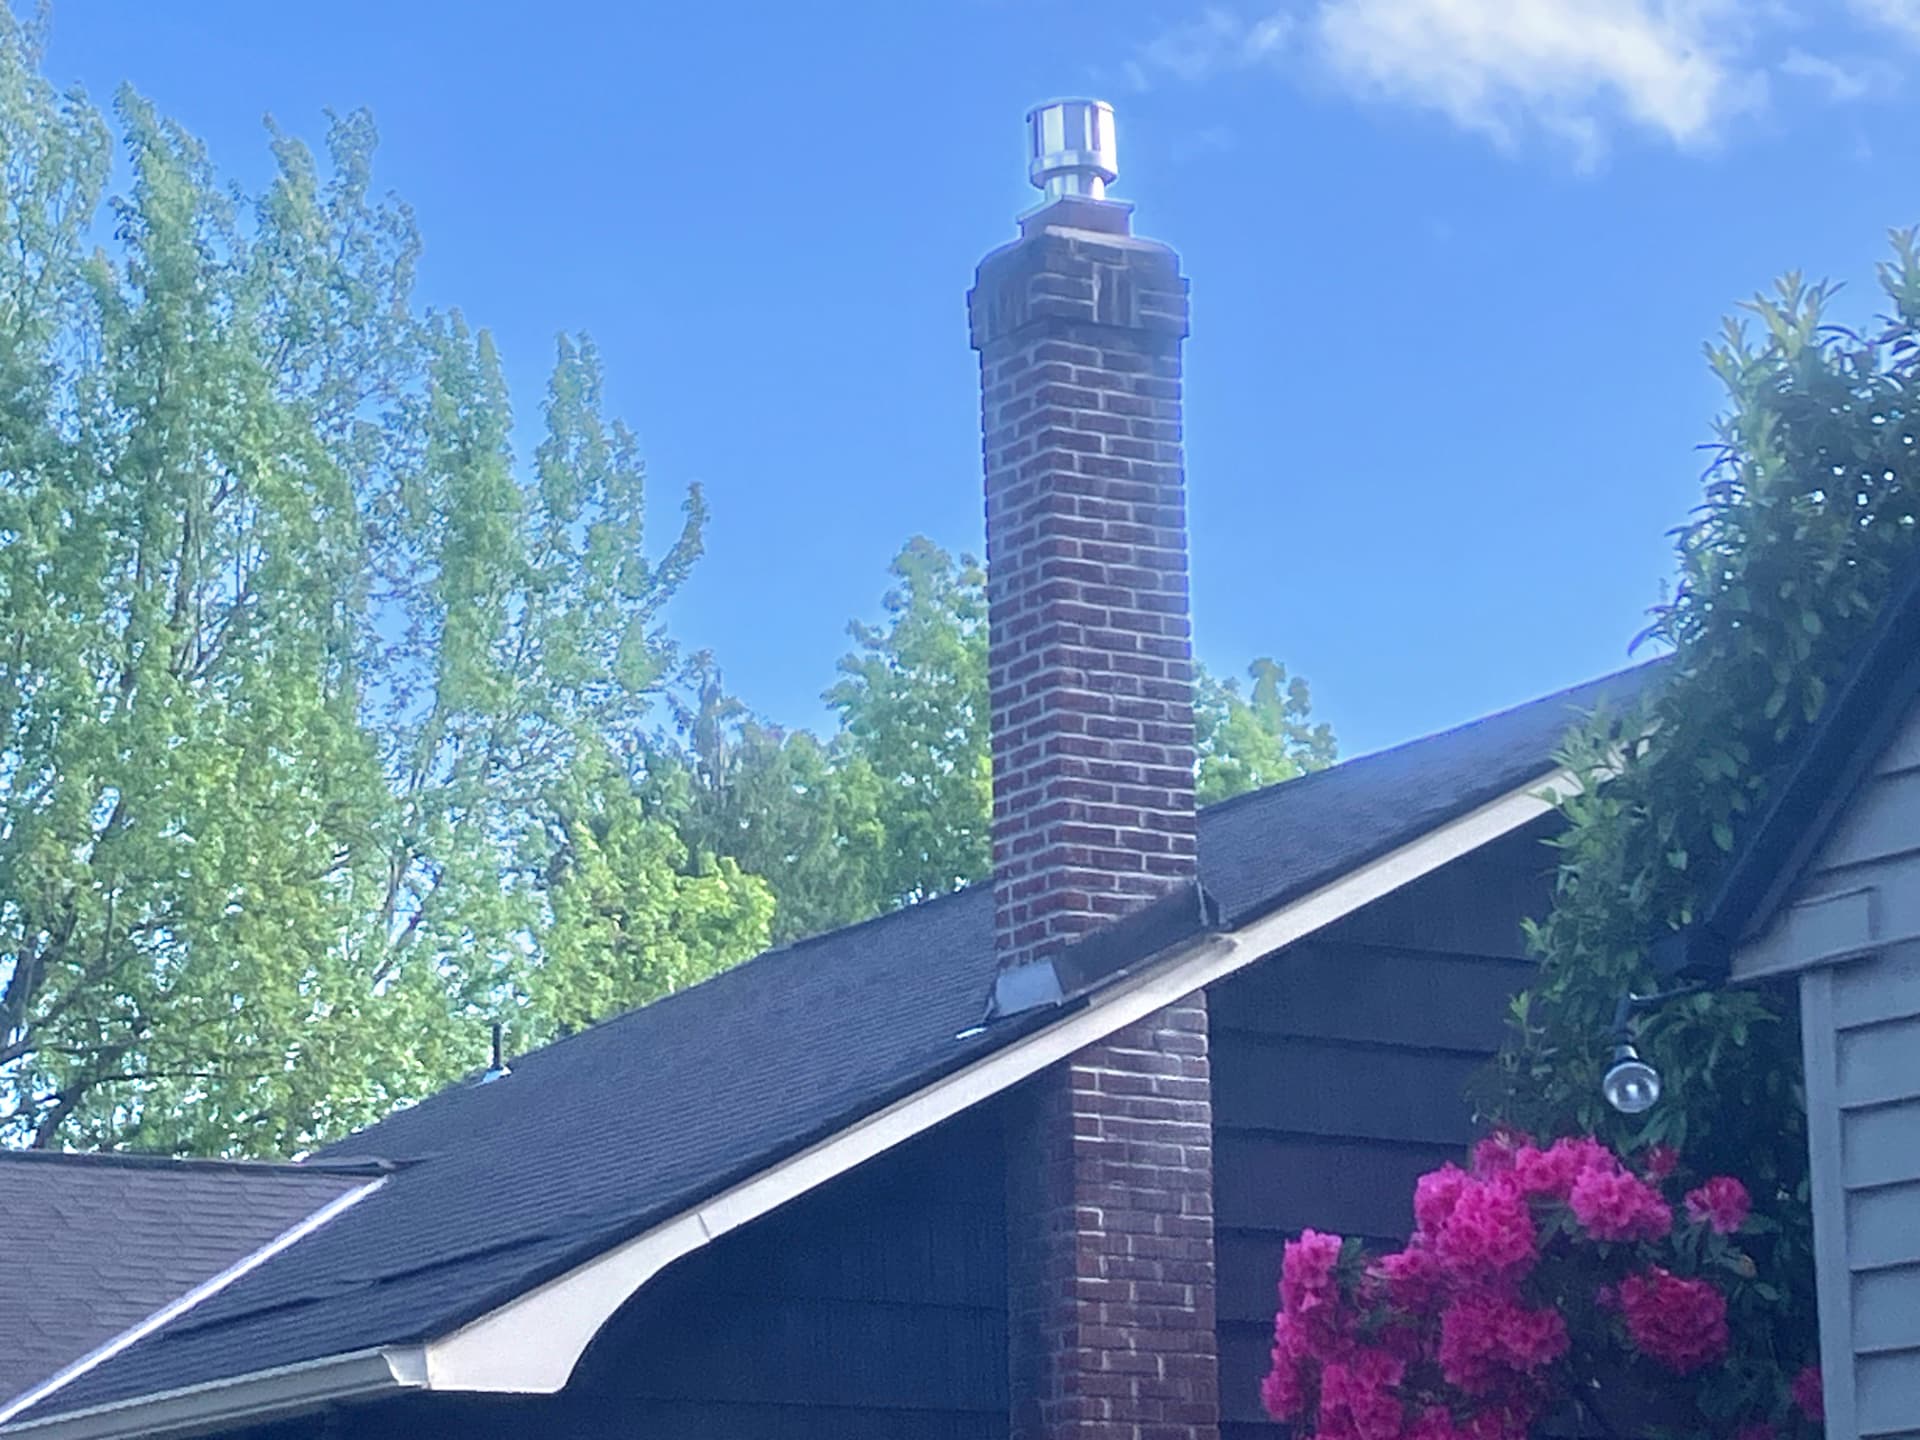
Before and After — Tuck Pointing from April 2018, Photographed Again 7 Years Later
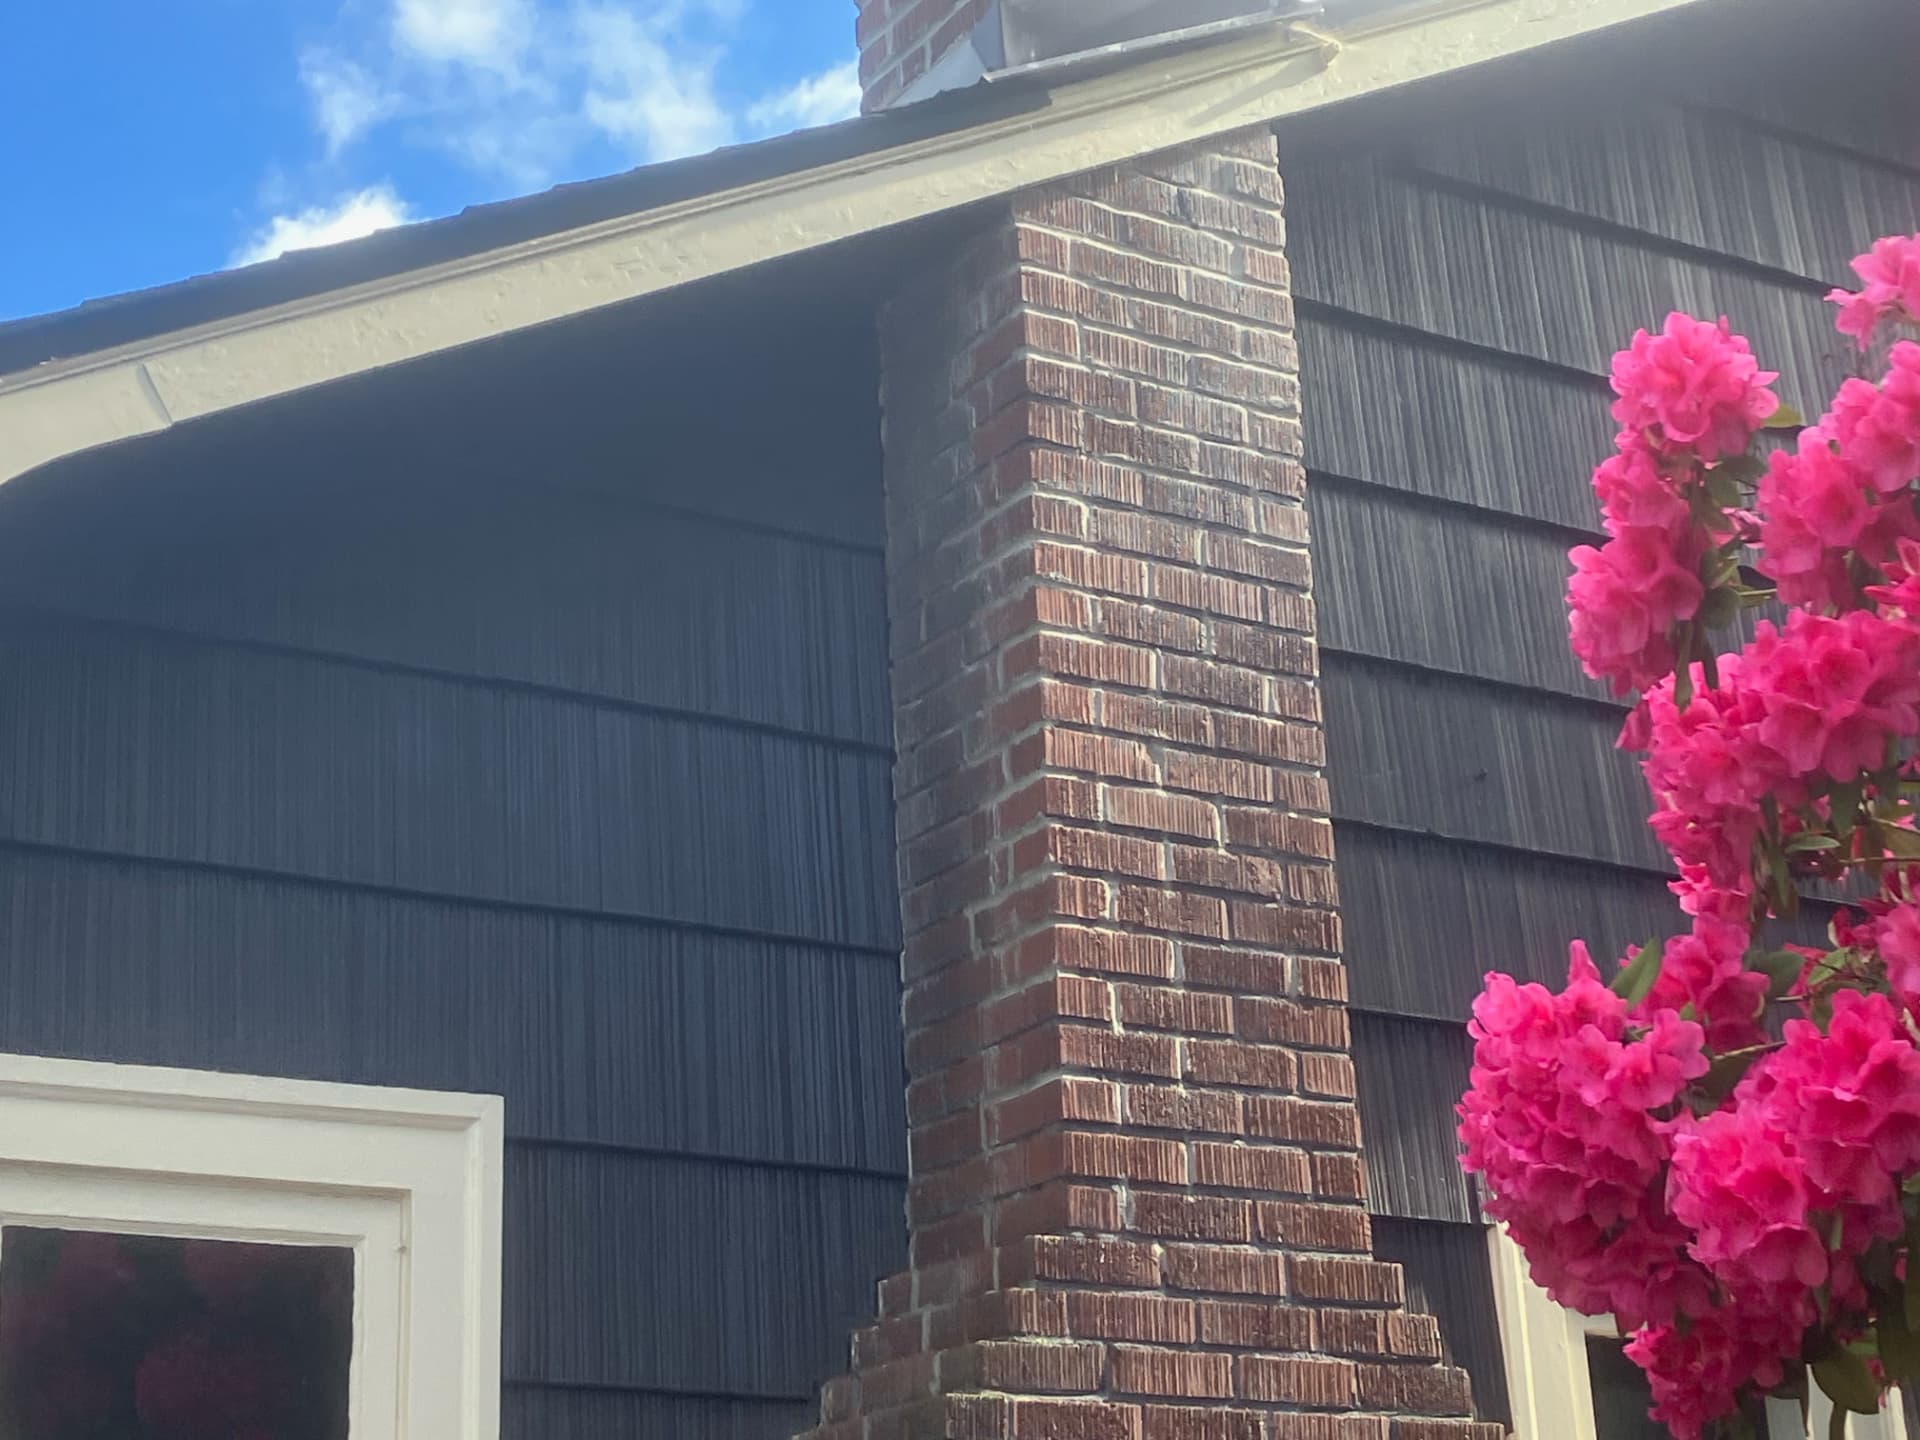
Exactly like I left it 7 years ago in 2025. I did a moss kill all exterior faces, full tuck point with a larger grinder blade then the previous tuck point which was failing 5 years later roof line up and roof line down as needed only in sections tuck point, and then waterproofed all exterior faces with chimney specific waterproofing 28 days after final day of mortar work. Again this is 7 years later, did not do any additional work in between the time and it still looks like a new tuck point 7 years later even though it rains 7 months of the year. Most other companies tuck points start look old with moss growing on it after 4 years
Before
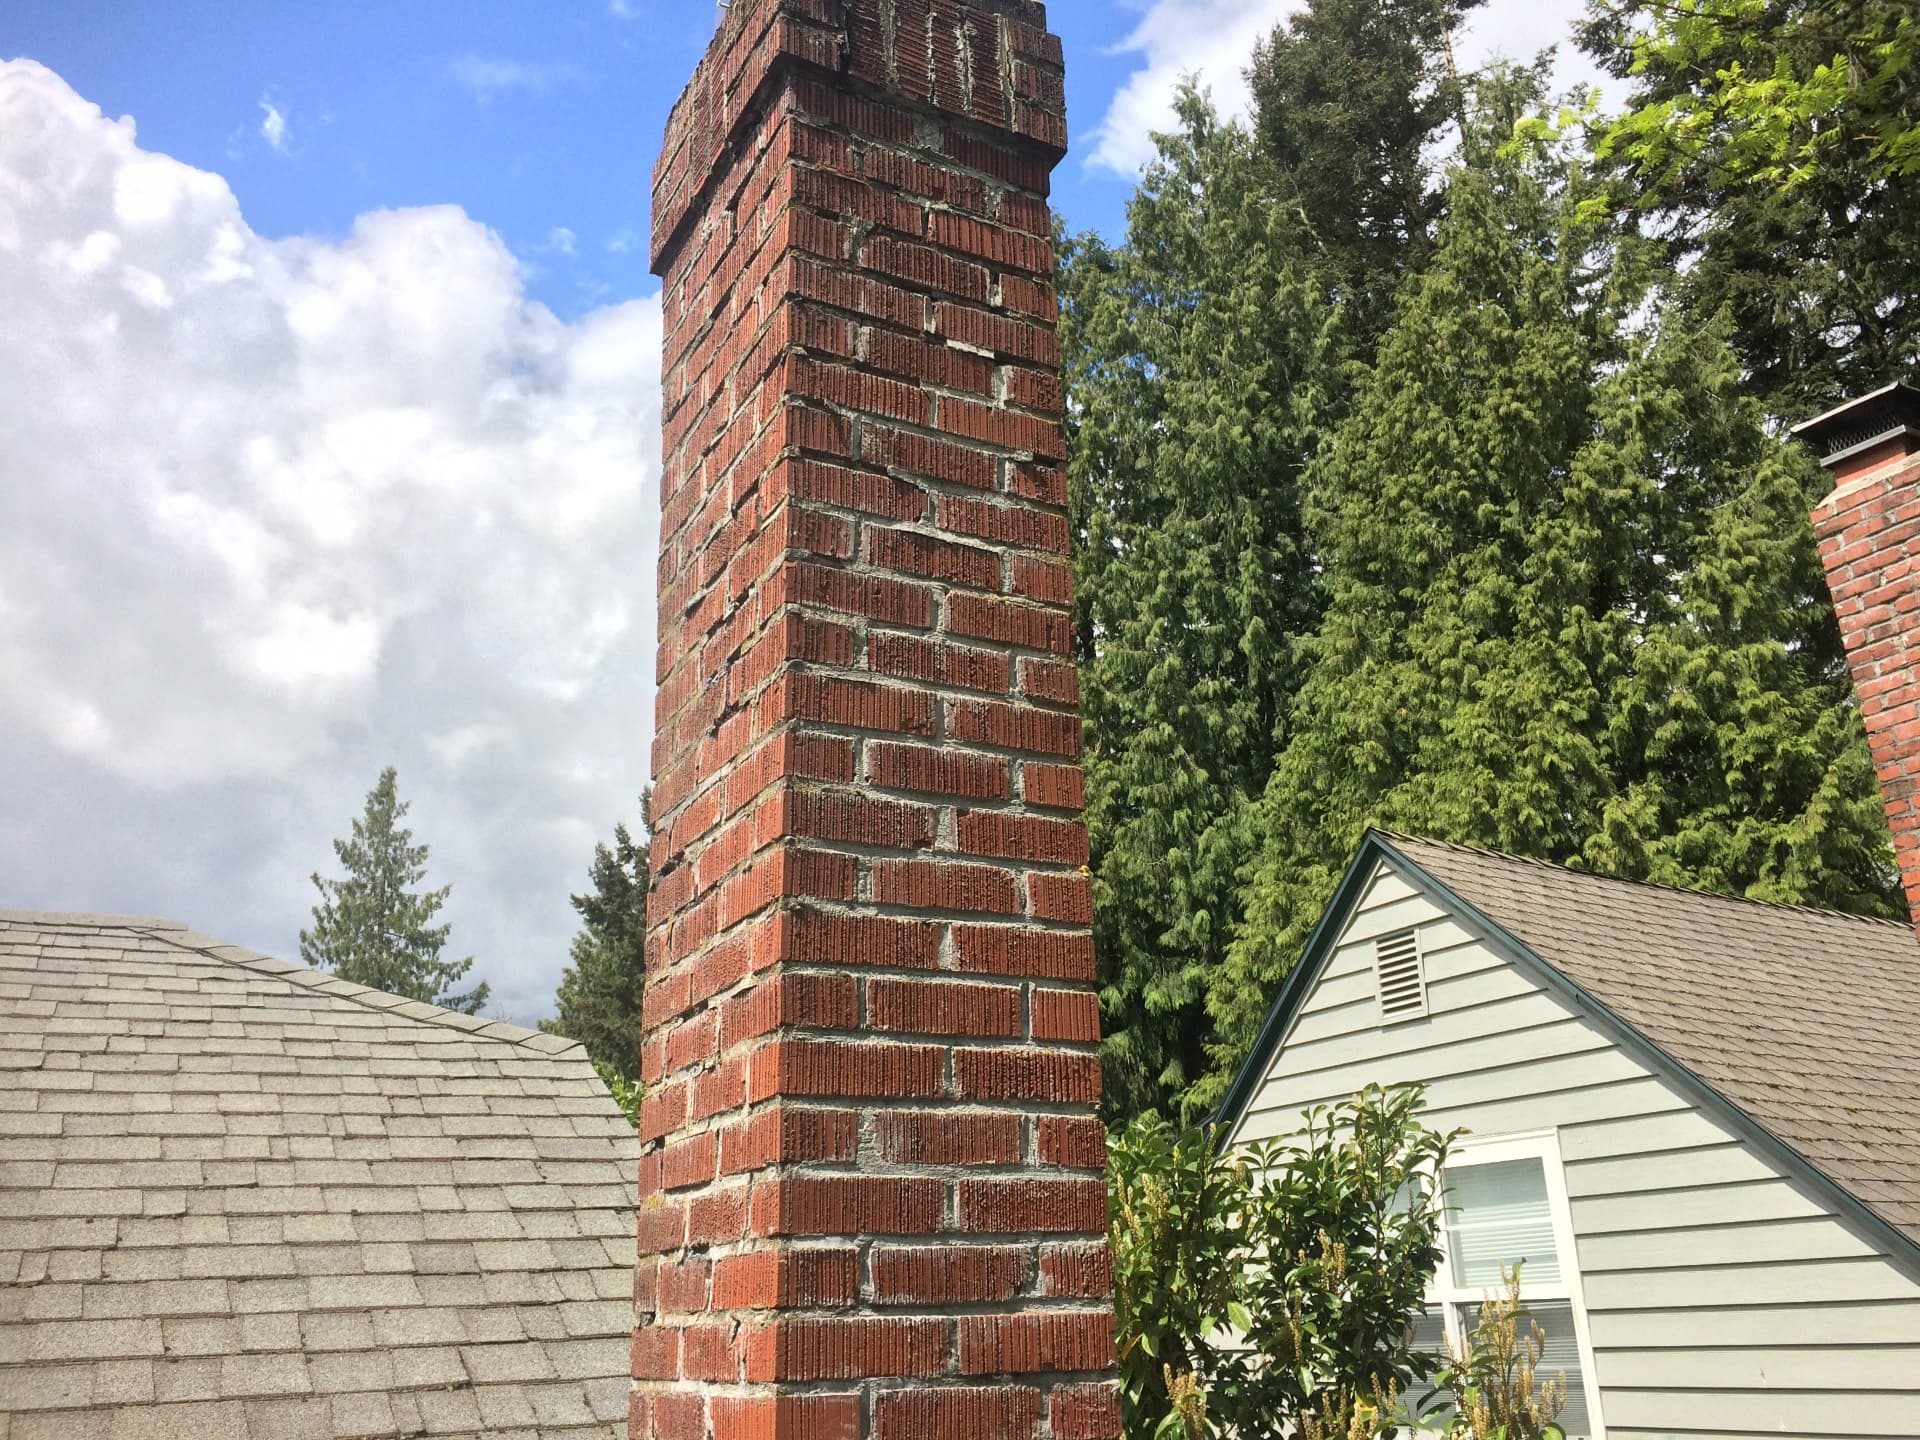
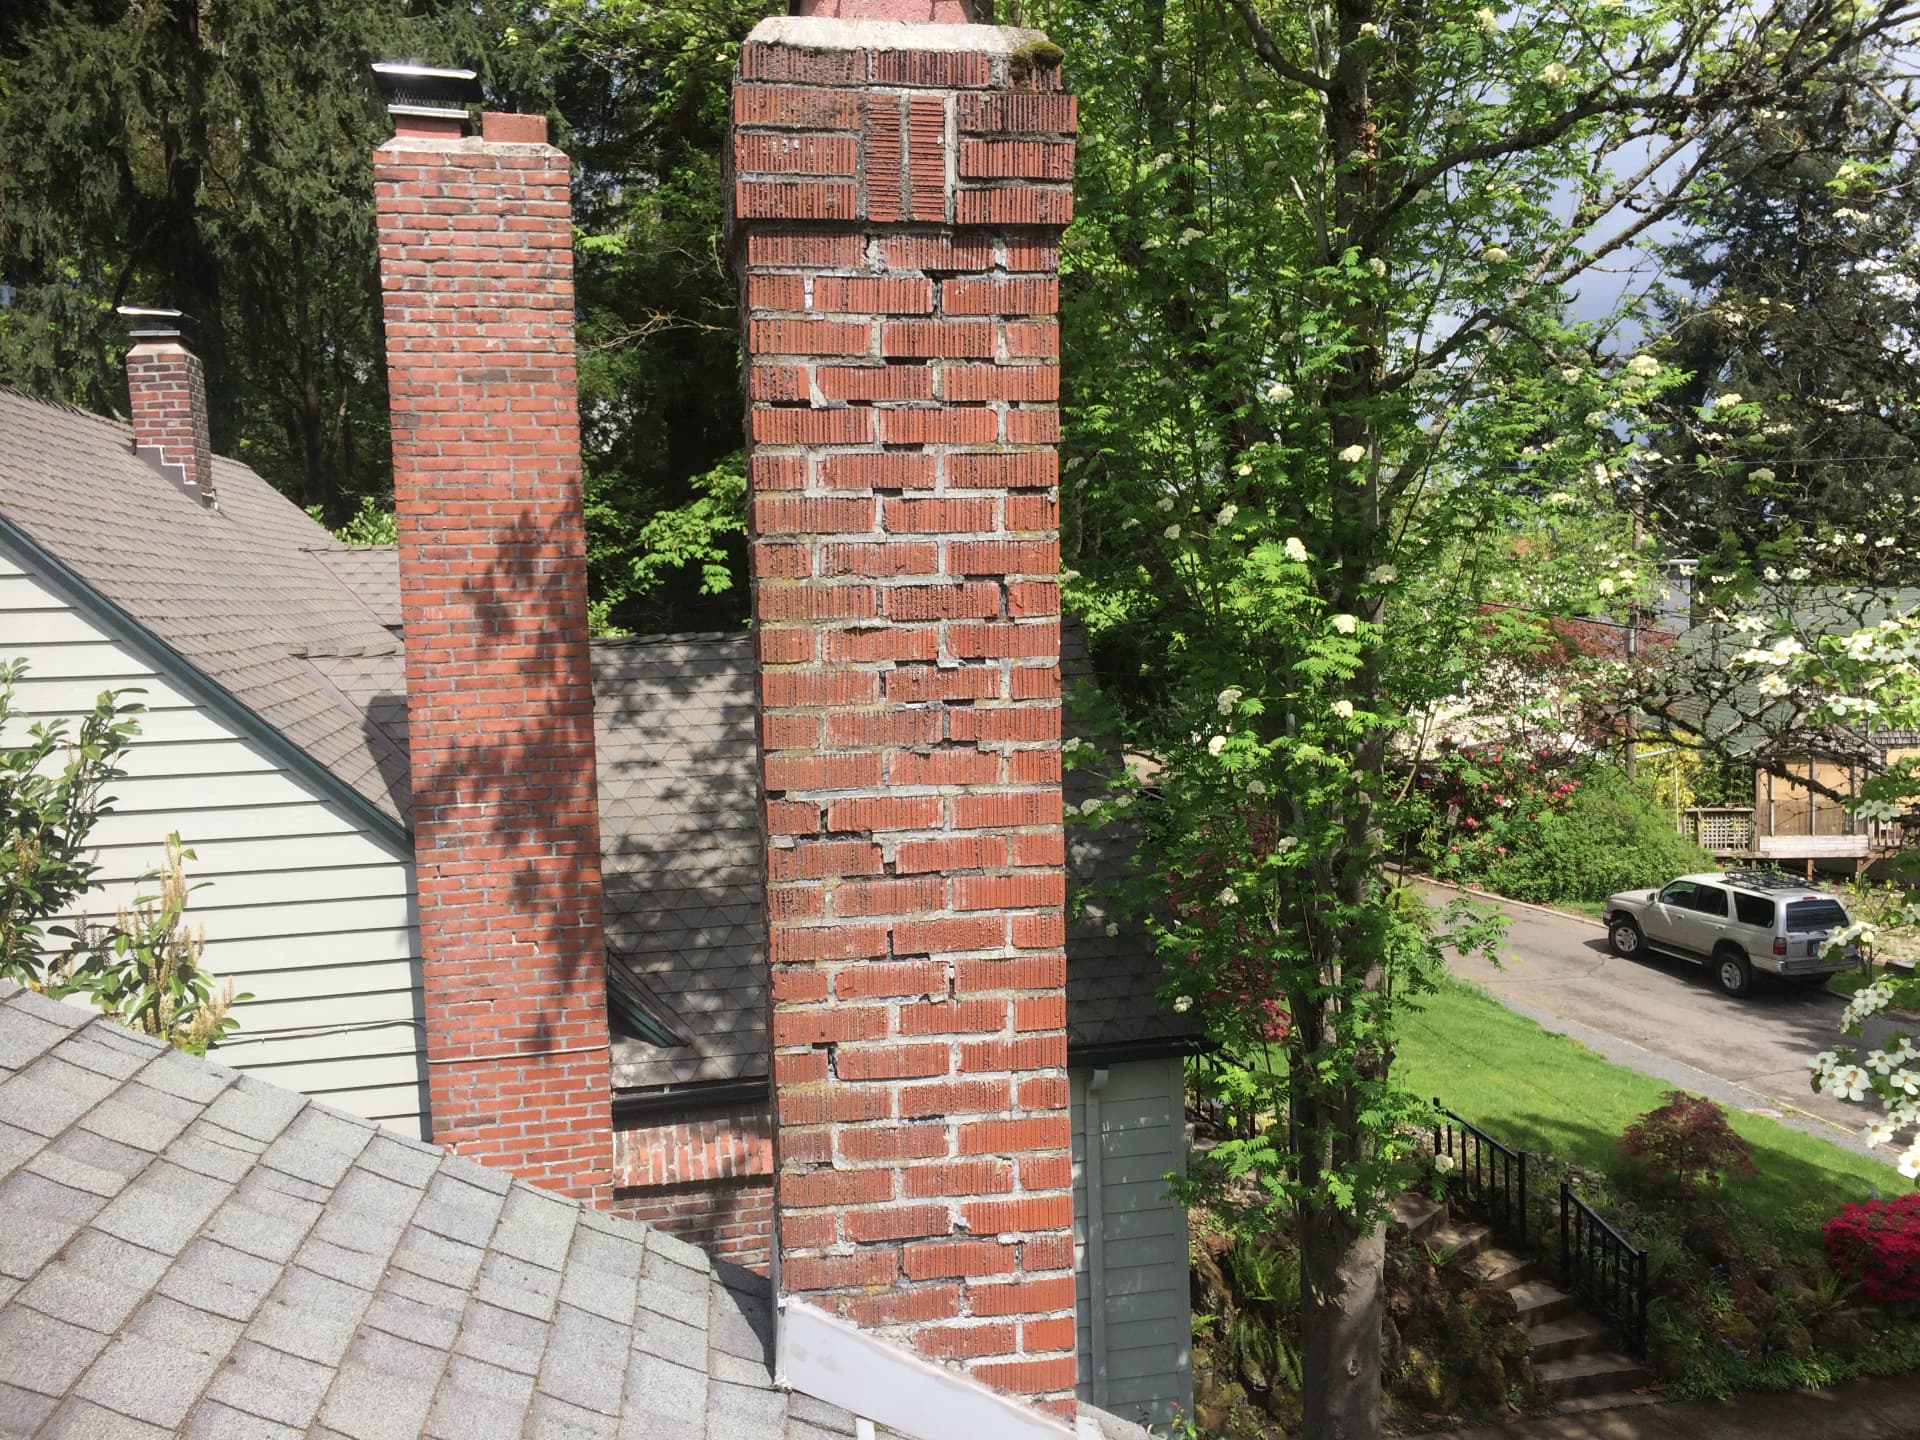
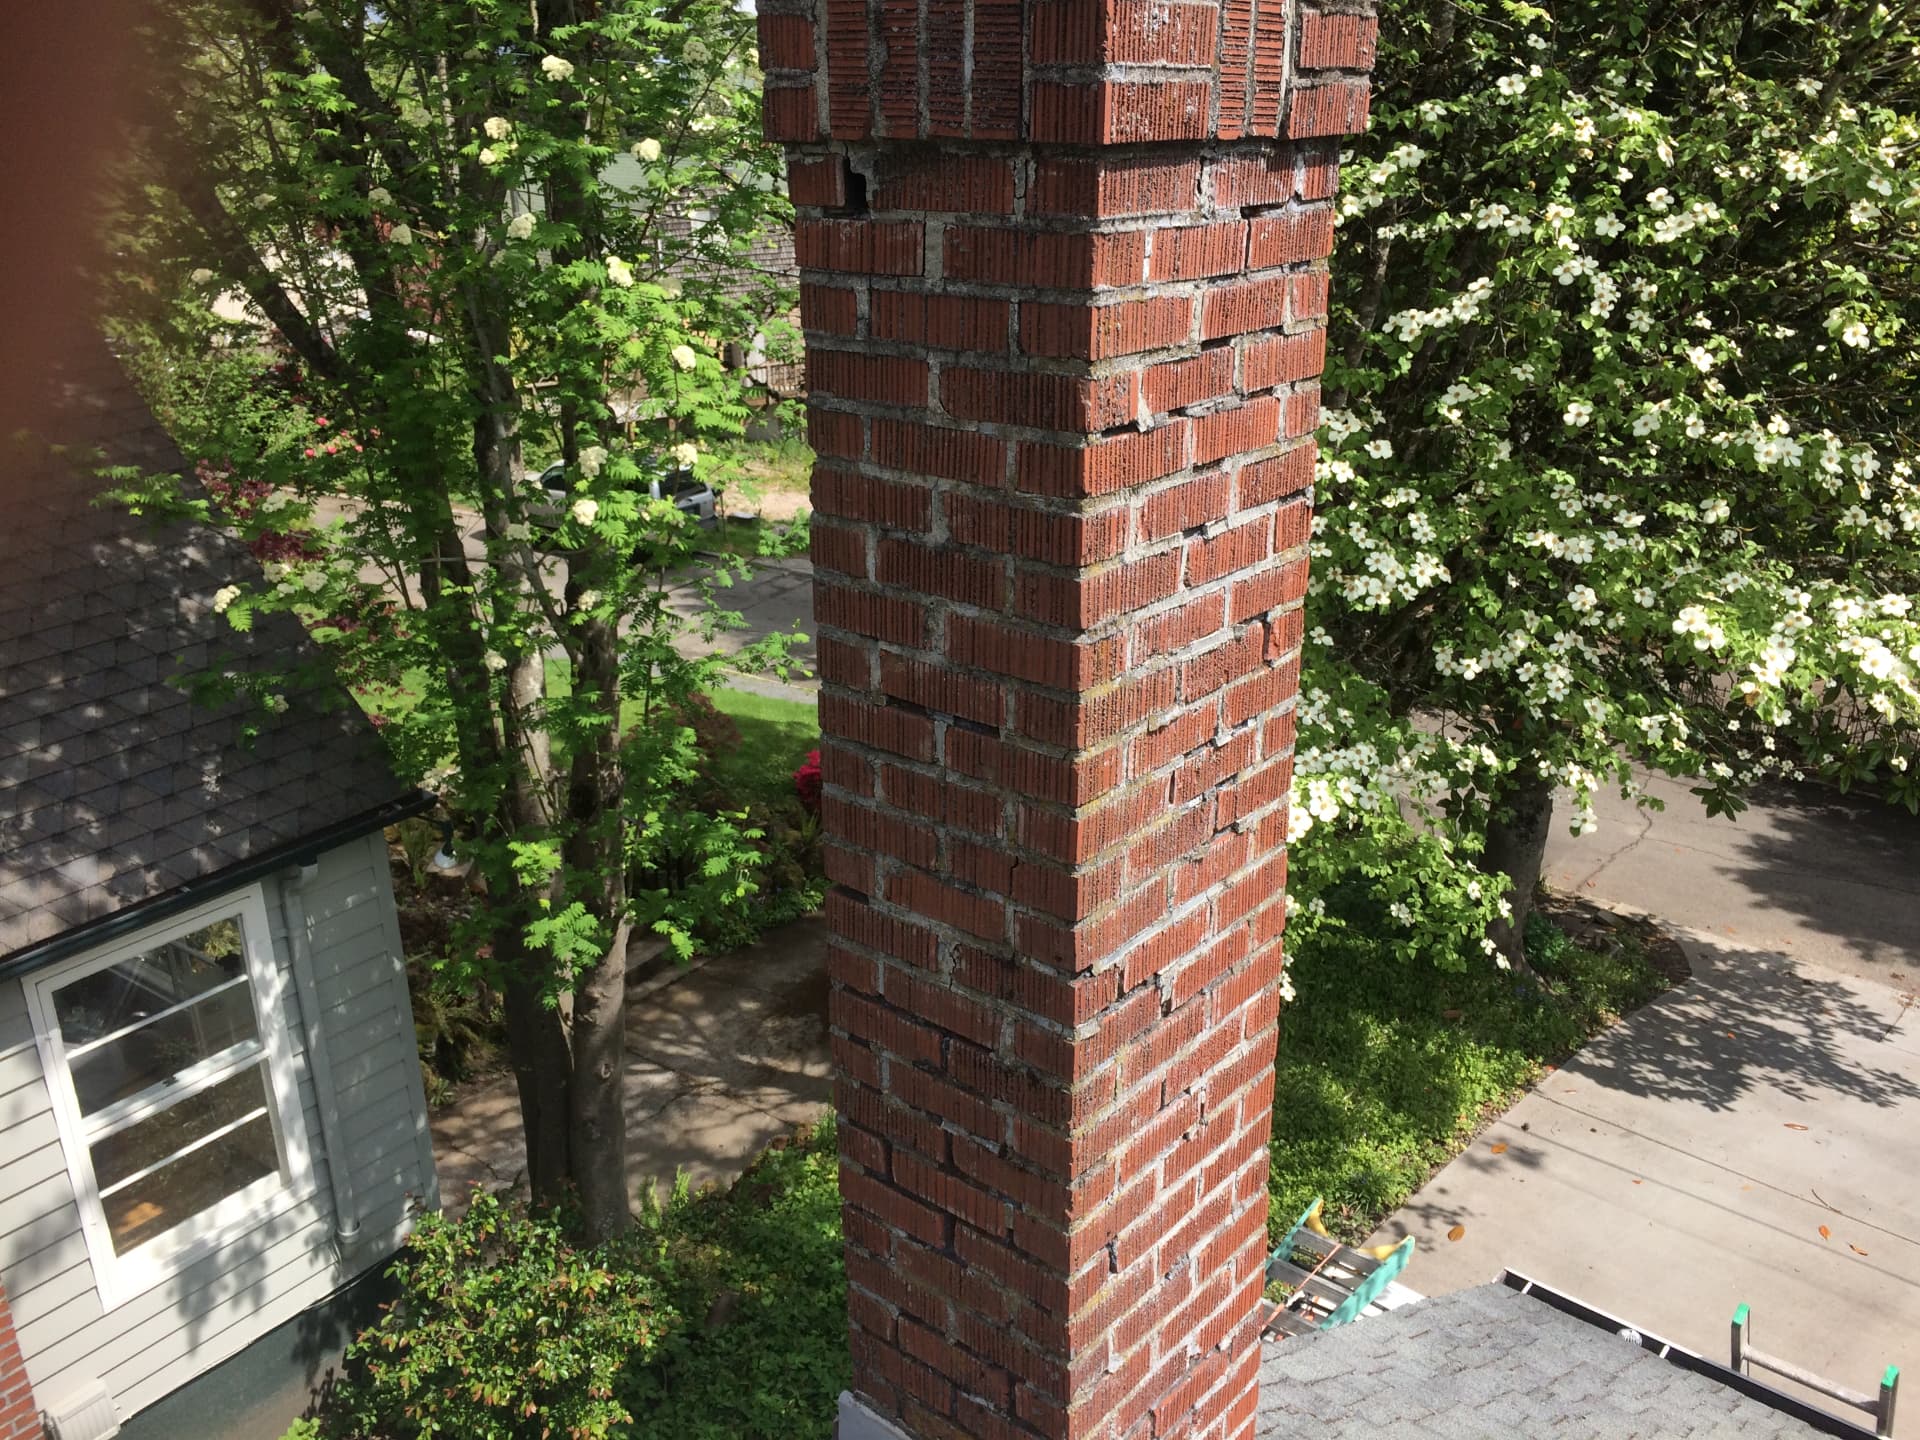
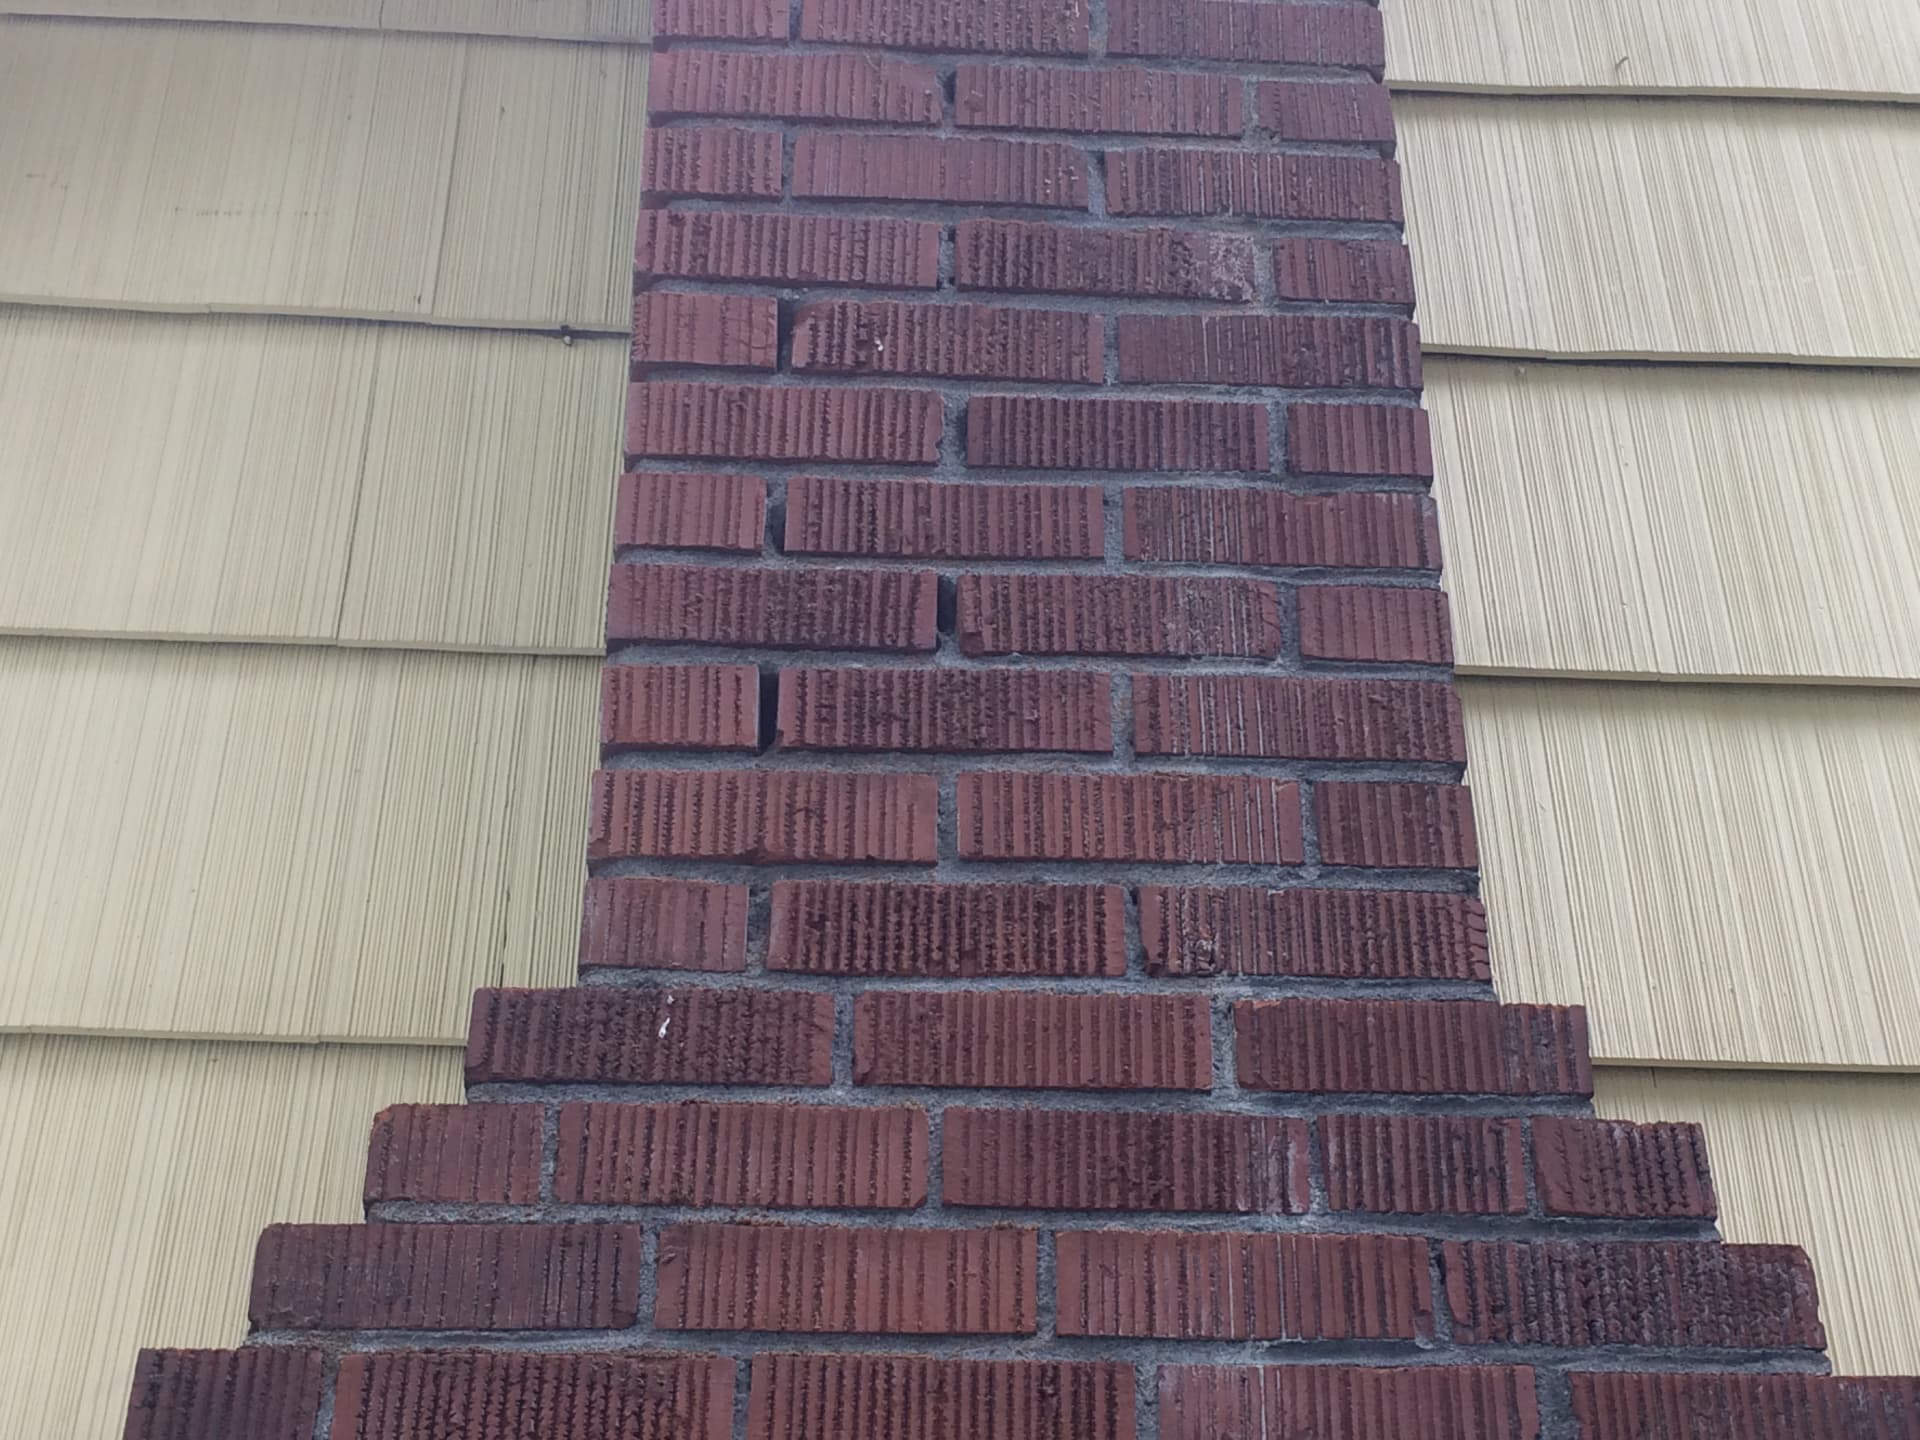
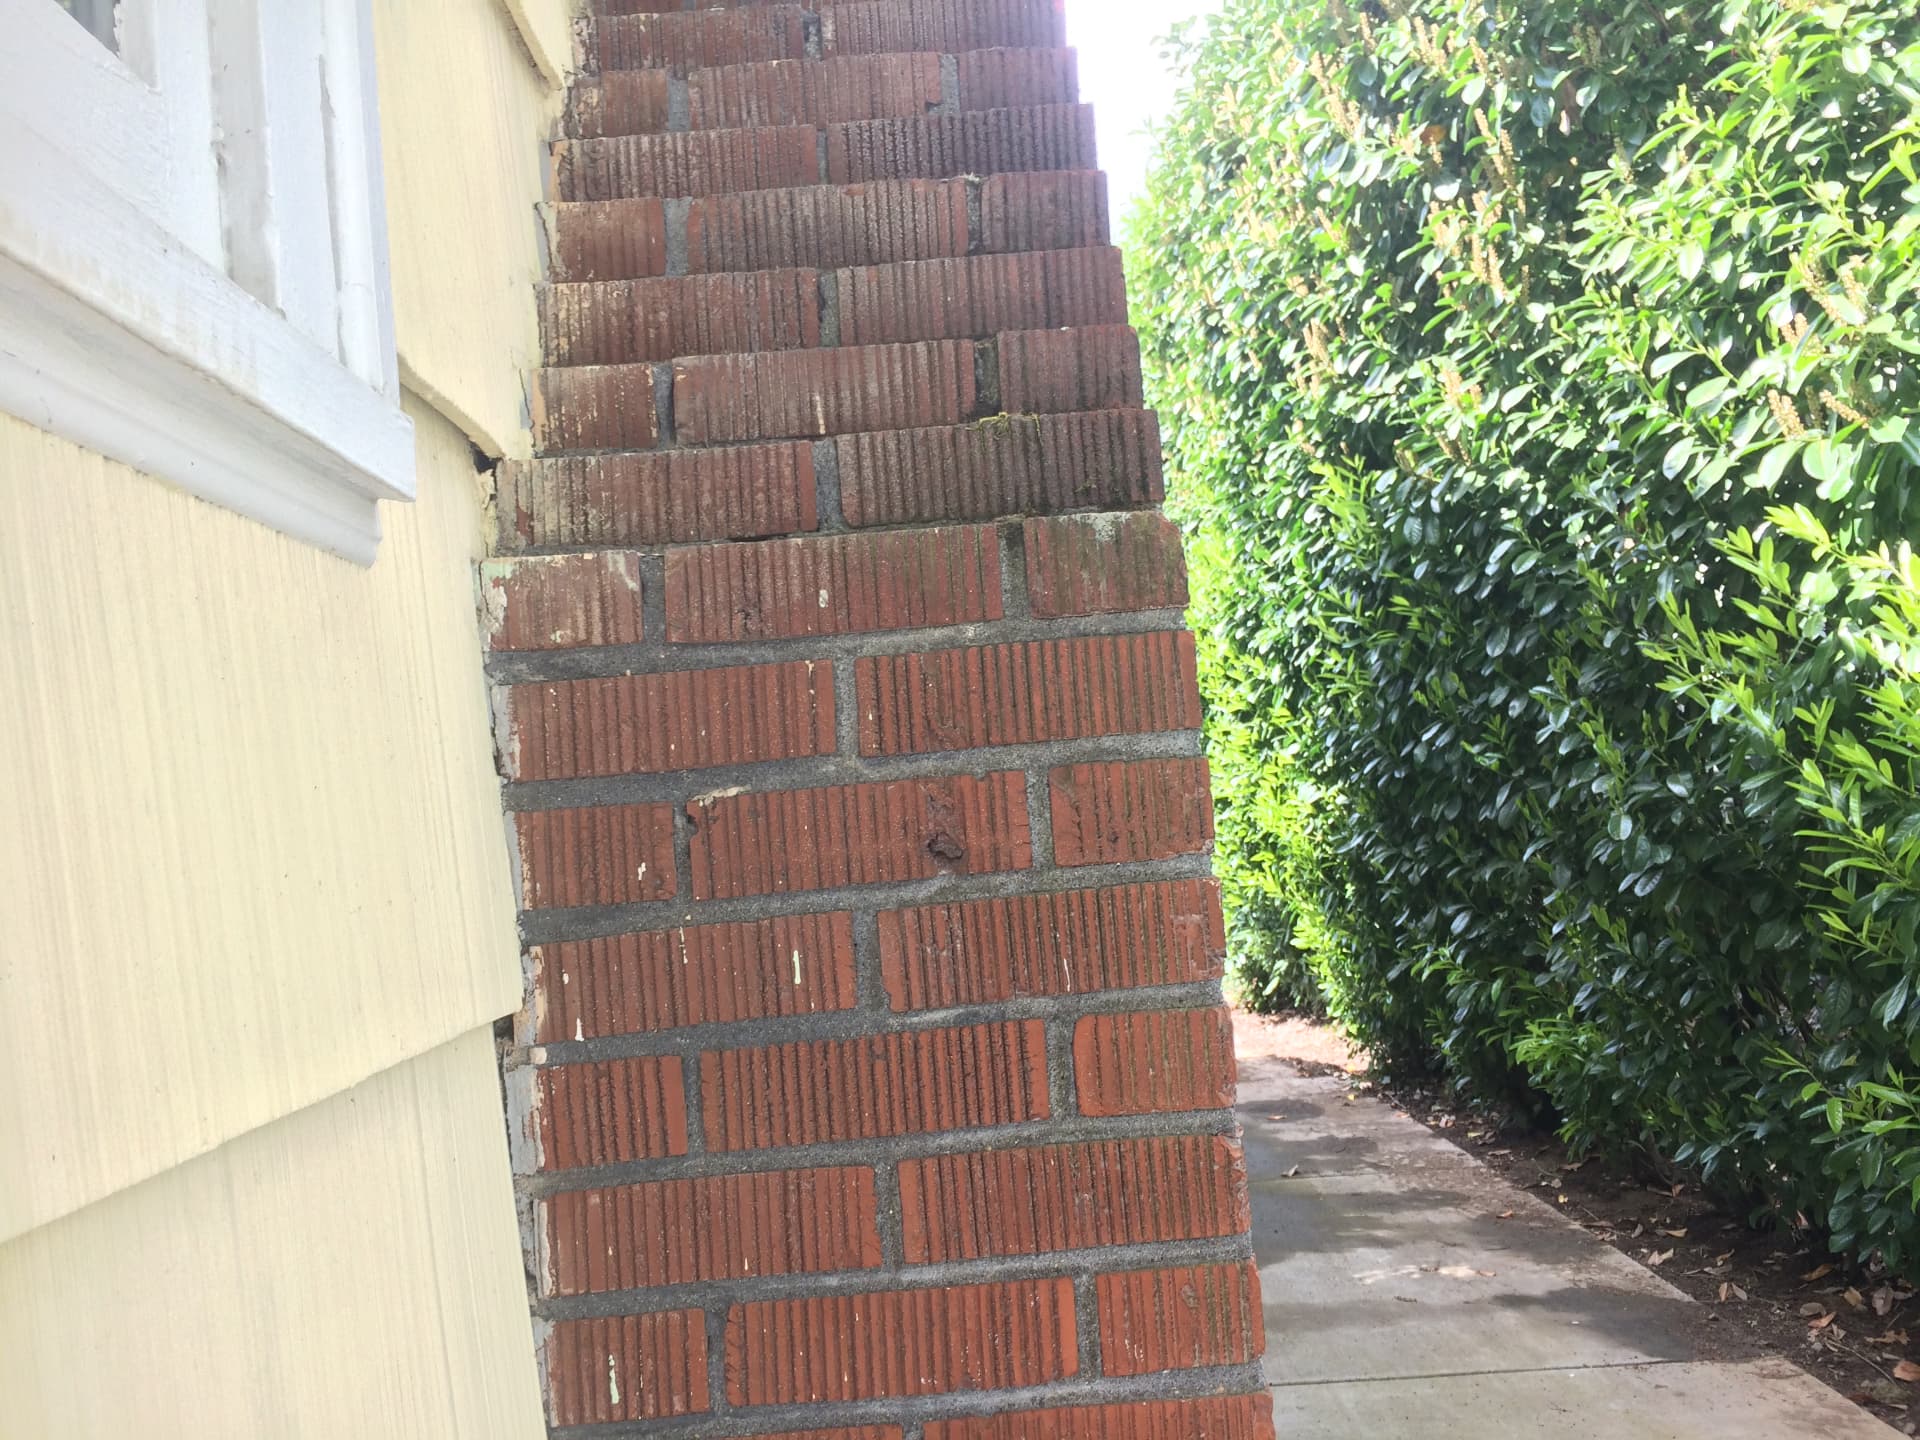
7 Years Later
Addressing Extensive Chimney Mortar Deterioration
If you’ve observed mortar deterioration affecting the mortar joints on the exterior of the chimney, it’s time to take action with a tuck point repair. If the mortar is deteriorated more than 2 inches, a rebuild is necessary as a tuck point will not do.
IMPORTANT
I e-mail bids only to give you all the information you need to make an informed decision for the work. If you contact me for a bid, please give me a correct e-mail address. Also, I may need to contact you via phone prior to e-mailing you the bid if there is work that needs to be done in addition to what you originally called for due to structural, code, or safety reasons, or if I need any further information not provided during your first call to schedule me to come out to do the bid.
Metro Chimney reserves the right to walk away from a job even if there is signed bid before the work is initiated if we sense there will a problem or ongoing issue between us and the customer. This is the Oregon CCB’s position. The customer can call another contractor or chimney company.
Attention: Due to the nature of how mixing mortar or corn mix with mortar is how you use it, and it cures by expelling that water, it takes 48 days for crown and mortar mix to kick out enough water in the curing process before it is not effected by at any point the temperature going below 32 degrees Fahrenheit (0 degrees celcius). If the temperature goes below that at any time during that 48 day curing period the water in the mortar/crown mix will freeze, expand and crack the same mortar or crown mix necessitating us to come out to repair it in the warmer Spring and Summer months. Also due to the fact that Flue Tiles and Flashing requires mortar or crown mix too, we only do mortar, crown, moss removal and waterproofing work during the non raining warmer parts of Spring and Summer months and we make sure to have all repair work requiring mortar or crown mix to end by the end of August. Moss removal and Water proofing also requires the work to be done in the non raining warmer parts of Spring and Summer months as well. There will be no exception to this rule.
This work must be performed in dry, warm weather with no rain, so we only schedule it during the drier months of spring and summer. We do not perform repair work in September because the mortar and crown mix need at least 48 days to cure sufficiently to withstand freezing temperatures. If temperatures drop to freezing or below before the materials have cured properly, the mortar or crown mix may crack, requiring us to return during the warmer months to make repairs